はじめに
VScodeを使い始めて、[!]+[Tab]でhtmlのお決まりのタグがパっと出ておてがるってのは知ってたけど
初期設定のコードではいろいろ足りていないことが分かってきた。
毎回書くのは面倒だしいろいろあって忘れそう・・・。
[!]+[Tab]でパッと出てくるあれ
(言語はSetting.jsonでenからjaに変更済)
↓
<!DOCTYPE html>
<html lang="ja">
<head>
  <meta charset="UTF-8">
  <meta name="viewport" content="width=device-width, initial-scale=1.0">
  <title>Document</title>
</head>
<body>

</body>
</html>
調べているとVScodeの『ユーザースニペット』を編集することでテンプレートを新に設定することが出来るらしく、
やってみたら無事にカスタマイズできたので
下記に設定方法と各々の説明をまとめました。
対象読者はVScodeに慣れてきてそろそろ設定整えたいな~と思っている方だと思います。
ユーザースニペットの編集手順
1.html.jsonを開く
vscodeを英語設定で使っている場合
[file]>[Prefernces]>[User Snippets]>検索タブに[html.json]を入力して[html.json]ファイルを開く
vscodeを日本語設定で使っている場合
ファイル>基本設定>ユーザースニペット検索タブに[html.json]を入力して[html.json]ファイルを開く
※Windowsのため、Macの方は別途検索してください。
2.html.jsonを編集する
初めて開いた状態だと、英語ですでにいろいろ書かれていると思います。
一番最初と最後の{ }以外消します。
{
    // Place your snippets for html here. Each snippet is defined under a snippet name and has a prefix, body and
    // description. The prefix is what is used to trigger the snippet and the body will be expanded and inserted. Possible variables are:
    // $1, $2 for tab stops, $0 for the final cursor position, and ${1:label}, ${2:another} for placeholders. Placeholders with the
    // same ids are connected.
    // Example:
    // "Print to console": {
    //  "prefix": "log",
    //  "body": [
    //      "console.log('$1');",
    //      "$2"
    //  ],
    //  "description": "Log output to console"
    // }
}
↓消します
{}
消したうえで必要なものを思い思いに書いていきます。
私は下記のように設定しました。
{
	"html:!": {
		"prefix": "!",
		"body": [
			"<!DOCTYPE html>\n<html lang=\"ja\">\n<head>\n<meta charset=\"UTF-8\">\n<meta http-equiv=\"X-UA-Compatible\" content=\"IE=edge\">\n<meta name=\"viewport\"content=\"width=device-width, initial-scale=1\">\n<meta name=\"description\" content=\"検索結果でサイト名の下に表示される「サイトの説明文」\">\n<link rel=\"apple-touch-icon\" sizes=\"180x180\" href=\"アップルタッチ用のファビコン(相対パスOK).png\">\n<link rel=\"icon\" type=\"image/png\" sizes=\"32x32\" href=\"32サイズのファビコン画像(相対パスOK).png\">\n<link rel=\"icon\" type=\"image/png\" sizes=\"16x16\" href=\"16サイズのファビコン画像(相対パスOK).png\">\n<link rel=\"manifest\" href=\"PWA化のためのマニフェストファイル.webmanifest\">\n<meta name=\"msapplication-TileColor\" content=\"Windowsピン留めのテーマカラーを設定→#ffffff\">\n<meta name=\"theme-color\" content=\"theme-colorを設定→#ffffff\">\n<meta name=\"msapplication-TileImage\" content=\"Windowsピン留め時の画像(絶対パス).png\" />\n<meta property=\"og:description\" content=\"SNSでシェアされたときに表示するサイトの説明文\">\n<meta property=\"og:title\" content=\"SNSでシェアされたときに表示するサイトのタイトル\">\n<meta property=\"og:image\" content=\"SNSでシェアされたときに表示する画像※かならず絶対パスを記載(相対パス不可)https://....../img/icons/logo.png\">\n<meta property=\"og:image:width\" content=\"画像の幅px\">\n<meta property=\"og:image:height\" content=\"画像の高さpx\">\n<meta property=\"og:type\" content=\"urlがトップページの場合→website、トップページ以外の場合→article\">\n<meta property=\"og:url\" content=\"https://........\">\n<title>${1:Document}</title>\n<link rel=\"stylesheet\"  href=\"${2:css/style.css}\">\n</head>\n<body>\n    $0\n</body>\n</html>"
		]
	}
}
改行されてなく見づらいですが、とりあえず[ctrl]+[s]で保存します。
ためしにhtmlファイルで[!]+[tab]と打ちます。
[!]をvscodeで入力したときに候補に[!]が2つ出てきたと思います。

一つはhtml:!(user Snippet)、もう一つはhtml:!emmet abbreviationと書かれてます。
user Snippetが先ほどカスタマイズしたもので
emmet abbreviationが初期設定のものです。
なのでuser Snippetの方を選びます。
<!DOCTYPE html>
<html lang="ja">
<head>
<meta charset="UTF-8">
<meta http-equiv="X-UA-Compatible" content="IE=edge">
<meta name="viewport"content="width=device-width, initial-scale=1">
<meta name="description" content="検索結果でサイト名の下に表示される「サイトの説明文」">
<link rel="apple-touch-icon" sizes="180x180" href="アップルタッチ用のファビコン.png">
<link rel="icon" type="image/png" sizes="32x32" href="32サイズのファビコン画像.png">
<link rel="icon" type="image/png" sizes="16x16" href="16サイズのファビコン画像.png">
<link rel="manifest" href="PWA化のためのマニフェストファイル.webmanifest">
<meta name="msapplication-TileColor" content="Windowsピン留めのテーマカラーを設定→#ffffff">
<meta name="msapplication-TileImage" content="Windowsピン留め時の画像(絶対パス).png" />
<meta name="theme-color" content="theme-colorを設定→#ffffff">
<meta property="og:description" content="SNSでシェアされたときに表示するサイトの説明文">
<meta property="og:title" content="SNSでシェアされたときに表示するサイトのタイトル">
<meta property="og:image" content="SNSでシェアされたときに表示する画像※かならず絶対パスを記載(相対パス不可)https://....../img/icons/logo.png">
<meta property="og:image:width" content="画像の幅px">
<meta property="og:image:height" content="画像の高さpx">
<meta property="og:type" content="urlがトップページの場合→website、トップページ以外の場合→article">
<meta property="og:url" content="https://........">
<title>Document</title>
<link rel="stylesheet"  href="css/style.css">
</head>
<body>

</body>
</html>
表示されない場合は保存が出来ていないか、html.jsonファイルの2行目prefixが!以外になってるかもしれません。
prefixはテンプレートを呼び出す召喚魔法のようなものなので例えばhtml:5で保存してしまってたら
[html:5]で召喚しないといけません。
各タグの説明
サイトの説明文の設定
<meta name="description" content="検索結果でサイト名の下に表示される「サイトの説明文」">

検索結果でサイト名の下に表示される「サイトの説明文」
ファビコン画像の設定
<link rel="apple-touch-icon" sizes="180x180" href="アップルタッチ用のファビコン.png">
<link rel="icon" type="image/png" sizes="32x32" href="32サイズのファビコン画像.png">
<link rel="icon" type="image/png" sizes="16x16" href="16サイズのファビコン画像.png">
ブラウザタブの画像の設定です。
href属性に画像の相対パスを入れておきます。
pngの拡張子にしていますがfaviconファイルももちろん大丈夫です。
PWA用マニフェストファイルの設定
<link rel="manifest" href="PWA化のためのマニフェストファイル.webmanifest">
PWA化するときに必要なmanifestファイルの相対パスを入力
Windowsのピン留めじの画像とテーマカラーの設定(Windowsのみ)
<meta name="msapplication-TileColor" content="Windowsピン留めのテーマカラーを設定→#ffffff">
<meta name="msapplication-TileImage" content="Windowsピン留め時の画像(絶対パス).png" />
Windowsのピン留め機能を使った時のテーマカラー
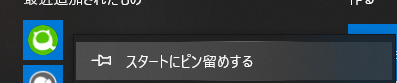
Windowsスタート画面でピン留めをする
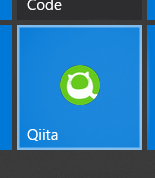
テーマカラーを設定しているとアイコン周りに色が付く
Windowsピン留めのテーマカラーについて
ブラウザ上部のテーマカラー(Chromeのみ)
<meta name="theme-color" content="theme-colorを設定→#ffffff">
ブラウザ表示したときのテーマカラー
Chromeのみ対応っぽいです。
SNSでシェアされたときに有効なOGPの設定
<meta property="og:description" content="SNSでシェアされたときに表示するサイトの説明文">
<meta property="og:title" content="SNSでシェアされたときに表示するサイトのタイトル">
<meta property="og:image" content="SNSでシェアされたときに表示する画像※かならず絶対パスを記載(相対パス不可)https://....../img/icons/logo.png">
<meta property="og:image:width" content="画像の幅px">
<meta property="og:image:height" content="画像の高さpx">
<meta property="og:type" content="urlがトップページの場合→website、トップページ以外の場合→article">
<meta property="og:url" content="https://........">
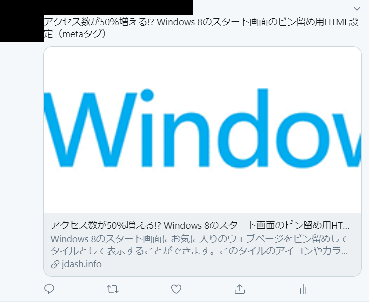
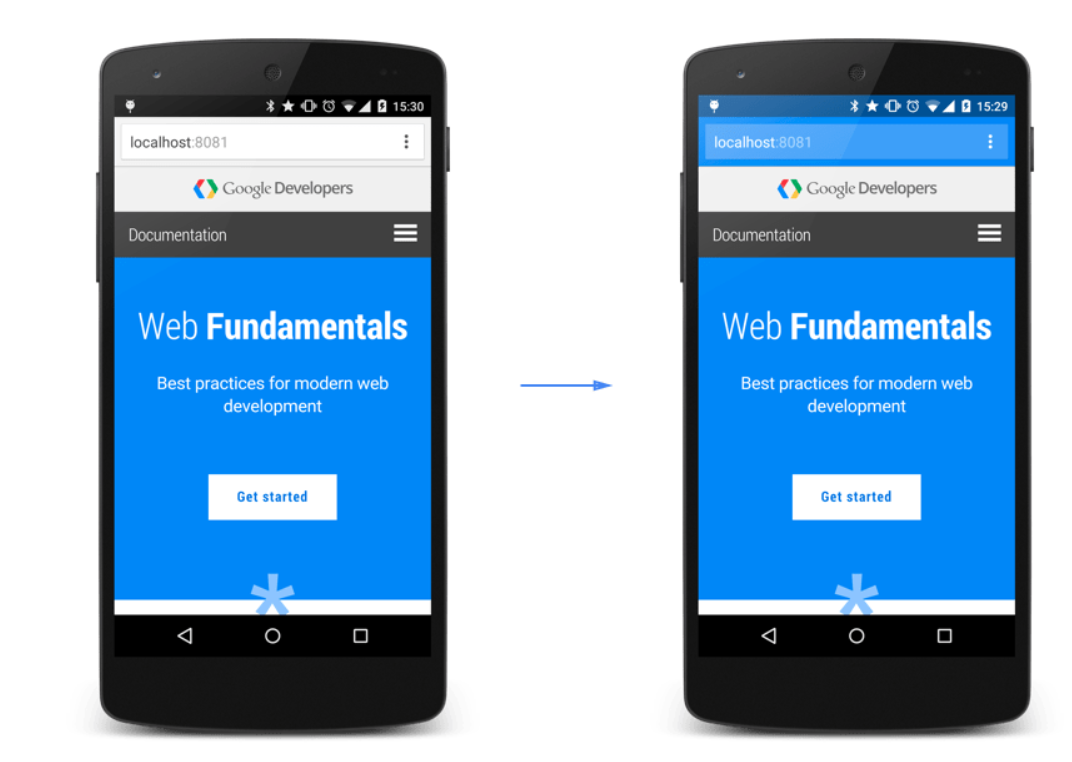
この画像はTwitterであるウェブサイトを共有した時の表示のされ方ですが、
上のタグではこの設定をしています。
画像がog:img(絶対パス指定)
画像下の太文字がog:title
タイトル下の説明がog:description
また、og:image:widthでは画像の幅をpxで設定していて、
og:image:heightでは画像の高さをpxで設定しています。
og:typeはトップページならwebsite、トップページ以外ならarticleを設定して、
og:url→WebサイトのURLを絶対パスで設定します。
CSSのリンクタグ毎回絶対あるものなので。
ディレクトリの場所は好き好きあると思うので変えた方がいいと思います。
<link rel="stylesheet" href="css/style.css">
どのようにユーザーを増やしていくかによって、とかPWA化は必要なのか?
これはWindowsユーザーがよく利用するのか?とかで不要必要が違うと思うので
毎回このタグを使うことはないかと思いますが
こういう方法があるんだと自身に思い出させるためにもテンプレートに設定しました。
注意
- User Snippetのhtml.jsonファイルは一つしか保存できないので
様々な種類のテンプレートを保存することはできません。
参考
編集方法
https://qiita.com/coro422/items/17cdd1acb9d0c3300e24
タグの種類
https://qiita.com/tsuka-rinorino/items/3b4fb69d980cecddf512