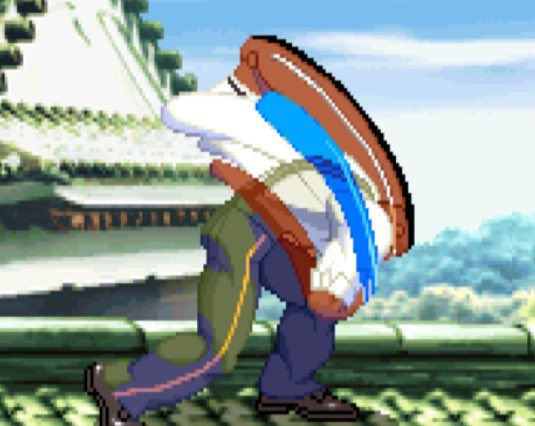
2Dアニメーションでよくあるこういう引き延ばしたような残像を3Dでもやりたいです。
一般的に3Dにおける残像といったら、ポストエフェクトのモーションブラーですが・・・
これは結構現実世界の残像に近い印象で、ちょっとイメージしてるのと違うのです。
もっとこう・・・ビヨーンとしたほうがアニメ的というか、面白みがあるというか・・・
やってみた
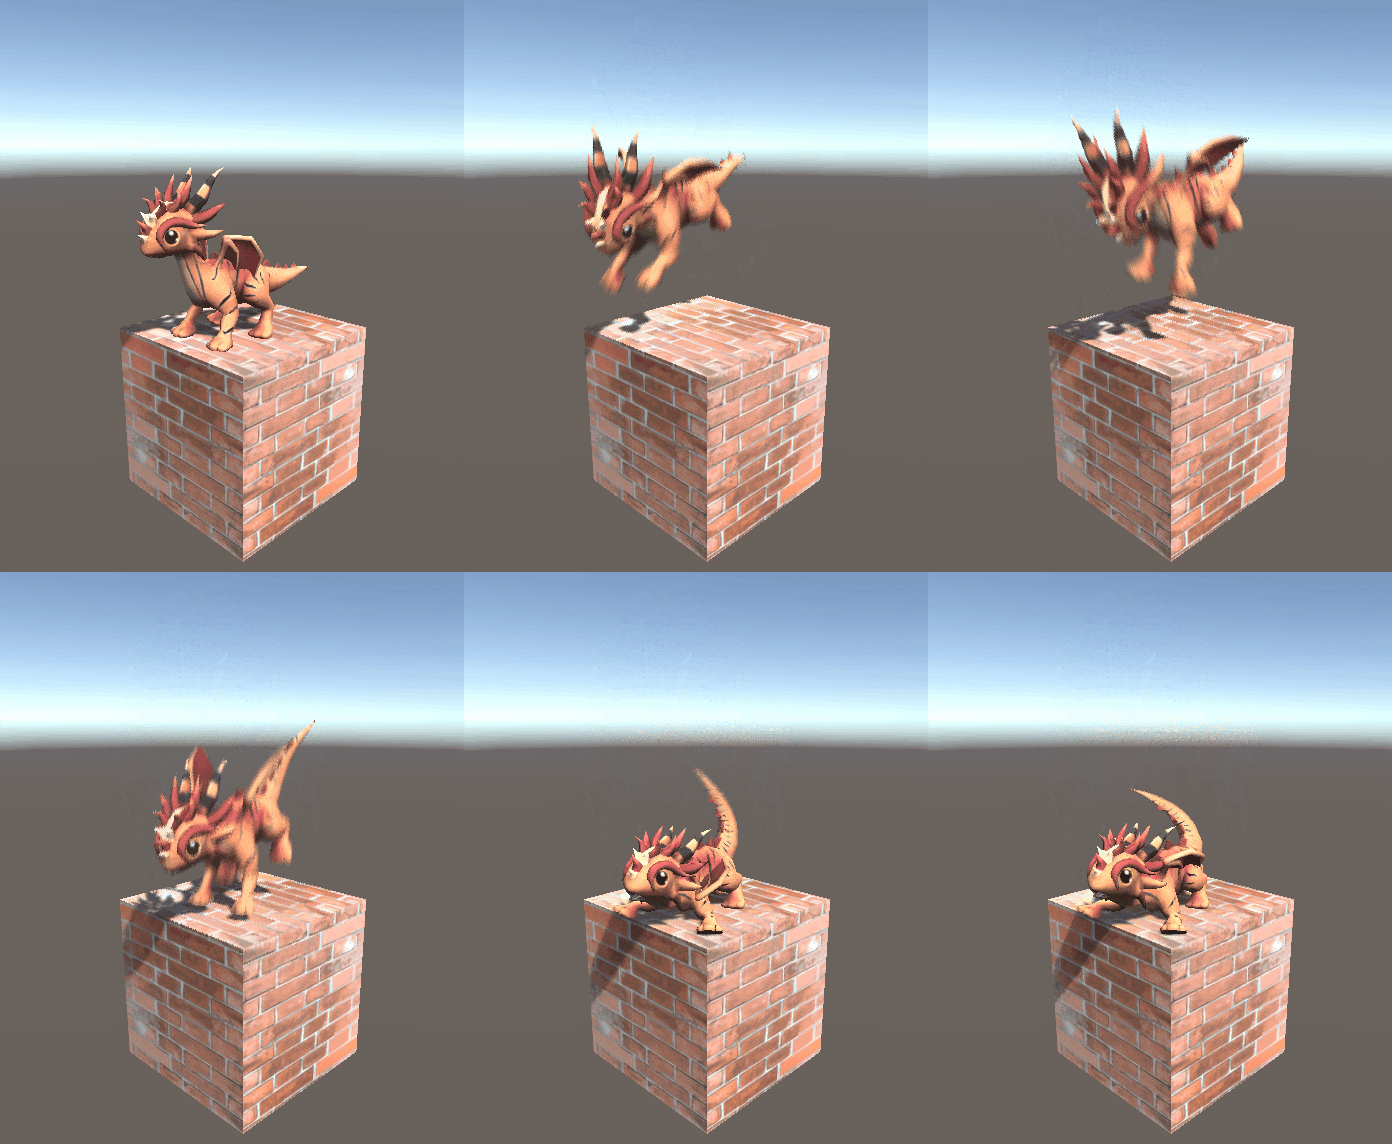
これがやりたかった。
GitHubにプロジェクト公開しました。Sphereがクリックした位置に残像を残しながら移動します。
【GitHub】VertexBlur
https://github.com/fluncle/VertexBlur
なにこれ?
モデルの頂点を移動方向の後ろに伸ばして、少し遅れてついてくるような動きを作りました。
Shader
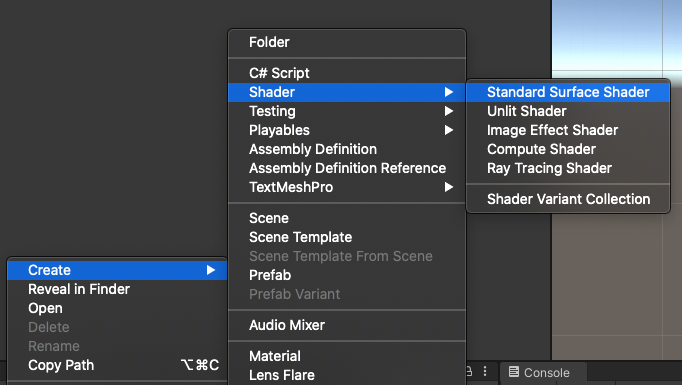
新規にStandard Surface Shaderを作成し、これをイジります。
※本記事の最後にシェーダー全文を記載します
CGPROGRAM
// Physically based Standard lighting model, and enable shadows on all light types
# pragma surface surf Standard fullforwardshadows vertex:vert // 「vertex:vert」を追加

// Use shader model 3.0 target, to get nicer looking lighting
# pragma target 3.0
#pragma~~~~~の行にvertex:vertの記述を追加。
頂点に手を入れられるようにします。
half _Glossiness;
half _Metallic;
fixed4 _Color;
fixed4 _TrailDir; // 追加
頂点を伸ばすベクトルとして、変数_TrailDirを追加。
void vert(inout appdata_full v, out Input o)
{
    UNITY_INITIALIZE_OUTPUT(Input, o);

    float weight = clamp(dot(v.normal, _TrailDir), 0, 1);
    fixed4 trail = _TrailDir * weight;
    v.vertex.xyz = float3(v.vertex.x + trail.x, v.vertex.y + trail.y, v.vertex.z + trail.z);
}
頂点を動かす処理を記述。
頂点を伸ばすベクトル(_TrailDir)に対して、角度差が90度未満の法線(normal)を持つ頂点を伸ばすようにしています。
また、頂点を伸ばすベクトルとの角度差が少ないほど大きく伸びます。
スクリプト
using UnityEngine;

public class BlurObject : MonoBehaviour
{
    /// <summary> BlurシェーダーのプロパティID </summary>
    private static readonly int PROPERTY_TRAIL_DIR = Shader.PropertyToID("_TrailDir");

    [SerializeField]
    private Renderer _renderer;

    private Material _material;

    private Vector3 _trailPos;

    /// <summary> 残像の尻尾の追従スピード </summary>
    [SerializeField]
    private float _trailRate = 10f;

    private void Awake()
    {
        // materialにアクセスして、複製されたマテリアルを変数に入れる
        _material = _renderer.material;
        _trailPos = transform.position;
    }

    private void Update()
    {
        _trailPos = Vector3.Lerp(_trailPos, transform.position, Mathf.Clamp01(Time.deltaTime * _trailRate));
        // オブジェクトの回転を考慮してローカル方向に変換する
        Vector3 dir = transform.InverseTransformDirection(_trailPos - transform.position);
        _material.SetVector(PROPERTY_TRAIL_DIR, dir);
    }
}
オブジェクトの座標に対して遅れてついてくる座標情報として_trailPosを扱う。
現在座標と、_trailPosを使って頂点を伸ばすベクトルを計算し、シェーダーに与えています。
これらのシェーダーとコンポーネントを使ってSphereオブジェクトを動かすとこんな感じになります。
ノイズを加える
それなりにそれっぽくなりましたが、ムラなく伸びていて、ちょっと粘土細工っぽいです。
ノイズテクスチャを使って荒さをつくり、残像っぽさを増やしてみます。
_Color ("Color", Color) = (1,1,1,1)
_MainTex ("Albedo (RGB)", 2D) = "white" {}
_NoiseTex ("Noise", 2D) = "white" {} // 追加
_Glossiness ("Smoothness", Range(0,1)) = 0.5
_Metallic ("Metallic", Range(0,1)) = 0.0

~~中略~~

sampler2D _MainTex;
sampler2D _NoiseTex; // 追加
ノイズテクスチャのメンバとして_NoiseTexを定義します。
void vert(inout appdata_full v, out Input o)
{
    UNITY_INITIALIZE_OUTPUT(Input, o);

    float weight = clamp(dot(v.normal, _TrailDir), 0, 1);
    float noise = tex2Dlod(_NoiseTex, v.texcoord).r; // 追加
    fixed4 trail = _TrailDir * weight * noise; // 「 * noise」を追加
    v.vertex.xyz = float3(v.vertex.x + trail.x, v.vertex.y + trail.y, v.vertex.z + trail.z);
}
頂点の伸ばし量にノイズテクスチャの情報を与え、伸び具合にムラを作ります。
ほどよくギザギザになって、残像っぽさが増した気がします。
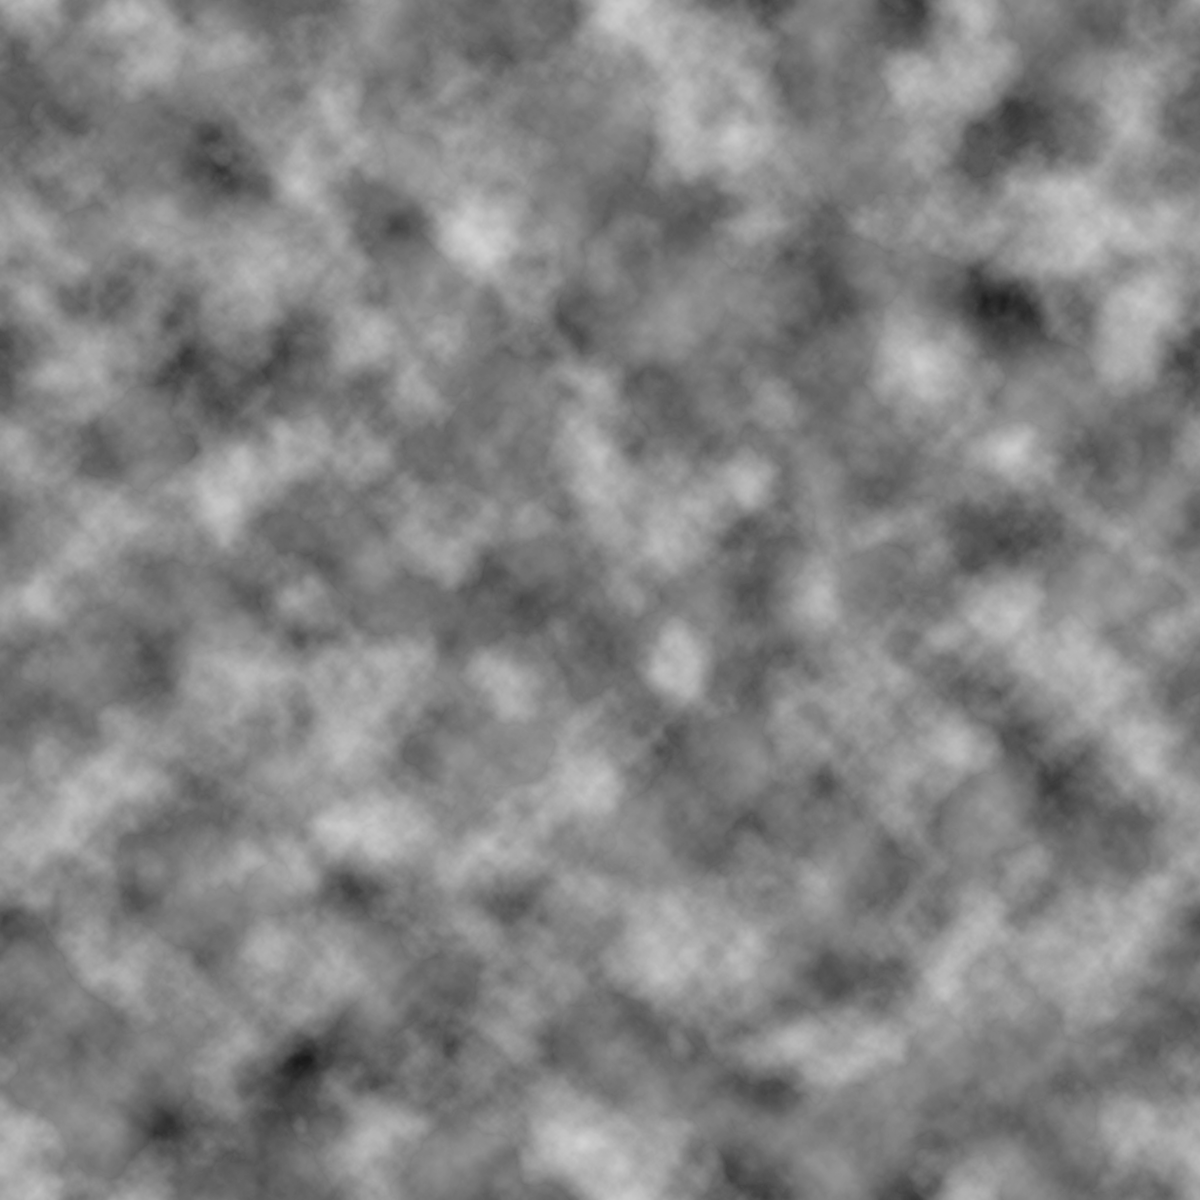
 ノイズテクスチャはこういうものを使いました。
ひとまずこれで完成とさせてください!
課題
①直線的な動き以外が対応できない
頂点を引き伸ばすだけの単純な仕組みなので、曲がるような軌跡が作れないです。
残像としては致命的なのでこれは解決したい・・・
Geometry Shaderを使えばいい感じにできるかもという話があったりなかったりするんですが、よくわからんので誰か教えてほしいです!
②残像を作る部分のマテリアルを分割しないといけない
ゲームで残像をつけるとしたら手や足が動くときなんですが、本記事の仕組みだとその部分だけマテリアルを分割しないといけないので、モデルに手を入れないといけないし、ドローコール増加するしで製品に組み込むにはこのままではちょっと厳しいです。(モーションブラーはその点モデルをイジる必要がないのが強みですよね)
この辺り妙案を持っている方がいたらぜひ教えてください!
今回はここまで!
余談
『スパイダーバース』ではモーションブラーを一切使っていないんですよ。その代わりにアニメーターが全部自分でモーションブラーの表現を作っているんです
それを作るためのツールが何種類かあったのですが、簡単にペンでドローイングするだけでラインに変わったりするんですよ。
ライン自体はMayaのオブジェクトなので、1フレームずつ「ほぼモデル」なんです(笑)。
つまり、簡易的にドローイングしてアタリのモデルとして作って、最終的な調整では1フレームずつモデリングする、という。
それを助けるツールが社内でいくつか開発されていました。
全部手付けでモデルの残像を作ってるという凄い話。
ツールとしてどういうものがあったのかめっちゃ知りたい・・・
Blur.shader全文
Shader "Custom/Blur"
{
    Properties
    {
        _Color ("Color", Color) = (1,1,1,1)
        _MainTex ("Albedo (RGB)", 2D) = "white" {}
        _NoiseTex ("Noise", 2D) = "white" {}
        _Glossiness ("Smoothness", Range(0,1)) = 0.5
        _Metallic ("Metallic", Range(0,1)) = 0.0
    }
    SubShader
    {
        Tags { "RenderType"="Opaque" }
        LOD 200

        CGPROGRAM
        // Physically based Standard lighting model, and enable shadows on all light types
        #pragma surface surf Standard fullforwardshadows vertex:vert

        // Use shader model 3.0 target, to get nicer looking lighting
        #pragma target 3.0

        sampler2D _MainTex;
        sampler2D _NoiseTex;

        struct Input
        {
            float2 uv_MainTex;
        };

        half _Glossiness;
        half _Metallic;
        fixed4 _Color;
        fixed4 _TrailDir;

        // Add instancing support for this shader. You need to check 'Enable Instancing' on materials that use the shader.
        // See https://docs.unity3d.com/Manual/GPUInstancing.html for more information about instancing.
        // #pragma instancing_options assumeuniformscaling
        UNITY_INSTANCING_BUFFER_START(Props)
            // put more per-instance properties here
        UNITY_INSTANCING_BUFFER_END(Props)

        void surf (Input IN, inout SurfaceOutputStandard o)
        {
            // Albedo comes from a texture tinted by color
            fixed4 c = tex2D (_MainTex, IN.uv_MainTex) * _Color;
            o.Albedo = c.rgb;
            // Metallic and smoothness come from slider variables
            o.Metallic = _Metallic;
            o.Smoothness = _Glossiness;
            o.Alpha = c.a;
        }

        void vert(inout appdata_full v, out Input o)
        {
            UNITY_INITIALIZE_OUTPUT(Input, o);

            float weight = clamp(dot(v.normal, _TrailDir), 0, 1);
            float noise = tex2Dlod(_NoiseTex, v.texcoord).r;
            fixed4 trail = _TrailDir * weight * noise;
            v.vertex.xyz = float3(v.vertex.x + trail.x, v.vertex.y + trail.y, v.vertex.z + trail.z);
        }
        ENDCG
    }
    FallBack "Diffuse"
}


