Docker で Rails プロジェクトを動かす際の手順をまとめておきます。
前提
- Docker がインストールされていること
- docker-compose がインストールされていること
Docker を動かす
以下のファイルを用意します。
$ tree -L 1
├── Dockerfile
├── Gemfile
└── docker-compose.yml
$ touch {Dockerfile,Gemfile,docker-compose.yml}
ファイルの内容は以下をコピペします。
FROM ruby:3.0.1

ENV LANG C.UTF-8
ENV TZ Asia/Tokyo
ENV ENTRYKIT_VERSION 0.4.0

RUN apt-get update -qq && \
    apt-get install -y --no-install-recommends sudo curl apt-transport-https wget build-essential libpq-dev nodejs default-mysql-client && \
    curl -sS https://dl.yarnpkg.com/debian/pubkey.gpg | apt-key add - && \
    echo "deb https://dl.yarnpkg.com/debian/ stable main" | tee /etc/apt/sources.list.d/yarn.list && \
    apt-get update && \
    apt-get install --no-install-recommends -y yarn && \
    apt-get clean && \
    rm -rf /var/lib/apt/lists/*

RUN wget https://github.com/progrium/entrykit/releases/download/v${ENTRYKIT_VERSION}/entrykit_${ENTRYKIT_VERSION}_Linux_x86_64.tgz \
    && tar -xvzf entrykit_${ENTRYKIT_VERSION}_Linux_x86_64.tgz \
    && rm entrykit_${ENTRYKIT_VERSION}_Linux_x86_64.tgz \
    && mv entrykit /bin/entrykit \
    && chmod +x /bin/entrykit \
    && entrykit --symlink

RUN mkdir -p /usr/src/app
WORKDIR /usr/src/app

EXPOSE 3000

ENV CFLAGS "-Wno-cast-function-type"
ENV BUNDLE_FORCE_RUBY_PLATFORM 1

ENTRYPOINT [ "prehook", "bundle install", "rm -f tmp/pids/server.pid", "--" ]
version: '3'
services:
  mysql:
    image: mysql:5.7
    command: --max_allowed_packet=16777216
    volumes:
      - mysql-data:/var/lib/mysql
    environment:
      MYSQL_ROOT_PASSWORD: hogehoge
      TZ: Asia/Tokyo
  web:
    tty: true
    stdin_open: true
    build:
      context: .
    environment:
      - TZ=Asia/Tokyo
      - MYSQL_HOST=mysql
      - MYSQL_USER=root
      - MYSQL_PASSWORD=hogehoge
    ports:
      - "3000:3000"
    depends_on:
      - mysql
    volumes:
      - ./:/usr/src/app
      - bundle-data-2.7:/usr/local/bundle
    command: bundle exec rails s -p 3000 -b 0.0.0.0

volumes:
  mysql-data:
    driver: local
  bundle-data-2.7:
    driver: local
source 'https://rubygems.org'
git_source(:github) { |repo| "https://github.com/#{repo}.git" }

ruby '3.0.1'

# Bundle edge Rails instead: gem 'rails', github: 'rails/rails', branch: 'main'
gem 'rails', '~> 6.1.3', '>= 6.1.3.2'
# Use mysql as the database for Active Record
gem 'mysql2', '~> 0.5'
# Use Puma as the app server
gem 'puma', '~> 5.0'
# Build JSON APIs with ease. Read more: https://github.com/rails/jbuilder
gem 'jbuilder', '~> 2.7'
# Use Redis adapter to run Action Cable in production
gem 'redis', '~> 4.0'
# Use Active Model has_secure_password
gem 'bcrypt', '~> 3.1.7'

# Use Active Storage variant
# gem 'image_processing', '~> 1.2'

# Reduces boot times through caching; required in config/boot.rb
gem 'bootsnap', '>= 1.4.4', require: false

# Use Rack CORS for handling Cross-Origin Resource Sharing (CORS), making cross-origin AJAX possible
# gem 'rack-cors'

# Rails API のレスポンスを Pretty にする
gem 'rails_pretty_json'

group :development, :test do
  # Call 'byebug' anywhere in the code to stop execution and get a debugger console
  gem 'byebug', platforms: [:mri, :mingw, :x64_mingw]
  gem 'pry-rails'
end

group :development do
  gem 'listen', '~> 3.3'
  # Spring speeds up development by keeping your application running in the background. Read more: https://github.com/rails/spring
  gem 'spring'

  gem 'rubocop'
  gem 'rubocop-performance'
  gem 'rubocop-rails'
  gem 'rubocop-rspec'
  gem 'annotate', git: 'https://github.com/ctran/annotate_models.git'

  gem 'better_errors'
  gem 'binding_of_caller'
end

group :test do
  gem 'committee'
  gem 'committee-rails'
  gem 'factory_bot_rails'
  gem 'faker'
  gem 'rspec_junit_formatter'
  gem 'rspec-rails'
end

# Windows does not include zoneinfo files, so bundle the tzinfo-data gem
gem 'tzinfo-data', platforms: [:mingw, :mswin, :x64_mingw, :jruby]
上記のファイルを用意したら、以下のコマンドを実行します。
$ docker-compose build --no-cache
$ docker-compose -f docker-compose.yml run --rm web bash

Bundle complete! 1 Gemfile dependency, 42 gems now installed.
Use `bundle info [gemname]` to see where a bundled gem is installed.
root@168d982435b4:/usr/src/app#
Rails を API モードでインストールする
コンテナに入った状態で、以下のコマンドを実行します。
-T はミニテストを作成しないためのオプションです。
# rails new . -d mysql --api -T
"Overwrite /usr/src/app/Gemfile? (enter "h" for help) [Ynaqdhm]" と聞かれたら、 n で「上書きしない」ようにします。
上のコマンドで Rails が API モードでインストールされます。
次に MySQL に接続する設定を入れましょう。
config/database.ymlを以下のように編集します。
default: &default
  adapter: mysql2
  encoding: utf8mb4
  pool: <%= ENV.fetch("RAILS_MAX_THREADS") { 5 } %>
  username: <%= ENV.fetch('MYSQL_USER')       { "mysqluser" } %>
  password: <%= ENV.fetch('MYSQL_PASSWORD')   { "password" } %>
  host: <%= ENV.fetch('MYSQL_HOST')           { "127.0.0.1" } %>
  strict: true

development:
  <<: *default
  database: <%= ENV.fetch('MYSQL_MYAPP_DB')    { "MYAPPdb" } %>_development

test:
  <<: *default
  database: <%= ENV.fetch('MYSQL_MYAPP_DB')    { "MYAPPdb" } %>_test

production:
  <<: *default
  database: <%= ENV.fetch('MYSQL_MYAPP_DB')    { "MYAPPdb" } %>
次にデータベースを作成するコマンドを実行します(実行場所はプロジェクトのルートディレクトリです)
# bin/rails db:create
RSpec をインストール
# bin/rails g rspec:install
factory bot を使うために factories ディレクトリを作成します。
# mkdir spec/factories
Mutagen をインストール
Homebrew で mutagen をインストールします。
$ brew install mutagen-io/mutagen/mutagen-beta
コンテナを立ち上げると Rails サーバーが起動します。
$ mutagen compose up
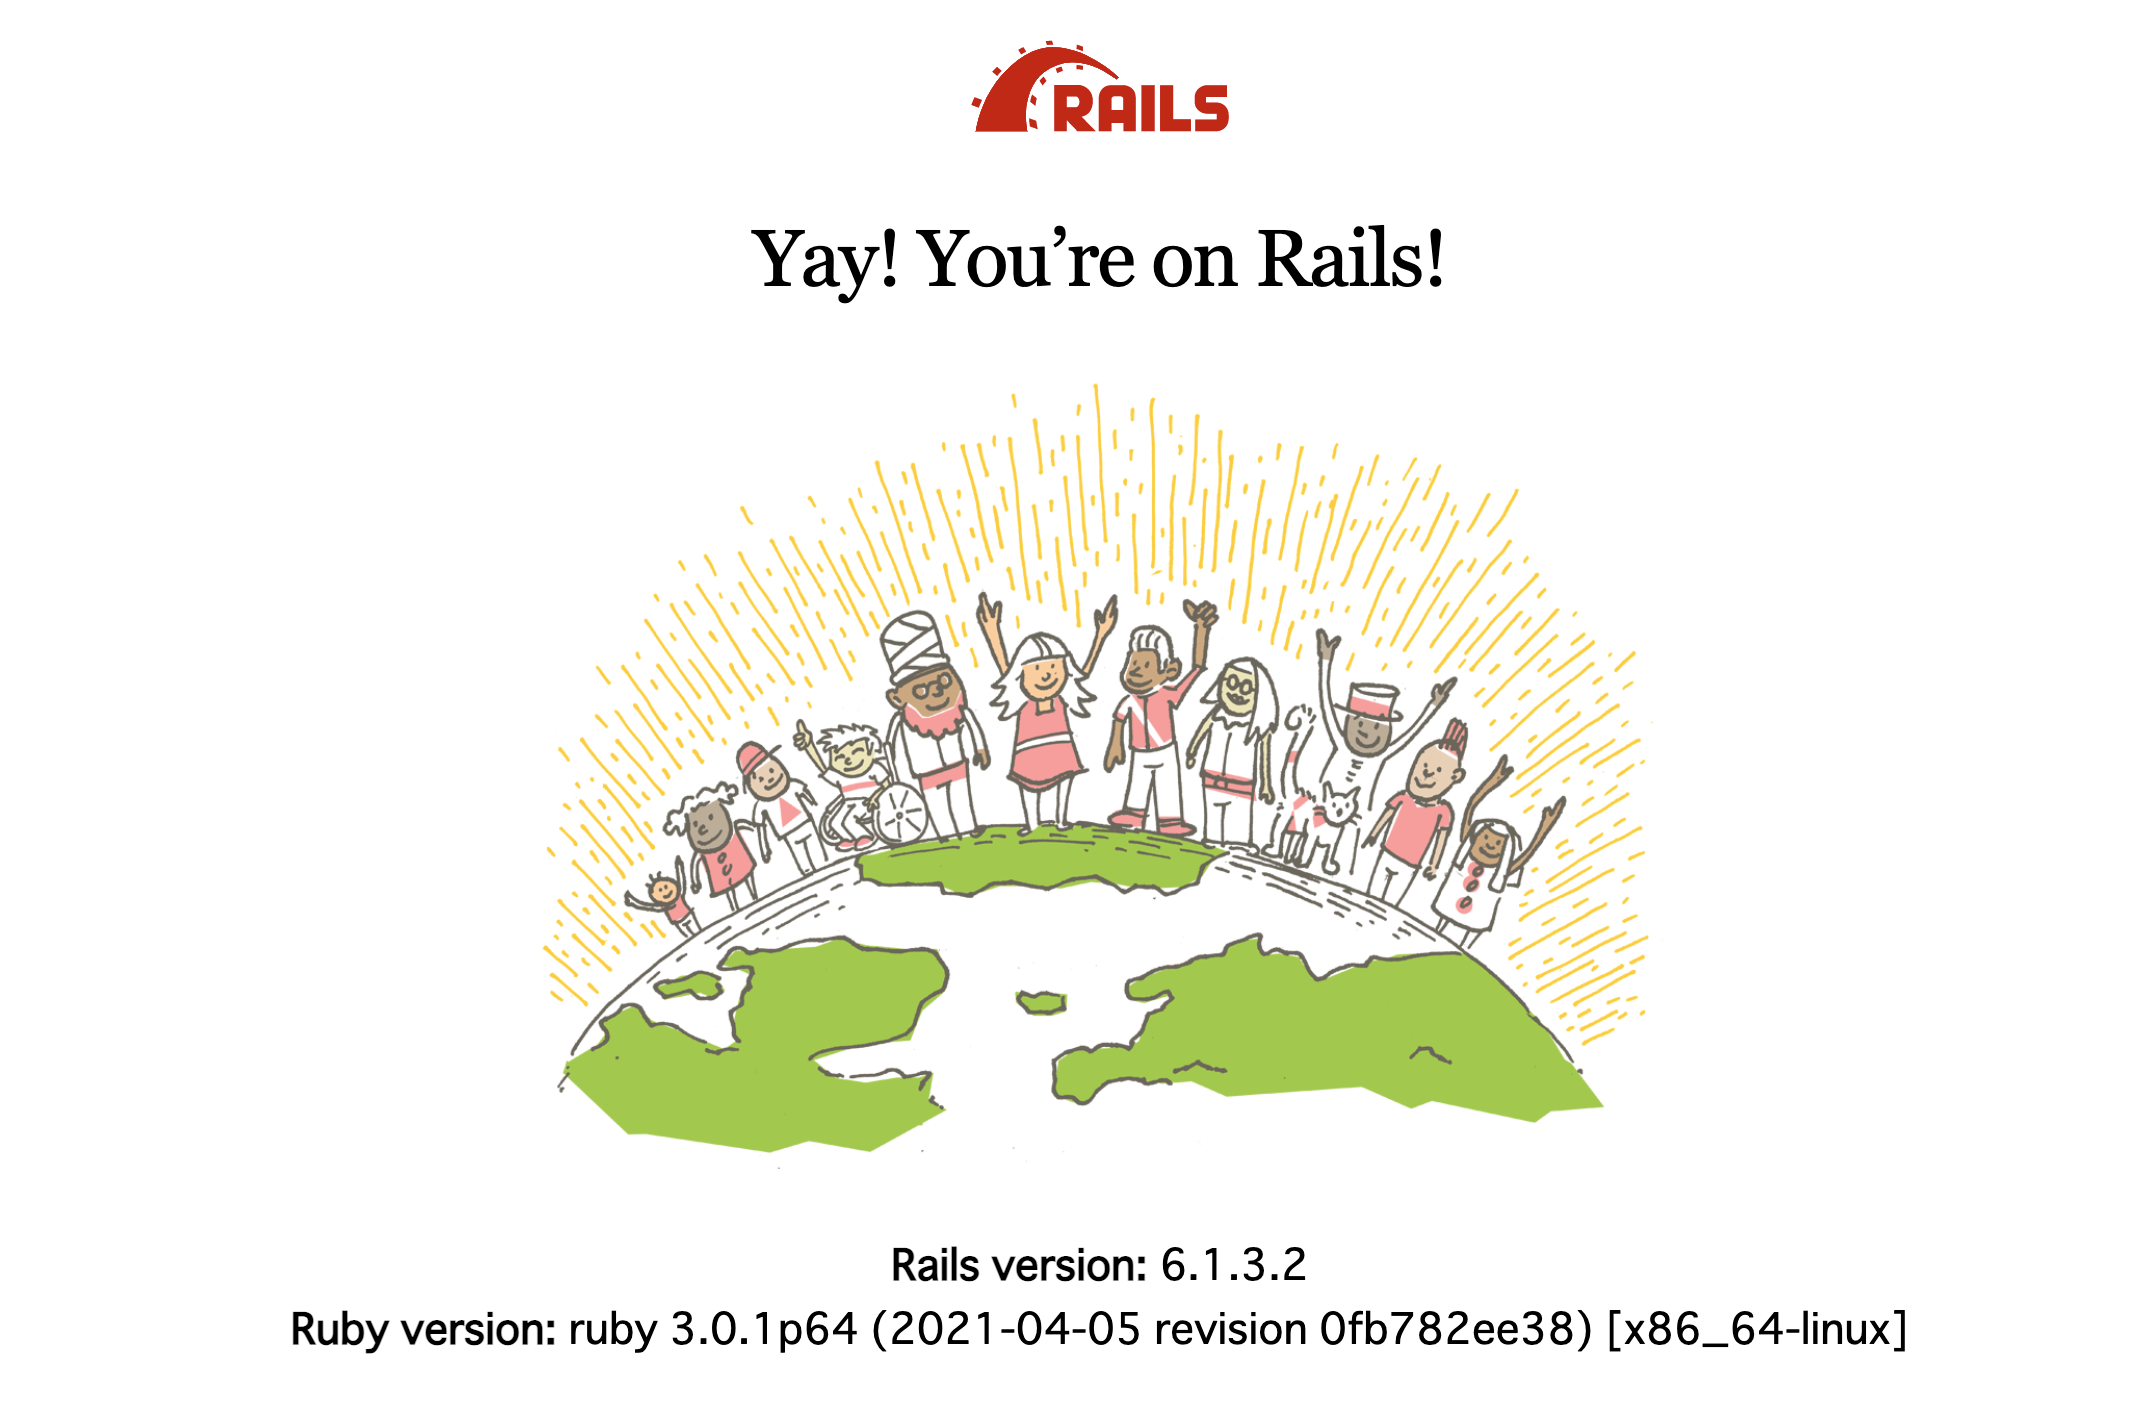
http://localhost:3000/ をブラウザから叩けば、おなじみのウェルカム画面が表示されます。
コンテナをバックグラウンドで動かすなら...
$ mutagen compose up -d web
コンテナの shell を起動するなら
$ mutagen compose exec web bash
