仮想ネットワーク内のみで利用するCentOSを立ち上げた際のメモです。
基本的に参考にしたサイトの通りに作業しただけです。(最後のネットワークが自動接続になっていなかった問題の対処のみ)
環境
- ホストOS:Windows7 Enterprise SP1
- VM:VMWare Workstation 14 Player(14.1.6 build-12368378)
- ゲストOS:CentOS 7.7(1908)
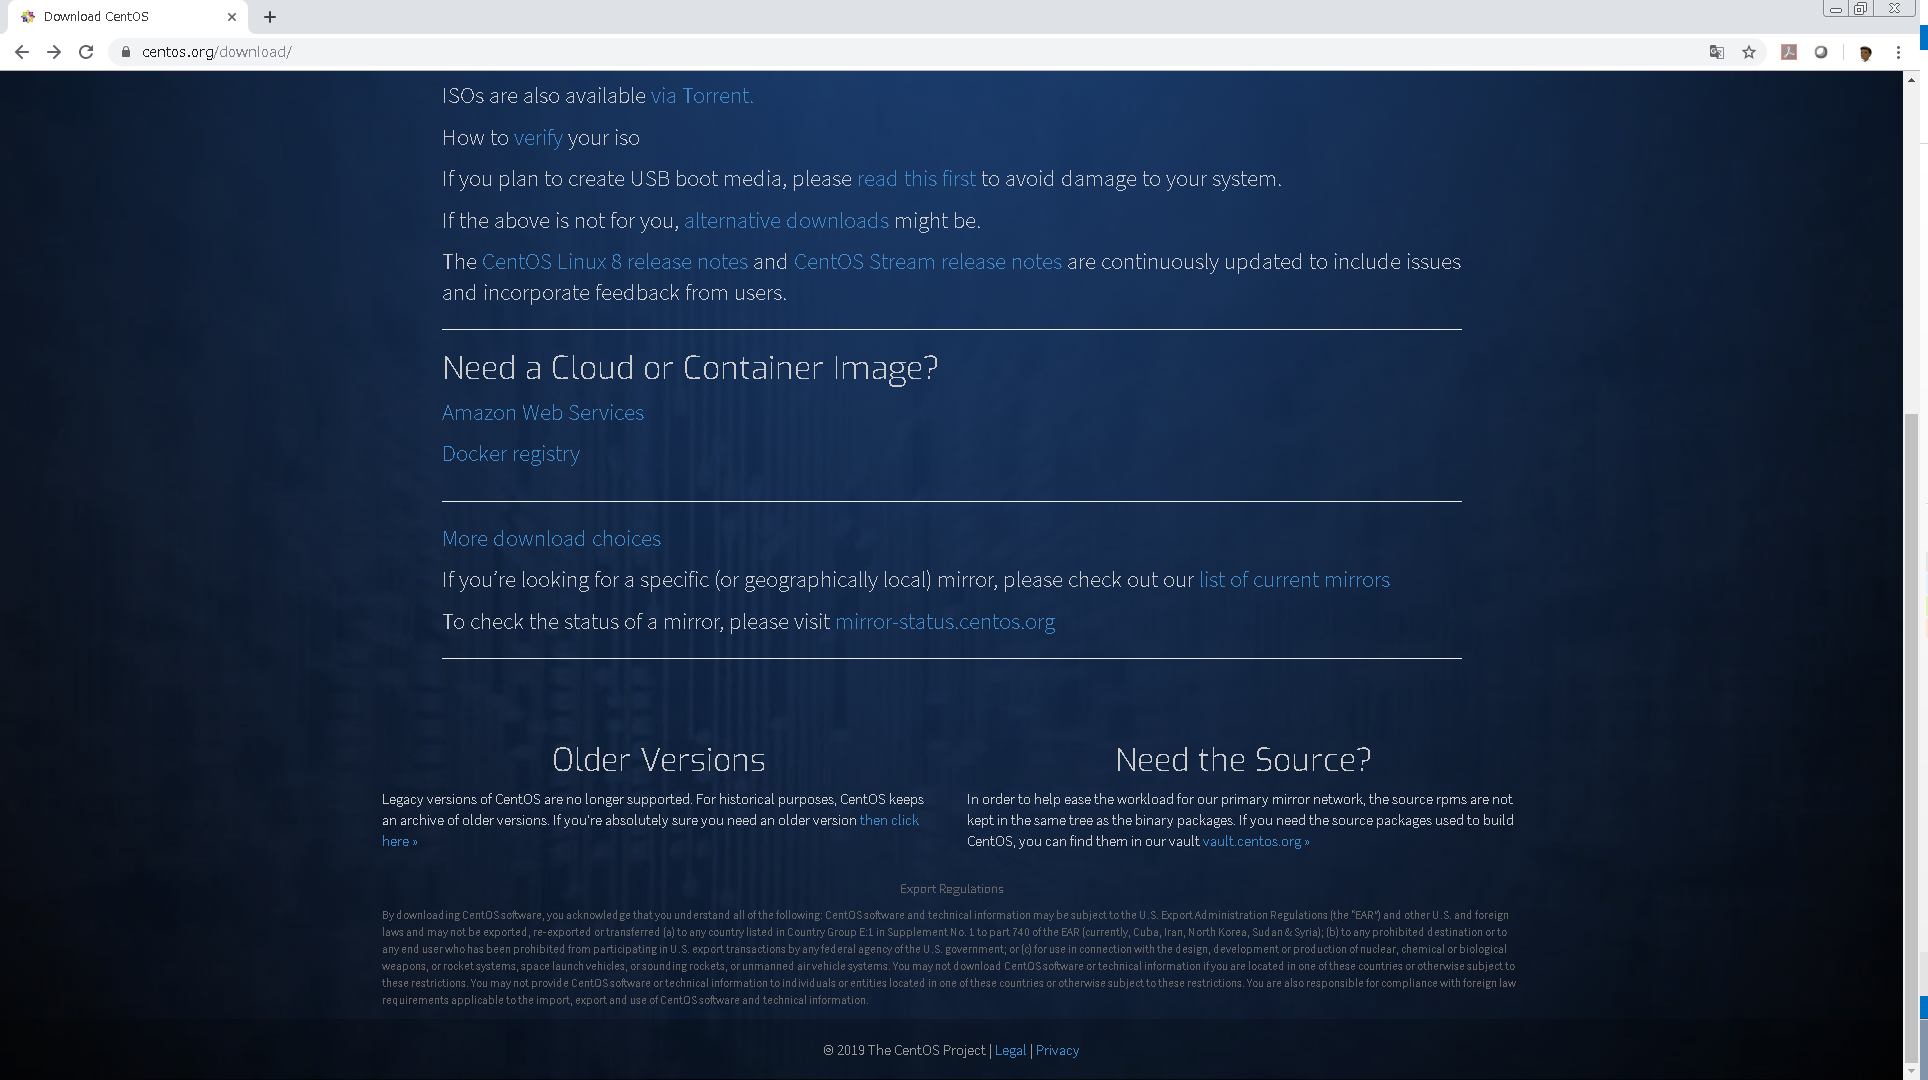
CentOS取得
-
Older Versions の then click here

-
7 の Packages の RPMs

-
isos/

-
x86_64/

-
適当なところをクリック
(執筆時は http://ftp.tsukuba.wide.ad.jp/Linux/centos/7.7.1908/isos/x86_64/)

-
CentOS-7-x86_64-DVD-1908.iso

VMWare Workstation Player
1.VMWareを起動

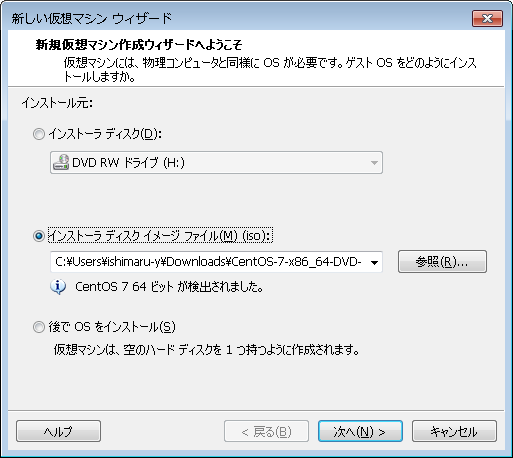
2.新規仮想マシンの作成
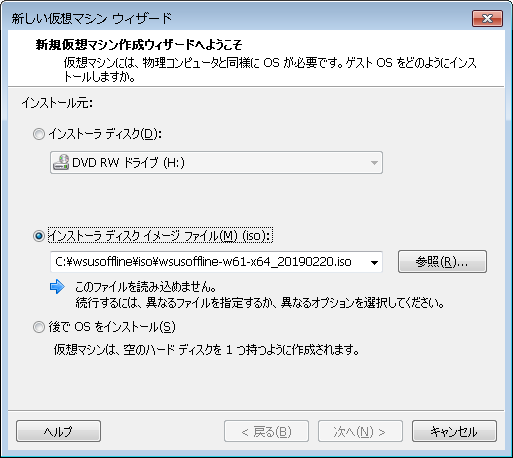
3.インストーラ ディスク イメージ ファイルに、取得した「CentOS-7-x86_64-DVD-1908.iso」を設定

4.次へ
5.仮想マシン名、場所を適当に入力し、次へ

6.デフォルトのままで 次へ

7.ハードウェアをカスタマイズ

8.追加...
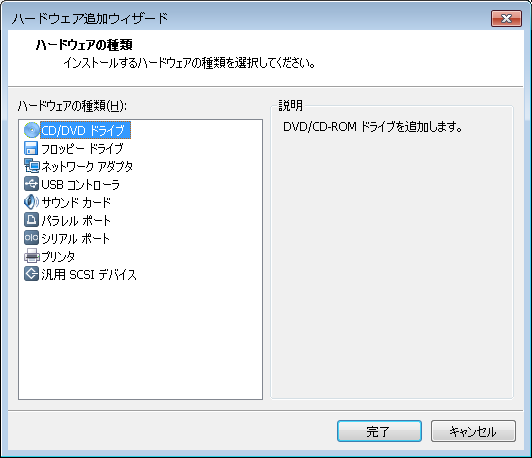
9.ネットワーク アダプタ を選択し、完了

10.ネットワーク アダプタ の 起動時に接続 のチェックを外し、ネットワーク アダプタ2 をホストオンリー に変更

11.閉じる
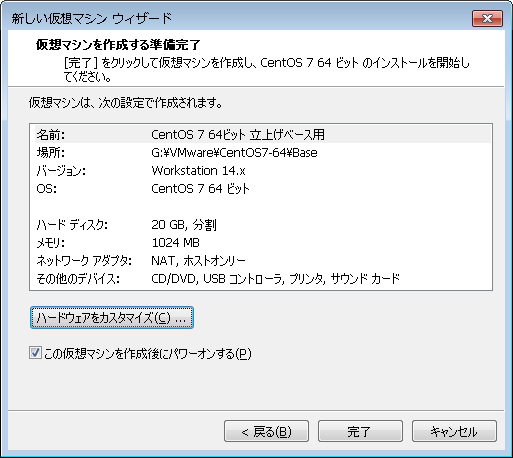
12.完了

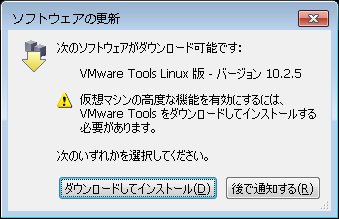
※VMWareに初めてインストールする場合、VMWare Tools Linux版のインストールが促されます。

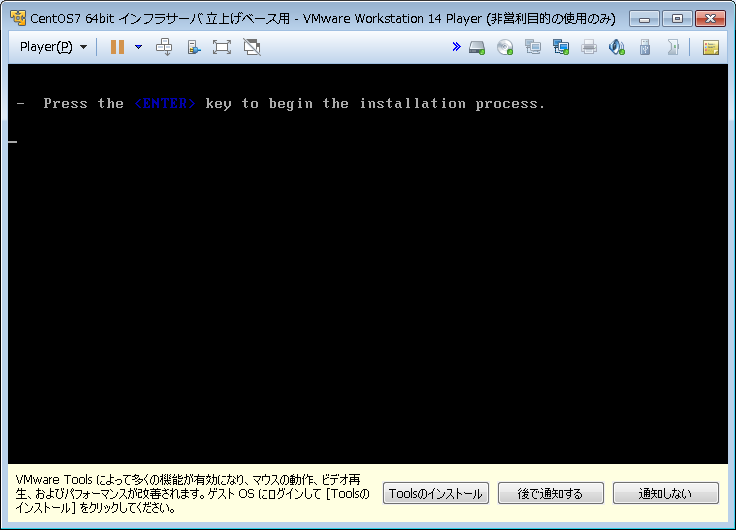
13.インストールを完了しました
CentOSインストール

-
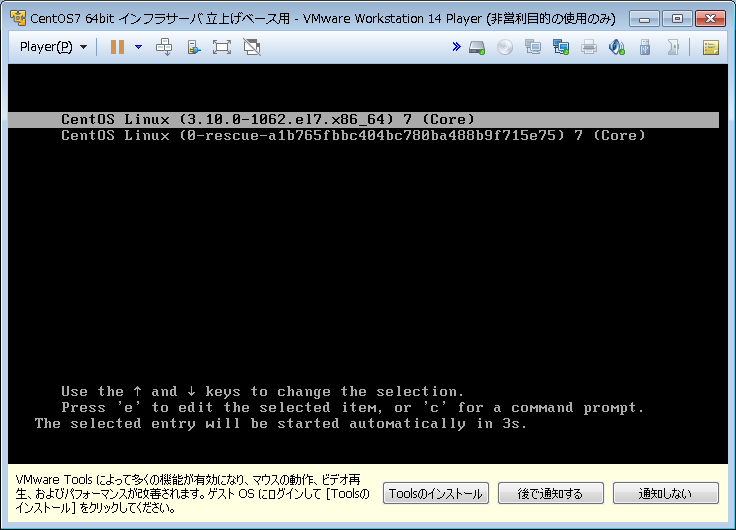
Tabキー押下

-
末尾に「resolution=1024x768」を入力する(=キーではなく、^キーで入力)

-
Enter


-
「j」を入力し、日本語を選択

-
続行

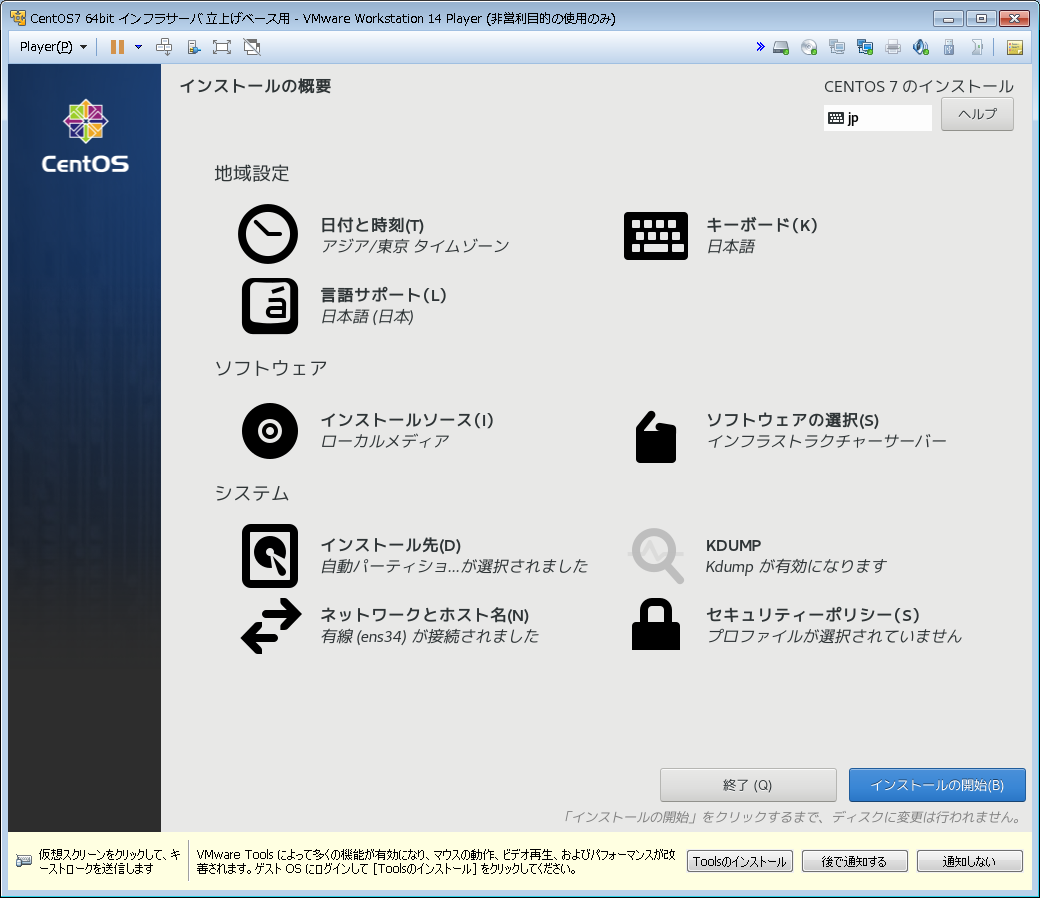
※キーボード、言語サポート、インストールソース、インストール先、KDUMPは変更不要
-
ソフトウェアの選択

-
インフラストラクチャサーバー

-
開発ツールにチェック

-
完了


-
インストール先
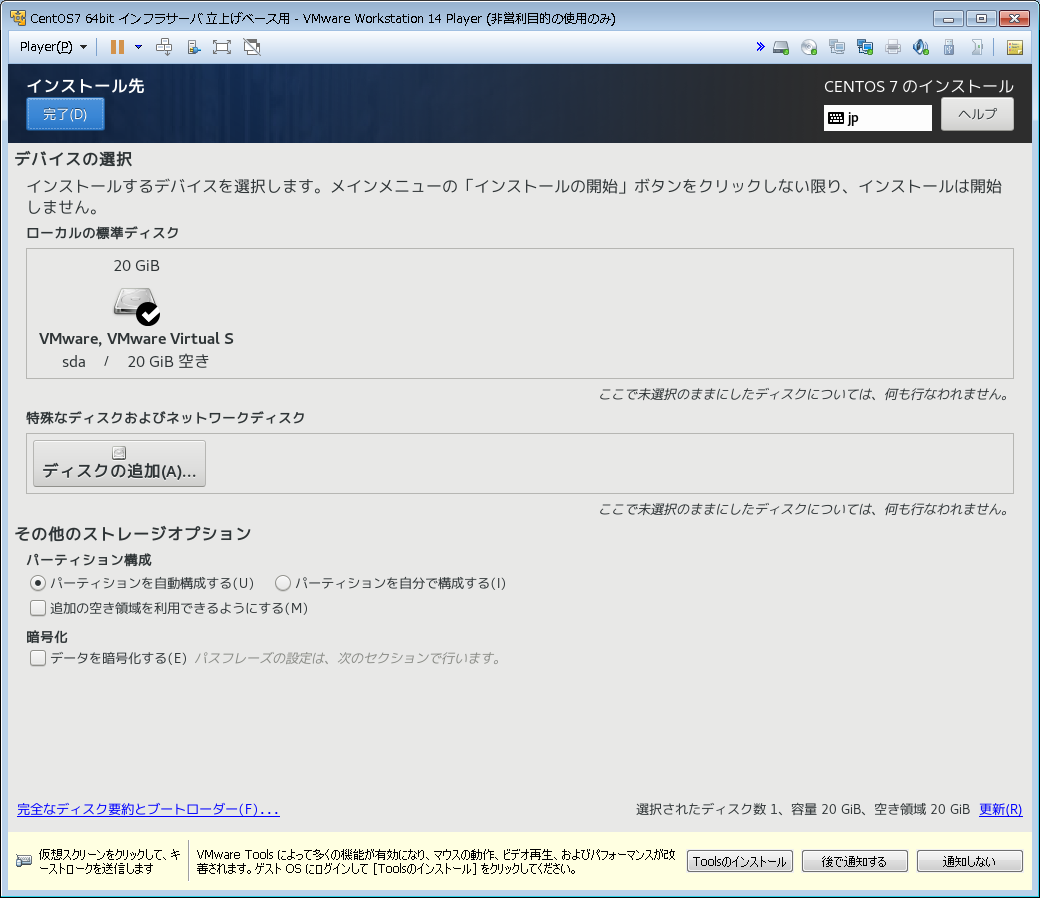
-
完了

-
ネットワークとホスト名

-
Ethernet (ens34)を選択し、ホスト名を適当な名前に変更し、Ethernet を オンに変更

-
完了

-
日付と時刻

「ネットワーク時刻」を「オン」になっていることを確認 -
完了
-
インストールの開始

-
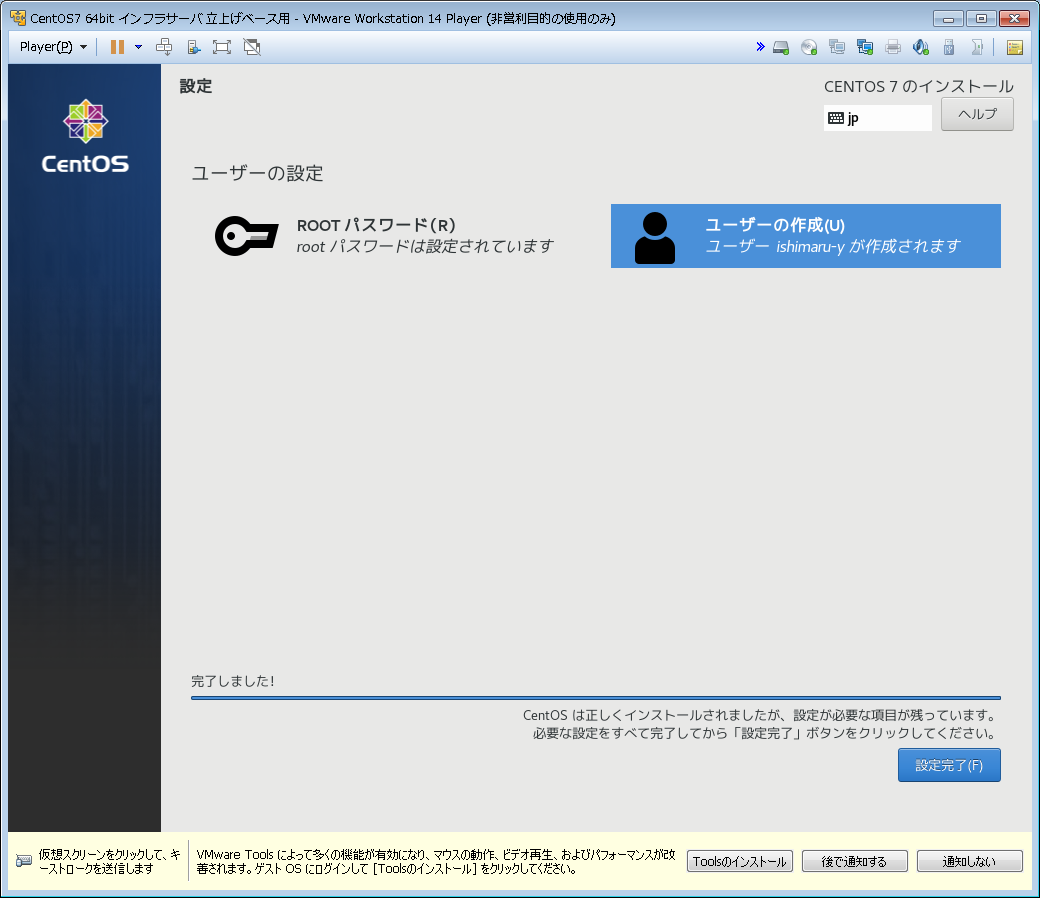
ROOTパスワード

-
適当なパスワードを入力

-
完了

-
ユーザーの作成

-
フルネーム、ユーザー名、パスワードを入力する

-
完了
-
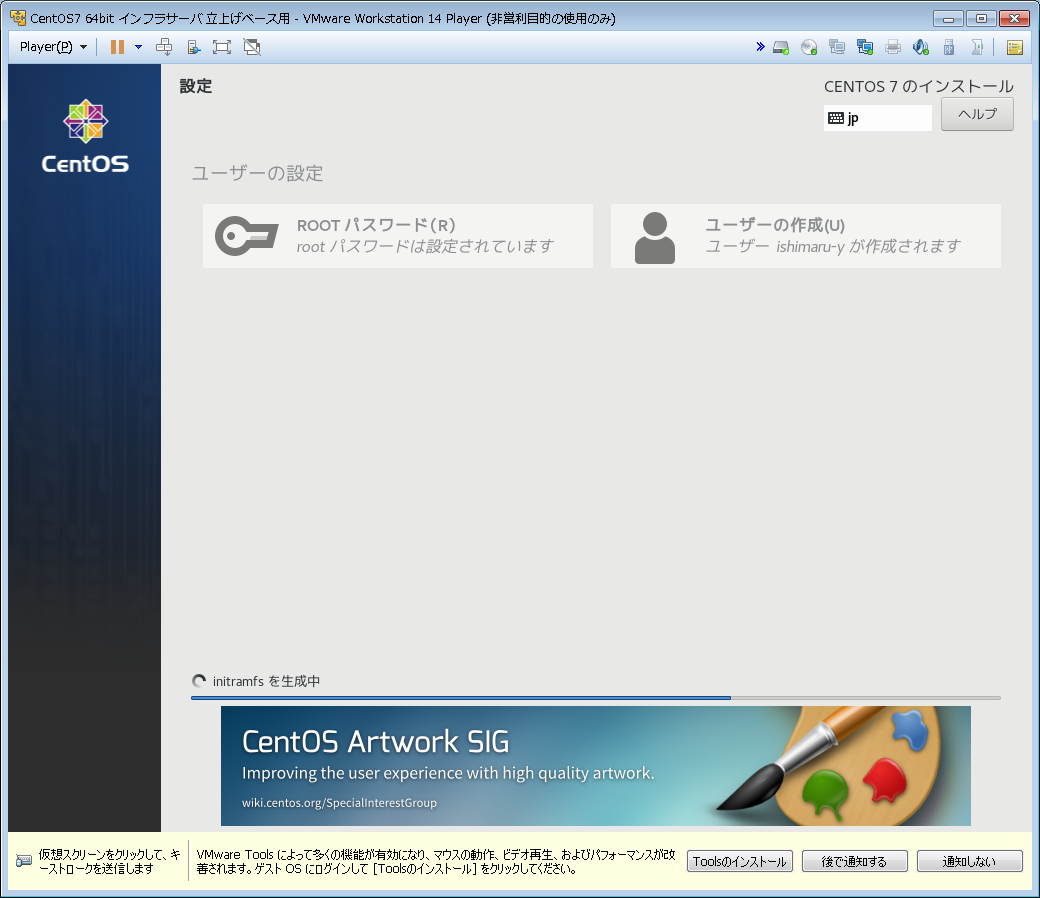
設定完了

-
再起動

-
作成したユーザーでログイン

CentOS設定
-
selinuxの無効化
-
selinuxの状態を確認、無効に設定
$ getenforce Enforcing $ su - # vi /etc/selinux/configSELINUX=enforcingをSELINUX=disabledに変更。 -
ゲストOSを再起動
# exit $ reboot -
selinuxの状態を確認
$ getenforce
Disabled
-
-
SSHサービスのセキュリティ設定
-
設定ファイル変更(rootユーザーのログインを拒否)
$ su -
# vi /etc/ssh/sshd_config
38行目の
#PermitRootLogin yesをPermitRootLogin noと変更 -
サービスの再起動
# systemctl restart sshd
-
-
SSH接続(teraterm)
-
IPアドレスの確認
# ifconfig
ens34にIPが振られていない!!
-
ネットワーク接続
# nmcli d s
# nmcli c s ens34connection.autoconnect noとなっている# nmcli c m ens34 connection.autoconnect yes # nmcli c down ens34 # nmcli c up ens34# nmcli d s
-
IPアドレスの確認
# ifconfig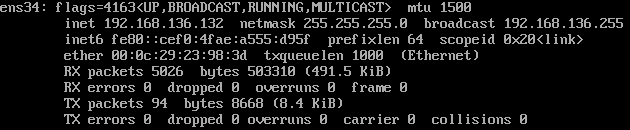
-
teraterm接続
無事に接続

-
ゲストOSログアウト
# exit
$ exit
-