はじめに
前回記事では、GitHubに公開されているサンプルアプリケーションを利用する際に、Pythonのコードを利用してTOTPを生成しました。
Android Studio と IBM Security Verify SDKをはじめて触ってみる②
今回は、IBM Security VerifyのSDKを使って、TOTPを生成してみたいと思います。
1.QR Code Scan Demoアプリをカスタマイズする
QR Code Scan DemoアプリのMainActivity.javaには、Android StudioのLogcatにHOTPのコードを生成するサンプルが記載されています。
このサンプルを活用して、Totpを生成していきます。
import com.ibm.security.verifysdk.HotpGeneratorContext;
~割愛~
protected void onCreate(Bundle savedInstanceState) {
        super.onCreate(savedInstanceState);
        setContentView(R.layout.activity_main);

        ContextHelper.sharedInstance().setContext(getApplicationContext());

        HotpGeneratorContext HotpGeneratorContext = new HotpGeneratorContext("secret", 6, HmacAlgorithm.SHA1, 0);
        Log.i("SDK Demo", "Hotp: " + HotpGeneratorContext.create());
1.1 MainActivity.java - Hotp→Totpの文字列置換
QR Code Scan DemoアプリのMainActivity.java内のHotpをTotpに一括置換します。
import com.ibm.security.verifysdk.TotpGeneratorContext;
~割愛~
protected void onCreate(Bundle savedInstanceState) {
        super.onCreate(savedInstanceState);
        setContentView(R.layout.activity_main);

        ContextHelper.sharedInstance().setContext(getApplicationContext());

        TotpGeneratorContext TotpGeneratorContext = new TotpGeneratorContext("secret", 6, HmacAlgorithm.SHA1, 30);
        Log.i("SDK Demo", "Totp: " + TotpGeneratorContext.create());
~割愛~
1.2 MainActivity.java - onCreateのコード修正
TotpGeneratorContextの第4引数であるPeriodを0→30に変更します。
protected void onCreate(Bundle savedInstanceState) {
        super.onCreate(savedInstanceState);
        setContentView(R.layout.activity_main);

        ContextHelper.sharedInstance().setContext(getApplicationContext());

        TotpGeneratorContext TotpGeneratorContext = new TotpGeneratorContext("secret", 6, HmacAlgorithm.SHA1, 30);
        Log.i("SDK Demo", "Totp: " + TotpGeneratorContext.create());
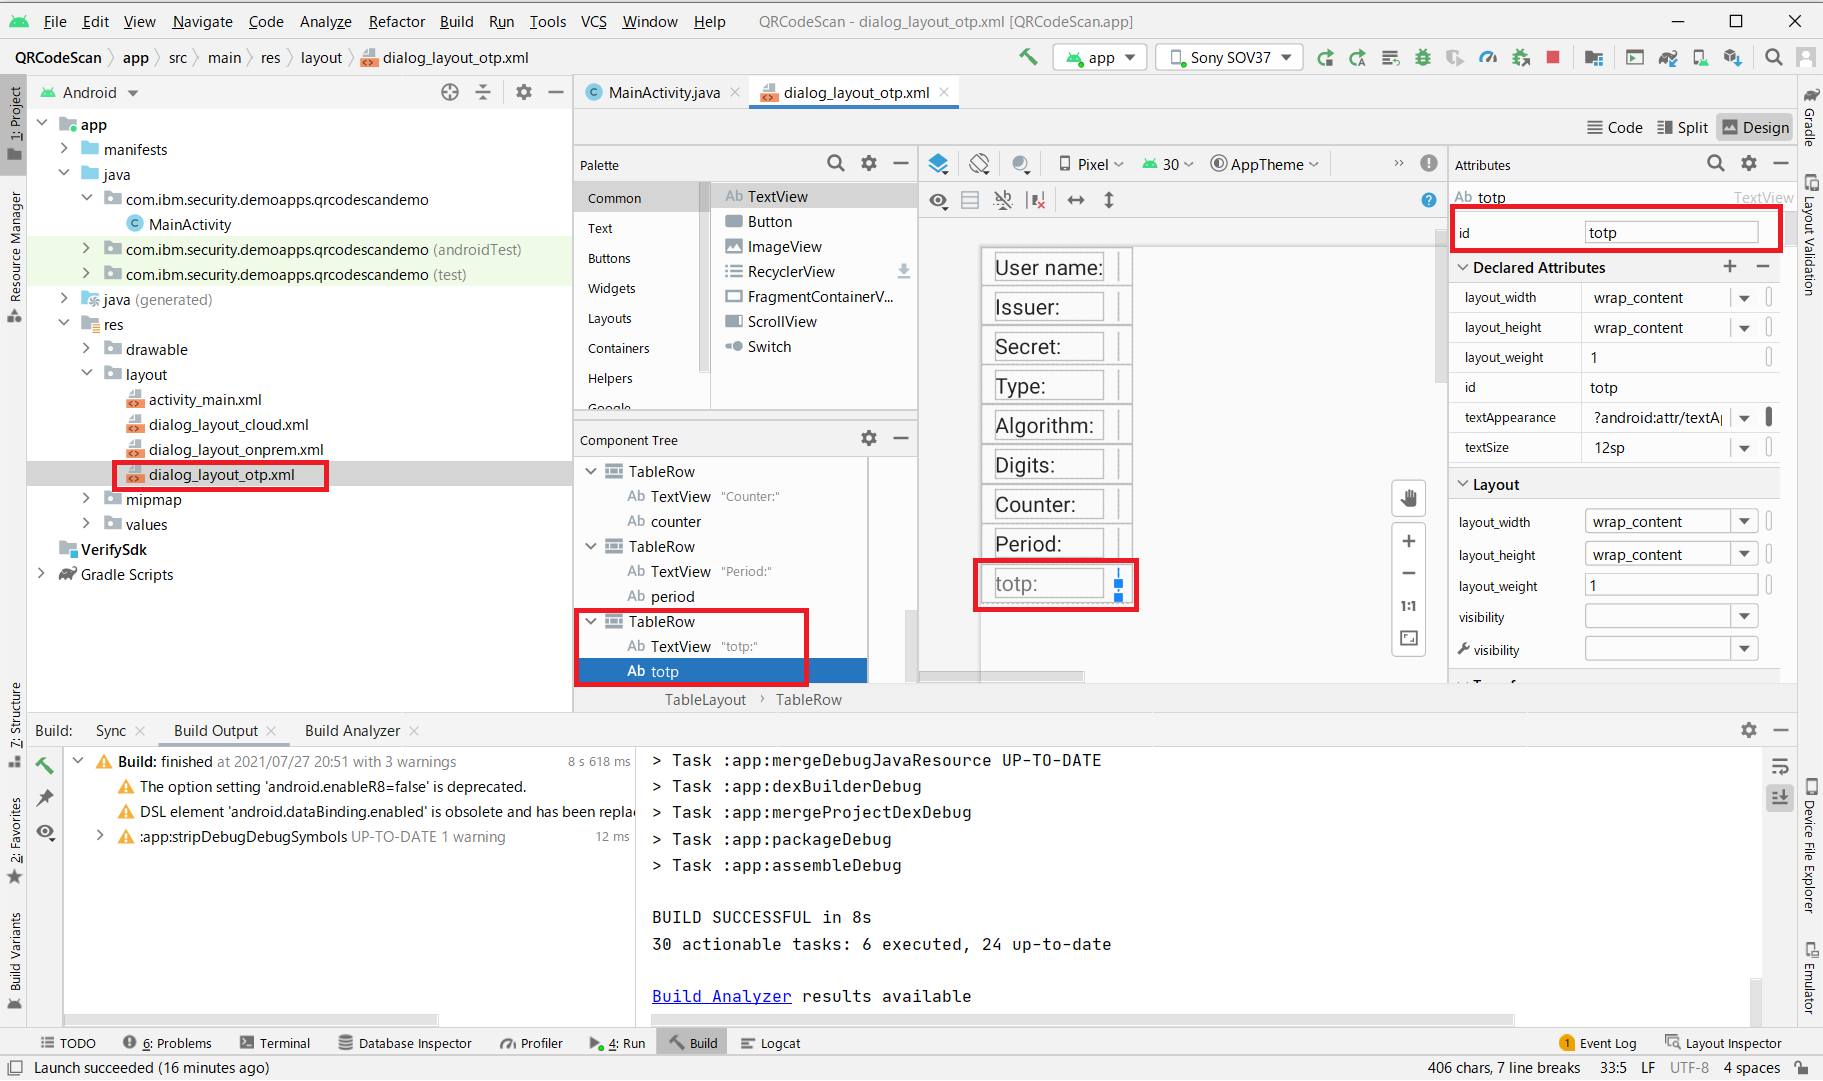
1.3 dialog_layout_otp.xmlの修正
生成したTotpを表示させるため、dialog_layout_otp.xmlを修正します。
修正した内容は以下の通りです。
- TableRowの追加
- User_nameなど他の行を参考に、totpの行を追加
- 生成したtotpを表示させるTextViewを追加し、idにtotpを指定
XMLでみると、以下の値を追加した形となります。
    <TableRow
        android:layout_width="wrap_content"
        android:layout_height="wrap_content"
        android:paddingStart="8dp"
        android:paddingEnd="8dp"
        android:padding="3dp">

        <TextView
            android:layout_width="wrap_content"
            android:layout_height="wrap_content"
            android:layout_marginEnd="8dp"
            android:text="totp:"
            android:textSize="12sp" />

        <TextView
            android:id="@+id/totp"
            android:layout_width="wrap_content"
            android:layout_height="wrap_content"
            android:layout_weight="1"
            android:textAppearance="?android:attr/textAppearanceLarge"
            android:textSize="12sp" />

    </TableRow>
1.4 MainActivity.java - onActivityResultの修正
totpを生成するため、MainActivity.javaのonActivityResultに3行追加します。
~割愛~
TextView tvUsername = alertDialog.findViewById(R.id.user_name);
TextView tvIssuer = alertDialog.findViewById(R.id.issuer);
TextView tvSecret = alertDialog.findViewById(R.id.secret);
TextView tvType = alertDialog.findViewById(R.id.type);
TextView tvAlgorithm = alertDialog.findViewById(R.id.algorithm);
TextView tvDigits = alertDialog.findViewById(R.id.digits);
TextView tvCounter = alertDialog.findViewById(R.id.counter);
TextView tvPeriod = alertDialog.findViewById(R.id.period);
TextView tvTotp = alertDialog.findViewById(R.id.totp); //追加した行

tvUsername.setText(otpQRScan.getUsername());
tvIssuer.setText(otpQRScan.getIssuer());
tvSecret.setText(otpQRScan.getSecret());
tvType.setText(otpQRScan.getType());
tvAlgorithm.setText(otpQRScan.getAlgorithm().name());
tvDigits.setText(String.valueOf(otpQRScan.getDigits()));
tvCounter.setText(String.valueOf(otpQRScan.getCounter()));
tvPeriod.setText(String.valueOf(otpQRScan.getPeriod()));
TotpGeneratorContext TotpGeneratorContext = new TotpGeneratorContext( otpQRScan.getSecret(), 6, HmacAlgorithm.SHA1, 30); //追加した行
tvTotp.setText(String.valueOf(TotpGeneratorContext.create())); //追加した行
~割愛~
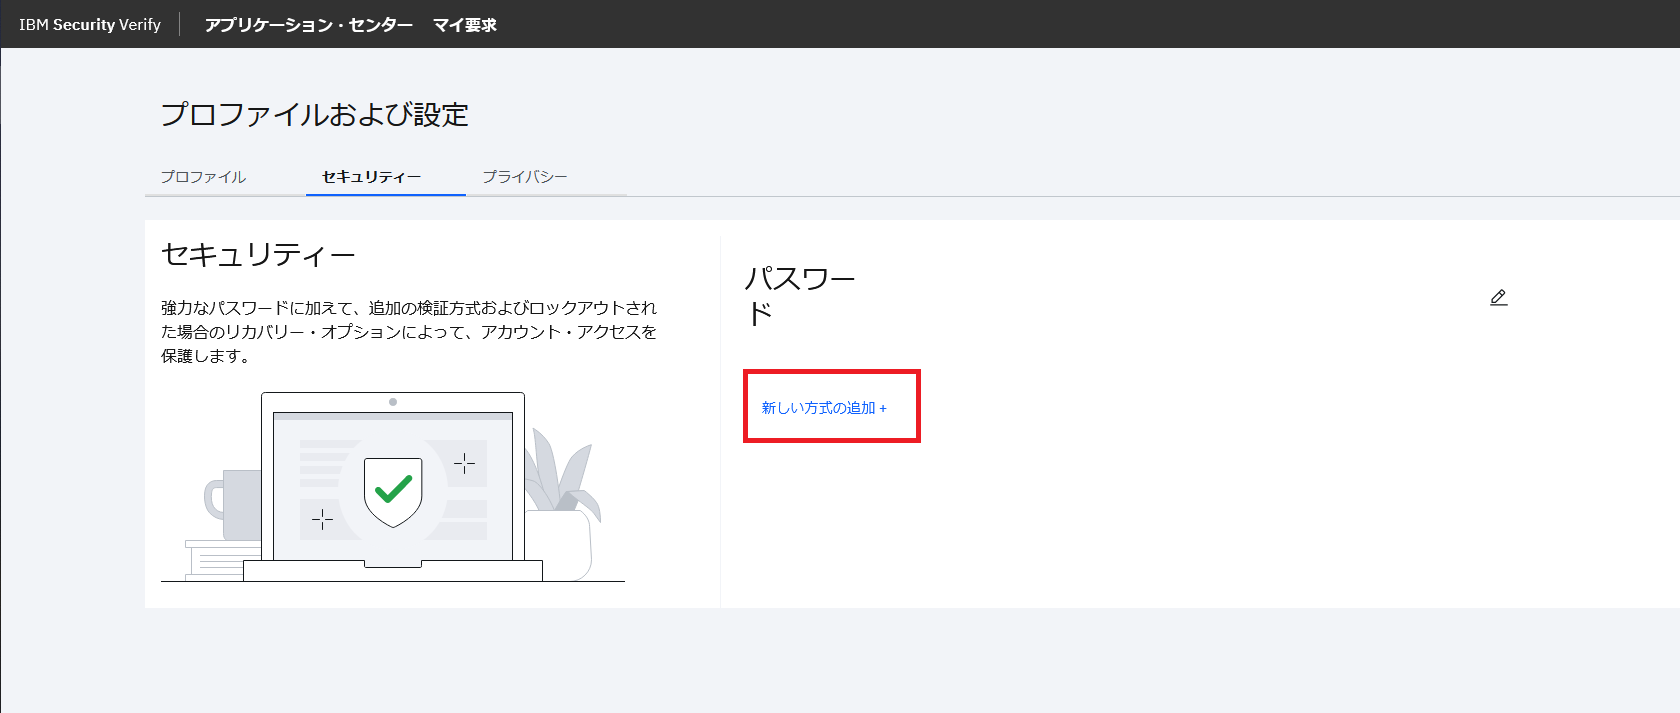
2.TOTPの生成確認
IBM Security Verifyでセキュリティタブを開き、「新しい方式の追加」をクリックします。
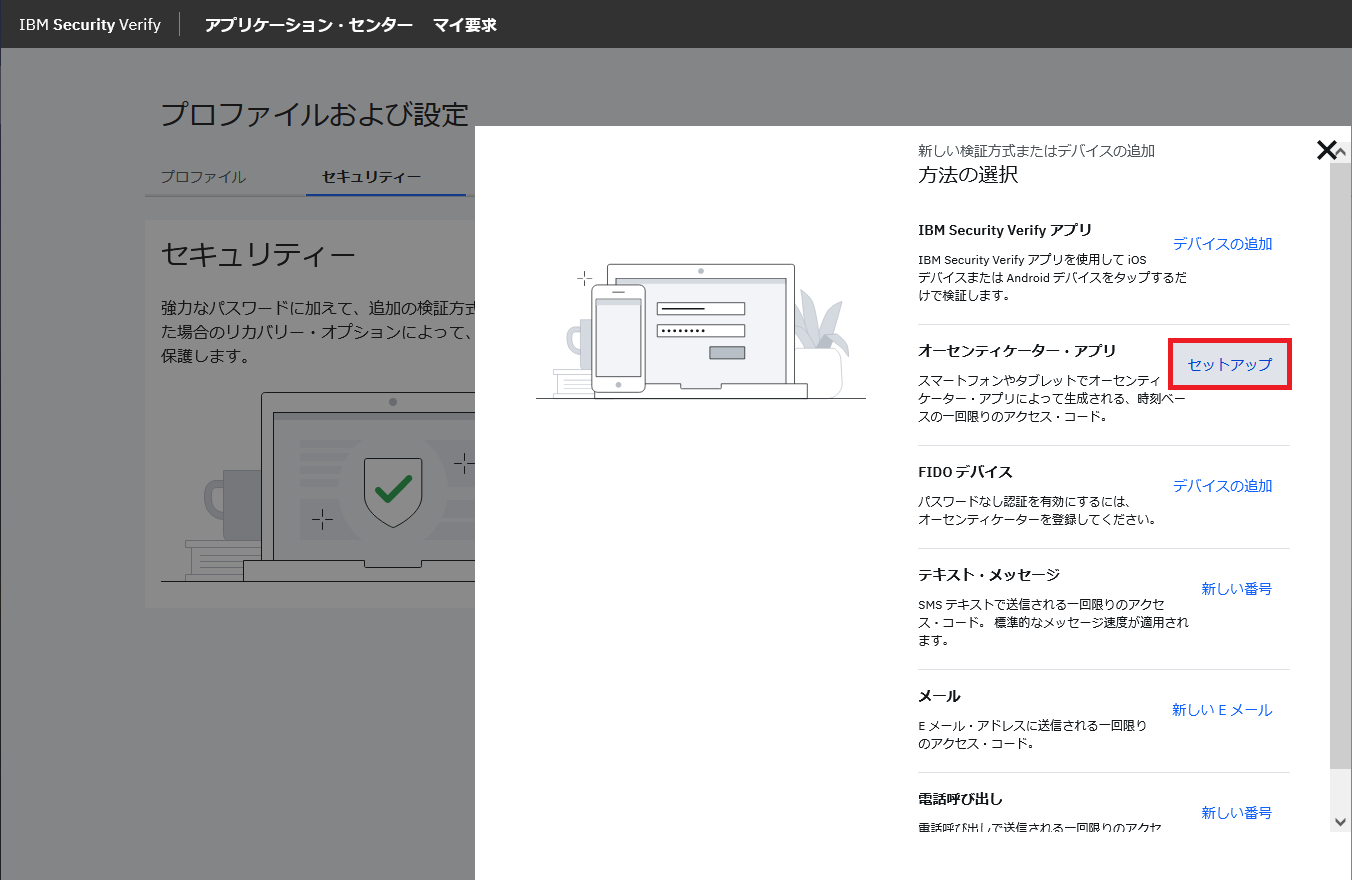
オーセンティケーター・アプリのセットアップメニューをクリックします。
「次:オーセンティケーターの接続」をクリックします。
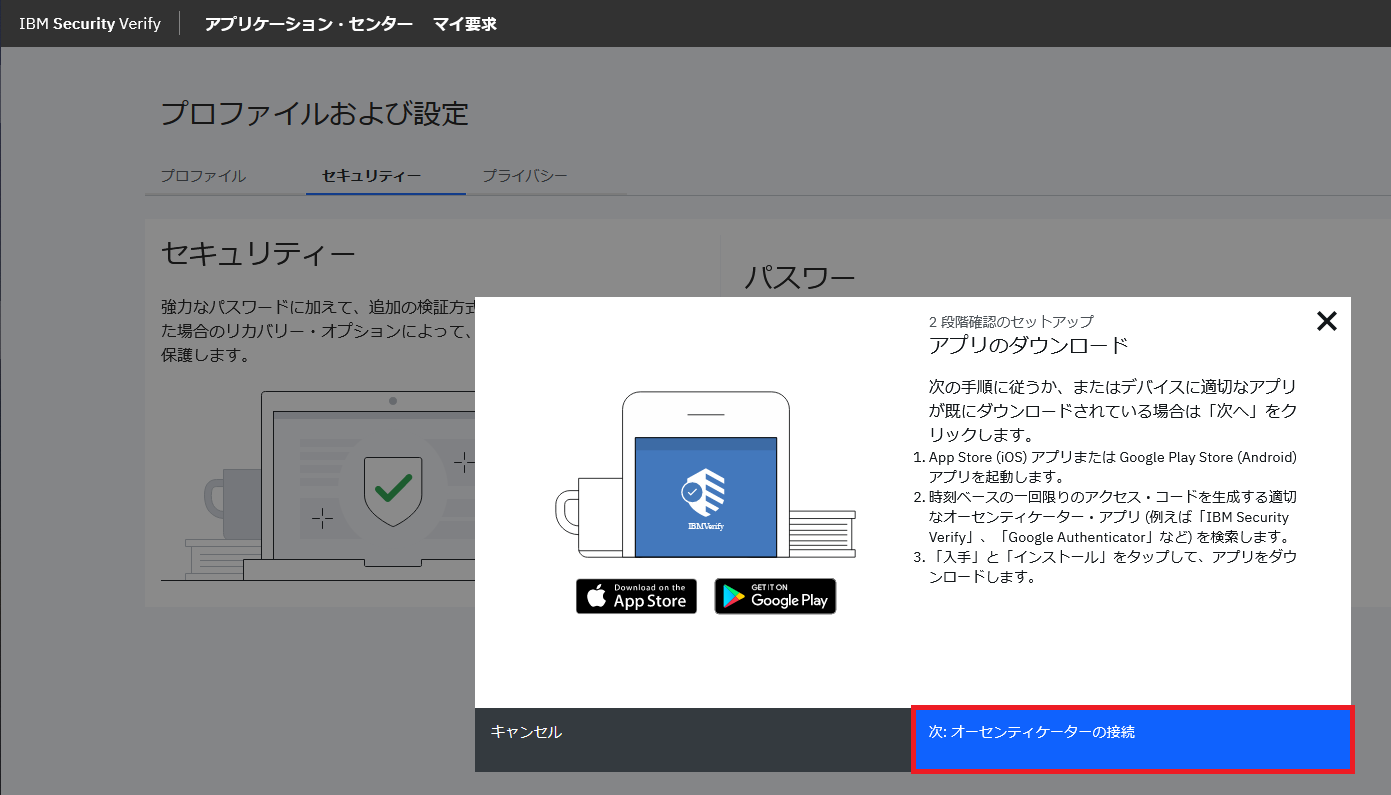
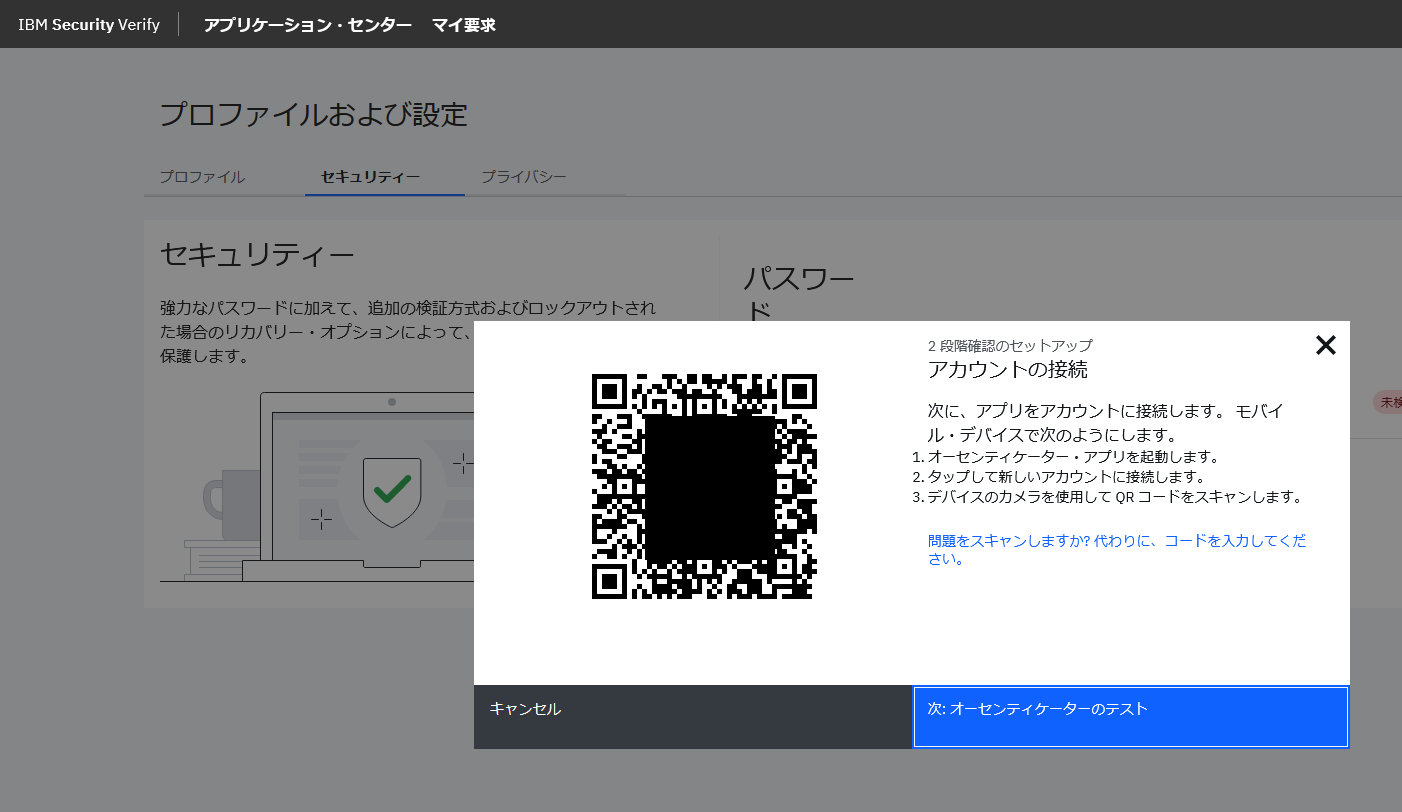
QRCodeが表示されることを確認します。
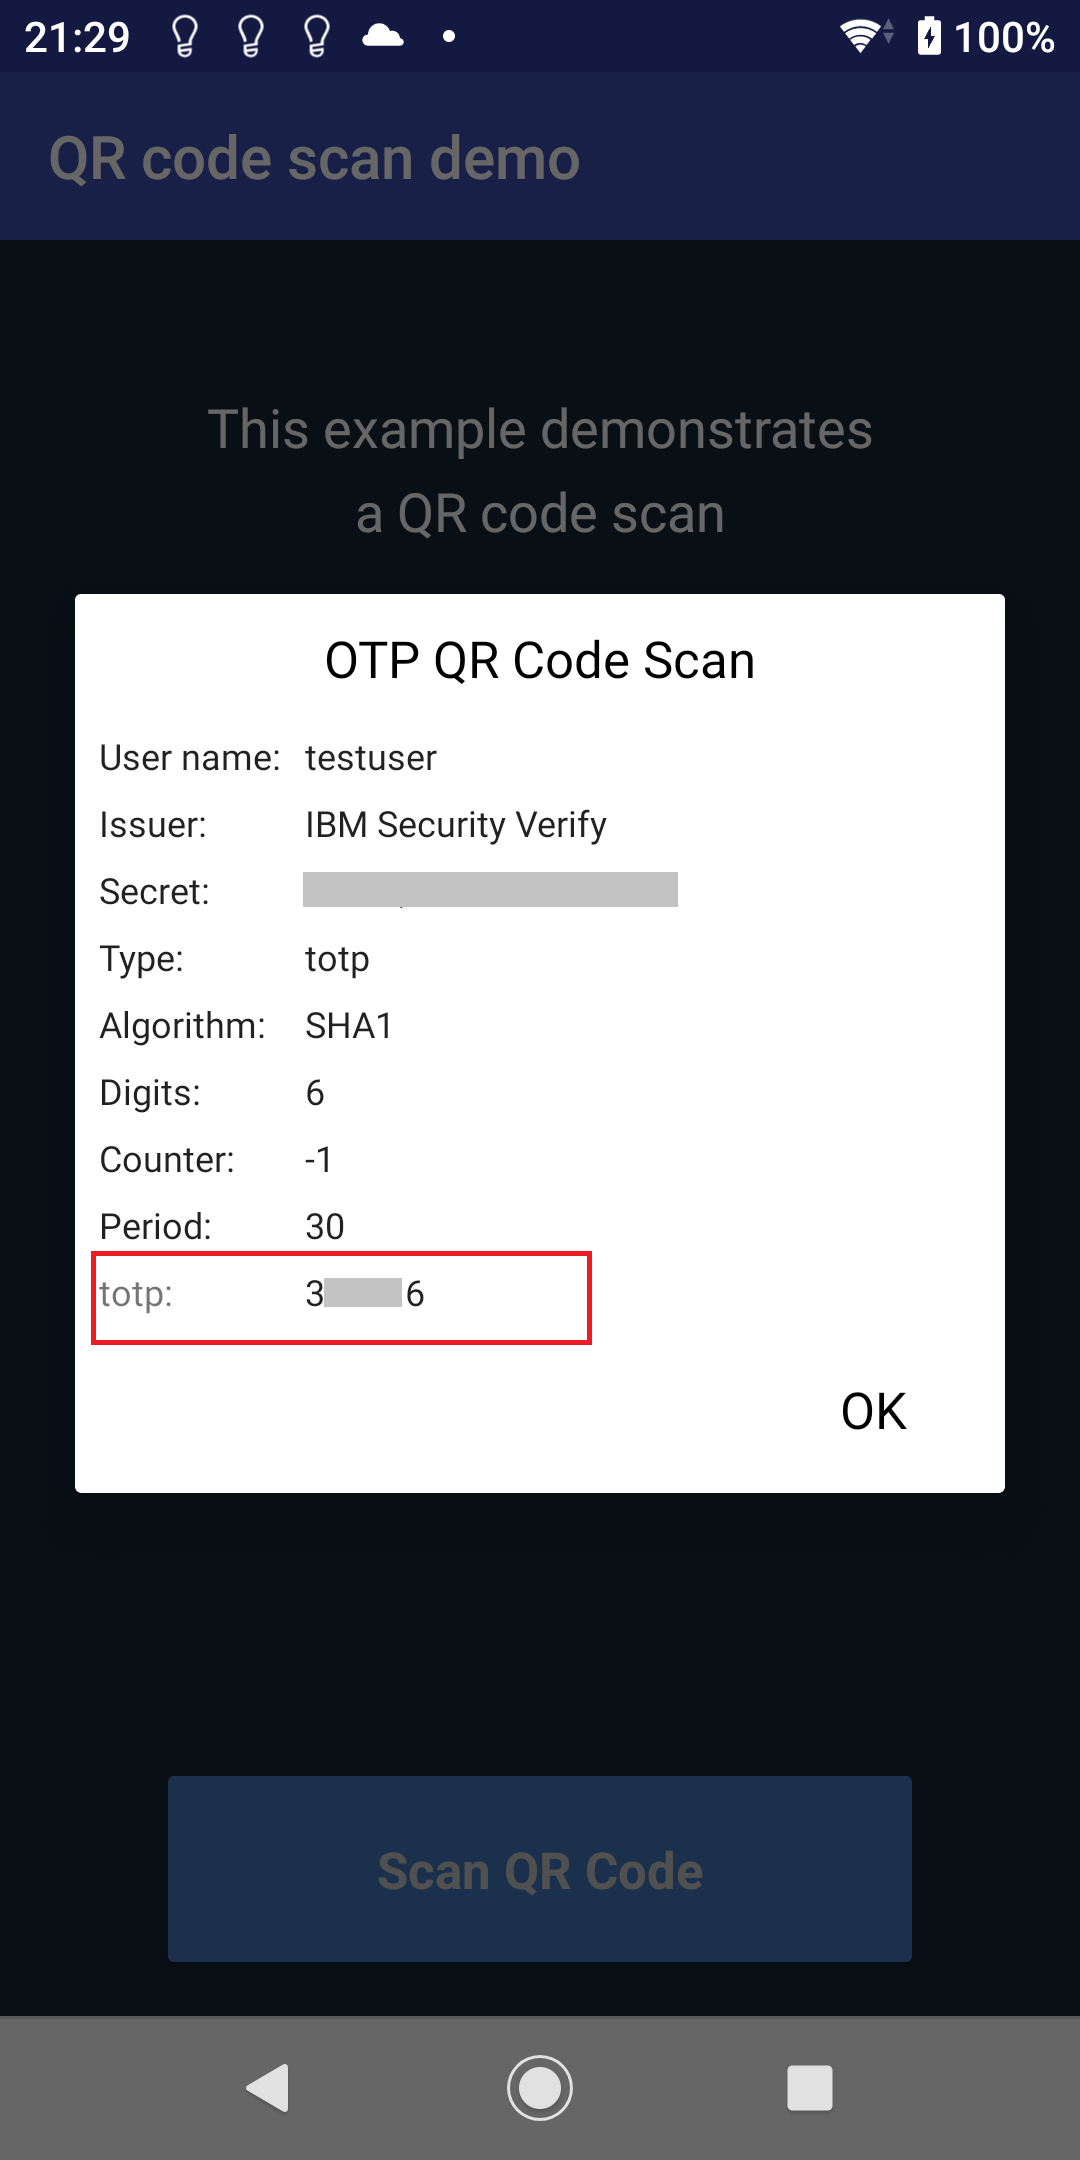
Androidで起動したQR Code Scan DemoアプリでQRCodeを読み取ると、TOTPが表示されることがわかります。なお、TOTPは30秒ごとにかわるため、画面表示されたらなるべく早く検証に進みます。
生成されたTOTPが正しいことを確認するため、「次:オーセンティケーターのテスト」をクリックします。
アクセス・コードに表示されたTOTPを入力して、「次:検証」をクリックします。

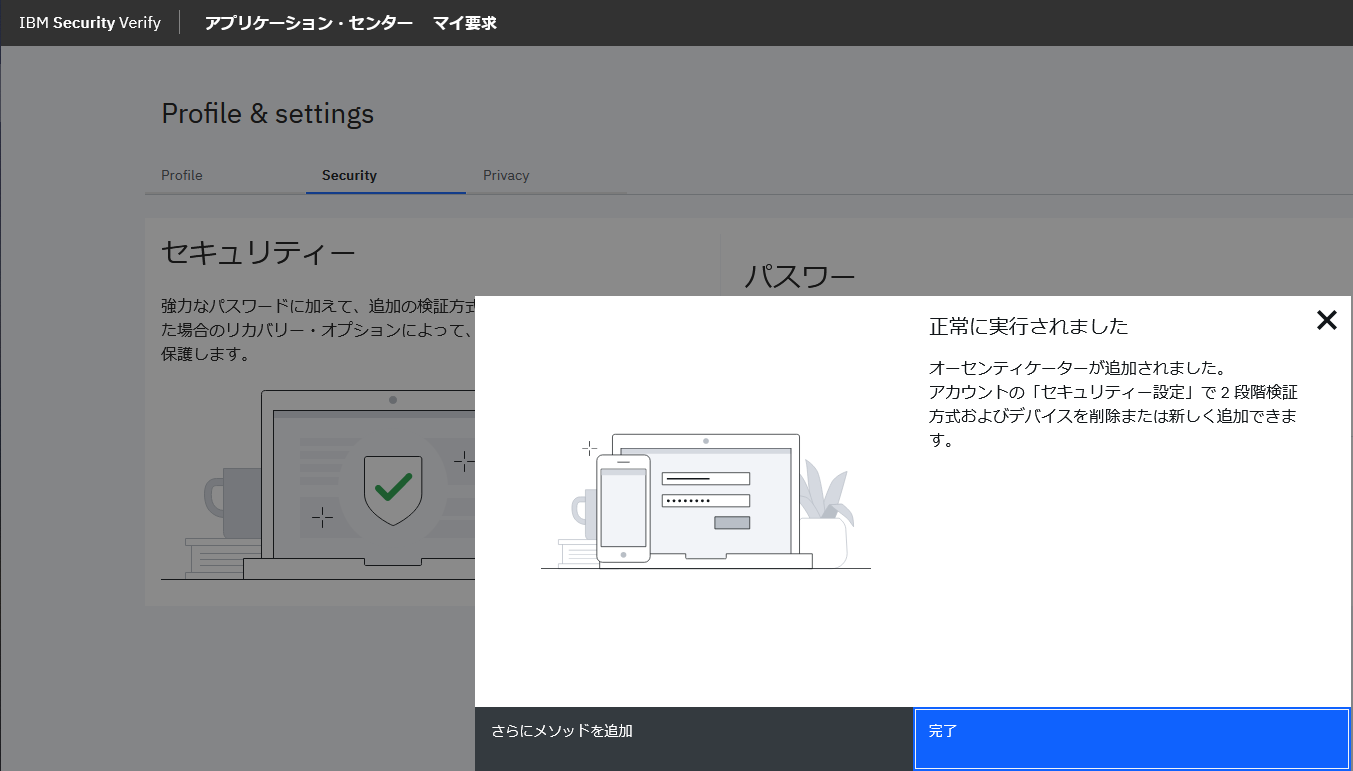
無事にオーセンティケーターが登録が完了しました。
最後に
IBM Security Verify SDKを使ってTOTPを生成することができました。