【Let's ハンズオン🤙】 Next.jsをAzureのStatic Web Appsを使ってDeployしていくやで
目次
- Next.jsのプロジェクトを準備
- Azure PortalからStatic Web Appsを準備
- Githubと連携させて、Deploy自動化
- 最後に
Next.jsのプロジェクトを準備
まずはgithubのプロジェクトを作成しまししょう!
githubへアクセスして、Newをクリックです!

リポジトリをローカルへcloneしましょう。
ターミナルを起動して、以下のコマンドを実行です。
git clone [githubのURL]
ローカルにプロジェクトが作成されましたか?
その後は作成されたディレクトリへ移動です。
cd [作成されたディレクトリ]
そこで、Next.jsのプロジェクトを作成するために以下のコマンドを打ちましょう!
npx create-next-app@latest . --ts
Success!と出ればOKです!
ちょっとだけ、コードを変更。
pages/index.tsxのImageをimgに変更してあげてください。
※これをしとかないと、後々Deployで失敗します...
では、ちょっと動作確認してみましょう。
以下のコマンドでアプリを起動してみてください!
npm run dev
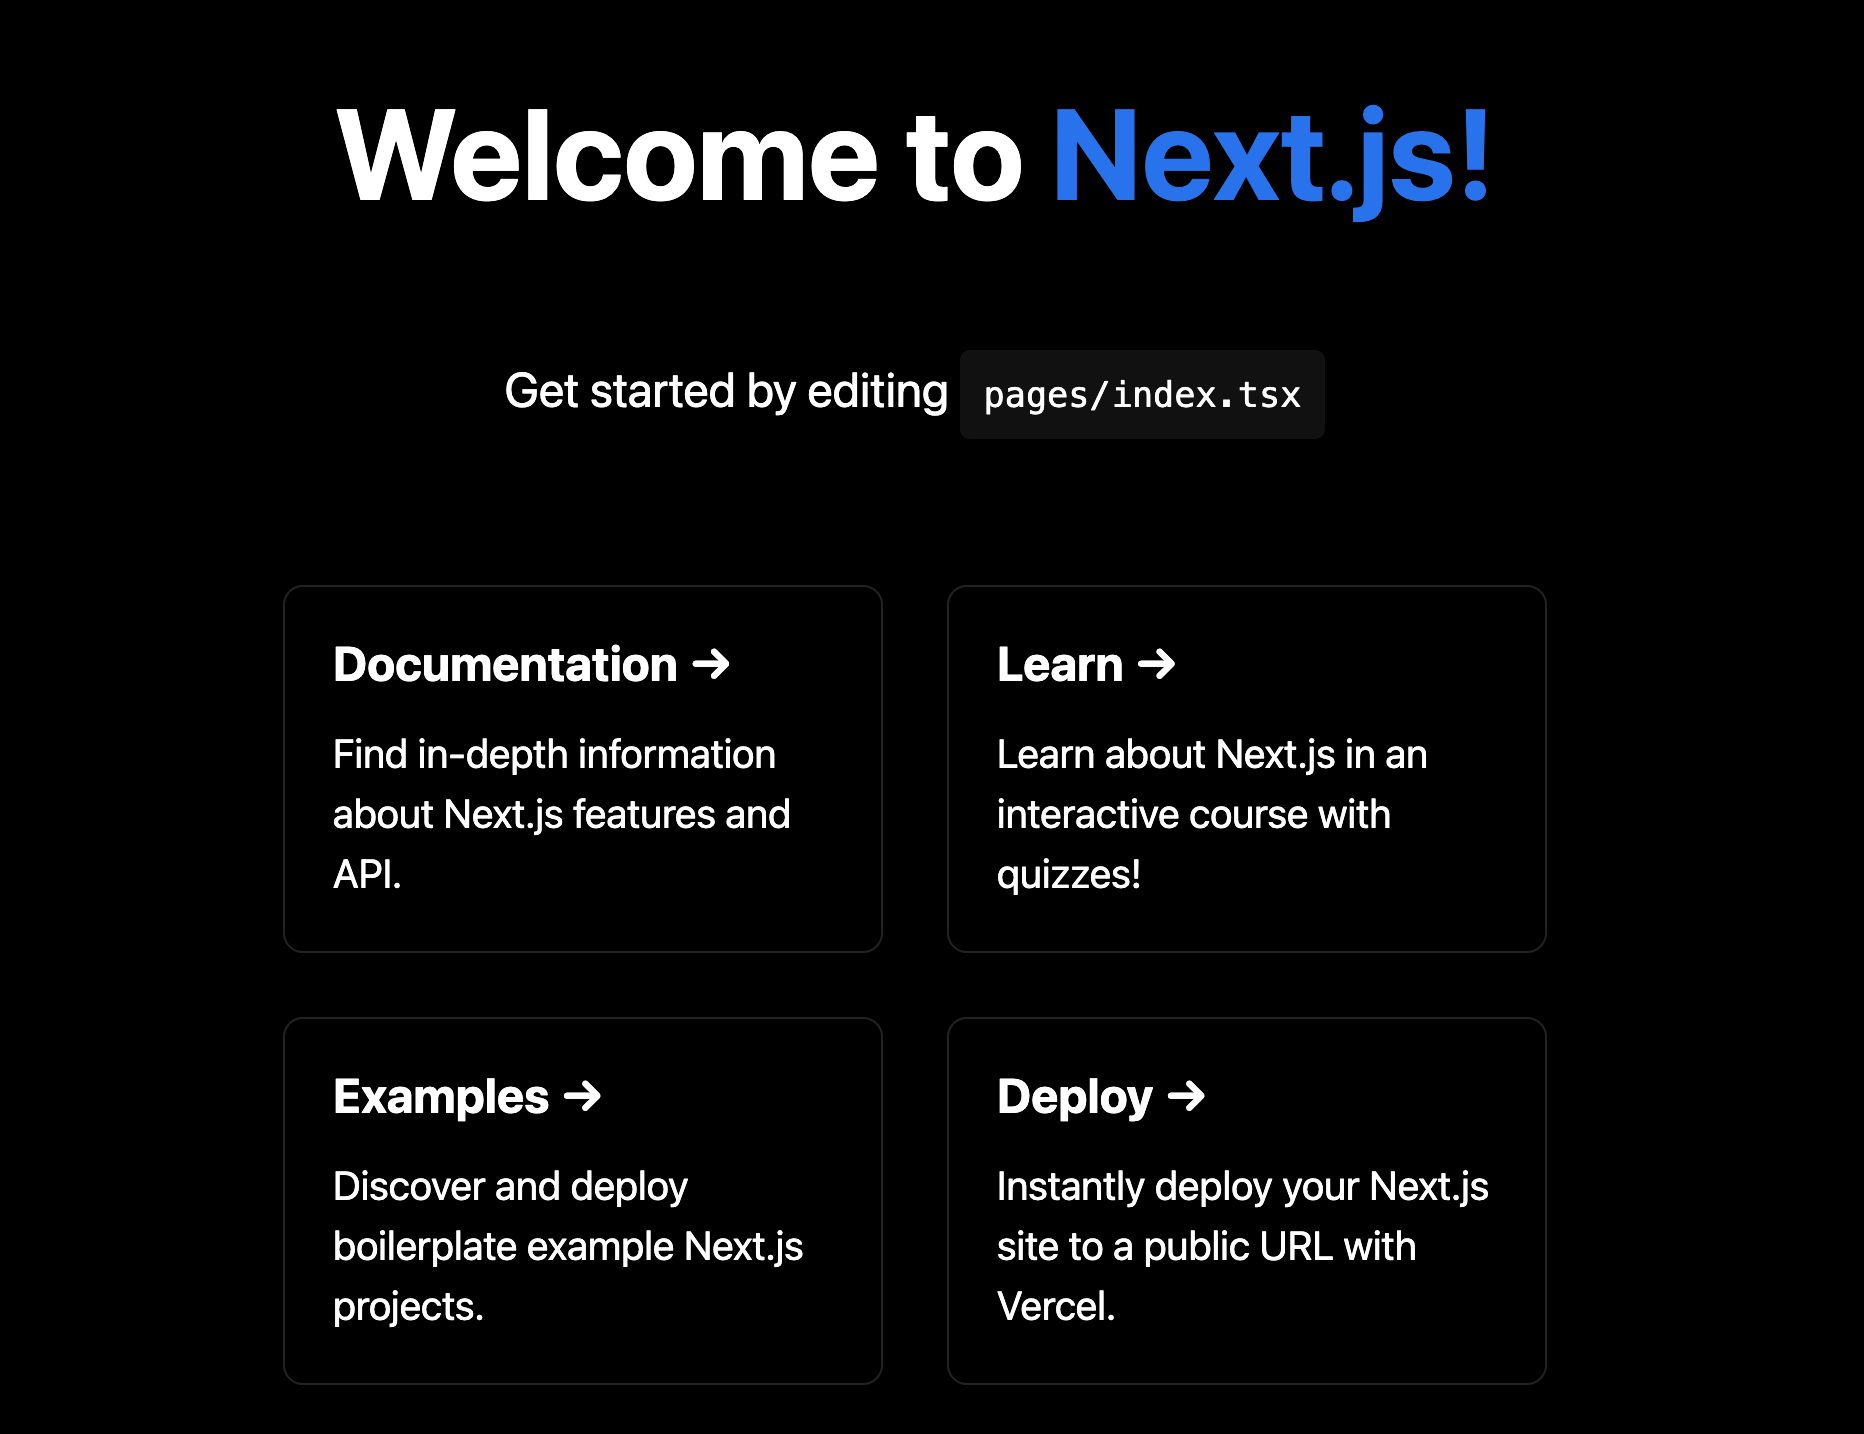
にアクセスして以下の画面が表示されればOKです!
ここまでできたら、githubへpushしちゃいましょう!
できましたか?
Azure PortalからStatic Web Appsを準備
次はAzureポータルからAzureStaticWebAppsを作成しましょう!
Azureportalのログイン画面はこんな感じ。
全てのサービ→静的Webサービスを選択してください!
そして静的Webサービスを作成しましょう!
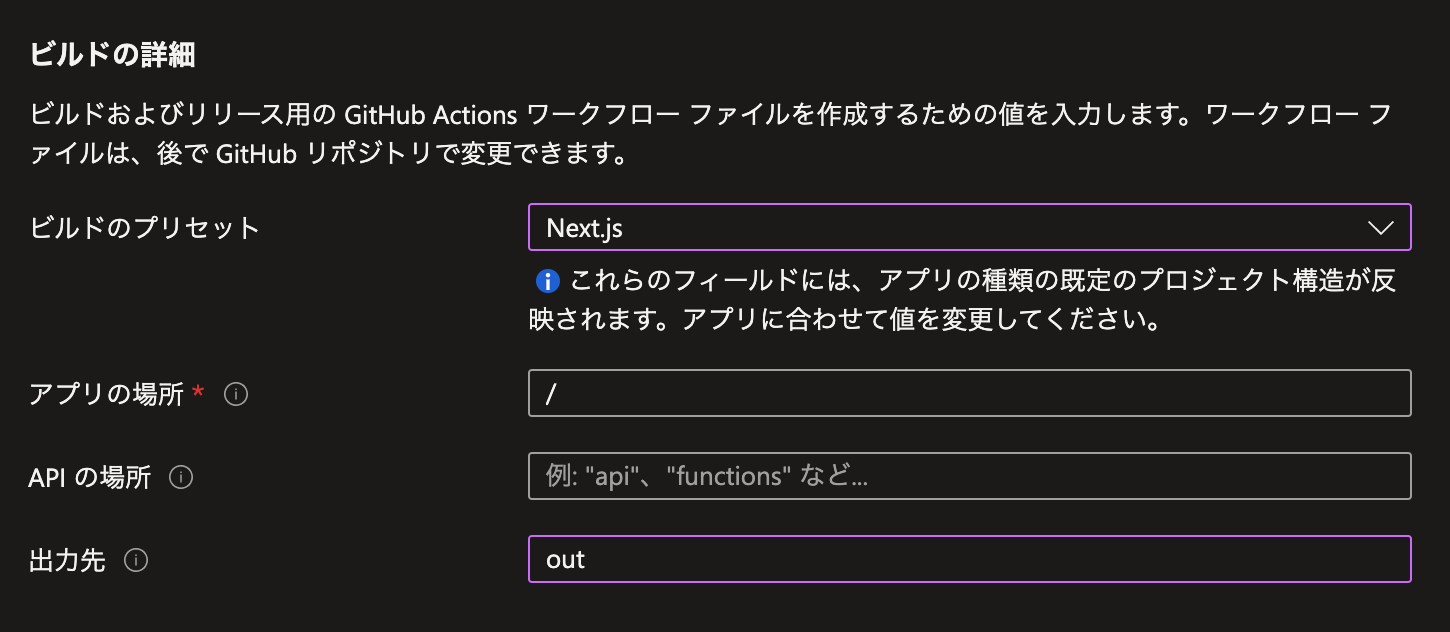
そして静的Webサービスの初期設定はこんな感じ。
設定ができたら作成をクリック!
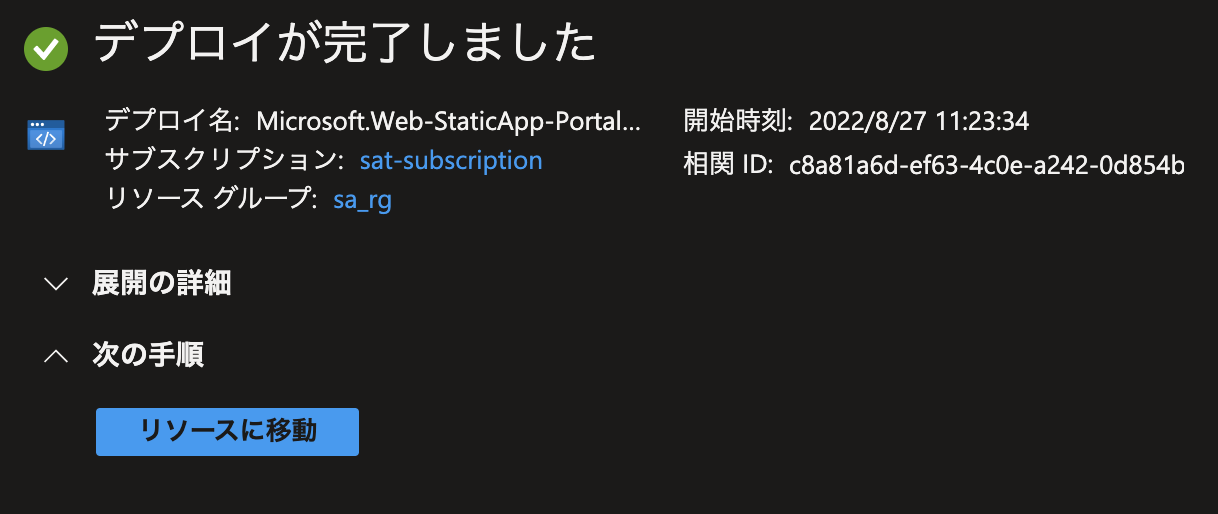
こんな感じの画面がでたらOKです!
ここからはGithubと連携させてDeployしていくための設定をしていきます。
Githubと連携させて、Deploy自動化
それでは、先ほど作成したGithubの画面に戻ってください。
Actionsを見ると、Deployがエラーとなっているはずです。
こんなことでは落ち込みません。
想定内です。
では、ターミナルから以下のコマンドを実行してください。
git pull
こんなymlファイルが生成されましたか?
ここにNext.jsのDeployの設定を記載していきます
jobsのところをこんな感じで書き換えてみてください。
jobs:
  build_and_deploy_job:
    if: github.event_name == 'push' || (github.event_name == 'pull_request' && github.event.action != 'closed')
    runs-on: ubuntu-latest
    name: Build and Deploy Job
    steps:
      - uses: actions/checkout@v2
        with:
          submodules: true
      - name: Setup Node.js
        uses: actions/setup-node@v2
        with:
          node-version: 16.x

      - name: Install NPM packages
        run: npm i

      - name: Build Next.js app
        run: npm run build && npm run export

      - name: Build And Deploy
        id: builddeploy
        uses: Azure/static-web-apps-deploy@v1
そして、package.jsonのscriptsの箇所へnext exportを追記してください。
"scripts": {
    "dev": "next dev",
    "build": "next build",
    "start": "next start",
    "export": "next export",
    "lint": "next lint"
}
書き換えれたら、再度、ymlファイルとpackage.jsonをgithubへpushです!
その後、githubへアクセスし、Actionのところからdeployがうまくいくことを見守っててください。
githubのActionsでこんな感じで表示されたら拍手です👏
Azureポータルへ移動しましょう。
urlをクリックして...

この画面が出てきたらOKです!
後はソースコード更新→githubへpushすると自動的にデプロイしてくれます!


