概要
ポートフォリオを作成する際はゲストログイン機能が必須と言われています。
Google認証やTwitter認証を頑張って導入しても、自分のアカウントを使うことが心理的なハードルになって、アプリを良く見てもらえない可能性が出てしまいます。
Rails + ゲストログインについては良記事がいくつもあるのですが、Next.js関連の記事はなかなか見つかりませんでした。
そのため、本記事ではNext.jsでゲストログインを実装した方法を紹介いたします。
手順
1. NextAuthの導入
NextAuthは Next.jsで認証機能を扱えるライブラリです。
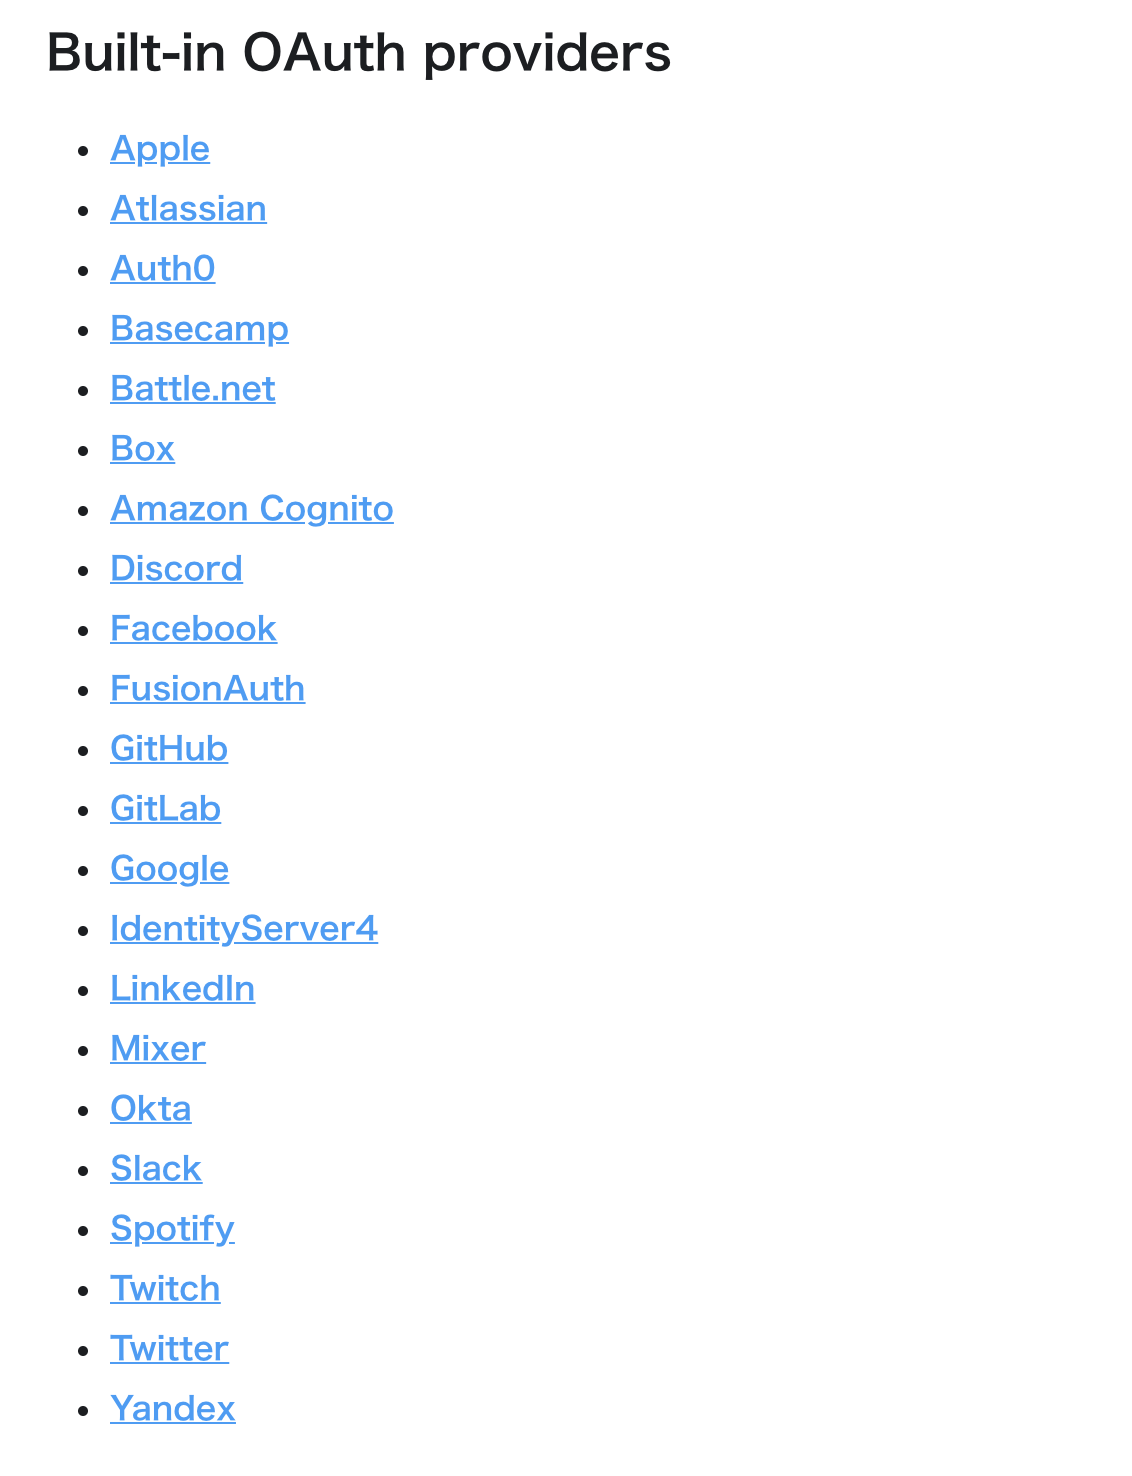
今回は扱いませんが、GoogleやTwitterなど様々なサービスの認証機能をサポートしています。
$ npm i next-auth
2. 認証Providerの追加
pages/api/auth/[...nextauth].jsというファイルを作成します。
/api/auth/*(signin, callback, signout, etc)へのリクエストは、全てNextAuthが処理してくれるようになります。
authorize関数の中で認証を行うこともできますが、今回はゲストログインなので、無条件でユーザー情報を返します。
import NextAuth from 'next-auth';
import Providers from 'next-auth/providers';

const options = {
  providers: [
    Providers.Credentials({
      name: 'Credential',
      async authorize() {
        const user = { name: 'ゲストユーザー', email: 'guest@example.com' };
        return user;
      },
      credentials: {},
    }),
  ],
};

export default (req, res) => NextAuth(req, res, options);
3. ログイン状態によって表示が変わるページの作成
useSessionの React Hookを使うことによって、現在ログイン状態かどうかを取得できます。
ログインしている状態の場合は、sessionから取得したuser名と「Sign out」ボタンが表示されます。
ログインしていない状態の場合は、sessionにundefinedが入りますので、「Sign in」ボタンが表示されます。
この時、signInに引数を与えないと、サインインまでに2回ボタンを押す必要が出てきます。
1.「Sign in」ボタン
2.「Sign in with Credential」ボタン(NextAuthが用意)

import React from 'react'
import { signIn, signOut, useSession } from 'next-auth/client'

export default function Page() {
  const [ session, loading ] = useSession()

  return <>
    {!session && <>
      Not signed in <br/>
      <button onClick={signIn("credentials")}>Sign in</button>
    </>}
    {session && <>
      Signed in as {session.user.email} <br/>
      <button onClick={signOut}>Sign out</button>
    </>}
  </>
}
4. ページ間でセッション情報を共有
pages/_app.jsにProviderを追加します。
これによって、新しいページをレンダリングするたびにセッション情報を取得し直すのを回避します。
import { Provider } from 'next-auth/client'

export default function App ({ Component, pageProps }) {
  return (
    <Provider session={pageProps.session}>
      <Component {...pageProps} />
    </Provider>
  )
}
5. テストの作成
最後に、NextAuthを使用した場合のテストの書き方を紹介します。
ポイントは、useSession関数のモックです。
ログイン状態によって異なるページが描画されていることがテストできます。
import '@testing-library/jest-dom/extend-expect';
import Home from '@/pages/index';
import client, { Session } from 'next-auth/client';


describe(`Home`, () => {
  it('should render signin view', async () => {
    client['useSession'] = jest.fn().mockReturnValueOnce([null, false]);
    render(
      <Home />
    );
    expect(screen.getByText(/not signed in/i)).toBeInTheDocument();
    expect(
      screen.getByRole('button', { name: /sign in/i }),
    ).toBeInTheDocument();
  });

  it('should render login view', async () => {
    const testName = 'testName';
    const mockSession: Session = {
      expires: null,
      user: { name: testName },
    };
    client['useSession'] = jest.fn().mockReturnValueOnce([mockSession, false]);
    render(
      <Home />
    );
    expect(screen.getByText(new RegExp(testName))).toBeInTheDocument();
    expect(
      screen.getByRole('button', {
        name: /sign out/i,
      }),
    ).toBeInTheDocument();
  });
});
最後に
NextAuthの使い勝手は非常に良かったです。
様々な認証サービスを扱える他に、MysqlやPostgresなどのDBと接続する方法もサポートされています。
Next.jsで認証機能を検討してる方は是非使って見てください。
ここまで読んでいただきありがとうございました。
