概要
本記事では、Next.jsでサクッと機械学習を触ってみた時の手順を紹介します。
今回、機械学習用のJavaScriptライブラリには、TensorFlow.js を使用しました。
TensorFlow.jsには、事前トレーニング済みの学習モデルが用意されていて、オブジェクト検出や姿勢検出など様々なモデルがあります。
その中で、画像分類用モデルのMobileNetを触ってみました。
導入手順
とりあえず動かしてみたい!という方へ
1,2,4の手順を進めて、3,6のコードをコピーしてください。
1. Next.jsのアプリケーションの作成
$npx create-next-app --typescript next-ml
※ 必須というわけではないですが、特に理由がなければTypeScriptを導入するべきだと思います。
2. TensorFlow.jsと学習モデルのパッケージをインストール
$cd next-ml
$npm install -s @tensorflow/tfjs @tensorflow-models/mobilenet
3. mobilenetのモデルを読み込み
import { MobileNet } from '@tensorflow-models/mobilenet';
import * as mobilenet from '@tensorflow-models/mobilenet';
import * as tf from '@tensorflow/tfjs';

export const loadMobilenetModel = async () => {
  tf.setBackend("webgl")
  const model:MobileNet = await mobilenet.load();

  return model
};
ここで一番重要なのは、tf.setBackend("webgl") の1行です。
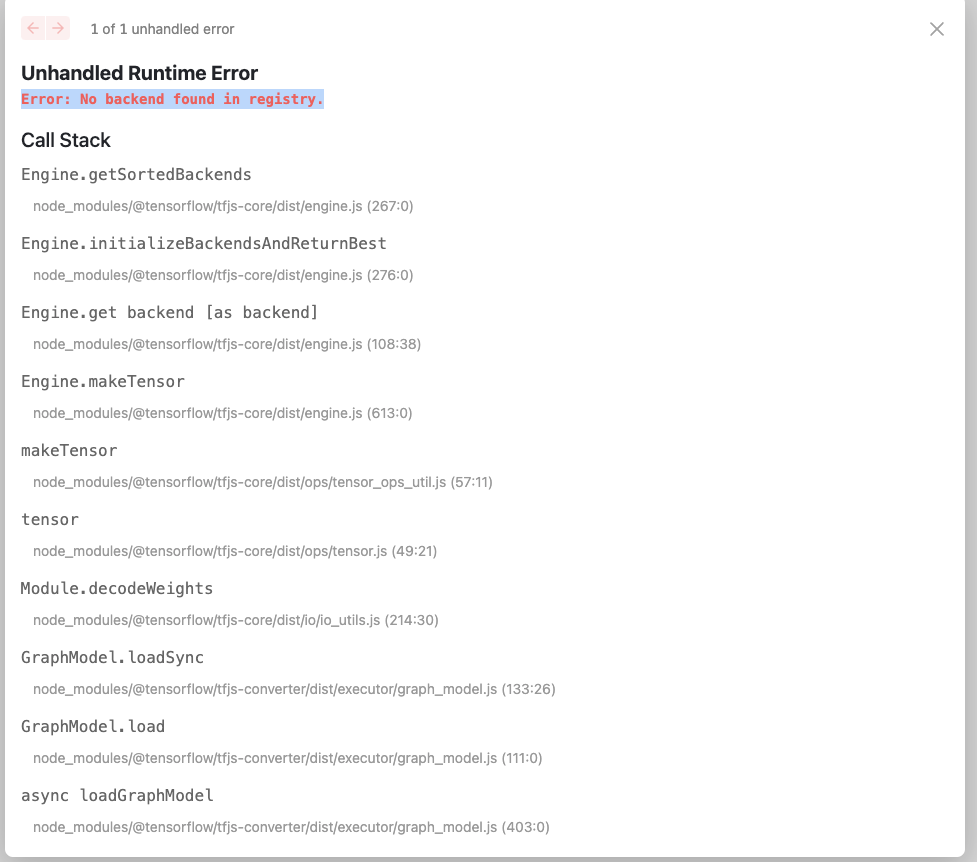
MobileNetのREADMEにはこの関数の記載はないのですが、tf.setBackend なしで後の手順を進めると、「Error: No backend found in registry.」のエラーが出ます。
解消法を調べると、tf.getBackend() を実行する方法が紹介されていたのですが、この方法を試しても別のエラーが発生してしまいました。
そこで、getBackend関数を調べてみたところ、以下の記載を発見しました。
https://www.tensorflow.org/js/guide/platform_environment?hl=ja
ほとんどの場合、TensorFlow.js は、その時点の環境を考慮して、最適なバックエンドを自動的に選択します。ただし、使用されているバックエンドとその切り替え方法を知ることが重要な場合があります。
バックエンドを手動で変更するには、以下を使用します。
tf.setBackend('cpu');
console.log(tf.getBackend());
この記事を見て、tf.setBackend(”webgl”) を試してみたところ、無事エラーが解消しました🙌
(環境の違いによって、バックエンドが自動で選択されなかったようです。)
正直、この手順を残したくて本記事を書きました。
もし同様のエラーが発生したどなたかの参考になれば幸いです。
4. 分類用の画像を追加する
public ディレクトリに分類用の画像を追加します。
私はせっかくなので、demoプロジェクト内からコーヒー画像(coffee.jpeg)を拝借しましたが、何の画像でも大丈夫です。
5. 画像分類を実行する
index.tsx にuseEffectを追加して、その中でモデルの画像分類を実行します。
4で追加した画像には適当なidを与え、それをkeyにして取得しています。
useEffect(() => {
  (async () => {
    const model  = await loadMobilenetModel();

    const img = document.getElementById('img') as HTMLImageElement;
    const classifyPredictions = await model.classify(img);

    console.log(classifyPredictions);
  })();
},[])

// (中略)
<Image src="/coffee.jpeg" alt="Coffee" id="img" width={216} height={216} />
ChromeのDevToolを開くと、実際に分類した結果が出力されているのが分かります。
6. ビューを整える
最後はおまけですが、せっかくなので分類した結果を画面に表示させてみます。
参考までに、pages/index.tsxとpages/lib/mobilenet.tsのコードを、そのまま記載しておきます。
これをコピーしていただければ、実際に同じものが動きます。
ちなみに、当たり前かもしれませんが、画像のサイズを変更すると分類結果が変わることも、今回初めて知った学びでした。
import type { NextPage } from "next";
import Head from "next/head";
import Image from "next/image";
import { useEffect, useState } from "react";
import styles from "../styles/Home.module.css";
import { loadMobilenetModel, predictions } from "./lib/mobilenet";

const Home: NextPage = () => {
  const [predictions, setPredictions] = useState<predictions[]>([]);

  useEffect(() => {
    (async () => {
      const model = await loadMobilenetModel();

      const img = document.getElementById("img") as HTMLImageElement;
      const classifyPredictions = await model.classify(img);

      setPredictions(classifyPredictions);
    })();
  }, []);

  return (
    <div className={styles.container}>
      <Head>
        <title>Create Next App</title>
        <meta name="description" content="Generated by create next app" />
        <link rel="icon" href="/favicon.ico" />
      </Head>

      <main className={styles.main}>
        <Image
          src="/coffee.jpeg"
          alt="Coffee"
          id="img"
          width={216}
          height={216}
        />
        <ul>
          {predictions.map((prediction, index) => (
            <li key={index}>
              {Math.round(prediction.probability * 100)}%:{" "}
              {prediction.className}
            </li>
          ))}
        </ul>
      </main>

      <footer className={styles.footer}></footer>
    </div>
  );
};

export default Home;
import { MobileNet } from "@tensorflow-models/mobilenet";
import * as mobilenet from "@tensorflow-models/mobilenet";
import * as tf from "@tensorflow/tfjs";

export const loadMobilenetModel = async () => {
  tf.setBackend("webgl");
  const model: MobileNet = await mobilenet.load();

  return model;
};

export interface predictions {
  className: string;
  probability: number;
}
最後に
素人の私でも、こんなにサクッと機械学習の真似事ができて感動しました。
様々な学習用モデルを用意してくれているTensorFlow.jsに感謝です...!
サンプルを動かすだけでも非常に楽しい(語彙力)ので、ぜひ皆さんもお試しください。
最後まで読んでくださり、ありがとうございました。


