はじめに
WYSIWYGエディターには色々ありますが、Wordファイルのインポートといったやや特殊な要件があったため、初めてCKEditorを導入することに。
・・・結果、とても苦労させられたので、備忘録としてこちらに残します。
CKEditor5エディタのインポート
まずは公式サイトのドキュメントから、Vue2への導入方法の手順通りに進めてみました。
CKEditor本体とエディタビルドをインストールします。
ここでckeditor5-vue2ではなくckeditor5-vueを指定してしまうと、Vue3用のCKEditorがインストールされてしまうので要注意です。
yarn add @ckeditor/ckeditor5-vue2
yarn add @ckeditor/ckeditor5-build-classic
CKEditorをクライアントサイド限定に指定します。
export default {
  plugins: [
    {
      src: '~/plugins/ckeditor.js',
      mode: 'client',
    },
  ],
}
import Vue from 'vue'
import CKEditor from '@ckeditor/ckeditor5-vue2'

Vue.use( CKEditor )
そして最後にVueのコンポーネントでCKEditorをインポートするのですが、
NuxtにCKEditorを導入する場合はビルドされたソースを利用する必要があるので、下記のように記述します。
import ClassicEditor from '@ckeditor/ckeditor5-build-classic';
下記だとうまくいきません。
import ClassicEditor from '@ckeditor/ckeditor5-editor-classic/src/classiceditor';
モジュールの重複エラー
無事にエディタのインポートができました。
しかし、ベースとなるクラシックエディタでは色々と機能が不足しているので、必要なプラグインをインポートしていきたいと思います。
import ClassicEditor from '@ckeditor/ckeditor5-build-classic';
import Highlight from '@ckeditor/ckeditor5-highlight/src/highlight';
すると発生するのが、ckeditor-duplicated-modulesというエラー。
ビルドされたソースにプラグインが含まれていない場合、後からプラグインをインポートすると、モジュールの重複エラーが発生してしまうため、後からプラグインを追加することはできないようです。
さて、必要なプラグインがすべて含まれたビルドは無いものか・・・?
おっ!全部入りのSuperbuildというのがありますね!
でもnpmにもyarnにも用意されていないし、そもそも全部入りなのにコード編集用のsourceEditingが含まれていない!?
ダメじゃん!!
カスタムビルド
途方に暮れる中たどり着いたのが下記のサイト。
曰く、標準の方法で新しいプラグインを追加できない場合、あとはカスタムビルドを作成することが唯一の選択肢である、と。
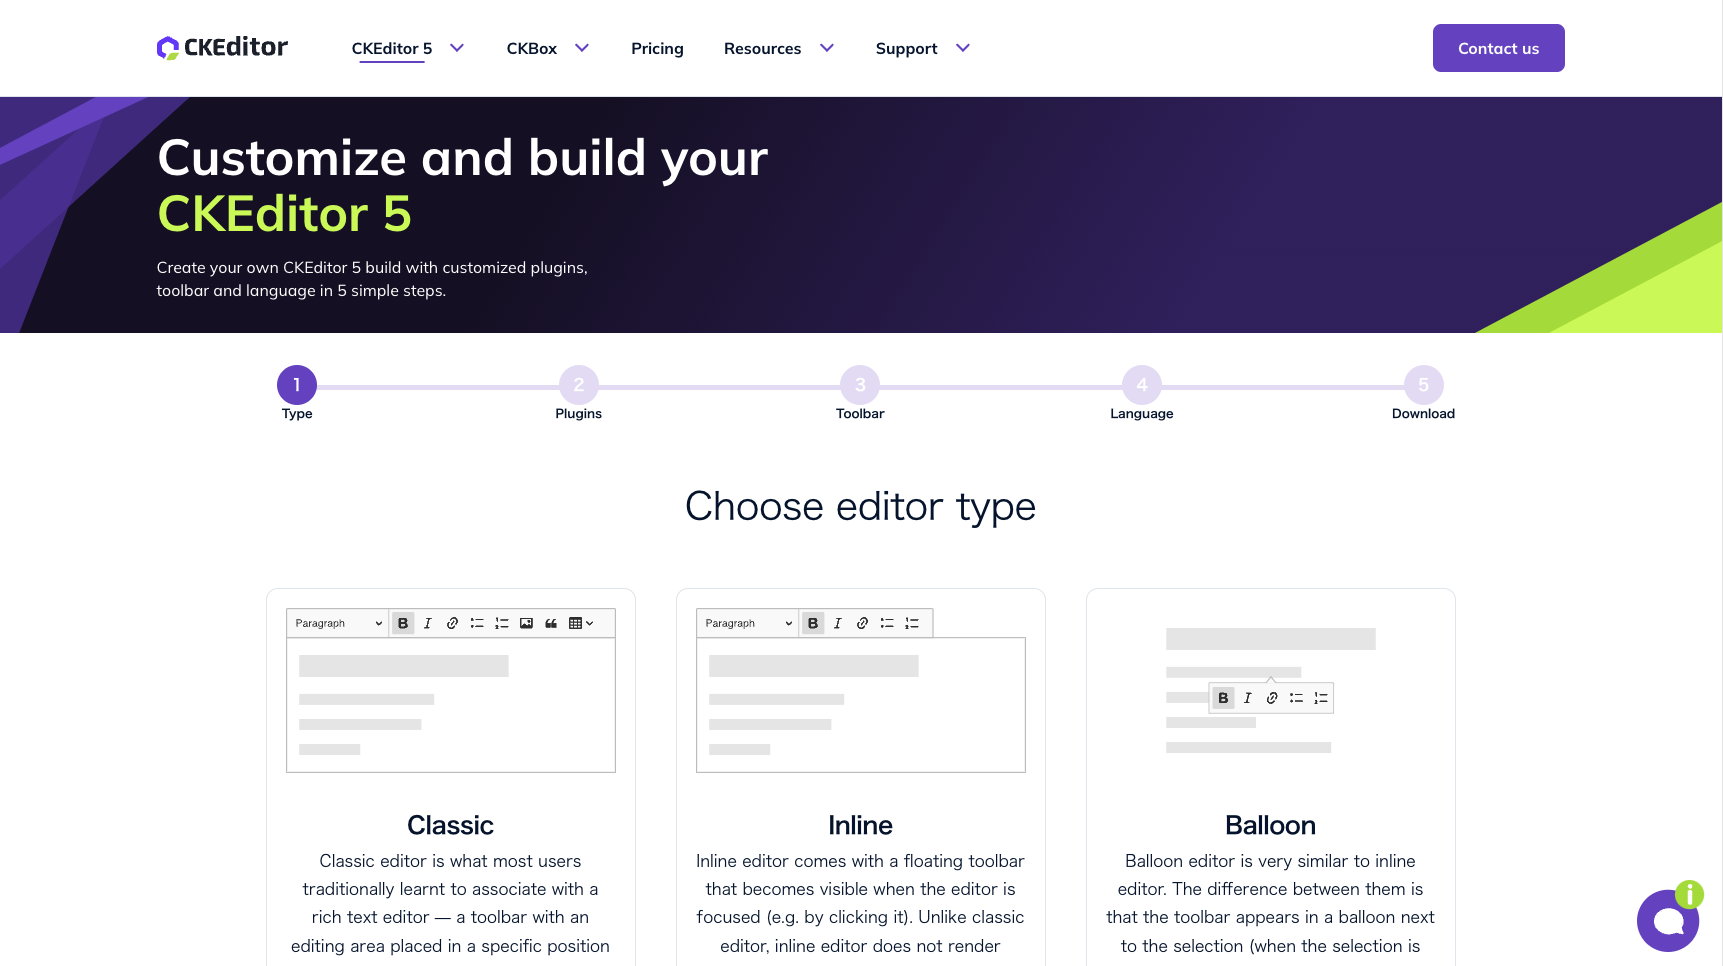
ということで公式サイトのオンラインツールを使ってカスタムビルドを作成します。
「エディタの種類を選択」 > 「プラグインを選択」 > 「ツールバーの配置を設定」 > 「言語の選択」 > 「ダウンロード」という5つのステップに別れており、クリックしていくだけで作成できます。
今回はベーシックな「Classic」を選択しました。なお、ツールバーの配置はVueソースで設定するので、無視して大丈夫です。
作成したカスタムビルドをダウンロードし、公式サイトの手順に従って統合します。
├── ckeditor5
│   ├── build
│   ├── sample
│   ├── src
│   ├── ...
│   ├── package.json
│   └── webpack.config.js
├── node_modules
├── public
├── src
├── ...
└── package.json
上記のようにckeditor5というディレクトリにカスタムビルドのソース一式を格納し、下記コマンドで統合!
yarn add file:./ckeditor5
CKEditorをコンポーネント化
ようやくCKEditorのコンポーネント化まで辿り着きました。
<template>
  <ClientOnly>
    <div class="editor">
      <ckeditor
        :editor="editor"
        v-model="content"
        :config="config"
        @input="send"
      ></ckeditor>
    </div>
  </ClientOnly>
</template>

<script>
import '@ckeditor/ckeditor5-build-classic/build/translations/ja'
import ClassicEditor from 'ckeditor5-custom-build/build/ckeditor'
import CKEditor from '@ckeditor/ckeditor5-vue2'

export default {
  components: {
    ckeditor: CKEditor.component,
  },
  props: {
    value: '',
  },
  data: () => ({
    editor: ClassicEditor,
    content: this.value,
    config: {
      toolbar: {
        items: [
          'undo', 'redo',
          '|',
          'heading',
          '|',
          'bold', 'italic', 'underline',
          '|',
          'fontSize', 'fontFamily', 'fontColor', 'fontBackgroundColor',
          '|',
          'insertTable', 'blockQuote',
          '|',
          'alignment', 'horizontalLine', 'pageBreak',
          '|',
          'bulletedList', 'numberedList', 'outdent', 'indent',
          '|',
          'sourceEditing',
        ]
      },
      language: 'ja',
      table: {
        contentToolbar: [
          'tableColumn',
          'tableRow',
          'mergeTableCells',
          'tableCellProperties',
          'tableProperties'
        ]
      },
      fontSize: {
        options: [ 10, 12, 14, 16, 18, 20, 24, 28, 32 ]
      },
      htmlSupport: {
        allow: [
          {
              name: 'div',
              styles: true
          },
        ]
      },
    }
  }),

  methods: {
    send() {
      this.$emit('update:value', this.content)
    },
  },
}
</script>
<style lang="scss" scoped>
</style>
呼び出し元のサンプルはこちら。
<template>
  <div>
    <CKEditor
      :value.sync="article"
      class="article"
    />
  </div>
</template>

<script lang="ts">
import CKEditor from '~/components/CKEditor.vue'

export default defineComponent({
  components: {
    CKEditor,
  },
  setup() {
    ...
  },
})
</script>

<style lang="scss" scoped>
</style>
スタイルの調整
できればエディタのサイズは固定にしたいですよね?
heightを指定するオプションがありそうなものですが、公式サイトのFAQに倣ってCSSで調整する事にします。
そのまま記述すると、data属性の関係で要素にScoped CSSのスタイルが当たらないので、deep selectorを使用します。
<style lang="scss" scoped>
.editor {
  ::v-deep {
    .ck.ck-content:not(.ck-comment__input *) {
      height: 300px;
      overflow-y: auto;
    }
  }
}
</style>
確認画面にCKEditorのスタイルを適用させる
確認画面を用意した場合、エディタと同じスタイルを当てたいと思いますね?
しかし、CKEditor5ではスタイルはJavaScript内に含まれており、CSSファイルが別に用意されていません。
そこで、下記公式サイトの紹介に習ってスタイル一式を別途読み込んでやり、エディタのない画面でもスタイルが適用されるようにします。
CKEditorのスタイルを適用させたい箇所にはck-contentクラスを追加します。
<template>
  <div class="ck-content">
    <div v-html="article"></div>
  </div>
</template>

<script lang="ts">
export default defineComponent({
  setup() {
    ...
  },
})
</script>

<style lang="scss" scoped>
@import '~/assets/scss/ckeditor5.scss';
</style>
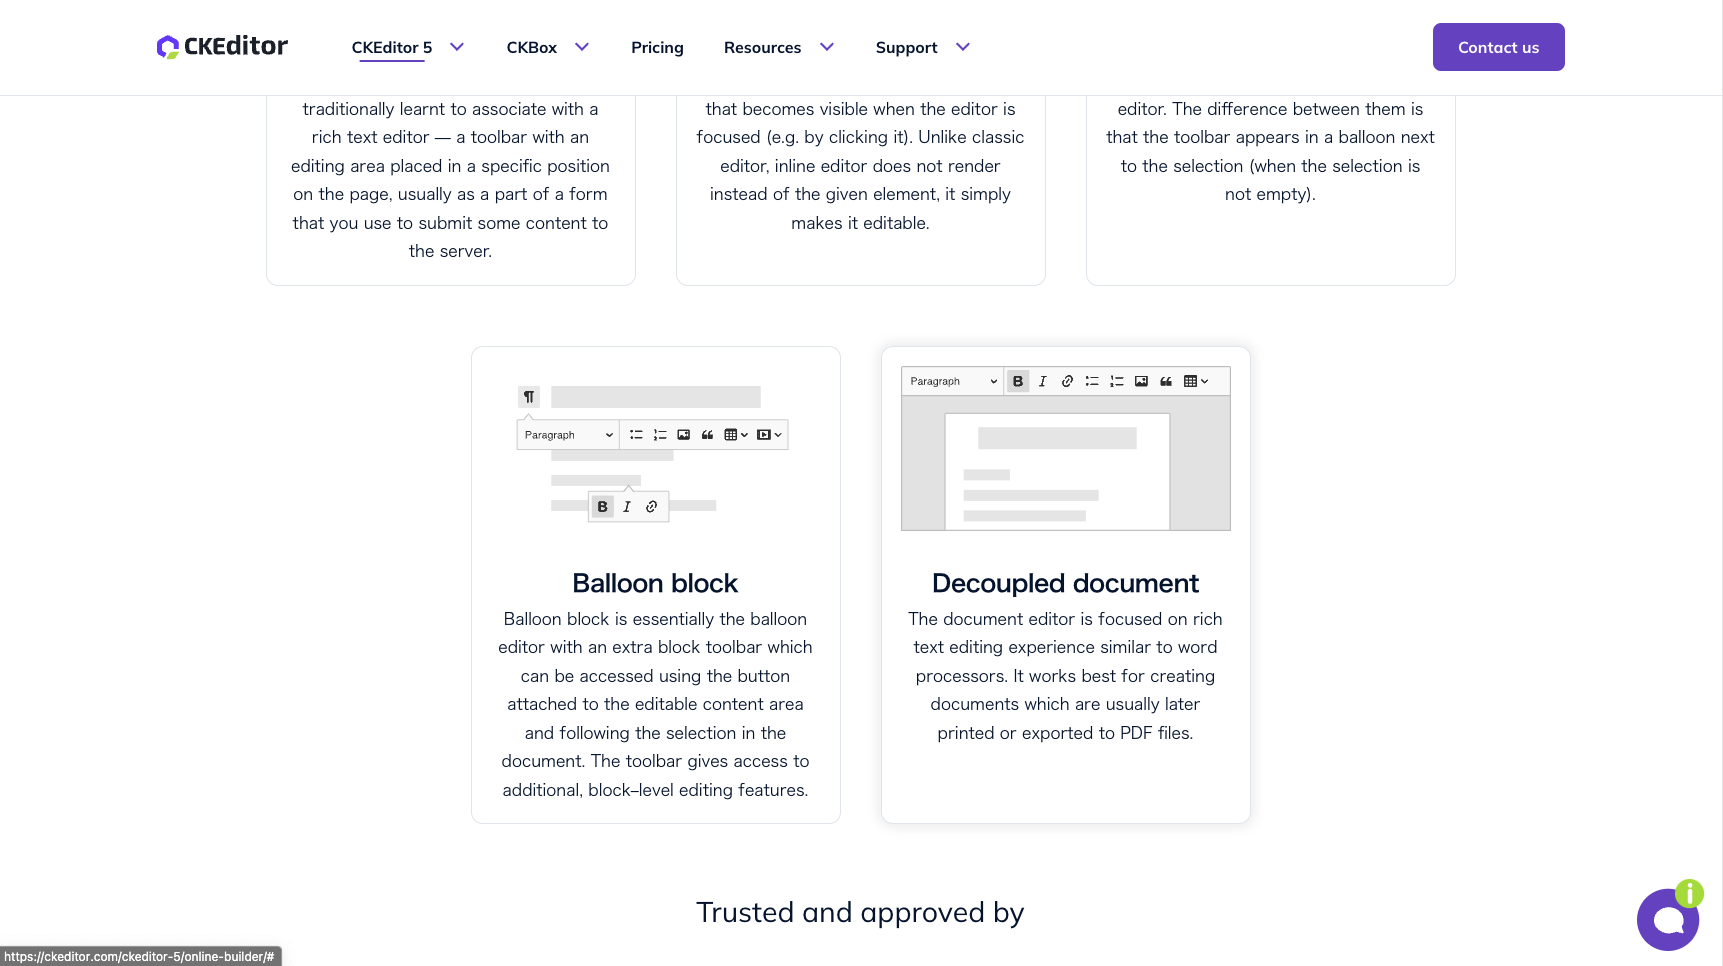
エディタにDocument editorを使う
Wordファイルを扱うなど、Document editorを利用したい場合があるかと思います。
オンラインツールのエディタの種類で「Decoupled document」を選択し、カスタムビルドを作成します。
Document editorのビルドを使用する場合、Classic editorとは違ってそのままだとツールバーが表示されませんので、
エディタの準備ができたタイミングでDOMにツールバーを手動で追加する必要があります。
<template>
  <ClientOnly>
    <div class="editor">
      <ckeditor
        :editor="editor"
        v-model="content"
        :config="config"
        @input="send"
        @ready="onReady"
      ></ckeditor>
    </div>
  </ClientOnly>
</template>

<script>
import '@ckeditor/ckeditor5-build-decoupled-document/build/translations/ja';
import DecoupledDocumentEditor from 'ckeditor5-custom-build/build/ckeditor'
import CKEditor from '@ckeditor/ckeditor5-vue2'

export default {
  components: {
    ckeditor: CKEditor.component,
  },
  props: {
    value: '',
  },
  data: () => ({
    editor: DecoupledDocumentEditor,
    content: this.value,
    config: {}
  }),

  methods: {
    send() {
      this.$emit('update:value', this.content)
    },
    onReady(editor) {
      // Insert the toolbar before the editable area.
      editor.ui.getEditableElement().parentElement.insertBefore(
        editor.ui.view.toolbar.element,
        editor.ui.getEditableElement()
      )
    }
  },
}
</script>
<style lang="scss" scoped>
</style>
デモサイトのようにスタイルを当てたいという場合は下記が参考になります。
<template>
  <ClientOnly>
    <div class="document-editor">
      <div class="document-editor__toolbar"></div>
      <div class="document-editor__editable-container">
        <ckeditor
          :editor="editor"
          v-model="content"
          :config="config"
          @input="send"
          @ready="onReady"
        ></ckeditor>
      </div>
    </div>
  </ClientOnly>
</template>

<script>
import '@ckeditor/ckeditor5-build-decoupled-document/build/translations/ja';
import DecoupledDocumentEditor from 'ckeditor5-custom-build/build/ckeditor'
import CKEditor from '@ckeditor/ckeditor5-vue2'

export default {
  components: {
    ckeditor: CKEditor.component,
  },
  props: {
    value: '',
  },
  data: () => ({
    editor: DecoupledDocumentEditor,
    content: this.value,
    config: {}
  }),

  methods: {
    send() {
      this.$emit('update:value', this.content)
    },
    onReady(editor) {
      const toolbarContainer = document.querySelector('.document-editor__toolbar')
      toolbarContainer.appendChild(editor.ui.view.toolbar.element)
    }
  },
}
</script>
<style lang="scss" scoped>
.document-editor {
  ::v-deep {
    border: 1px solid var(--ck-color-base-border);
    border-radius: var(--ck-border-radius);

    /* Set vertical boundaries for the document editor. */
    max-height: 700px;

    /* This element is a flex container for easier rendering. */
    display: flex;
    flex-flow: column nowrap;
  }
}
.document-editor__toolbar {
  ::v-deep {
    /* Make sure the toolbar container is always above the editable. */
    z-index: 1;

    /* Create the illusion of the toolbar floating over the editable. */
    box-shadow: 0 0 5px hsla( 0,0%,0%,.2 );

    /* Use the CKEditor CSS variables to keep the UI consistent. */
    border-bottom: 1px solid var(--ck-color-toolbar-border);

    /* Adjust the look of the toolbar inside the container. */
    .ck-toolbar {
      border: 0;
      border-radius: 0;
    }
  }
}
.document-editor__editable-container {
  ::v-deep {
    padding: calc( 2 * var(--ck-spacing-large) );
    background: var(--ck-color-base-foreground);

    /* Make it possible to scroll the "page" of the edited content. */
    overflow-y: scroll;

    .ck-editor__editable {
      /* Set the dimensions of the "page". */
      width: 21cm;

      /* Keep the "page" off the boundaries of the container. */
      padding: 1cm 2cm 2cm;

      border: 1px hsl( 0,0%,82.7% ) solid;
      border-radius: var(--ck-border-radius);
      background: white;

      /* The "page" should cast a slight shadow (3D illusion). */
      box-shadow: 0 0 5px hsla( 0,0%,0%,.1 );

      /* Center the "page". */
      margin: 0 auto;
    }
  }
}
</style>
カスタムビルドファイルの更新
後からプラグインを追加したくなった場合、カスタムビルドの差し替えが発生します。
カスタムビルドでビルドファイルを更新した場合はlockファイルのバージョンを変更することで、導入済みのサイトでも更新する事ができます。
"ckeditor5-custom-build@file:./ckeditor5":
-  version "0.0.1"
+  version "0.0.2"
終わりに
そもそもの間違いは、Nuxt2の環境なのにVue2の環境に導入する想定で調べていた事ですね。
サーバサイドレンダリングを利用していなかったのでNuxtをまったく意識していなかったのが失敗でした・・・おかげで大きく回り道をする事に![]()