経緯
透過度を設定したViewをタップした際にエフェクトを表示したかったのですが、なぜだかうまくいきません。薄いような、またそもそも出ていなかったり。
なので試してみました。
結論
背景に対してmaskを指定すれば解決、でした。
<item android:id="@android:id/mask">
サンプル
下みたいな画面を作成して検証してみました。
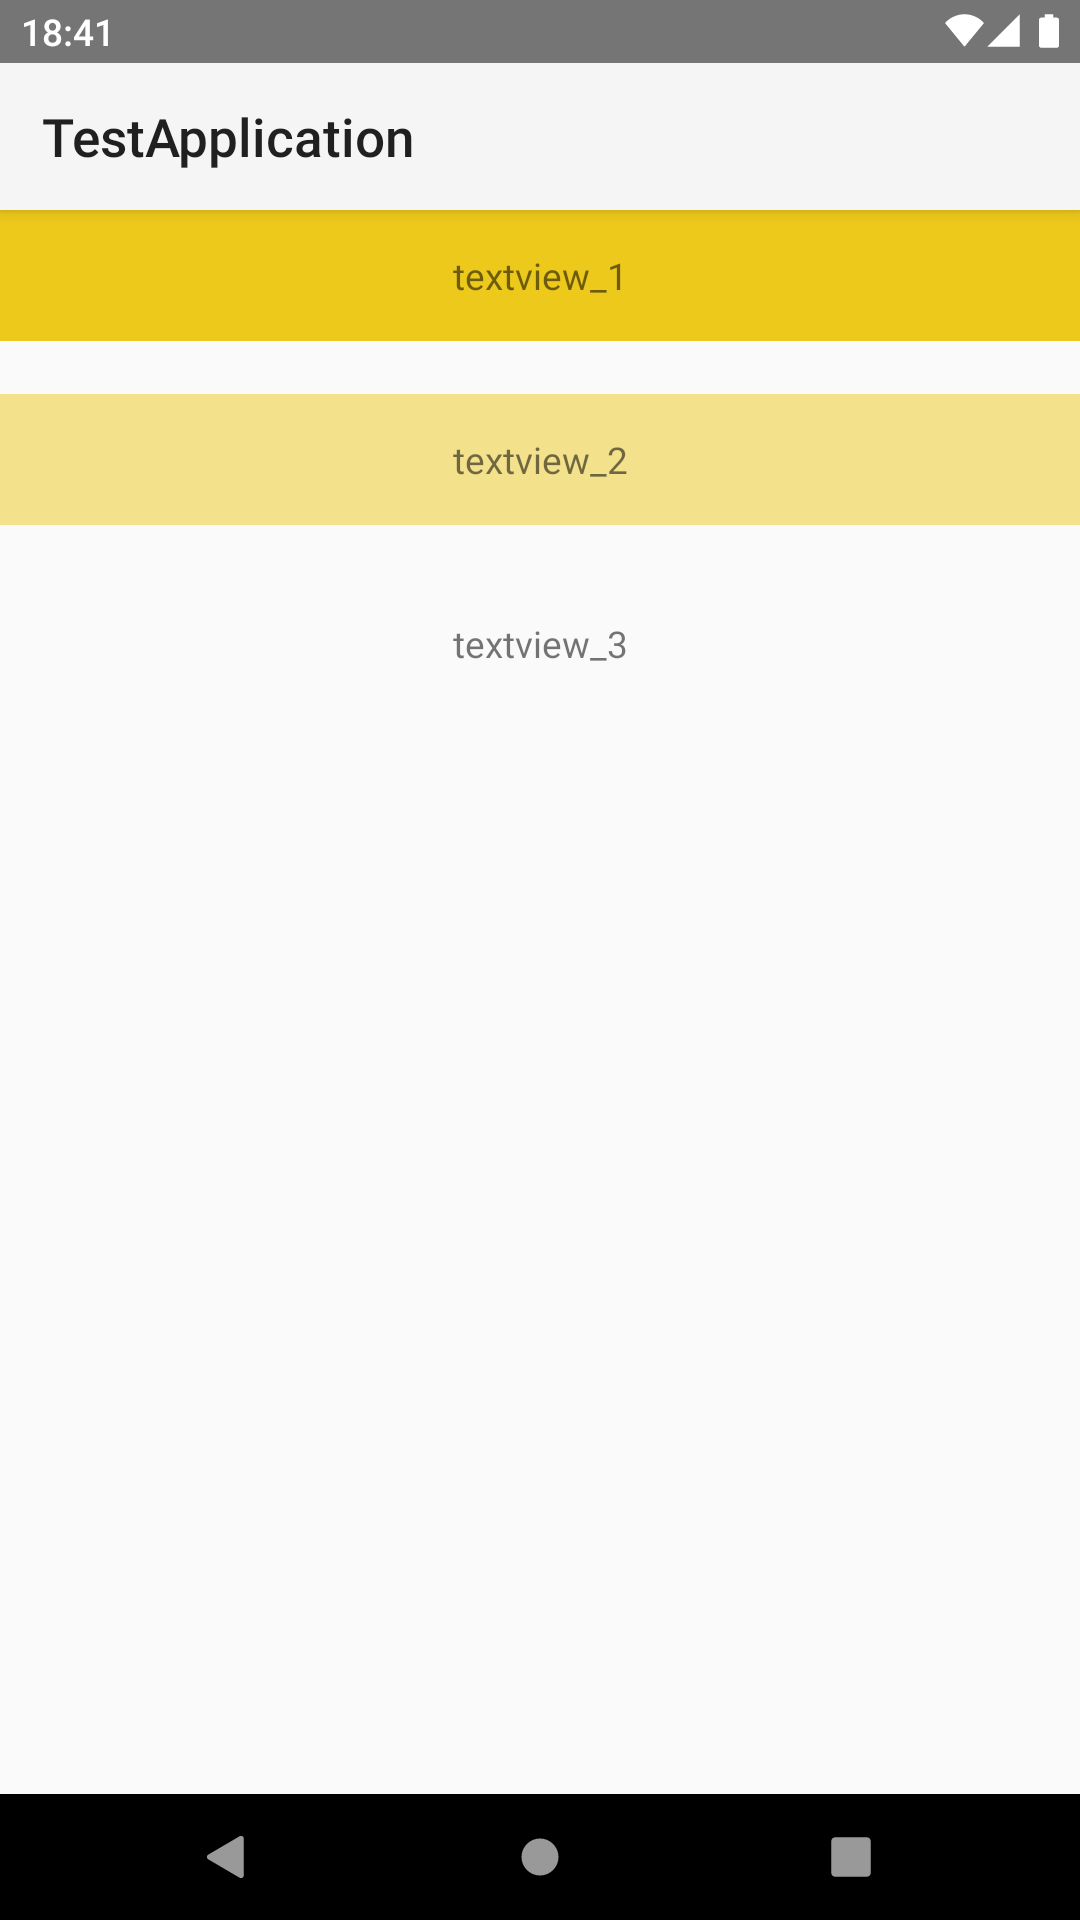
こんな感じの。(MainActivityは割愛)
activity_main.xml
<?xml version="1.0" encoding="utf-8"?>
<androidx.constraintlayout.widget.ConstraintLayout xmlns:android="http://schemas.android.com/apk/res/android"
    xmlns:tools="http://schemas.android.com/tools"
    android:layout_width="match_parent"
    android:layout_height="match_parent"
    xmlns:app="http://schemas.android.com/apk/res-auto"
    tools:context=".MainActivity">

     <TextView
        android:id="@+id/sample_text_view"
        android:layout_width="0dp"
        android:layout_height="50dp"
        android:background="@drawable/background_sample"
        android:clickable="true"
        android:focusable="true"
        android:gravity="center"
        android:text="textview_1"
        app:layout_constraintStart_toStartOf="parent"
        app:layout_constraintTop_toTopOf="parent"
        app:layout_constraintEnd_toEndOf="parent" />

    <TextView
        android:id="@+id/sample_text_view2"
        android:layout_width="0dp"
        android:layout_height="50dp"
        android:layout_marginTop="20dp"
        android:background="@drawable/background_sample2"
        android:clickable="true"
        android:focusable="true"
        android:gravity="center"
        android:text="textview_2"
        app:layout_constraintStart_toStartOf="parent"
        app:layout_constraintTop_toBottomOf="@+id/sample_text_view"
        app:layout_constraintEnd_toEndOf="parent" />

    <TextView
        android:id="@+id/sample_text_view3"
        android:layout_width="0dp"
        android:layout_height="50dp"
        android:layout_marginTop="20dp"
        android:background="@drawable/background_sample3"
        android:clickable="true"
        android:focusable="true"
        android:gravity="center"
        android:text="textview_3"
        app:layout_constraintStart_toStartOf="parent"
        app:layout_constraintTop_toBottomOf="@+id/sample_text_view2"
        app:layout_constraintEnd_toEndOf="parent" />

</androidx.constraintlayout.widget.ConstraintLayout>
また、各TextViewに指定しているdrawableは以下。
background_sample.xml
<?xml version="1.0" encoding="utf-8"?>
<ripple xmlns:android="http://schemas.android.com/apk/res/android"
    android:color="#80B7B9BD">
    <item>
        <shape android:shape="rectangle">
            <!-- ここが背景色。透過度0%(透過なし)-->
            <solid android:color="#ECC91B" />
        </shape>
    </item>
</ripple>
background_sample2.xml
<?xml version="1.0" encoding="utf-8"?>
<ripple xmlns:android="http://schemas.android.com/apk/res/android"
    android:color="#80B7B9BD">
    <item>
        <shape android:shape="rectangle">
            <!-- 透過度50%(半透過)-->
            <solid android:color="#80ECC91B" />
        </shape>
    </item>
</ripple>
background_sample3.xml
<?xml version="1.0" encoding="utf-8"?>
<ripple xmlns:android="http://schemas.android.com/apk/res/android"
    android:color="#80B7B9BD">
    <item>
        <shape android:shape="rectangle">
            <!-- 透過度100%(完全透過)-->
            <solid android:color="@android:color/transparent" />
        </shape>
    </item>
</ripple>
mask設定前
上記の状態で実行してみます。
textview_1 ⇨ textview_2 ⇨ textview_3 ⇨ textview_2 ⇨ textview_1
の順番でタップしています。

textview_1をタップした時はみえていますが、
半透明のtextview_2はなんか薄く、textview_3に至ってはエフェクトが出ていません。
mask設定後
各drawableにmaskを設定します。
background_sample.xml
<?xml version="1.0" encoding="utf-8"?>
<ripple xmlns:android="http://schemas.android.com/apk/res/android"
    android:color="#80B7B9BD">

    <!-- このitemを追加 ここから -->
    <item android:id="@android:id/mask">
        <shape android:shape="rectangle">
            <solid android:color="@android:color/white" />
        </shape>
    </item>
    <!-- ここまで -->

    <item>
        <shape android:shape="rectangle">
            <solid android:color="#ECC91B" />
        </shape>
    </item>
</ripple>
追加するitemにはcolorが設定されていますが、反映はされません。
transparent以外を指定してあげればなんでも良いかと。
<solid android:color="@android:color/white" />
この状態で実行してみます。先ほど同様、
textview_1 ⇨ textview_2 ⇨ textview_3 ⇨ textview_2 ⇨ textview_1
の順番でタップしています。
どれをタップしてもエフェクトが表示されましたね。
まとめ
簡単なことなのに、結構ハマってしまいました。
若干手間ですが、背景に透過度が設定されている場合はmaskを設定しましょう。
終わりです。