はじめに
今回、React Three Fiberを使用して、あの有名なMinecraftのようなゲームを作ってみました。といっても、機能として実装したのは少しですが、React Three Fiberの使い方やヘルパー関数について、本実装を通じて少しでも理解を深めることができればと思い、記事を書いております。
React Three Fiberとは
React Three Fiber (R3F) は、Reactフレームワークを使用して3Dグラフィックスを作成するためのライブラリです。Three.js(JavaScriptで3Dコンテンツを構築するためのライブラリ)をReactのコンポーネント形式で使えるようにしたものです。
環境
-
node:v18.18.0 -
react:18.3.1 -
typescript:5.6.2 -
vite:6.0.1 -
three:0.170.0 -
@react-three/fiber:8.17.10 -
@react-three/drei:9.120.4 -
@react-three/xr:6.4.10 -
@react-three/rapier:1.5.0
環境構築
1. プロジェクトの作成
今回は、Viteを使用してプロジェクトを作成します。
言語としては、TypeScriptを使用します。
npm create vite@latest my-minecraft -- --template react-ts
プロジェクトのディレクトリへ移動
cd my-minecraft
2. 必要な依存関係のインストール
ここでは、three.jsとreact-three-fiberに加えて、以下の3つのエコシステムをインストールします。
-
@react-three/xr:VR/ARコンテンツ作成 -
@react-three/drei:React Three Fiber向けの便利なコンポーネント集
3Dシーン構築時に頻繁に使われる機能を簡略化 -
@react-three/rapier:物理エンジン導入
npm install three @react-three/fiber @react-three/xr @react-three/drei @react-three/rapier
3. 開発サーバーの起動
npm run dev
これでViteの開発サーバーが起動し、ブラウザでhttp://localhost:5173にアクセスしてアプリケーションを確認できます。
プロジェクト構成
src 以下の配置は大まかに以下のようにする
src
├── app
│   ├── App.tsx
│   └── App.css
├── assets
│   └── grass.png
├── components
│   └── Crosshair.tsx
├── features
│   ├── background
│   │   └── components
│   │       └── Ground.tsx
│   │
│   ├── character
│   │   ├── components
│   │   │   ├── Player.tsx
│   │   │   └── VRController.tsx
│   │   └── types.ts
│   │
│   └── object
│       └── components
│           ├── block
│           │   └── components
│           │       ├── Block.tsx
│           │       └── BlockPlacer.tsx
│           │
│           └── ...
│
└── ...
ベースの実装
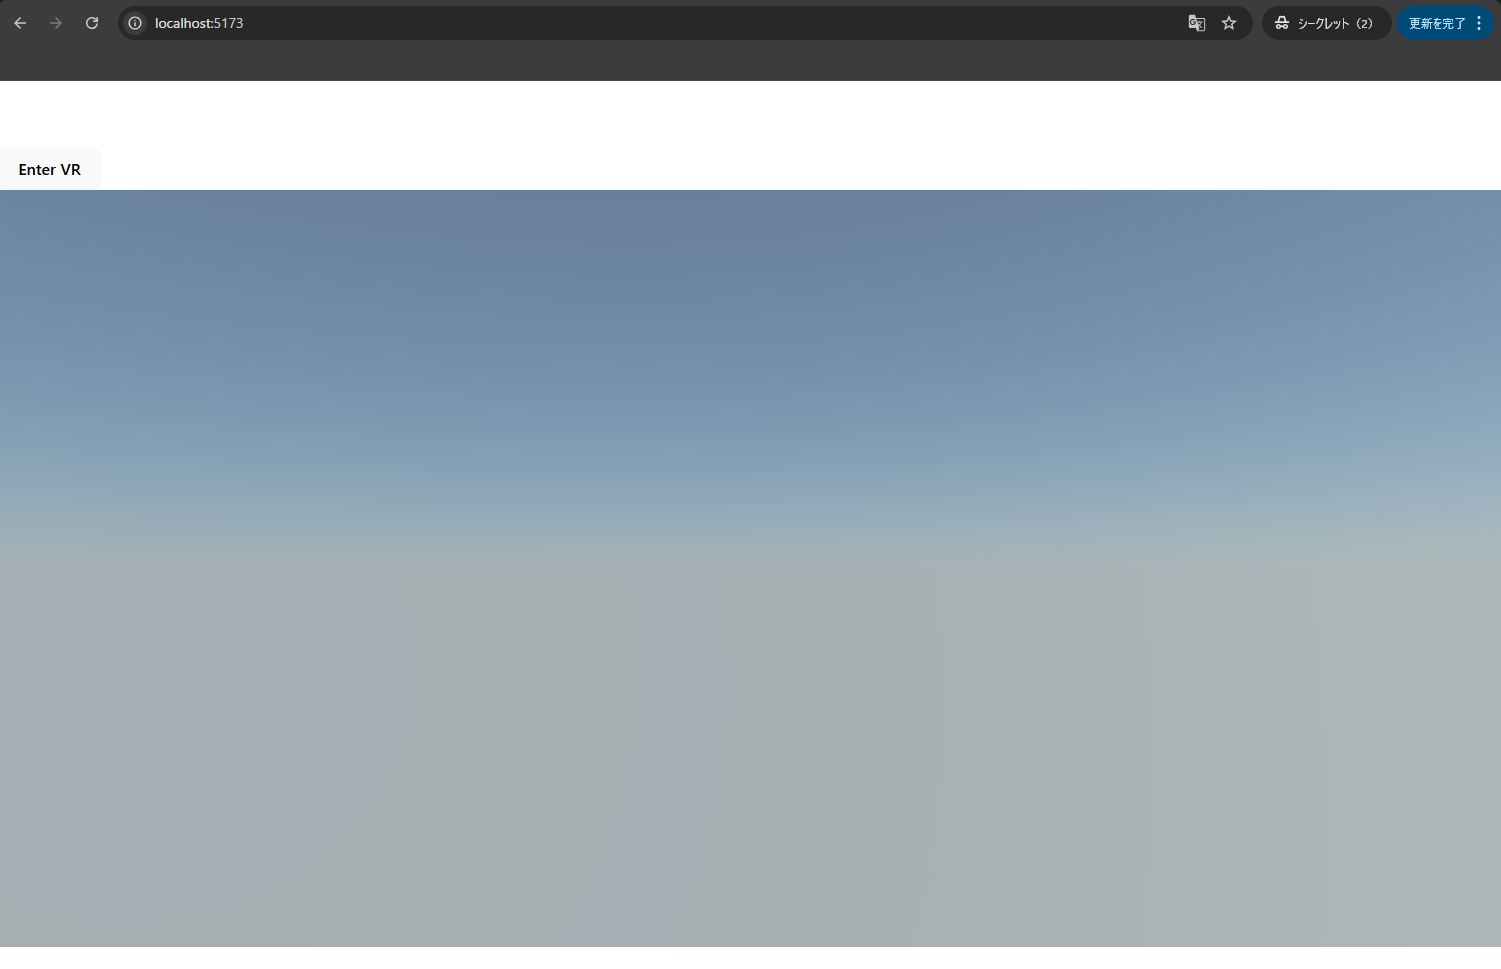
まず初めに、App.tsxに基盤となる実装を行います。
基本的には、3Dコンテンツとして描画するためのものをCanvasで包んで、コンポーネントを配置していきます。
また、VRモードでの使用を想定し、VRに必要な状態管理用のストアやボタンを実装しています。
//App.tsx
import { createXRStore, XR } from "@react-three/xr";
import { Canvas } from "@react-three/fiber";

function App() {
  const store = createXRStore();

  return (
    <div>
      <button onClick={() => store.enterVR()}>Enter VR</button>
      <Canvas camera={{ fov: 45, position: [0, 0, 0] }}>
        <XR store={store}>
          <ambientLight intensity={Math.PI / 2} />
          <spotLight position={[10, 10, 10]} angle={0.15} penumbra={1} decay={0} intensity={Math.PI} />
          <pointLight position={[-10, -10, -10]} decay={0} intensity={Math.PI} />
        </XR>
      </Canvas>
    </div>
  );
}

export default App
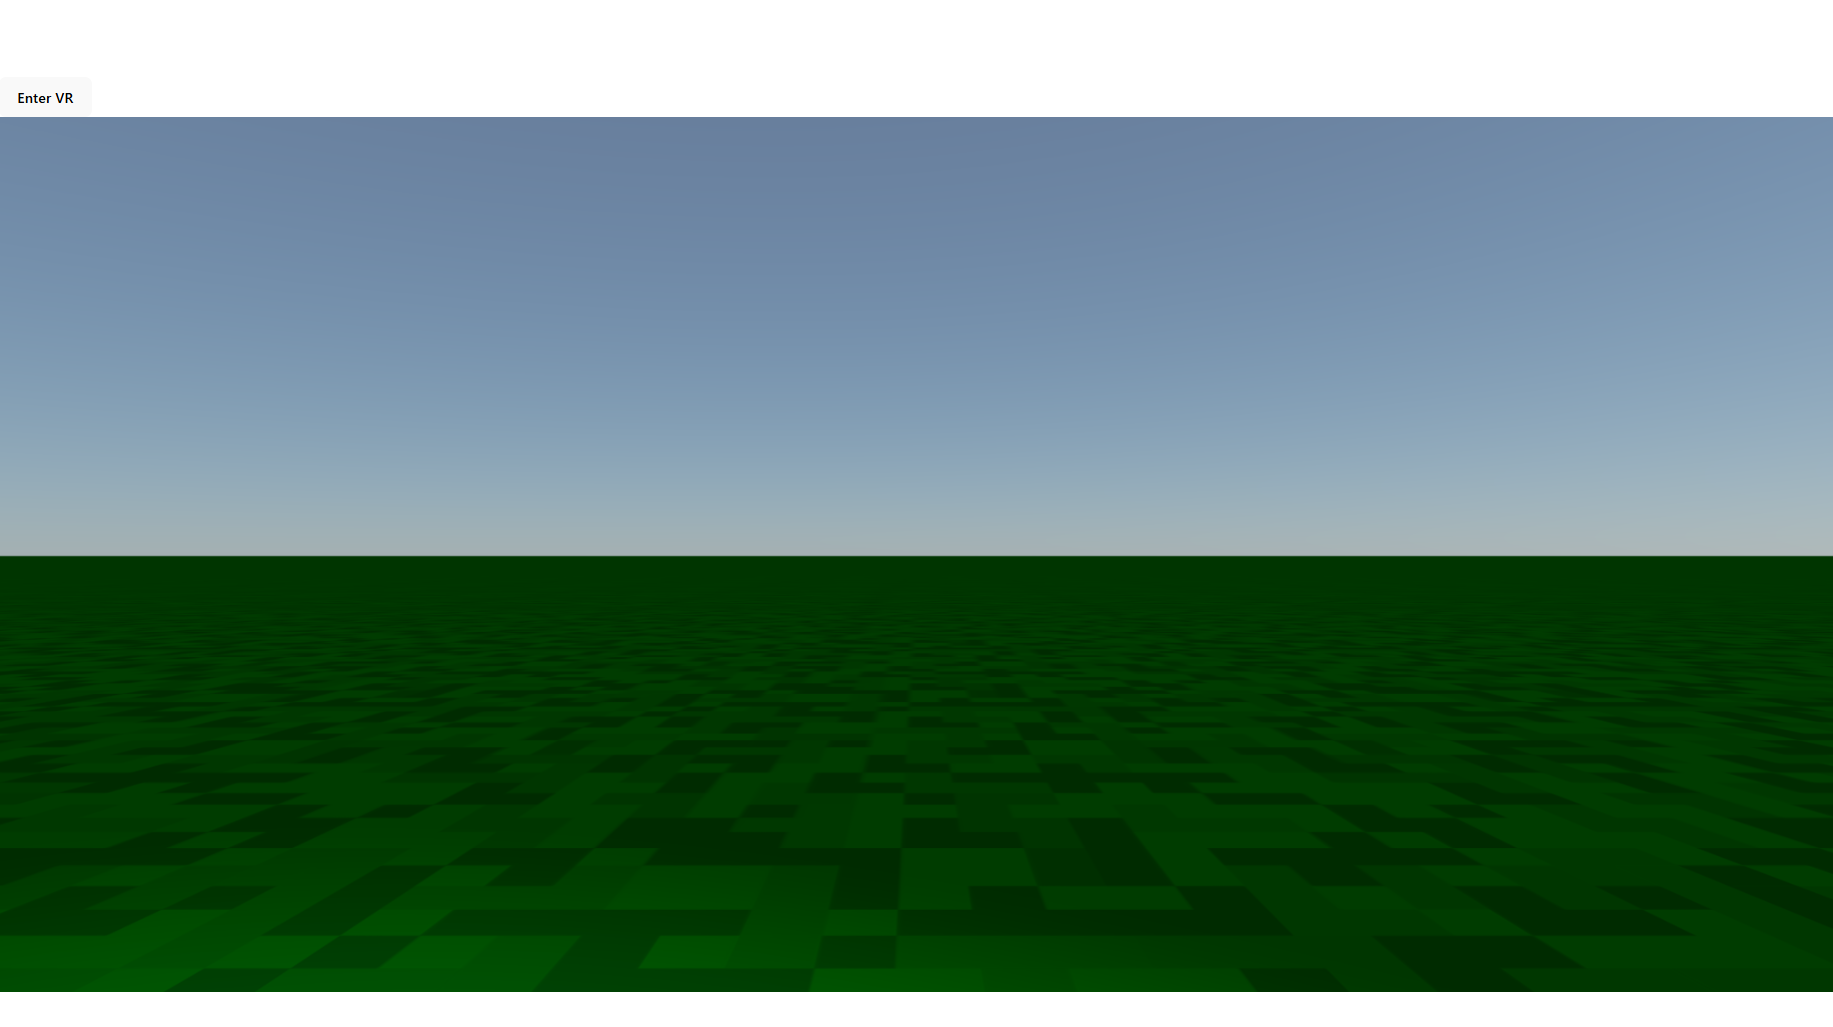
空の実装
次に、空を実装します。
こちらは@react-three/dreiのSkyを使用します。
<Sky />
このコンポーネントを使用することで簡単に空を実装することができます。
Skyの各種パラメータについて
- distance
- 空の描画範囲の広さを指定
- 値が大きいほど、空がより遠くに広がって見える。
- デフォルト値: 450000
- sunPosition
- 太陽の位置を [x, y, z] の形式で指定
- 太陽の位置によってシーン全体の光の当たり具合や影の方向が変化する。
x: 水平方向の位置
y: 垂直方向の高さ
z: 奥行き
- inclination
- 太陽の傾きを指定(地平線に対する角度)
- 値の範囲は
0~1
0: 水平線に沿った位置
1: 頭上にある位置
- azimuth
- 太陽の方位角を指定(南を基準にした方向)
- 値の範囲は
0~1
0: 太陽が東に位置
0.5: 太陽が南に位置
1: 太陽が西に位置
//App.tsx
import { createXRStore, XR } from "@react-three/xr";
import { Canvas } from "@react-three/fiber";

function App() {
  const store = createXRStore();

  return (
    <div>
      <button onClick={() => store.enterVR()}>Enter VR</button>
      <Canvas camera={{ fov: 45, position: [0, 0, 0] }}>
        <XR store={store}>
          <ambientLight intensity={Math.PI / 2} />
          <spotLight position={[10, 10, 10]} angle={0.15} penumbra={1} decay={0} intensity={Math.PI} />
          <pointLight position={[-10, -10, -10]} decay={0} intensity={Math.PI} />
          {/* 空 */}
          <Sky
            distance={450000}
            sunPosition={[5, 1, 8]}
            inclination={0}
            azimuth={0.25}
          />
        </XR>
      </Canvas>
    </div>
  );
}

export default App
地面の実装
次に、地面の実装を行います。
地面に関しては、物理エンジンを導入します。
物理エンジンを使ったリアルな物理挙動(重力、衝突など)を再現したいコンポーネントに関しては、Physicsでラップします。
//App.tsx
import { createXRStore, XR } from "@react-three/xr";
import { Canvas } from "@react-three/fiber";
import { Physics } from "@react-three/rapier"
import { Ground } from "../features/background/components/Ground";

function App() {
  const store = createXRStore();

  return (
    <div>
      <button onClick={() => store.enterVR()}>Enter VR</button>
      <Canvas camera={{ fov: 45, position: [0, 0, 0] }}>
        <XR store={store}>
          <ambientLight intensity={Math.PI / 2} />
          <spotLight position={[10, 10, 10]} angle={0.15} penumbra={1} decay={0} intensity={Math.PI} />
          <pointLight position={[-10, -10, -10]} decay={0} intensity={Math.PI} />
          {/* 空 */}
          <Sky
            distance={450000}
            sunPosition={[5, 1, 8]}
            inclination={0}
            azimuth={0.25}
          />
          {/* 物理エンジン */}
          <Physics gravity={[0, -9.81, 0]}>
            {/* 地面 */}
            <Ground />
          </Physics>
        </XR>
      </Canvas>
    </div>
  );
}

export default App
地面の柄については、grass.pngという画像テクスチャを用いて、繰り返し設定で草ブロックの地面を表現しています。画像については、以下からダウンロードしました。
また、RigidBodyとCuboidColliderで物理的な「地面」として機能させ、落下物やキャラクターがこの地面上にしっかりと立てるように実装します。
RigidBodyの各種プロパティ
-
type:剛体の種類-
dynamic:他の物体や重力の影響を受ける動的な剛体 -
fixed:固定された剛体。他の物体に影響を与えるが、自分自身は動かない
-
-
colliders:衝突判定に使用される形状(コライダー)を指定-
trimesh:三角形メッシュ(正確だが計算が重い) -
cuboid:立方体 -
ball:球体 -
hull:凸包(オブジェクトの外側を覆う形状)
-
-
friction:摩擦係数を指定- 値が大きいほど摩擦が強くなり、動きが止まりやすくなります
-
restitution:反発係数(弾性率)を指定- 値が大きいほど、衝突後に弾む力が強くなります
//Ground.tsx
import * as THREE from "three"
import { useTexture } from "@react-three/drei"
import { CuboidCollider, RigidBody, RigidBodyProps } from "@react-three/rapier"
import grass from "../../../assets/grass.png"

export function Ground(props: RigidBodyProps) {
  const texture = useTexture(grass)
  texture.wrapS = THREE.RepeatWrapping
  texture.wrapT = THREE.RepeatWrapping
  return (
    <RigidBody {...props} type="fixed" colliders={false}>
      <mesh receiveShadow position={[0, 0, 0]} rotation-x={-Math.PI / 2}>
        <planeGeometry args={[1000, 1000]} />
        <meshStandardMaterial map={texture} map-repeat={[240, 240]} color="green" />
      </mesh>
      <CuboidCollider args={[1000, 2, 1000]} position={[0, -2, 0]} />
    </RigidBody>
  )
}
プレイヤーの実装
次に、プレイヤーの実装を行います。
ここで言うプレイヤーはユーザーが操作するキャラクターに相当するものです。
App.tsxでは、PlayerコンポーネントをPhysicsでラップします。
また、以下のdreiコンポーネントを使用します。
-
KeyboardControls:キーボードでプレイヤーの操作を制御 -
PointerLockControls:マウスでプレイヤー(カメラ)の視点を操作
//App.tsx
import { createXRStore, IfInSessionMode, XR } from "@react-three/xr";
import { Canvas } from "@react-three/fiber";
import { KeyboardControls, PointerLockControls, Sky } from '@react-three/drei';
import { Physics } from "@react-three/rapier"
import { GroundGrid } from "../features/background/components/Ground";
import Player from "../features/character/components/Player";

function App() {
  const store = createXRStore();

  return (
    <div style={{ height: "100%" }}>
      <button onClick={() => store.enterVR()}>Enter VR</button>
      <KeyboardControls
        map={[
          { name: 'forward', keys: ['ArrowUp', 'KeyW'] },
          { name: 'backward', keys: ['ArrowDown', 'KeyS'] },
          { name: 'left', keys: ['ArrowLeft', 'KeyA'] },
          { name: 'right', keys: ['ArrowRight', 'KeyD'] },
          { name: 'jump', keys: ['Space'] },
        ]}
      >
        <Canvas camera={{ fov: 45, position: [0, 0, 0] }}>
            <XR store={store}>
              <ambientLight intensity={Math.PI / 2} />
              <spotLight position={[10, 10, 10]} angle={0.15} penumbra={1} decay={0} intensity={Math.PI} />
              <pointLight position={[-10, -10, -10]} decay={0} intensity={Math.PI} />
              {/* 空 */}
              <Sky
                distance={450000}
                sunPosition={[5, 1, 8]}
                inclination={0}
                azimuth={0.25}
              />
              <Physics gravity={[0, -9.81, 0]}>
                {/* 地面 */}
                <GroundGrid size={100} tileSize={0.5} />
                {/* キャラクター */}
                <Player />
              </Physics>
              {/* コントロール(ブラウザのみ) */}
              <IfInSessionMode deny={['immersive-ar', 'immersive-vr']} >
                <PointerLockControls />
              </IfInSessionMode>
            </XR>
          </Canvas>
        <div
          style={{
            position: 'absolute',
            bottom: 25,
            left: 10,
            backgroundColor: 'rgba(255, 255, 255, 0.8)',
            padding: '10px',
            borderRadius: '5px',
            fontSize: '14px',
          }}
        >
          <h4>操作方法</h4>
          <ul style={{ margin: 0, paddingLeft: '20px' }}>
            <li>移動:W/A/S/Dキー</li>
            <li>ジャンプ:スペースキー</li>
            <li>視点操作:マウス</li>
          </ul>
        </div>
      </KeyboardControls>
    </div>
  );
}

export default App
Player.tsxとVRController.tsxを以下のように実装します。
-
剛体と物理演算:
RigidBodyとCapsuleColliderを使ってプレイヤーの物理的な当たり判定と重力、衝突判定を行います。useRapierから取得したworldを使い、レイキャストで地面接地判定を行い、ジャンプ可能かどうかを確認します。 -
移動処理 (
playerMove):- キーボード入力(前後左右)に従い、プレイヤーの進行方向ベクトルを計算します
- 回転 (
rotationYVelocity) に基づきプレイヤーの向きを更新し、その向きを考慮して速度(setLinvel)を設定します - VRモード時は
newVelocityが渡された場合、そのまま速度として適用し、キーボード入力なしでVRコントローラーからの入力で移動します
-
ジャンプ処理 (
playerJump):
プレイヤーが地面に接地している場合のみ、上方向に速度を加えジャンプします。 -
毎フレーム更新 (
useFrame):
毎フレーム呼ばれる処理で、- 現在の剛体速度や位置を取得
- カメラをプレイヤーの位置に追従
- キーボード入力に基づき
playerMoveで移動、playerJumpでジャンプ処理を行います
-
VR対応 (
IfInSessionModeとVRController):
VRセッション中のみVRControllerを有効にし、VRコントローラーによる入力をplayerMoveに反映することで、VRモードでの移動・ジャンプが可能になります。
//Player.tsx
import { useKeyboardControls } from '@react-three/drei'
import { useFrame } from '@react-three/fiber'
import {
  CapsuleCollider,
  interactionGroups,
  RapierRigidBody,
  RigidBody,
  useRapier
} from '@react-three/rapier'
import { IfInSessionMode } from '@react-three/xr'
import { useRef, useState } from 'react'
import { PlayerMoveProps } from '../types.ts'
import { VRController } from './VRController.jsx'
import * as THREE from 'three'

const SPEED = 5
const direction = new THREE.Vector3()
const frontVector = new THREE.Vector3()
const sideVector = new THREE.Vector3()

const vector3Obj = new THREE.Vector3()
const quaternionFunc = new THREE.Quaternion()
const quaternionFunc2 = new THREE.Quaternion()
const eulerAngles = new THREE.Euler()

export function Player() {
  // プレイヤーの剛体(RigidBody)への参照
  const rigidBodyRef = useRef<RapierRigidBody>(null)
  // 物理エンジンとワールドを取得
  const { rapier, world } = useRapier()
  // キーボードコントロールを取得(forward, backward, left, right, jumpなど)
  const [, get] = useKeyboardControls()
  // ジャンプ可能かどうかのフラグ
  const [canJump, setCanJump] = useState(true)

  // プレイヤー移動関数
  const playerMove = ({
    forward,
    backward,
    left,
    right,
    rotationYVelocity,
    velocity,
    newVelocity,
  }: PlayerMoveProps) => {
    // 剛体が存在しなければ何もしない
    if (rigidBodyRef.current == null) {
      return
    }

    // 速度が未指定なら現在の剛体速度を使用
    if (!velocity) {
      velocity = rigidBodyRef.current?.linvel()
    }

    // 回転を適用
    // プレイヤーの向きをrotationYVelocityに応じて回転させる
    const { x, y, z, w } = rigidBodyRef.current.rotation()
    quaternionFunc.set(x, y, z, w)
    // rotationYVelocityに基づいてY軸周りの回転を計算し、quaternionFuncに適用
    // eulerAngles.set(0, rotationYVelocity, 0, 'YXZ')で回転を指定し、
    // setFromEulerでオイラー角をクォータニオンに変換
    quaternionFunc.multiply(quaternionFunc2.setFromEuler(eulerAngles.set(0, rotationYVelocity, 0, 'YXZ')))
    rigidBodyRef.current?.setRotation(quaternionFunc, true)

    // VRモードの場合はnewVelocityを直接適用
    if (newVelocity) {
      // VRモードではnewVelocityをそのまま利用(前後左右の移動量)
      rigidBodyRef.current?.setLinvel({ x: newVelocity.x, y: velocity?.y ?? 0, z: newVelocity.z }, true)
      return
    }

    // キーボード入力による前後左右の方向計算
    frontVector.set(0, 0, (backward ? 1 : 0) - (forward ? 1 : 0))
    sideVector.set((left ? 1 : 0) - (right ? 1 : 0), 0, 0)
    direction
      .subVectors(frontVector, sideVector)
      .applyQuaternion(quaternionFunc) // プレイヤーの現在の向きを考慮
      .setComponent(1, 0)
      .normalize()
      .multiplyScalar(SPEED)

    // 計算した方向で剛体の速度を設定
    rigidBodyRef.current?.setLinvel({ x: direction.x, y: velocity?.y ?? 0, z: direction.z }, true)
  }

  // プレイヤーのジャンプ処理
  const playerJump = (() => {
    if (!rigidBodyRef.current) return
    const position = rigidBodyRef.current.translation()
    // 下方向へのレイキャストで地面との接地判定
    const ray = new rapier.Ray(position, { x: 0, y: -1, z: 0 })
    const hit = world.castRay(ray, 1.1, true)
    const grounded = hit !== null || position.y <= 1
    if (grounded) {
      // 地面に接地しているならジャンプ可能にする
      setCanJump(true)
      if (canJump) {
        // ジャンプ力を上方向に付与
        const velocity = rigidBodyRef.current.linvel()
        rigidBodyRef.current.setLinvel({ x: velocity.x, y: 7.5, z: velocity.z }, true)
        setCanJump(false)
      }
    }
  })

  // 毎フレーム更新処理
  useFrame((state) => {
    if (rigidBodyRef.current == null) {
      return
    }
    // キーボード入力状態を取得
    const { forward, backward, left, right, jump } = get()
    const velocity = rigidBodyRef.current.linvel()

    // 速度ベクトルをコピー
    vector3Obj.set(velocity.x, velocity.y, velocity.z)

    // プレイヤーの位置にカメラを追従
    const { x, y, z } = rigidBodyRef.current.translation()
    state.camera.position.set(x, y, z)

    if (rigidBodyRef.current) {
      // キーボード操作による移動処理
      playerMove({
        forward,
        backward,
        left,
        right,
        rotationYVelocity: 0,
        velocity,
      })

      // スペースキーでジャンプ
      if (jump) {
        playerJump()
      }
    }
  })

  return (
    <>
      <RigidBody
        ref={rigidBodyRef}
        colliders={false}
        mass={1}
        type="dynamic"
        position={[0, 10, 0]}
        enabledRotations={[false, false, false]} // 回転を固定して、キャラクターが倒れないようにする
        collisionGroups={interactionGroups([0], [0])}
      >
        {/* カプセル型のコライダーでプレイヤーの当たり判定を定義 */}
        <CapsuleCollider args={[1, 0.7]} />

        {/* VRセッション中のみVRControllerを使用してVRモードの操作を有効化 */}
        <IfInSessionMode allow={['immersive-vr']}>
          <VRController playerJump={playerJump} playerMove={playerMove} />
        </IfInSessionMode>
      </RigidBody>
    </>
  )
}
//VRController.tsx
import { useFrame } from '@react-three/fiber'
import { useXRControllerLocomotion, useXRInputSourceState, XROrigin } from '@react-three/xr'
import { PlayerMoveProps } from '../types.ts'
import * as THREE from 'three'

export function VRController({
  playerJump,
  playerMove,
}: {
  playerJump?: () => void
  playerMove: (params: PlayerMoveProps) => void
}) {
  const controllerRight = useXRInputSourceState('controller', 'right')

  const physicsMove = (velocity: THREE.Vector3, rotationYVelocity: number) => {
    playerMove({
      forward: false,
      backward: false,
      left: false,
      right: false,
      rotationYVelocity,
      newVelocity: velocity,
    })
  }

  useXRControllerLocomotion(physicsMove, { speed: 5 })

  useFrame(() => {
    if (controllerRight?.gamepad?.['a-button']?.state === 'pressed') {
      playerJump?.()
    }
  })

  return <XROrigin position={[0, -1.25, 0]} />
}
ブロックの実装
最後に、ブロックを作成します。
ブロックのオブジェクトとブロックを配置するロジックを実装します。
App.tsxでは、BlockPlacerコンポーネントをPhysics内に記述します。
Block.tsxは以下のように実装します。
シェーダーを使ってタイル状のパターンを持つブロックを描画し、そのブロックを物理剛体(固定オブジェクト)としてシーンに配置します。vertexShaderとfragmentShaderでUV座標を使ったチェッカーパターンを生成し、useMemoでShaderMaterialを一度だけ作成、RigidBodyで物理的な床として扱えるブロックを作っています。
Texture用の画像が用意できる場合は、そちらを活用しましょう。
某ブランドのような柄のブロックになってしまいました。
//Block.tsx
import { useMemo } from 'react';
import { MeshProps, Vector3 } from '@react-three/fiber';
import { RigidBody } from '@react-three/rapier';
import * as THREE from 'three';

interface BlockProps extends MeshProps {
  position: Vector3;
}

// 頂点シェーダー(UV座標をフラグメントシェーダーに受け渡す)
const vertexShader = /* glsl */`
  varying vec2 vUv;
  void main() {
    vUv = uv;
    gl_Position = projectionMatrix * modelViewMatrix * vec4(position, 1.0);
  }
`;

// フラグメントシェーダー(UV座標を元にタイルパターンを生成)
const fragmentShader = /* glsl */`
  varying vec2 vUv;
  uniform float tileCount;
  uniform vec3 color1;
  uniform vec3 color2;

  void main() {
    // vUvで0〜1の範囲のUV座標が得られる
    // tileCount倍してfloorで整数化することで、タイルのマス目を決定
    float tileU = floor(vUv.x * tileCount);
    float tileV = floor(vUv.y * tileCount);

    // タイルのチェッカー計算 (偶数マスか奇数マスか)
    float checker = mod(tileU + tileV, 2.0);

    // checkerが0ならcolor1、1ならcolor2を選択
    vec3 color = mix(color1, color2, checker);
    gl_FragColor = vec4(color, 1.0);
  }
`;

export default function Block({ position }: BlockProps) {
  // ShaderMaterialをuseMemoでキャッシュ
  const material = useMemo(() => {
    const mat = new THREE.ShaderMaterial({
      vertexShader,
      fragmentShader,
      uniforms: {
        tileCount: { value: 8.0 }, // タイルの細かさ(数)
        color1: { value: new THREE.Color('#5c3b1e') },
        color2: { value: new THREE.Color('#7b5e2a') }
      }
    });
    return mat;
  }, []);

  return (
    <RigidBody
      type="fixed"
      colliders="cuboid"
      position={position}
      friction={1}
      restitution={0}
    >
      <mesh receiveShadow castShadow>
        <boxGeometry args={[1, 1, 1]} />
        <primitive object={material} attach="material" />
      </mesh>
    </RigidBody>
  );
}
次は、ブロックを配置するコンポーネントを作成します。
このコードは、マウスクリックやVRコントローラーのイベントで、3Dシーン上にブロックを配置する仕組みを実装しています。
-
マウスでのブロック配置(ブラウザモード):
マウスクリック(pointerdownイベント)時に、クリックした位置からレイを飛ばし、その衝突点付近にブロックを配置します。 -
VRモードでのブロック配置:
VRセッション中(sessionが有効)にselectstartイベントが発生すると、inputSource.targetRaySpaceからレイの原点と方向を求め、レイキャストしてブロックを置きます。 -
重複設置防止:
既に近くにブロックがある場合は新たなブロックを置きません。
//BlockPlacer.tsx
import { useState, useEffect, useCallback } from 'react';
import { useThree } from '@react-three/fiber';
import { Raycaster, Vector2, Vector3, Quaternion } from 'three';
import Block from './Block';
import { useXR } from '@react-three/xr';

interface BlockData {
  key: string;
  position: Vector3;
}

export function BlockPlacer() {
  const { scene, camera, gl } = useThree();
  const [blocks, setBlocks] = useState<BlockData[]>([]);
  const raycaster = new Raycaster();

  // useXRからsessionとoriginReferenceSpaceを取得
  const session = useXR((xr) => xr.session);
  const originReferenceSpace = useXR((xr) => xr.originReferenceSpace);

  const placeBlock = useCallback((raycaster: Raycaster) => {
    const intersects = raycaster.intersectObjects(scene.children, true);
    if (intersects.length > 0) {
      const intersect = intersects[0];
      if (!intersect.face) return;

      const position = new Vector3()
        .copy(intersect.point)
        .add(intersect.face.normal.multiplyScalar(0.5));

      position.x = Math.round(position.x);
      position.y = Math.round(position.y) + 0.5;
      position.z = Math.round(position.z);

      const blockExists = blocks.some(block =>
        block.position.distanceTo(position) < 0.1
      );

      if (!blockExists) {
        const newBlock = {
          key: `${position.x}-${position.y}-${position.z}`,
          position: position.clone(),
        };
        setBlocks(prevBlocks => [...prevBlocks, newBlock]);
      }
    }
  }, [blocks, scene]);

  // マウスクリックでブロック設置
  const handlePointerDown = useCallback((event: PointerEvent) => {
    const isPointerLocked = document.pointerLockElement === gl.domElement;
    const mouse = new Vector2();

    if (isPointerLocked) {
      mouse.set(0, 0);
    } else {
      mouse.x = (event.clientX / gl.domElement.clientWidth) * 2 - 1;
      mouse.y = -(event.clientY / gl.domElement.clientHeight) * 2 + 1;
    }

    raycaster.setFromCamera(mouse, camera);
    placeBlock(raycaster);
  }, [blocks, camera, gl.domElement, scene, placeBlock]);

  useEffect(() => {
    document.addEventListener('pointerdown', handlePointerDown);
    return () => {
      document.removeEventListener('pointerdown', handlePointerDown);
    };
  }, [handlePointerDown]);

  // WebXRのselectstartイベントをsessionからリッスン
  useEffect(() => {
    if (!session || !originReferenceSpace) return;

    const onSelectStart = (event: XRInputSourceEvent) => {
      const { inputSource, frame } = event;
      if (!frame || !inputSource) return;

      // targetRaySpaceからposeを取得
      const pose = frame.getPose(inputSource.targetRaySpace, originReferenceSpace);
      if (!pose) return;

      const { position: pos, orientation: ori } = pose.transform;
      const rayOrigin = new Vector3(pos.x, pos.y, pos.z);
      const q = new Quaternion(ori.x, ori.y, ori.z, ori.w);
      const rayDirection = new Vector3(0, 0, -1).applyQuaternion(q);

      raycaster.set(rayOrigin, rayDirection);
      placeBlock(raycaster);
    };

    session.addEventListener('selectstart', onSelectStart);
    return () => {
      session.removeEventListener('selectstart', onSelectStart);
    };
  }, [session, originReferenceSpace, placeBlock, raycaster]);

  return (
    <>
      {blocks.map(block => (
        <Block
          key={block.key}
          position={block.position}
        />
      ))}
    </>
  );
};
VRゴーグルで遊んでみた
Meta Quest3を使用して、遊んでみました。
Quest3で、ブラウザにアクセスし、EnterVRボタンを押すことでVRモードが展開されます。

@react-three/xrのVRモードを使用するには、通信をhttpsにする必要があります。
詳細は、こちら
最後に
今回は、Minecraftっぽいゲームを作ってみました。
個人的には、物理エンジンの導入部分とVRモードでのプレイヤーの操作に関する実装あたりが難しいと思いました。
記事を参考に、少しでもReact Three Fiberの知見を深めることができれば幸いです。
参考文献
- React Three Fiber.docs.「Examples - React Three Fiber」, https://r3f.docs.pmnd.rs/getting-started/examples, (参照 2024-12-01)
- Qiita. 「回転行列、クォータニオン(四元数)、オイラー角の相互変換」.2021-03-11, https://qiita.com/aa_debdeb/items/3d02e28fb9ebfa357eaf, (参照 2024-12-01)
- Drei.docs.「Introduction - Drei」, https://drei.docs.pmnd.rs/getting-started/introduction, (参照 2024-12-01)
- xr.docs.「Introduction - xr」, https://pmndrs.github.io/xr/docs/getting-started/introduction, (参照 2024-12-01)