はじめに
この記事では,TOPPERS/R2CAによるThingSpeakへの接続方法について説明します.
TOPPERS/R2CAの説明とサンプルの動作方法は次の記事を見て下さい.
- Arduino M0 Pro でマルチタスクプログラミング : インストールとサンプルの実行
- [Arduino M0 Pro でマルチタスクプログラミング : マルチタスク](http://qiita.com/e
xshonda/items/7afb12b56696cf44895e) - Arduino M0 Pro でマルチタスクプログラミング : Wifi通信
変更履歴
- 2016/5/05
- アクセスポイントの設定を別ファイルとした.
ThingSpeakとは
ThingSpeakは,IoT向けのデータ可視化,解析,アクションを提供するクラウドサービスです.アカウントを作れば無料で使うことができます.
ArduionoやESP8266向けのライブラリが提供されていので,簡単にデバイスとクラウド間の通信が可能です.
ハードウエア
必要なハードウエアは, Arduino M0 Pro でマルチタスクプログラミング : Wifi通信の記事と同じものです.
サーバー側の設定
手順を簡単に説明すると手順は次の通りです.
-
Thingspeakのアカウントを作成する.
-
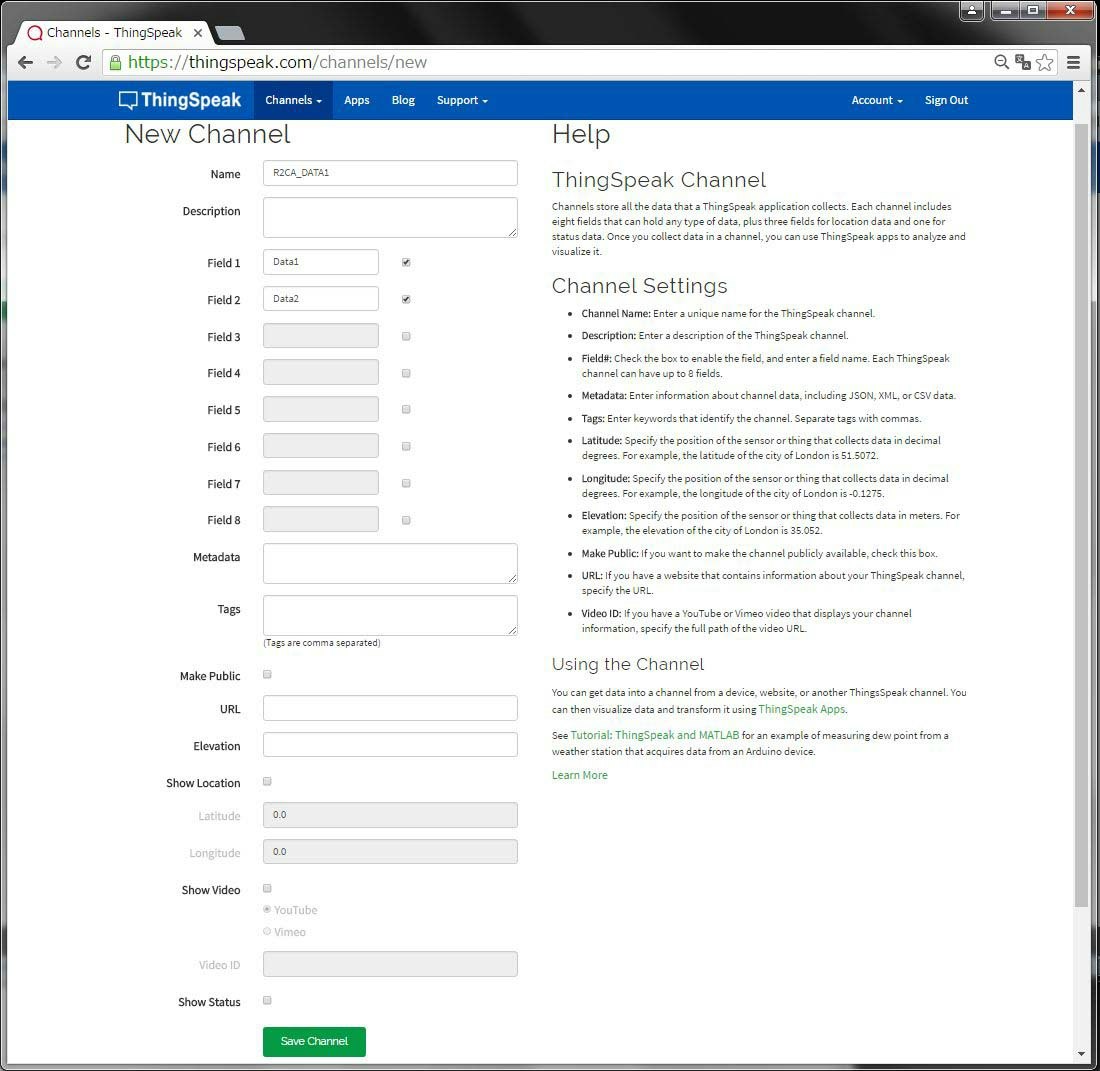
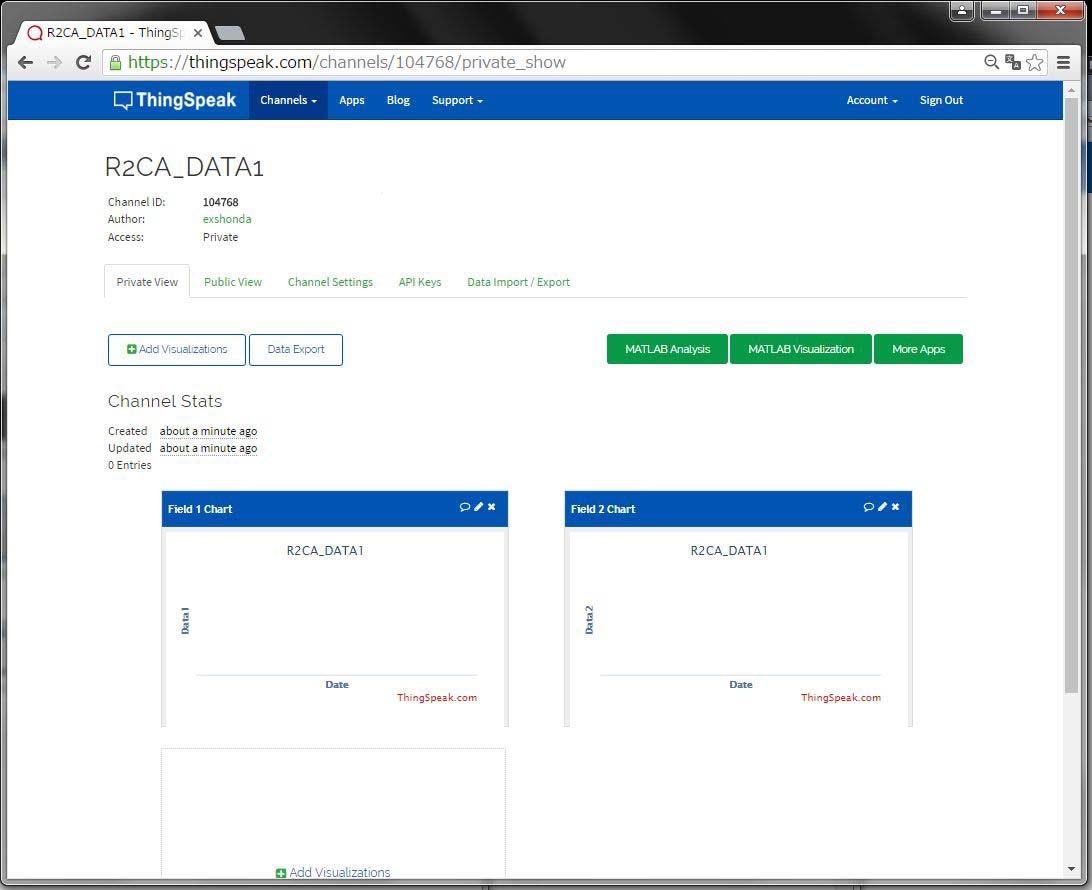
Thingspeakにログインして新しいチャネル(名前は何でもよい)を作る.チャネルのFieldは2個適当な名前で用意する.ここで Channel IDを記録しておく.
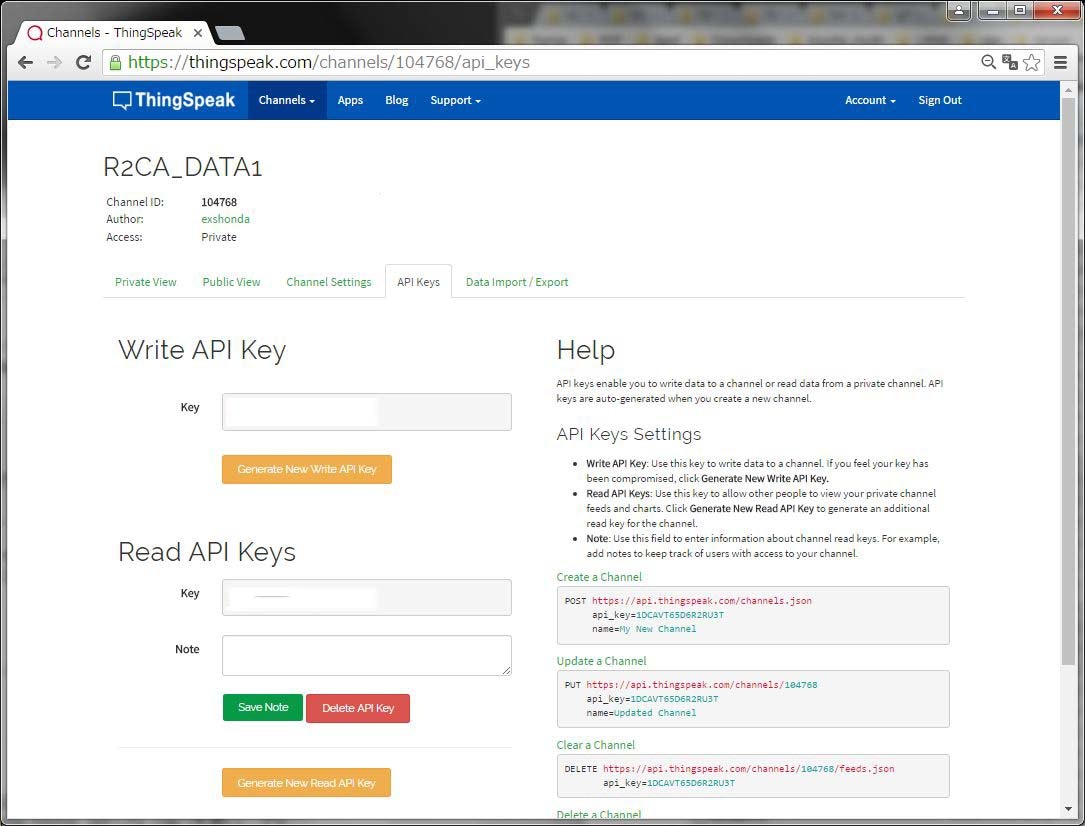
- "API Keys"のタブを押して,"Write API Key" と "Read API Keys"を記録しておく.
データをupしてみる
R2CAのパッケージの\examples\ThingSpeak_basicにあるサンプルを実行します.このサンプルは定期的に2種類のデータをThingSpeakにupします.
まずexamples_gdef.hを開き,アクセスポイントの情報をSTA_SSIDとSTA_PASSWORDに設定します.
# define STA_SSID       ""
# define STA_PASSWORD   ""
次にChannel ID を THINGSPEAK_CHANNELNUMBERに,"Write API Key"をTHINGSPEAK_WRITEAPIKEY に設定する.
# define THINGSPEAK_CHANNELNUMBER
# define THINGSPEAK_WRITEAPIKEY
設定後,同じフォルダにあるdo_run.bat をダブルクリックするとビルドが実施され,ターゲットに書き込まれます.
書き込み終了後に実行が開始され,チャネルへデータが書き込まれます.書き込まれたデータは可視化されます.あとは,データ解析や他のサービスへの書き込みも可能です.
プログラム
初期化は通常のWifi通信と同様にまずアクセスポイントに接続します.コネクションは1個とするため,WiFi.disableMUX()を呼び出しています.
最後にThingSpeakのクライアントをThingSpeak.begin(wifi_client)で初期化します.
ESP8266Client wifi_client;

void setup()
{
    int ret;

    Serial.begin(115200);
    Serial.print("Milkcocoa SDK demo");

    // Connect to WiFi access point.
    Serial.println(); Serial.println();
    Serial.print("Connecting to ");
    Serial.println(SSID);

    ret = WiFi.begin(Serial5, 115200);

    if(ret == 1) {
        Serial.print("Cannot communicate with ESP8266.");
        while(1);
    } else if(ret == 2) {
        Serial.println("FW Version mismatch.");
        Serial.print("FW Version:");
        Serial.println(WiFi.getVersion().c_str());
        Serial.print("Supported FW Version:");
        Serial.println(ESP8266_SUPPORT_VERSION);
        while(1);
    } else {
        Serial.print("begin ok\r\n");
    }

    Serial.print("FW Version:");
    Serial.println(WiFi.getVersion().c_str());

    if (WiFi.setOprToStation()) {
        Serial.print("to station ok\r\n");
    } else {
        Serial.print("to station err\r\n");
    }

    if (WiFi.joinAP(SSID, PASSWORD)) {
        Serial.print("Join AP success\r\n");
        Serial.print("IP: ");
        Serial.println(WiFi.getLocalIP().c_str());
    } else {
        Serial.print("Join AP failure\r\n");
    }

    if (WiFi.stopServer()) {
        Serial.print("Stop server ok\r\n");
    } else {
        Serial.print("Stop server err\r\n");
    }

    if (WiFi.disableMUX()) {
        Serial.print("single ok\r\n");
    } else {
        Serial.print("single err\r\n");
    }

    //Setup
    if (ThingSpeak.begin(wifi_client))  {
        Serial.print("ThingSpeak.begin() ok\r\n");
    } else {
        Serial.print("ThingSpeak.begin() err\r\n");
    }

    pinMode(13, OUTPUT);
    digitalWrite(13, LOW);

    Serial.println("setup end\r\n");
}
メインループではThingSpeakに20秒周期でデータを送ります.ThingSpeakは15秒間隔でしかデータをup出来ないため20秒としています.
送信するデータはcnt1/cnt2で,この部分をセンサー値に変更することで好きなデータをupすることができます.
ThingSpeak.setField()でデータフィールドを設定した後,ThingSpeak.setField()によって,データをupします.
unsigned long myChannelNumber = ;
const char * myWriteAPIKey = "";
int cnt1;
int cnt2;

void loop() {
    int ret;
    ThingSpeak.setField(1,cnt1);
    ThingSpeak.setField(2,cnt2);

    cnt1 += 1;
    cnt2 += 2;

    // Write the fields that you've set all at once.
    ret = ThingSpeak.writeFields(myChannelNumber, myWriteAPIKey);
    Serial.print("Call writeFields() : return code is ");
    Serial.println(ret);

    delay(20000);
}
おわりに
ThingSpeakはhttpを使うので,データのupに時間はかかりますが,簡単に扱うことができます.


