Electronで設定ファイルの読み込み/書き込みを行う
背景
Windowsでデスクトップアプリ開発って言うとどうしてもVisual Studioになってしまうのですが、開発メンバーにあまりVisual Studio(.NET C#)使える人もいないし、普段のWeb開発しているメンバーに新たにC#の習得も学習コストもかかってしまうので普段行っているVue.jsの知識でデスクトップ開発を行いたいというのが目的です。
そんな中で、業務用のアプリとして必要になりそうないくつかの機能を実装していきます。
まずは、vue + electron の開発のセットアップと設定ファイルの読み込み/書き込みをこの記事で解説したいと思います。
前提
- vue.jsでの開発を行ったことがある人
- nodejs,yarn(npmでも)を使用したことのある人
- すでに node,(yarn,npm)がインストールされていること
node と yarn は入っている前提です。
$ ~\handson node -v
v14.17.0
$ ~\handson yarn -v
1.22.5
nodejsやyarnのインストールについては省略します。
最近はnpmよりYarnを使用することが多いので以下の解説ではyarnのコマンド例で説明しますが、
npmの方は適宜読み替えてください。
1. Electron開発のセットアップ
electron内でvueを使用する場合は Electron -> VueJS という順番ではなく
VueJS -> Electron という順番で環境を作った方が楽にできます。
という事でまずは VueJSの環境から作りましょう。
Vue CLI
公式のVue開発のツールであるVue CLI1をグローバルでインストールします
$ yarn global add @vue/cli
-- 略 --
$ vue -V
@vue/cli 4.5.13
Vueのプロジェクトを作成します。
$ vue create electron-sample
-- 略 --
🎉  Successfully created project electron-handson.
👉  Get started with the following commands:
一度動作確認のためにvueのサイトを立ち上げて確認します。
 $ cd electron-handson
 $ yarn serve
ブラウザでこんな感じに表示できればOKです。
Vue CLI Plugin Electron Builder
次に立ち上げたサーバーを止めて、次にVue CLI Plugin Electron Builder2 をインストールします。
【注意】 これはVue CLIのプラグインなのでyarn add ではなく vue add を使用してインストールします。
$ vue add electron-builder

📦  Installing vue-cli-plugin-electron-builder...
-- 略 --
✔  Successfully installed plugin: vue-cli-plugin-electron-builder
途中でElectronのバージョンを聞かれます
? Choose Electron Version ^12.0.0
Electron Version ^12.0.0
🚀  Invoking generator for vue-cli-plugin-electron-builder...
📦  Installing additional dependencies...
-- 略 --
$ electron-builder install-app-deps
  • electron-builder  version=22.11.7
Done in 54.54s.
⚓  Running completion hooks...

✔  Successfully invoked generator for plugin: vue-cli-plugin-electron-builder
インストールが終わるとpackage.json に Electronのビルドコマンド
electron:serve と electron:build が追加されています。
{
  "name": "electron-handson",
  "version": "0.1.0",
  "private": true,
  "scripts": {
    "serve": "vue-cli-service serve",
    "build": "vue-cli-service build",
    "lint": "vue-cli-service lint",
    "electron:build": "vue-cli-service electron:build",
    "electron:serve": "vue-cli-service electron:serve",
    "postinstall": "electron-builder install-app-deps",
    "postuninstall": "electron-builder install-app-deps"
  },
  以下略
}
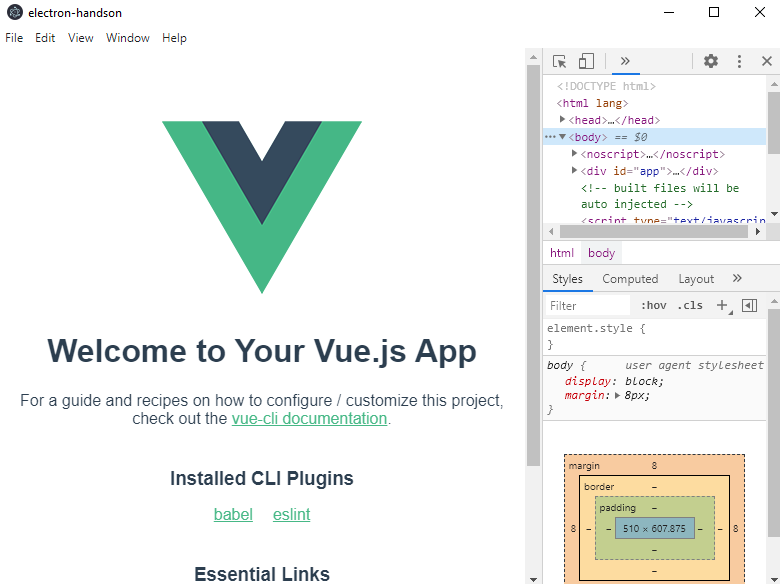
開発用にelectron立ち上げるには ~yarn run electron:serve` を実行します。
こんな感じでウィンドが立ち上がればOKです。
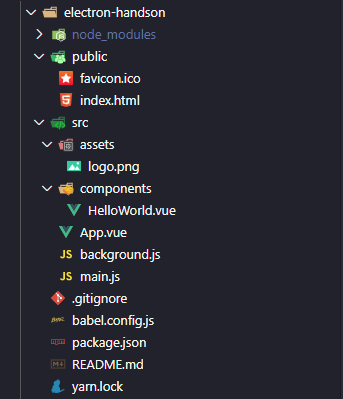
これで環境が整いました。プロジェクトは以下のフォルダ構成はこのようなものになります。
2. OS上の設定ファイルを読み込む
まず、業務アプリとして使用される頻度が高そうなものとして、外部の設定ファイルからの値の読み書きを行いたいと思います。
こんなときに使用できるのが、electron-store3 です。
簡単な例として終了時のウィンドの表示位置を記憶して次に表示するときに前回の位置に表示することとします。
Window位置の情報はメインプロセス(node側)にあるためこちらに記録することにします。
これはnodeのモジュールとしてインストールします。
$ yarn add electron-store
使い方の例として、公式サイトから引用します。
以下のような感じで使用できます。
const Store = require('electron-store');

const store = new Store();

store.set('unicorn', '🦄');
console.log(store.get('unicorn'));
//=> '🦄'

// Use dot-notation to access nested properties
store.set('foo.bar', true);
console.log(store.get('foo'));
//=> {bar: true}

store.delete('unicorn');
console.log(store.get('unicorn'));
//=> undefined
大体KeyValueっぽく使用できることが分かったので
electron-storeを使用してウィンド位置の読み書きを行います。
'use strict'

import { app, protocol, BrowserWindow } from 'electron'
import { createProtocol } from 'vue-cli-plugin-electron-builder/lib'
import installExtension, { VUEJS_DEVTOOLS } from 'electron-devtools-installer'
const isDevelopment = process.env.NODE_ENV !== 'production'

const Store = require('electron-store') // electron-store利用
const store = new Store()  // electron-store利用

let win
async function createWindow() {

  // electron-storeで設定からウィンド位置の読み込み
  const pos = store.get('window.pos') || { x: 100, y: 100 }
  const size = store.get('window.size') || { width: 800, height: 600 }

  // Create the browser window.
  win = new BrowserWindow({
    width: size.width,
    height: size.height,
    x: pos.x,
    y: pos.y,
    webPreferences: {

      // Use pluginOptions.nodeIntegration, leave this alone
      // See nklayman.github.io/vue-cli-plugin-electron-builder/guide/security.html#node-integration for more info
      nodeIntegration: process.env.ELECTRON_NODE_INTEGRATION,
      contextIsolation: !process.env.ELECTRON_NODE_INTEGRATION
    }
  })

  if (process.env.WEBPACK_DEV_SERVER_URL) {
    // Load the url of the dev server if in development mode
    await win.loadURL(process.env.WEBPACK_DEV_SERVER_URL)
    if (!process.env.IS_TEST) win.webContents.openDevTools()
  } else {
    createProtocol('app')
    // Load the index.html when not in development
    win.loadURL('app://./index.html')
  }

  // ウィンドウが閉じられる直前に実行
  await win.on('close', () => {
    // electron-storeで設定からウィンド位置の書き出し
    store.set('window.pos', { x: win.getPosition()[0], y: win.getPosition()[1] })
    store.set('window.size', { width: win.getSize()[0], height: win.getSize()[1] })
  })
}
設定ファイルは以下の場所に、config.json というファイルとして作成されます。4
- Windows: %APPDATA%\アプリ名
- Linux: $XDG_CONFIG_HOME/アプリ名 or ~/.config/アプリ名
- macOS: ~/Library/Application Support/アプリ名
Windowsの場合はC:\Users\ユーザー名\AppData\Roaming\アプリ名\config.json になります。
{
	"window": {
		"pos": {
			"x": 478,
			"y": 207
		},
		"size": {
			"width": 312,
			"height": 600
		}
	}
}
config.jsonを任意の場所に置きたい場合は、以下のようにelectron-storeのコンストラクタにcwd5というパラメータで指定します。
上記のデフォルト位置からの相対パスまたは、絶対パスを指定します
const store = new Store({
  cwd: 'C:/electron-handson'
})