0. このメモについて
このメモはPython3で適当に画像処理を行った際の個人的メモである。
pythonはとーしろーなので、書き方とかは良くないかもしれない。
1. 環境
このメモのコードは以下の環境で実行できることを確認した。
PC : MacBook Air
CPU : Intel Core i5(1.6GHz)
memory : 4GB 1600Hz
Python : 3.6.4
2. 準備・前提
pillowというライブラリを使用するため、以下コマンドを実行する。
$ pip3 install pillow
また、ディレクトリ構成は以下の通り
./
┣inputImg(元画像保存先)
┣outputImg(出力画像保存先)
┗script(コード保存先、カレントディレクトリ)
3. 基本
1. 画像の新規生成
まず手始めに500 * 500の単色画像を生成してみる。
from PIL import Image

width = 500
height = 500

def test():
    # Imageオブジェクトの生成
    img = Image.new('RGB', (width, height), (255, 0, 0))

    # 画像の保存
    img.save("../outputImg/test01_image01.jpg")

if __name__ == '__main__':
    test()
結果

2. 画像の複製
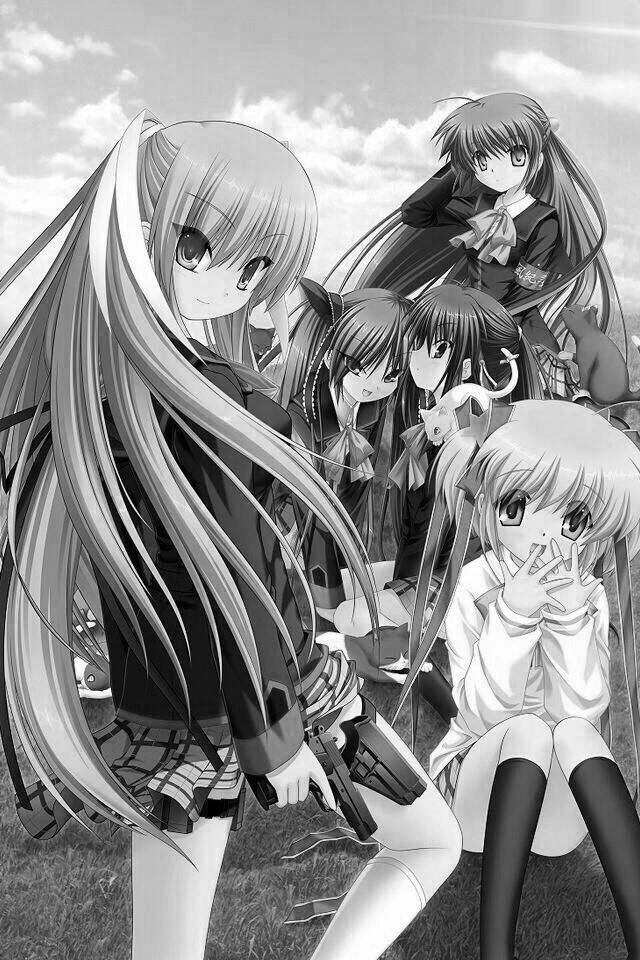
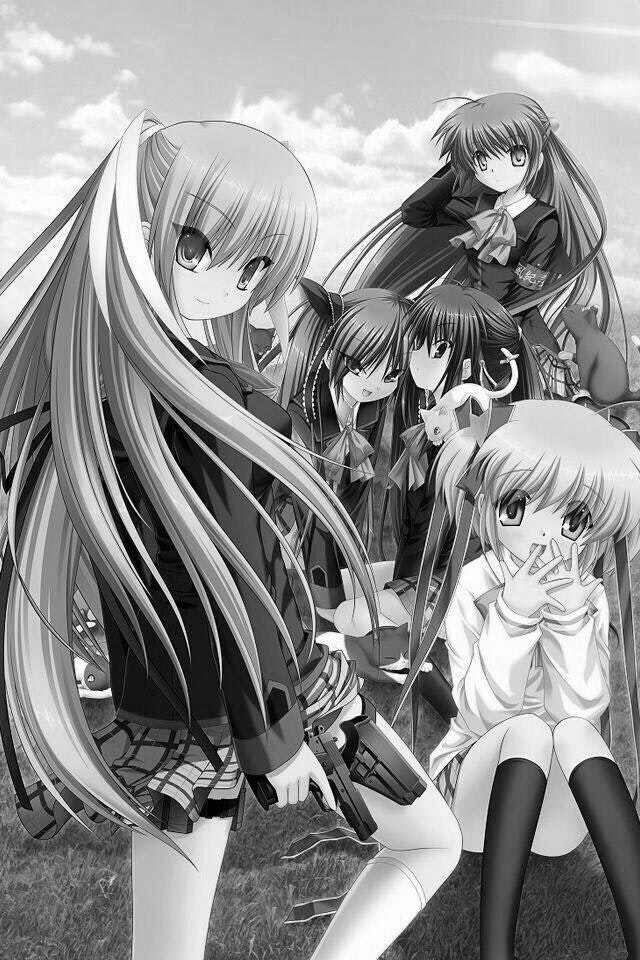
以下の元画像をコピる。
元画像

from PIL import Image

def process():
    # 元画像の読み込み
    originalImg = Image.open("../inputImg/originalImg.jpg")
    # 元画像のサイズを取得
    width, height = originalImg.size

    # 複製用のImageオブジェクト
    copyImg = Image.new('RGB', (width, height))

    # 1px毎色を取得、詰め込み
    for y in range(height):
        for x in range(width):
            color = originalImg.getpixel((x, y))
            copyImg.putpixel((x, y), (color[0], color[1], color[2]))

    # コピー画像の保存
    copyImg.save("../outputImg/test02_image01.jpg")

if __name__ == '__main__':
    process()
結果

4. グレースケール
一口に"グレースケール"と言っても様々な手法がある。
ここでは以下の画像にいくつかの手法を用いていく。
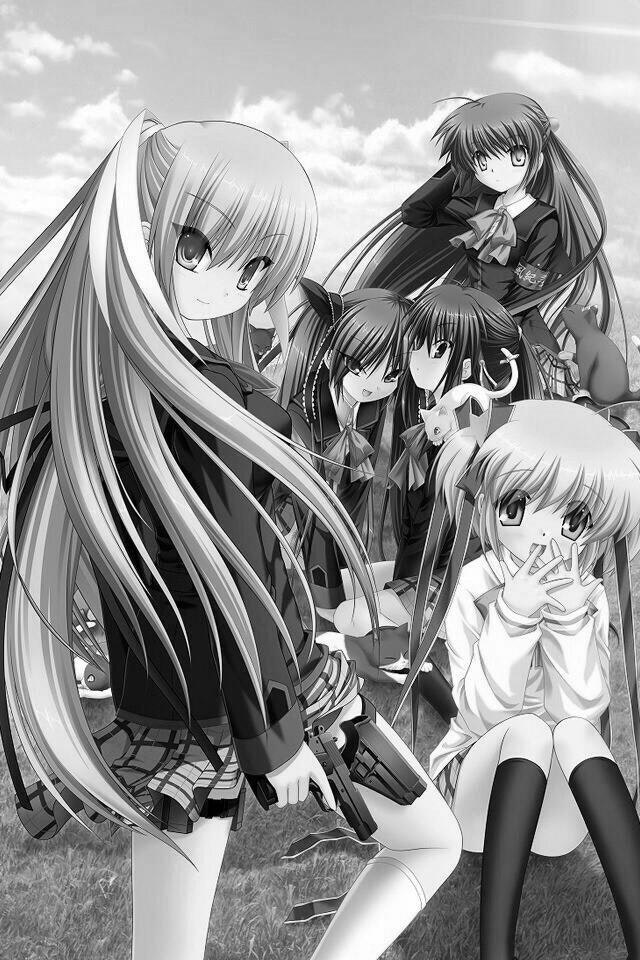
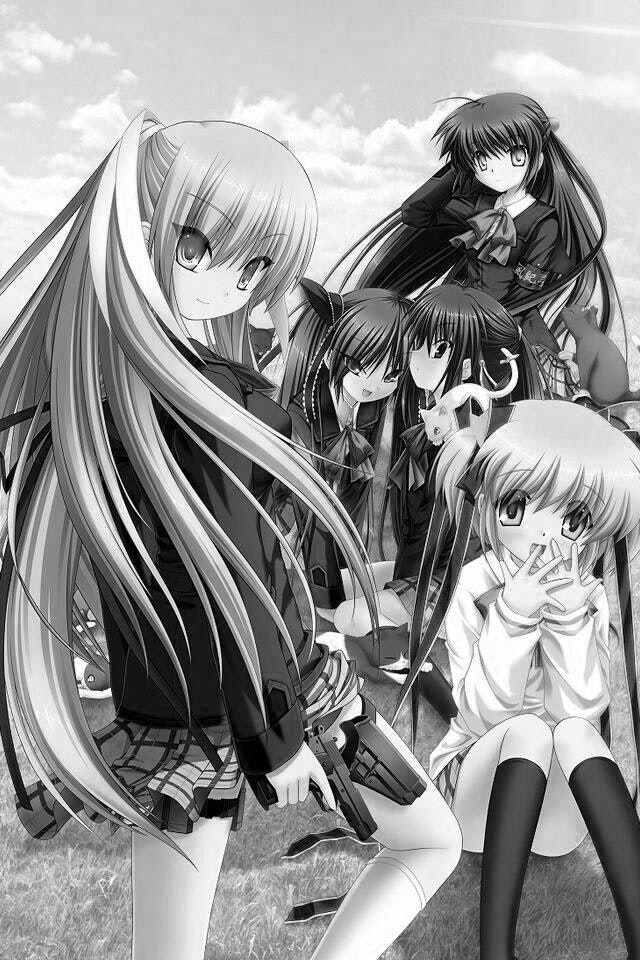
元画像
なお、これがベストという手法はないので、画像や用途によって手法を選ぶべき。
1. 中間値法
RGBの最大値と最小値を足して割った値でグレースケールを作る手法。
from PIL import Image

def process():
    # 元画像の読み込み
    originalImg = Image.open("../inputImg/originalImg.jpg")
    # 元画像のサイズを取得
    width, height = originalImg.size
    # output用のImageオブジェクト
    outputImg = Image.new('RGB', (width, height))

    for y in range(height):
        for x in range(width):
            color = originalImg.getpixel((x, y))
            # 中間値をとる
            mid = getMiddle(color[0], color[1], color[2])
            outputImg.putpixel((x, y), (mid, mid, mid))
    # 保存
    outputImg.save("../outputImg/test03_image01.jpg")

def getMiddle(red, green, blue):
    maxVal = max(red, green, blue)
    minVal = min(red, green, blue)
    return int((maxVal + minVal) / 2)


if __name__ == '__main__':
    process()
結果
2. NTSC係数による加重平均法
RGBに重み付けをし、割った値でグレースケールを作る手法。
詳しくは参考ページを見て欲しい。
ここでは以下の近似式を使う。
Y = ( 2 * R + 4 * G + B ) / 7
from PIL import Image

def process():
    # 元画像の読み込み
    originalImg = Image.open("../inputImg/originalImg.jpg")
    # 元画像のサイズを取得
    width, height = originalImg.size
    # output用のImageオブジェクト
    outputImg = Image.new('RGB', (width, height))

    for y in range(height):
        for x in range(width):
            color = originalImg.getpixel((x, y))
            # 値をとる
            val = getValue(color[0], color[1], color[2])
            outputImg.putpixel((x, y), (val, val, val))
    # 保存
    outputImg.save("../outputImg/test04_image01.jpg")

def getValue(red, green, blue):
    # Y = ( 2 * R + 4 * G + B ) / 7
    return int(((2 * red) + (4 * green) + blue) / 7)

if __name__ == '__main__':
    process()
結果
3. 単純平均法
RGBの平均値で行う。
案外、悪くはない(個人の感想です)。
from PIL import Image

def process():
    # 元画像の読み込み
    originalImg = Image.open("../inputImg/originalImg.jpg")
    # 元画像のサイズを取得
    width, height = originalImg.size
    # output用のImageオブジェクト
    outputImg = Image.new('RGB', (width, height))

    for y in range(height):
        for x in range(width):
            color = originalImg.getpixel((x, y))
            # 値をとる
            val = getValue(color[0], color[1], color[2])
            outputImg.putpixel((x, y), (val, val, val))
    # 保存
    outputImg.save("../outputImg/test05_image01.jpg")

def getValue(red, green, blue):
    return int((red + green + blue) / 3)

if __name__ == '__main__':
    process()
結果
4. Gチャンネル法
心象物理学的には人間にはRGBのG成分が強く映るというのを利用する。
計算コストは計算するまでもなく最小(なにせG成分をそのまま使うだけだから)だが、元画像によっては「なんだかなぁー」という結果になる。
from PIL import Image

def process():
    # 元画像の読み込み
    originalImg = Image.open("../inputImg/originalImg.jpg")
    # 元画像のサイズを取得
    width, height = originalImg.size
    # output用のImageオブジェクト
    outputImg = Image.new('RGB', (width, height))

    for y in range(height):
        for x in range(width):
            color = originalImg.getpixel((x, y))
            # 値をとる
            val = getValue(color[0], color[1], color[2])
            outputImg.putpixel((x, y), (val, val, val))
    # 保存
    outputImg.save("../outputImg/test06_image01.jpg")

def getValue(red, green, blue):
    return green

if __name__ == '__main__':
    process()
結果
5. その他
長くなってきている気がするので、あと3つほどで終わりにする。
1. リサイズ
from PIL import Image

def process():
    # 元画像の読み込み
    originalImg = Image.open("../inputImg/originalImg.jpg")
    # 元画像のサイズを取得
    width, height = originalImg.size
    # 縦横半分にリサイズ
    resizeImg = originalImg.resize((int(width / 2), int(height / 2)))
    # 保存
    resizeImg.save("../outputImg/test07_image01.jpg")

if __name__ == '__main__':
    process()
結果

あかん、ジャギーがジャギジャギしてる...
2. サムネイル作成
比率を保持したまま縮小するならサムネイル関数の方が良いっぽい。
from PIL import Image

def process():
    # 元画像の読み込み
    originalImg = Image.open("../inputImg/originalImg.jpg")
    # 元画像のサイズを取得
    width, height = originalImg.size
    # サムネイル作成
    originalImg.thumbnail((int(width / 2), int(height / 2)), Image.ANTIALIAS)
    # 保存
    originalImg.save("../outputImg/test08_image01.jpg")

if __name__ == '__main__':
    process()
結果

3. 文字挿入
フォントはないものを指定するとデフォルトのフォントを使用してくれる訳ではないので、ちゃんとパスを確認しましょう。
from PIL import Image, ImageDraw, ImageFont
def process():
# 元画像の読み込み
img = Image.open("../inputImg/originalImg.jpg")
draw = ImageDraw.Draw(img)
# フォント、サイズ指定
font = ImageFont.truetype('/Library/Fonts/Osaka.ttf', 15)
# テキスト挿入
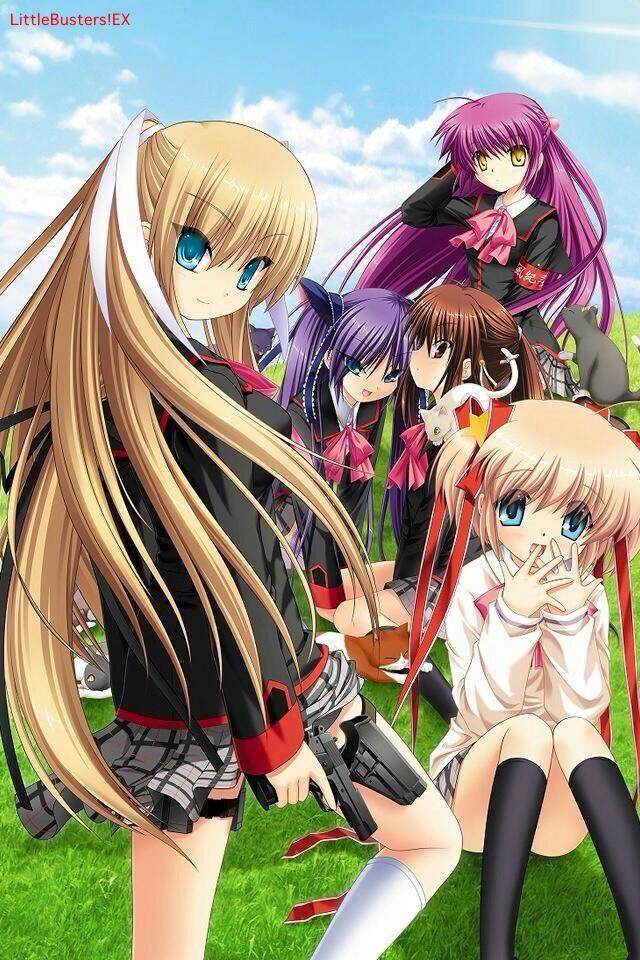
draw.text((10, 10), 'LittleBusters!EX', font=font, fill=(255, 0, 0))
# 保存
img.save("../outputImg/test09_image01.jpg")
if __name__ == '__main__':
process()
結果
99. 参考
初めてのPython画像処理 - https://qiita.com/uosansatox/items/4fa34e1d8d95d8783536
python3系でのPython Image Libraryの使用方法 - https://qiita.com/ukwksk/items/483d1b9e525667b77187
im.getpixel() - https://blenderartists.org/forum/showthread.php?155410-im-getpixel()
osakana.factory - グレースケールのひみつ - https://ofo.jp/osakana/cgtips/grayscale.phtml
Python 3.5 対応画像処理ライブラリ Pillow (PIL) の使い方 - https://librabuch.jp/blog/2013/05/python_pillow_pil/