はじめに
この記事はRuby on Rails Advent Calendar 2017 8日目の記事です。
間違っている情報や抜けている手順などがあったら修正するので教えてください。
中途半端な記事になっちゃって、すみません。
やりたかったこと
グラフ型データベースに格納してあるデータをGraphQLでAPIを提供する。
Neo4jとは
Neo4jとはNoSQLの一種であるグラフ型データベースの一つです。
グラフ型データベースとは名前の通り、データをグラフ構造で扱うことができるデータベースです。

この図の例だと緑のノードがPersonで、赤いノードがMovieです。
矢印に書いてあるACTED_INやDIRECTEDがノード間の関係になります。
GraphQLとは
GraphQLはJSONに似たフォーマットのQueryによってネストしたデータを一括で取得することができるAPIです。
Queryとレスポンスの例はこんな感じです。
curl -XPOST -d 'query={users(name: "taro"){name followers(){name}}}' localhost:3000/graphql
{
  "data": {
    "users": {
      "name": "taro",
      "followers": [
        {"name": "jiro"},
        {"name": "saburo"}
      ]
    }
  }
}
GitHubのAPIがGraphQLに対応して話題になったみたいなので、説明はこのくらいにしておきます。
なぜNeo4j + GraphQL?
Railsに絡めるため複雑な関係性を持ったデータを一括で取得するのに有効だと思ったからです。
あとはRails + GraphQL + Neo4jの記事は見つからなかったからです。
手順
ここから実際にRailsでNeo4jとGraphQLを使う手順を書いていこうと思います。
テストデータはTwitter上での特定のつぶやきに対して、
リツイートしたユーザのフォロー関係を使います。
Neo4jを準備する
MacならNeo4jはbrewであっさり入ると思います。
注) Java8をインストールと$JAVA_HOMEを設定していること
# Neo4jインストール
brew install neo4j
# Neo4j起動
neo4j start
起動したらhttp://localhost:7474をブラウザで開くと、
Webインターフェースが開くと思います。
ユーザ名/パスワードの初期値はneo4j/neo4jです。
初回起動時にはパスワードの変更が求められます。
Neo4jの使い方とかも多くの資料があるのでこれくらいにします。
下の画像のExample Graphsがいい練習になると思います。

プロジェクト作成 ~ seeds.rbでテストデータ生成
新規Railsプロジェクトを作成してGemを追加します。
今回追加したGemはこんな感じです。
gem 'neo4j'
gem 'graphql'
gem 'twitter'
bundle installしたらrails generate graphql:installを実行します。
次にDBの設定をいじっていきます。
[username]:[password]には先ほど設定したNeo4jのユーザ名とパスワードを入れてください。
development:
  type: http
  url: http://[username]:[password]@localhost:7474
test:
  type: http
  url: http://[username]:[password]@localhost:7474
設定をいじったらTwitterのUserモデルとFollowモデルを作っていきます。
今更だけどuser_idはtwitter_user_idにすればよかったかなと思います。
bundle exec rails g neo4j:model user user_id:integer screen_name:string name
:string
bundle exec rails g neo4j:model follow
bundle exec rails neo4j:migrate
そうするとapp/modelsにfollow.rbとuser.rbが生成されています。
次にモデルにリレーションを追加していきます。
class User
  include Neo4j::ActiveNode
  property :user_id, type: Integer
  property :screen_name, type: String
  property :name, type: String
  has_many :in, :followers, model_class: :User, rel_class: :Follow
end
class Follow
  include Neo4j::ActiveRel
  from_class :User
  to_class :User
end
次にTwitter APIを使ってテストデータを取得していきます。
フォロワー取得は制限に引っかかりやすいと思うので、
途中にsleepを入れています。
require 'twitter'
client = Twitter::REST::Client.new(
  consumer_key:        'YOUR_CONSUMER_KEY',
  consumer_secret:     'YOUR_CONSUMER_SECRET',
)

root_tweet = client.status('TARGET_TWEET_URL')
root_user = root_tweet.user

puts '*** root tweet ***'
puts root_tweet.id
puts root_tweet.full_text
puts root_tweet.user.name
puts root_tweet.user.screen_name
puts root_tweet.user.statuses_count
puts root_tweet.user.friends_count
puts root_tweet.user.followers_count
puts root_tweet.retweet_count
puts root_tweet.favorite_count
root_node = User.create(
  user_id: root_user.id,
  name: root_user.name,
  screen_name: root_user.screen_name
)

nodes = []
client.retweeters_ids(root_tweet).each do |retweet_user_id|
  retweet_user = client.user(retweet_user_id)
  puts '*** retweeter ***'
  puts retweet_user.id
  puts retweet_user.name
  puts retweet_user.screen_name
  node = User.new(
    user_id: retweet_user.id,
    name: retweet_user.name,
    screen_name: retweet_user.screen_name
  )
  nodes.push node
end

def connect_node(client, node, nodes)
  begin
    client.follower_ids(node[:user_id]).each do |follower_id|
      nodes.each do |n|
        if n[:user_id] == follower_id
          Follow.create(from_node: n, to_node: node)
          puts "#{n[:screen_name]} -> #{node[:screen_name]}"
        end
      end
    end
  rescue Twitter::Error::TooManyRequests => e
    puts e
    puts Time.now
    sleep 60 * 3
    connect_node client, node, nodes
  end
end

nodes.push root_node
nodes.each do |node|
  connect_node client, node, nodes
end
これでbundle exec rails db:seedしたらテストデータがNeo4jに追加されたと思います。
またhttp://localhost:7474を開いて、
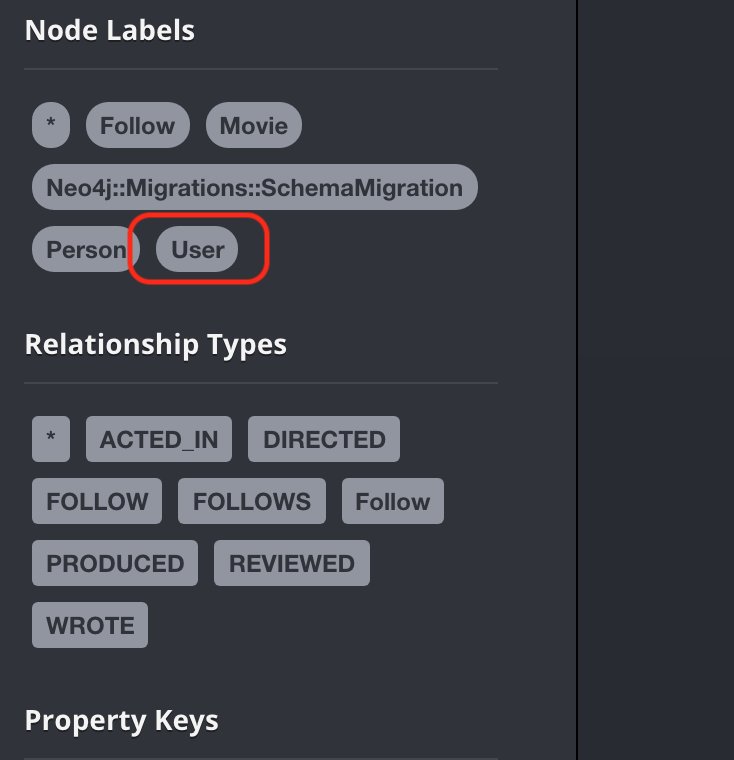
下の画像のUserをクリックしてみてください。
こんな感じになったと思います。
最近はネットリテラシーがどうのこうので炎上すると面倒みたいなんで、
一応ユーザ名を隠しています。

これだけでもリツイートしたユーザの関係や、ハブになっているユーザが見えてきて面白いですが、次にGraphQLのAPIを実装していきます。
GraphQL APIの提供
こんな感じです。
{PROJECT_NAME}Schema = GraphQL::Schema.define do
  mutation(Types::MutationType)
  mutation(Types::UserType)
  query(Types::QueryType)
end
Types::QueryType = GraphQL::ObjectType.define do
  name 'Query'
  field :users, types.String do
    type Types::UserType
    description 'Twitter user'
    argument :screen_name, types.String
    resolve ->(obj, args, ctx) {
      User.find_by(screen_name: args['screen_name'])
    }
  end
end
Types::UserType = GraphQL::ObjectType.define do
  name 'User'
  description 'A Twitter User'
  field :user_id, types.Int
  field :screen_name, types.String
  field :name, types.String

  field :followers, types[Types::UserType] do
    argument :limit, types.Int, default_value: 10
    resolve ->(user, args, ctx) {
      user.followers.limit(args[:size])
    }
  end
end
実験
いよいよリクエストして実験です。
curl -XPOST -d 'query={users(screen_name: "TARGET_SCREEN_NAME"){name screen_name followers(){name}}}' localhost:3000/graphql
どうでしょう。
こんな感じで返ってきましたか?
{
    "data": {
        "users": {
            "name": "TARGET_NAME",
            "screen_name": "TARGET_SCREEN_NAME",
            "followers": [
                {
                    "name": "FOLLOWER_NAME0"
                },
                {
                    "name": "FOLLOWER_NAME1"
                },
                {
                    "name": "FOLLOWER_NAME2"
                }
            ]
        }
    }
}
問題点
本当はフォロワーのフォロワーのフォロワーの...フォロワーって感じで取得したかったけど、
今の状態で下記のQueryを送ると、フォロワーのフォロワーにターゲットユーザも含まれてしまう。
query={users(screen_name: "TARGET_SCREEN_NAME"){name screen_name followers(){name screen_name followers(){name screen_name}}}}
{
    "data": {
        "users": {
            "name": "TARGET_NAME",
            "screen_name": "TARGET_SCREEN_NAME",
            "followers": [
                {
                    "name": "FOLLOWER_NAME",
                    "screen_name": "FOLLOWER_SCREEN_NAME",
                    "followers": [
                        {
                            "name": "TARGET_NAME",
                            "screen_name": "TARGET_SCREEN_NAME"
                        }
                    ]
                }
            ]
        }
    }
}
あとはデフォルトで端のフォロワーまで取得にしたい。
まとめ
時間がなかったので問題点の解決は後日取り組みたいです。
もし解決したらまた投稿します。
あとはProcessingかD3.jsで可視化までしたいなーと思っています。