・必要なもの
ハンダもやったことないですが、ESP-WROOM-02を買ってみました。
どんなもの買ってよいのかもわからず。。。下記のサイト参考にさせて頂きました。
Eleclog
※とても参考になります。勉強になります。
筆者の方が作成したAKIcart!(すごい便利)
「ESP-WROOM-02でミニマルなIRKitクローンを作る」のAKICartが"公開"になっているので
そのまま貼らせて頂きます。
■赤外線送受信のためのセットととして以下を購入(全部買っておけば間違いないっす)
ESP-WROOM-02でミニマルなIRKitクローンを作る(AKIcart)
 650円と激安なので、4個くらい買ってみました。
■シリアル通信のため購入
ESP8266にプログラムを書き込むためにシリアルインターフェイスモジュールも合わせて購入しました。
microUSBから電力も供給可能とのことで。
FT231X USBシリアル変換モジュール
750円 意外と高い
■LEDチカチカのため購入
LEDを光らせるために以下を購入しました。
高輝度5mm赤色LED 7cd60度 (10個入)
10個で150円 安い
・ハンダ
| 用意したもの | リンク | 値段 | コメント |
|---|---|---|---|
| goot 電子工作用はんだこてセット X-2000E | goot 電子工作用はんだこてセット X-2000E | 1409円 | Amazonで購入 |
| 色々ついてるので、上記のセット買いました。 |
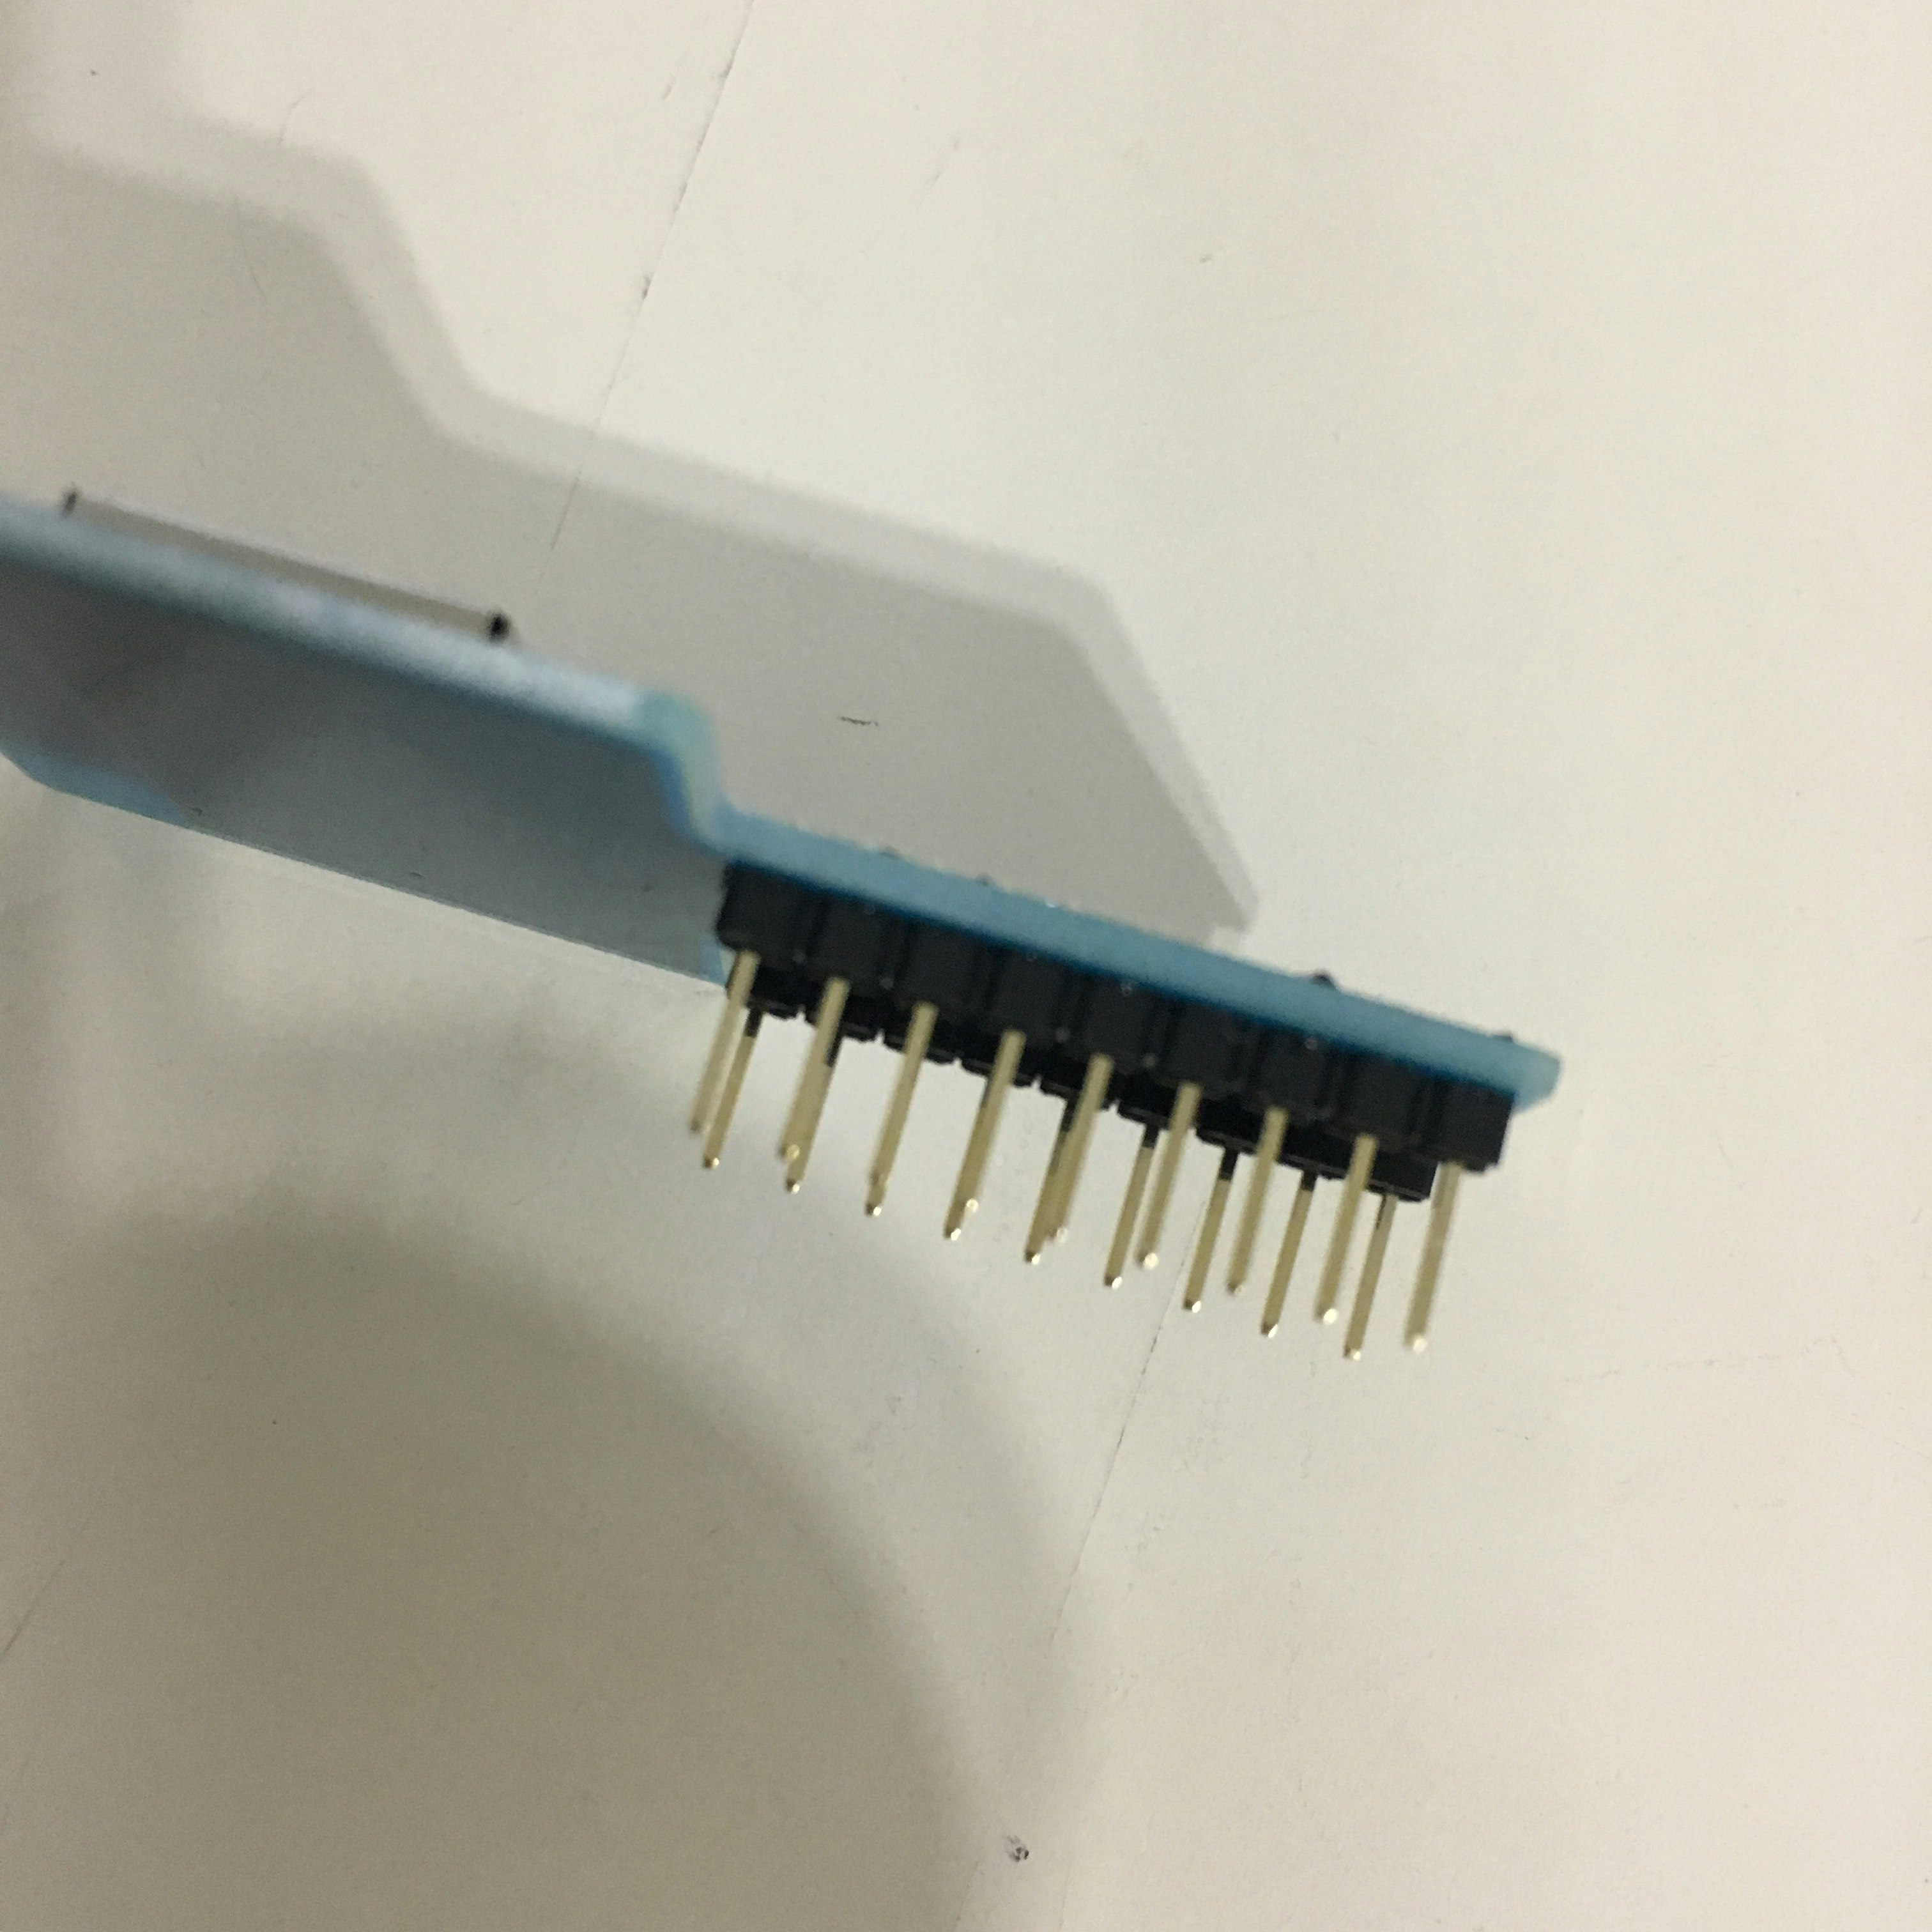 |
中のピンは左記のようにしましたが、合っているかわからんです。 |
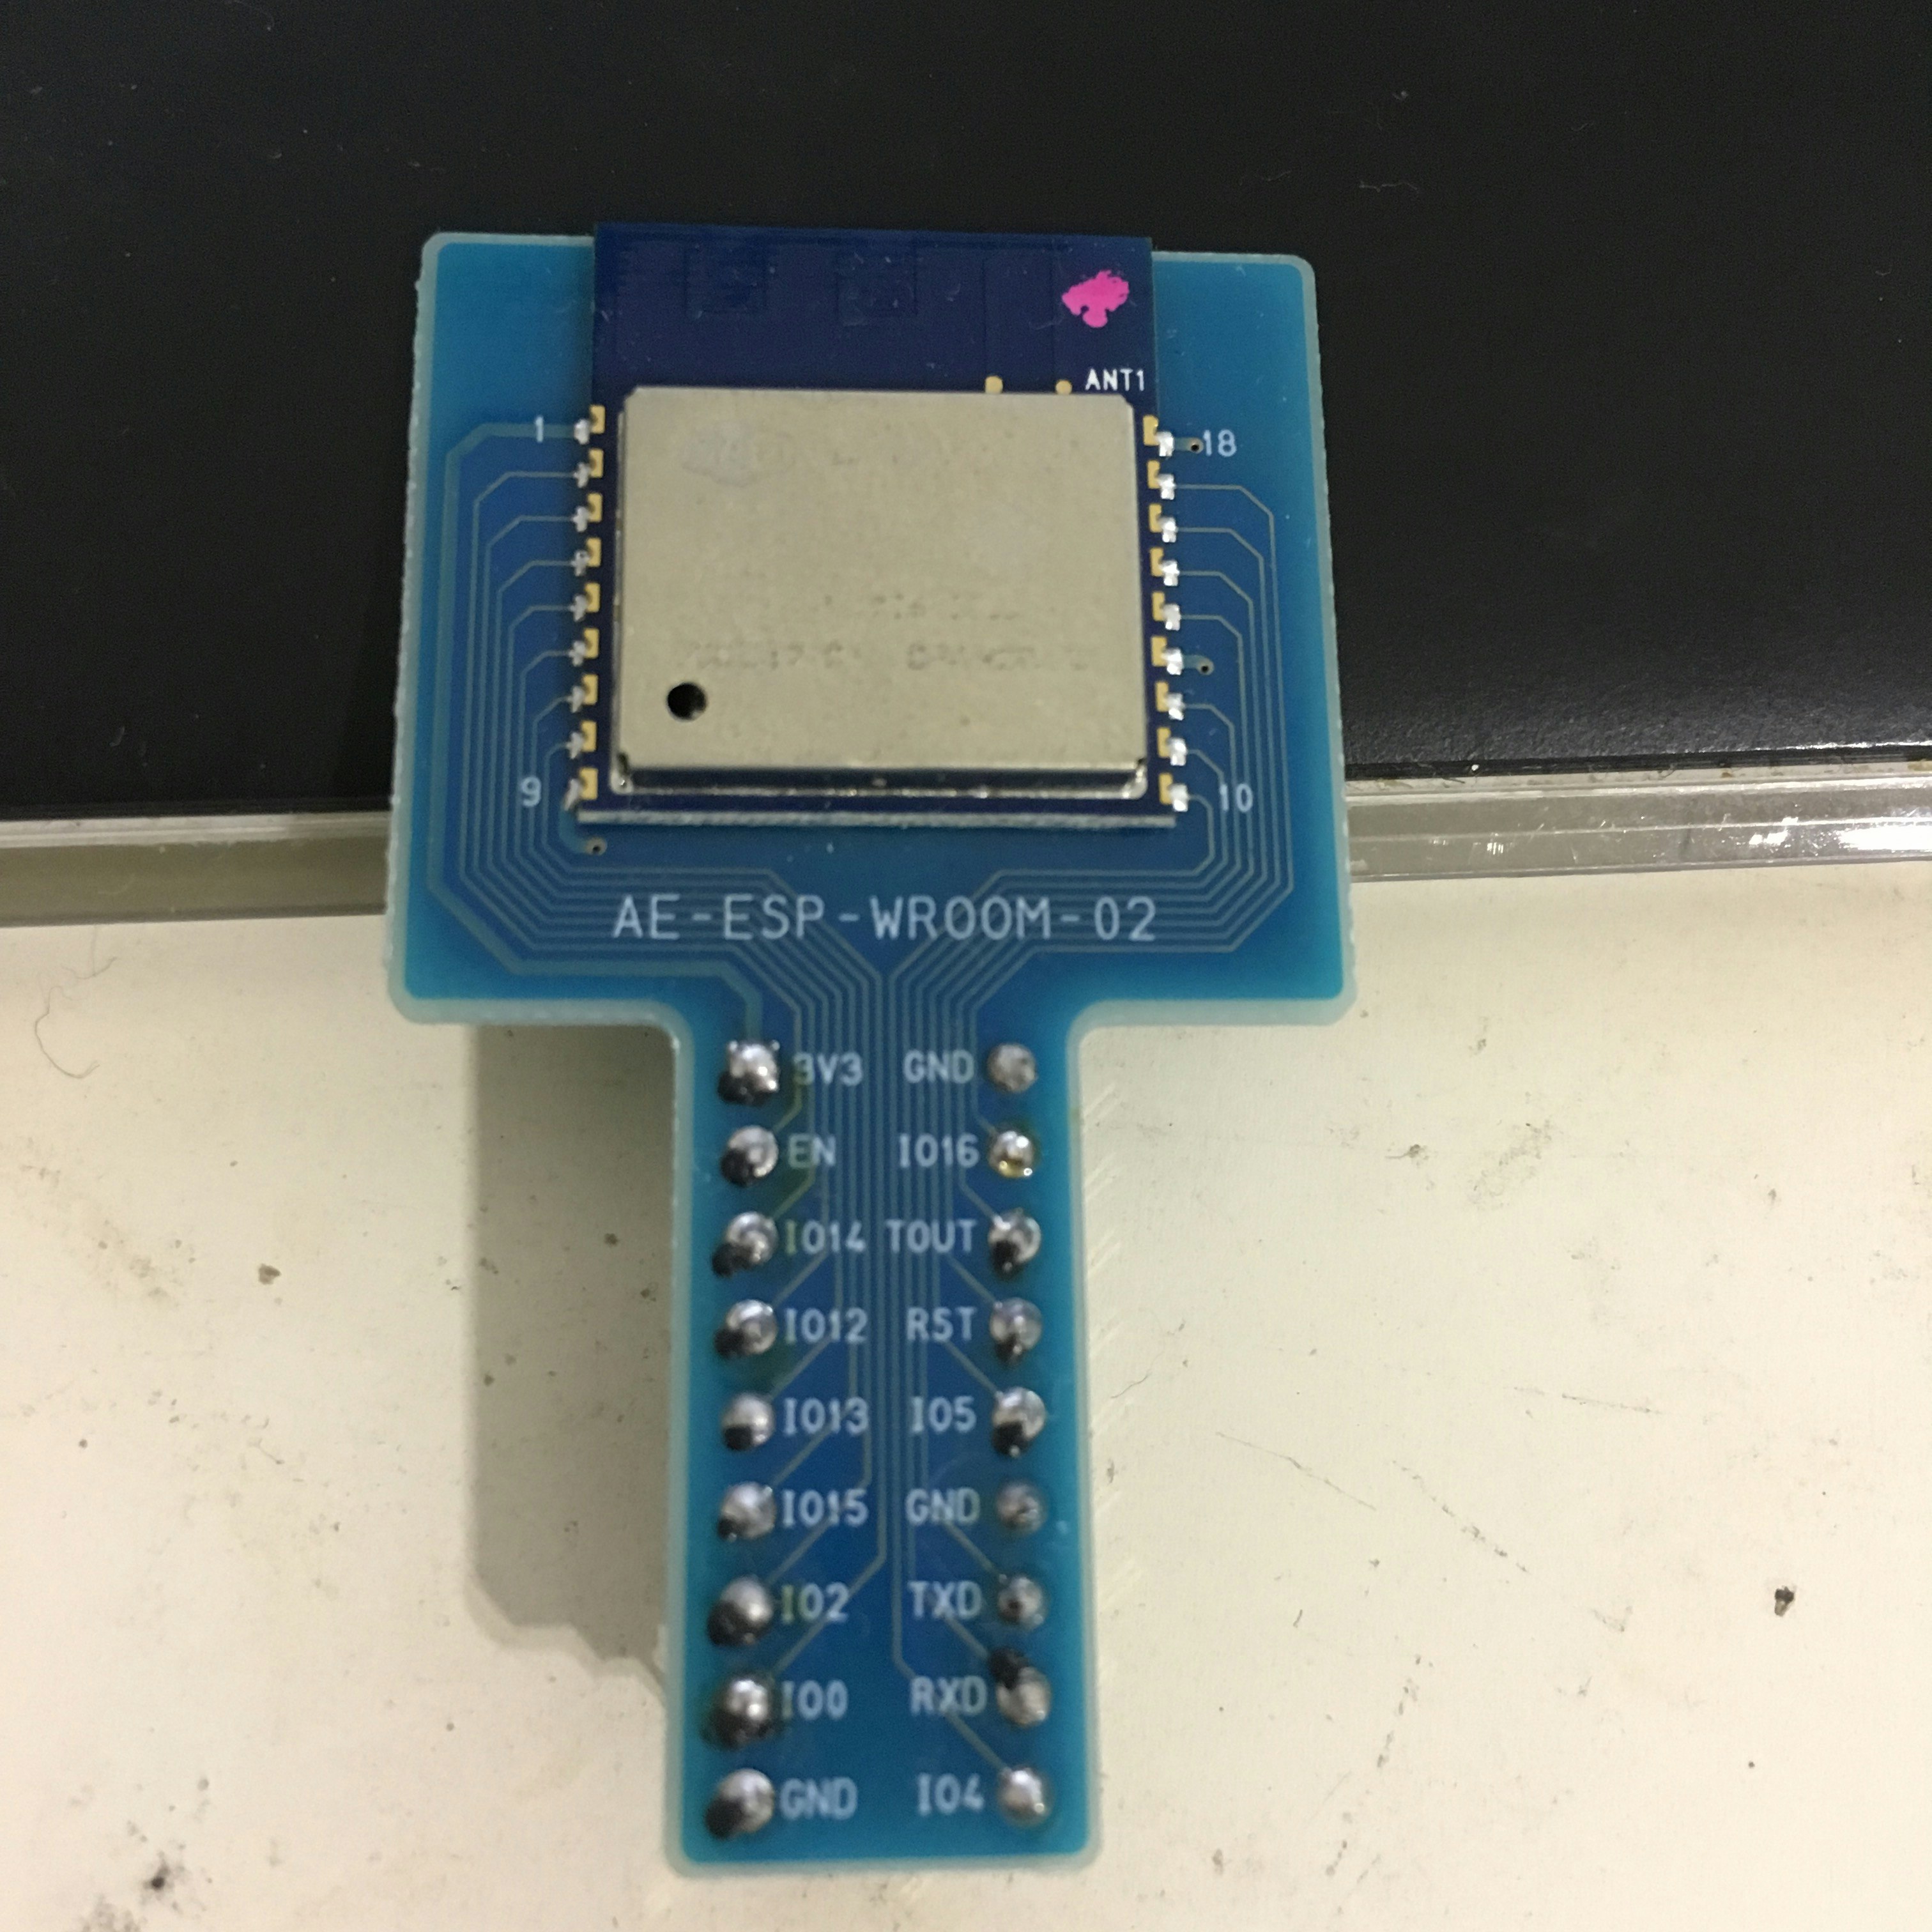 |
初めてながら、出来上がったので一安心。。ところどころ黒いですが。。 |
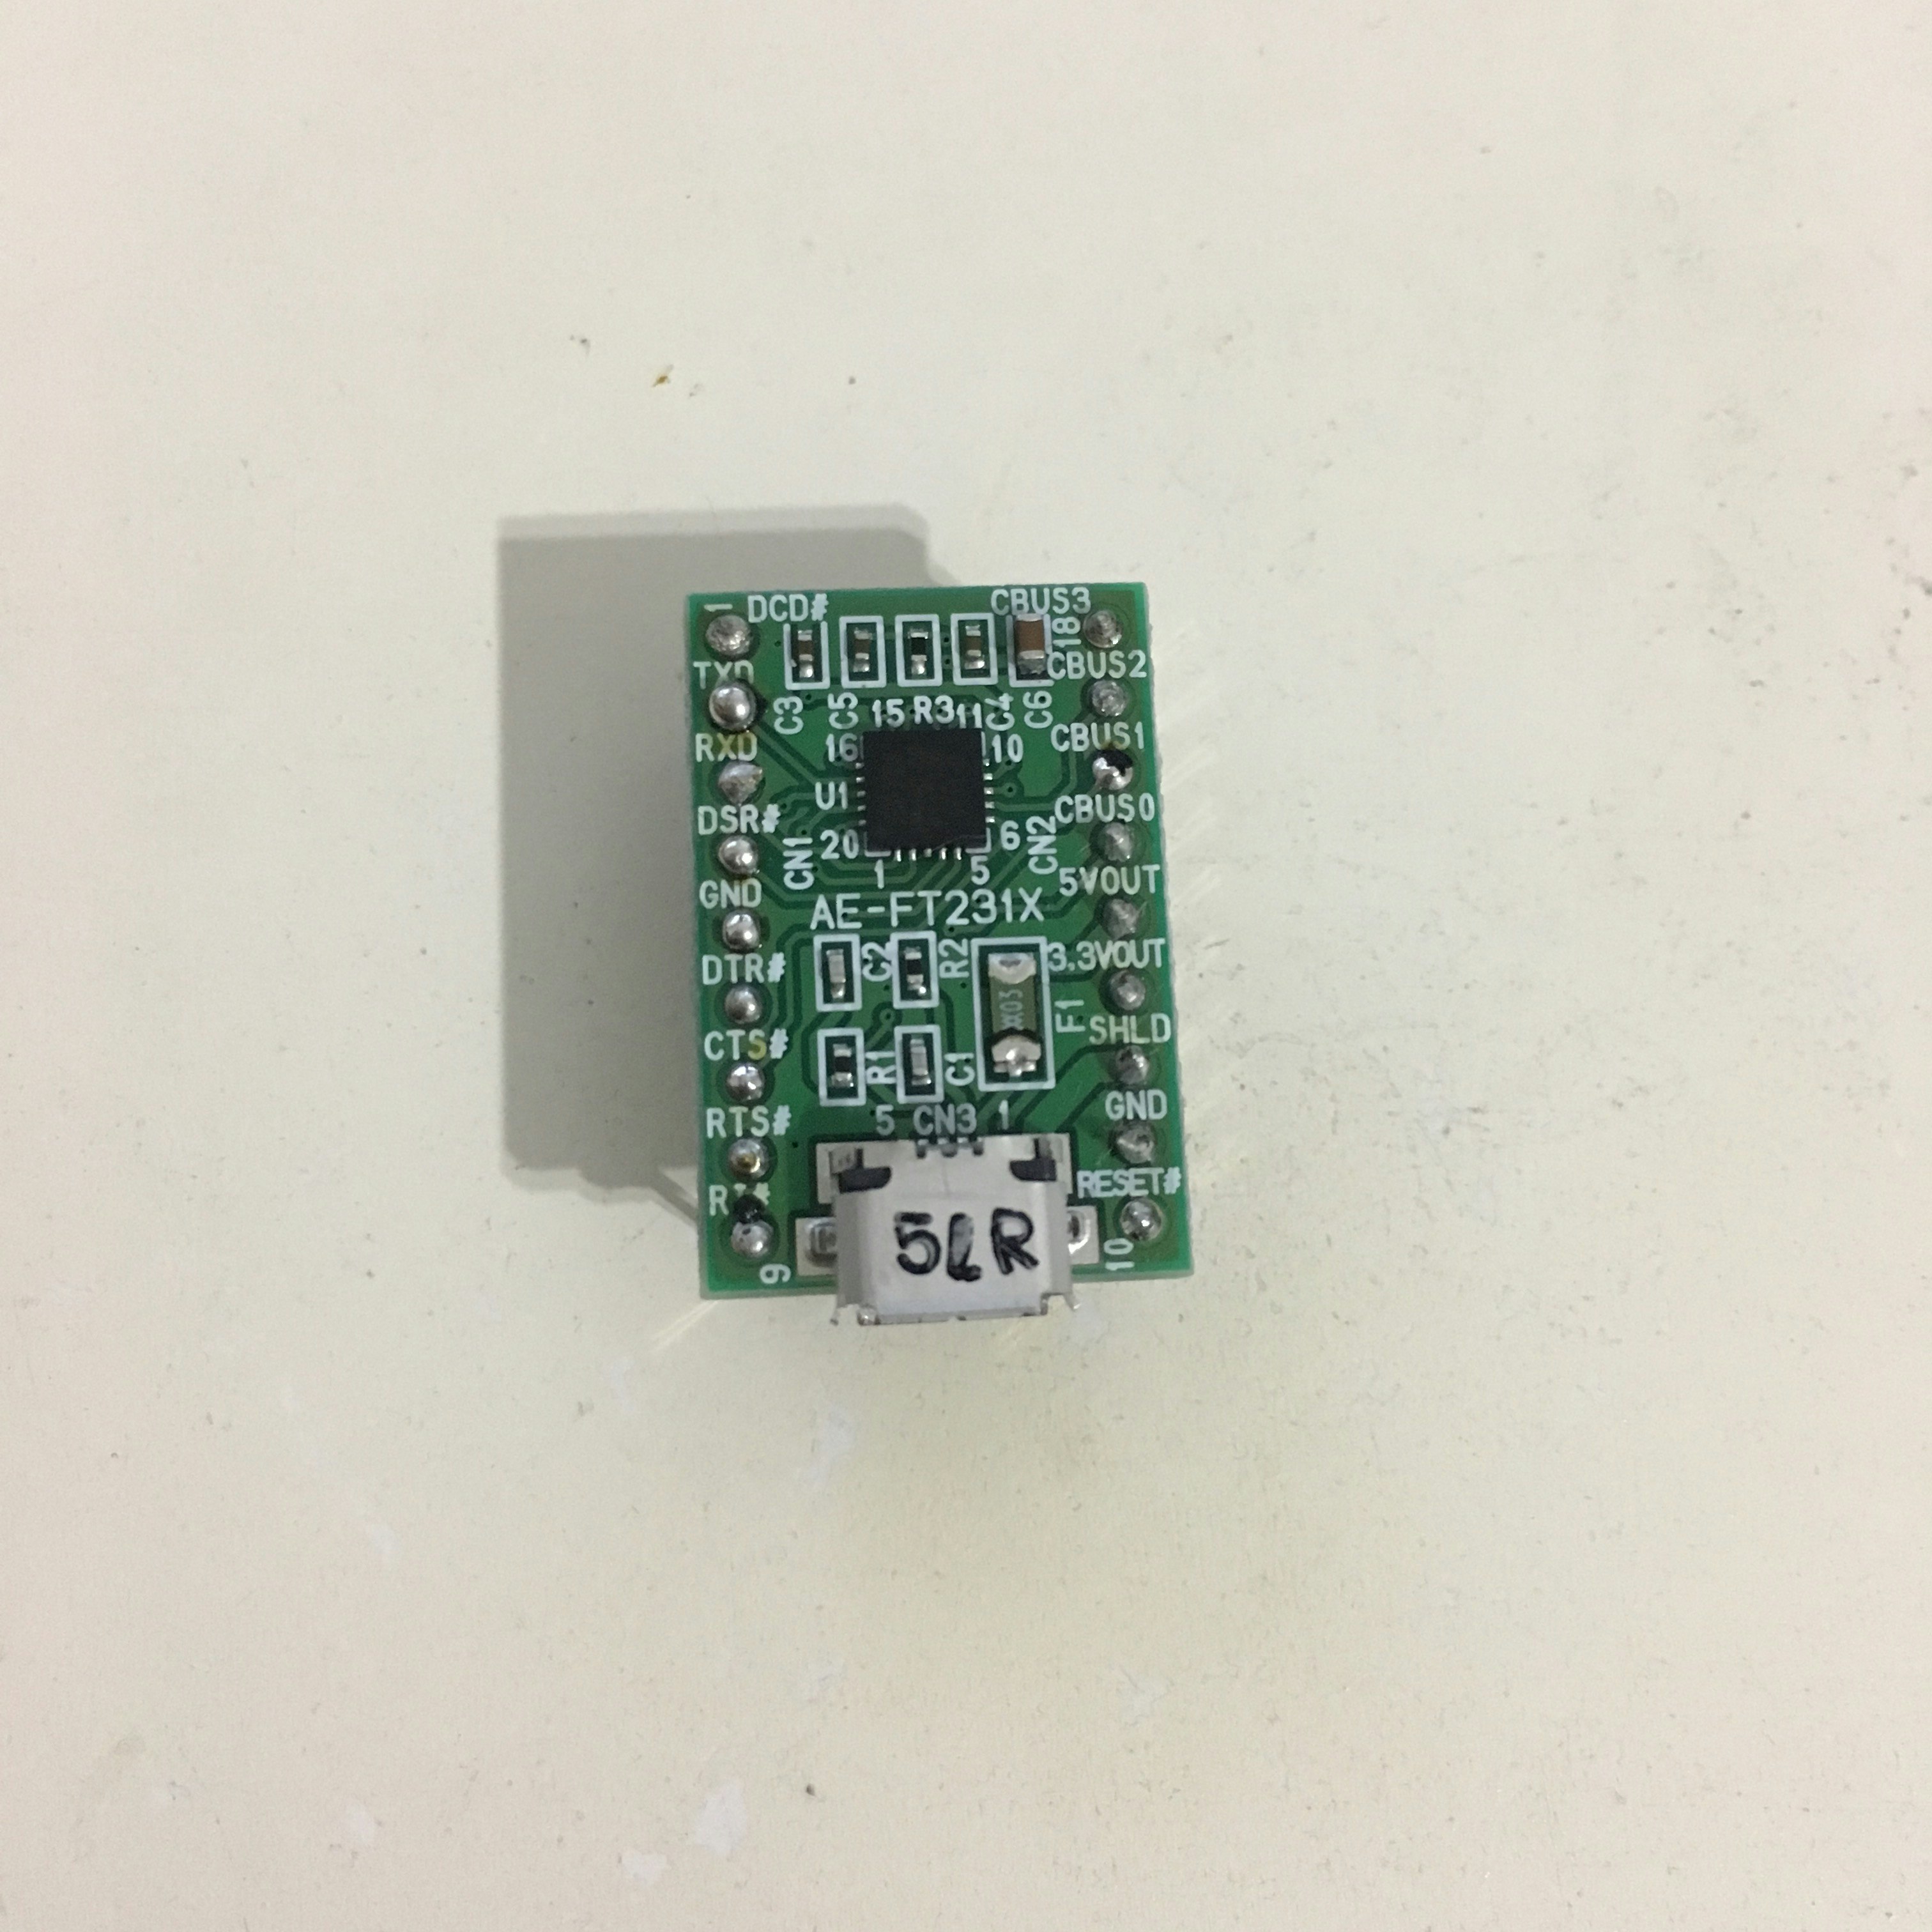 |
こっちはシリアル |
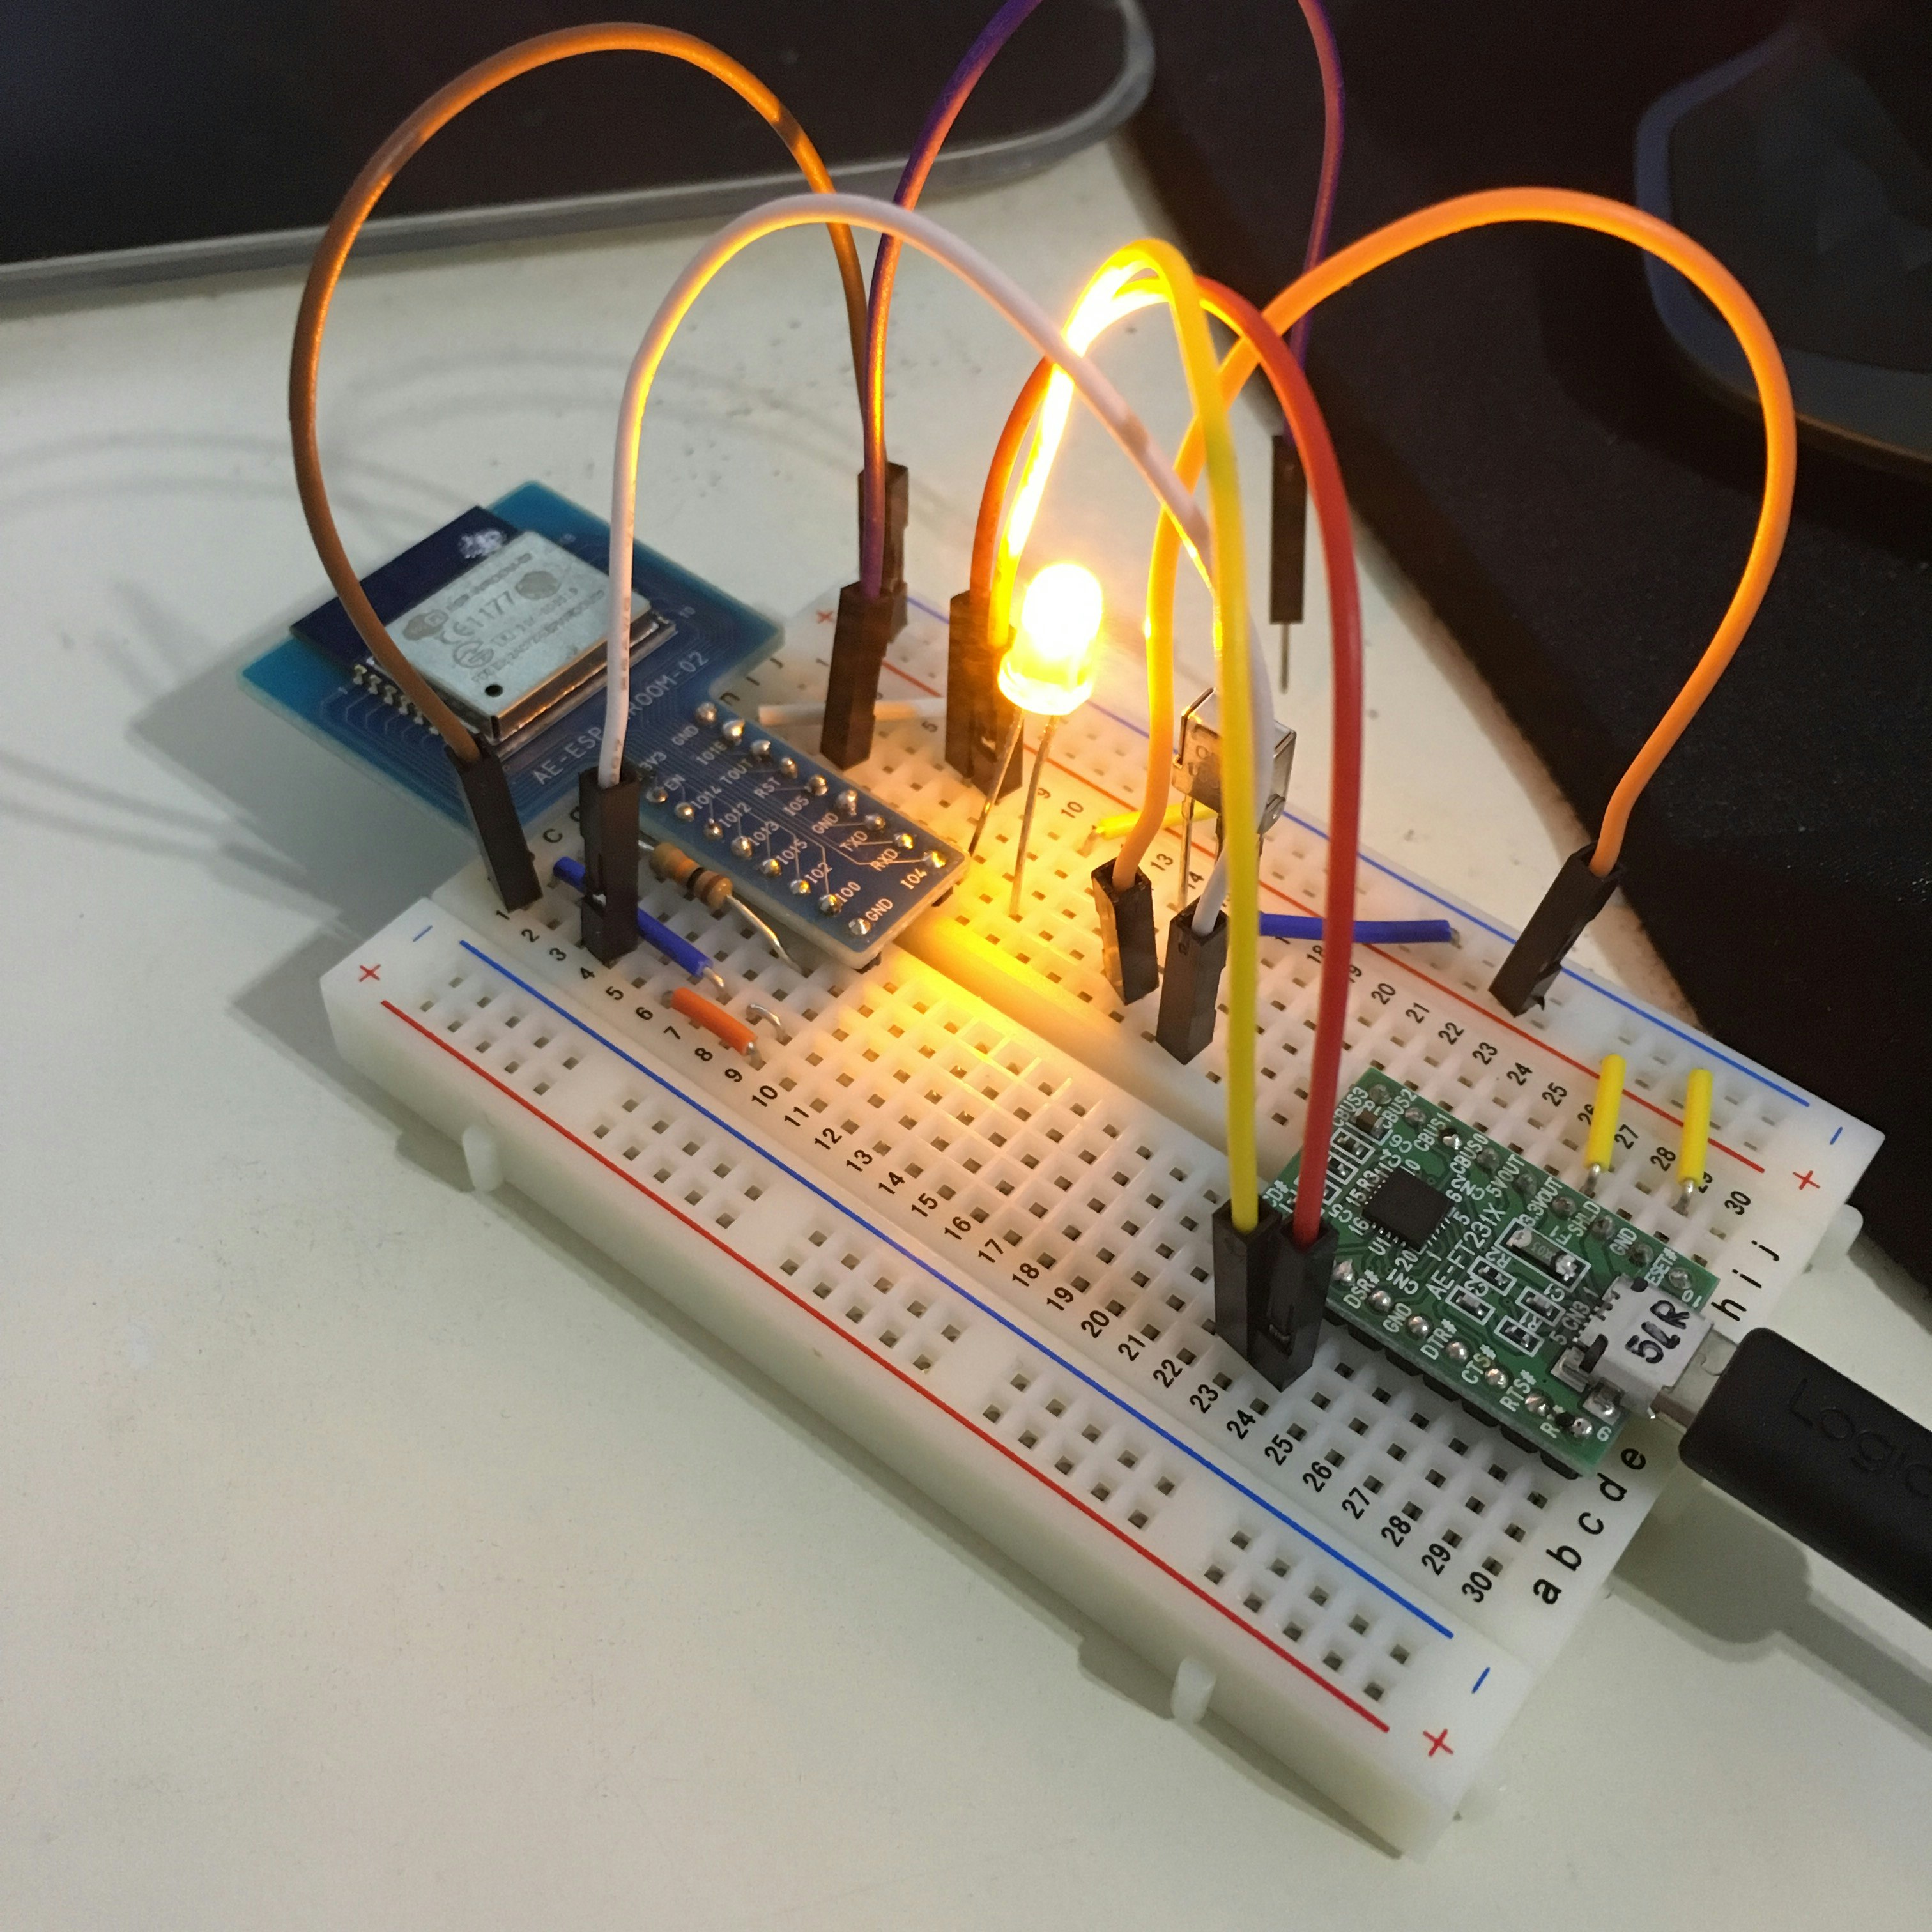
・ブレッドボードへ接続・配線図
ブレッドボードに繋いでみます。
gpioから出力させ、LED光らせてみます。
 ※つなぎ方は適当なのでごめんなさい
※抵抗いくつのものか忘れました。。。
※つなぎ方は適当なのでごめんなさい
※抵抗いくつのものか忘れました。。。
・プログラム
先人の先輩の方のプログラムを参考にさせて頂きました。
WiFiWebServer.ino
/*
 *  This sketch demonstrates how to set up a simple HTTP-like server.
 *  The server will set a GPIO pin depending on the request
 *    http://server_ip/gpio/0 will set the GPIO2 low,
 *    http://server_ip/gpio/1 will set the GPIO2 high
 *  server_ip is the IP address of the ESP8266 module, will be
 *  printed to Serial when the module is connected.
 */

# include <ESP8266WiFi.h>

const char* ssid = "your-ssid";
const char* password = "your-password";

// Create an instance of the server
// specify the port to listen on as an argument
WiFiServer server(80);

void setup() {
  Serial.begin(115200);
  delay(10);

  // prepare GPIO2
  pinMode(2, OUTPUT);
  digitalWrite(2, 0);

  // Connect to WiFi network
  Serial.println();
  Serial.println();
  Serial.print("Connecting to ");
  Serial.println(ssid);

  WiFi.begin(ssid, password);

  while (WiFi.status() != WL_CONNECTED) {
    delay(500);
    Serial.print(".");
  }
  Serial.println("");
  Serial.println("WiFi connected");

  // Start the server
  server.begin();
  Serial.println("Server started");

  // Print the IP address
  Serial.println(WiFi.localIP());
}

void loop() {
  // Check if a client has connected
  WiFiClient client = server.available();
  if (!client) {
    return;
  }

  // Wait until the client sends some data
  Serial.println("new client");
  while(!client.available()){
    delay(1);
  }

  // Read the first line of the request
  String req = client.readStringUntil('\r');
  Serial.println(req);
  client.flush();

  // Match the request
  int val;
  if (req.indexOf("/gpio/0") != -1)
    val = 0;
  else if (req.indexOf("/gpio/1") != -1)
    val = 1;
  else {
    Serial.println("invalid request");
    client.stop();
    return;
  }

  // Set GPIO2 according to the request
  digitalWrite(2, val);

  client.flush();

  // Prepare the response
  String s = "HTTP/1.1 200 OK\r\nContent-Type: text/html\r\n\r\n<!DOCTYPE HTML>\r\n<html>\r\nGPIO is now ";
  s += (val)?"high":"low";
  s += "</html>\n";

  // Send the response to the client
  client.print(s);
  delay(1);
  Serial.println("Client disonnected");

  // The client will actually be disconnected
  // when the function returns and 'client' object is detroyed
}
| 項目 | 変更箇所 | コメント |
|---|---|---|
| ■GPIO関連 | // prepare GPIO2 pinMode(4, OUTPUT); digitalWrite(4, 0); // Set GPIO2 according to the request digitalWrite(4, val); |
出力するGPIOを変更。今回は、2から4に変更しています。 |
| ■SSID関連 | const char* ssid = "your-ssid"; const char* password = "your-password"; |
自分の環境に合わせて |
・ESP8266へ書き込み
Arduino IDEをインストールして書き込みます。
Arduino使い方は、調べればすぐ出てきますので割愛します。
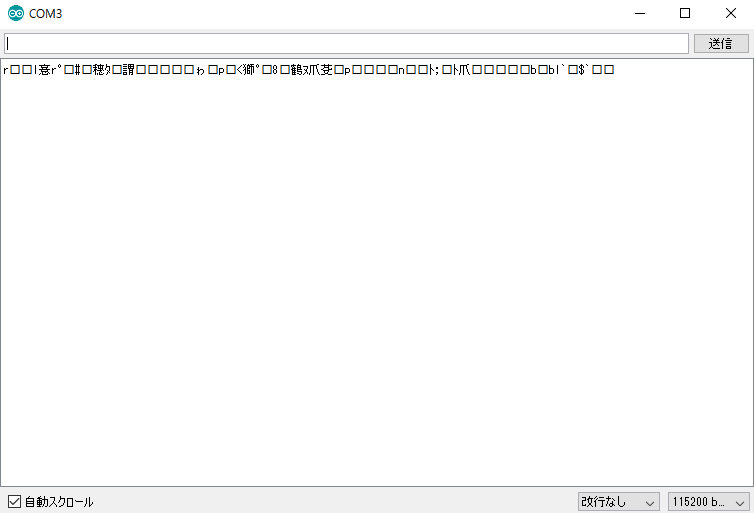 |
RSTとGNDをつなぐと、左記のような文字が出力されます。その後、接続したジャンパーコードは抜きます。 |
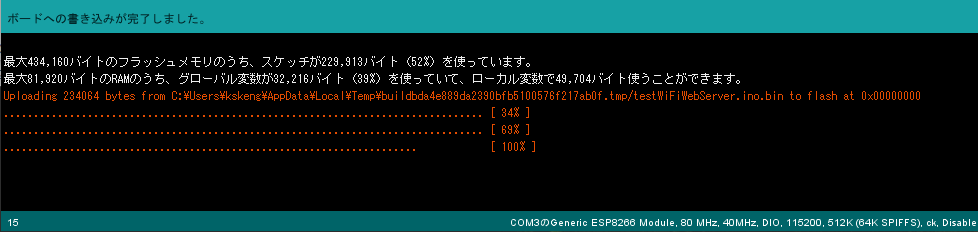 |
書き込み終わって |
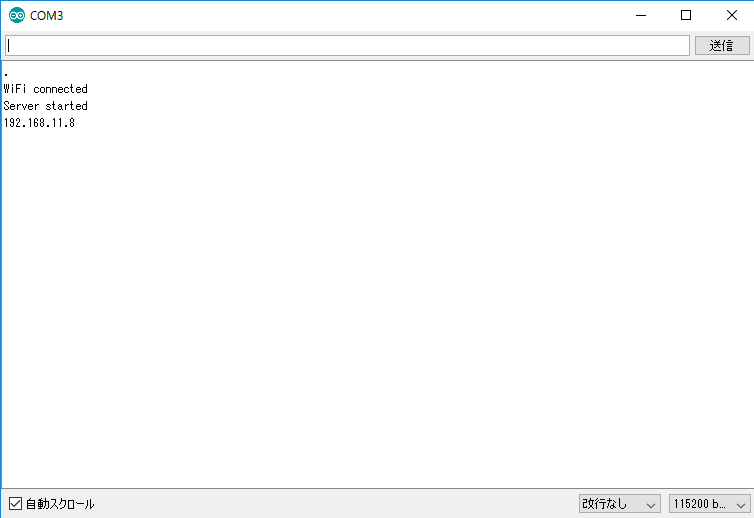 |
左記のように取得したIPアドレスが表示されればOK |
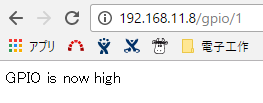 |
ブラウザで http://表示されたIP/gpio/1 にアクセスすれば |
 |
指定したGPIOから出力して、LEDが光ります!(感動。。。)逆に、/gpio/0 にアクセスすれば、LEDが消灯するってことです。 |
・おわりに
単純なLEDチカチカでしたが、夢が広がりました+電子工作の楽しさを改めて感じました。
できているものをいじるのと、作ったものをいじるのは全然違うです。