環境
- ubuntu 22.04
- メモリ8GB
- ストレージ16GB
手順
- Wireguardのインストール
- Wireguardホスト用コンフィグの作成
- ルーティングの許可
- Wireguardの起動
- GUIでWireguardのコンフィグを生成するツールの構築
Wireguardのインストール
$ sudo apt -y update
$ sudo apt -y install wireguard resolvconf
Wireguard用の鍵の作成(ホスト側)
ホスト用秘密鍵の作成
$ wg genkey | sudo tee /etc/wireguard/server.key
$ sudo chmod 600 /etc/wireguard/server.key
秘密鍵から公開鍵を作成する
$ sudo cat /etc/wireguard/server.key | wg pubkey | sudo tee /etc/wireguard/server.pub
$ sudo chmod 600 /etc/wireguard/server.pub
Wireguard用の鍵作成(クライアント)
$ sudo apt install wireguard
$ wg genkey | sudo tee /etc/wireguard/client.key
$ sudo cat /etc/wireguard/client.key | wg pubkey | sudo tee /etc/wireguard/client.pub
$ sudo chmod 600 /etc/wireguard/client.key /etc/wireguard/client.pub
サーバーのコンフィグ設定
インターフェース名に合わせた名前にしなければならない。(「/etc/wireguard/作成するインターフェイス名.conf」)
nano /etc/wireguard/wg0.conf
下記を追加
[Interface]
PrivateKey = 作成したサーバーの秘密鍵
Address = 10.0.0.1 (サーバーのVPNインターフェイスに割り当てるIPアドレス)
ListenPort = 51820

[Peer]
PublicKey = 作成したクライアントの公開鍵
AllowedIPs = 10.0.0.2/32 (VPNクライアントに割り当てたIPアドレス)
LAN内へルーティングを行う
nano /etc/sysctl.conf
下記を編集
# Uncomment the next line to enable packet forwarding for IPv4
net.ipv4.ip_forward=1   ← 行頭の # を消してコメントを解除する
sysctlコマンドを実行し、変更を反映します。
sudo sysctl -p
wireguardの起動
$ sudo systemctl enable wg-quick@wg0
$ sudo systemctl start wg-quick@wg0
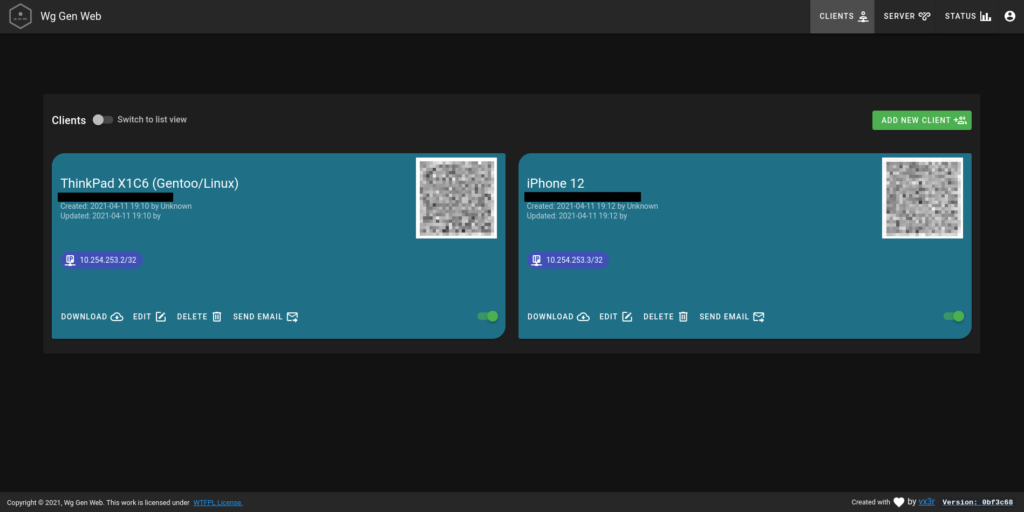
GUIの設定(wg gen web)
nano docker-compose.yml
下記を追加
version: '3.6'
services:

  wg-gen-web:
    image: vx3r/wg-gen-web:latest
    container_name: wg-gen-web
    restart: unless-stopped
    environment:
      WG_STATS_API: http://<サーバのプライベートIP>:8182
      WG_CONF_DIR: /data
      WG_INTERFACE_NAME: wg0.conf
      OAUTH2_PROVIDER_NAME: fake
    volumes:
      - /etc/wireguard:/data
    ports:
      - 8080:8080

  wg-json-api:
    image: james/wg-api:latest
    container_name: wg-json-api
    restart: unless-stopped
    cap_add:
      - NET_ADMIN
    network_mode: host
    command: wg-api --device wg0 --listen <サーバのプライベートIP>:8182
起動する
docker-compose up -d
WGの設定が上書きされているので、GUI上で任意の設定を行う。

POSTUPには
iptables -A FORWARD -i wg0 -j ACCEPT; iptables -t nat -A POSTROUTING -o ens160 -j MASQUERADE;iptables -A FORWARD -o wg0 -j ACCEPT
POSTDOWNには
iptables -D FORWARD -i wg0 -j ACCEPT; iptables -t nat -D POSTROUTING -o ens160 -j MASQUERADE;iptables -D FORWARD -o wg0 -j ACCEPT
のconfigを入れる
設定ファイルの自動反映・再起動
/etc/wireguardにファイルが作成された事を監視、WGの再起動を行う仕組みをsystemdを用いて行う。
ファイル監視用コンフィグの作成
.pathと.serviceの前の文字列を揃える必要がある。
cd /etc/systemd/system/

touch wgfile.path
touch wgfile.service
serviceファイルの編集
nano wgfile.service
下記を追加
[Unit]
Description=Restart WireGuard
After=network.target

[Service]
Type=oneshot
ExecStart=/usr/bin/systemctl restart wg-quick@wg0.service

[Install]
WantedBy=multi-user.target
pathファイルの編集
nano wgfile.path
下記を追加
[Unit]
Description=Watch /etc/wireguard for changes

[Path]
PathModified=/etc/wireguard
# PathChanged=/etc/wireguard

[Install]
WantedBy=multi-user.target
multi-userでなく、defaultでも良い気がしている。
systemctl daemon-reload
systemctl start wgfile.service
参考文献
https://tech-mmmm.blogspot.com/2021/11/wireguardvpn.html
https://gihyo.jp/admin/serial/01/ubuntu-recipe/0614
https://vpslife.server-memo.net/ubuntu_wireguard_install/
https://virment.com/how-to-setup-wireguard-server-and-connect-from-client/
https://blog.freebsd-days.com/2021/04/wireguard-with-wg-gen-web/