Ateam Finergy Inc.× Ateam CommerceTech Inc.× Ateam Wellness Inc. Advent Calendar 2022の7日目は株式会社エイチームウェルネス @engabesi が担当します。
はじめに
KotlinMultiplatformMobile(以下KMM)、皆さんご存知でしょうか
AndroidとiOSで一部ロジックを共有して開発できる代物ですね
似たものだとReactNativeやFlutter等が有名ですが、KMMはKotlinで書けるのが個人的に嬉しいポイント
そんなKMMを本当にさらっとだけですが触ったので所感を以下に記載していきます
セットアップ
https://kotlinlang.org/docs/multiplatform-mobile-getting-started.html
これの流れに沿っていきます
細かい点は↑にあるのでざっくりとだけ記載します
Android Studioを起動します
PluginsからKotlin Multiplatform MobileをInstall
New ProjectからTemplateにあるKotlin Multiplatform Appを選択
アプリ名等を決めてポチポチ押してProject作成します
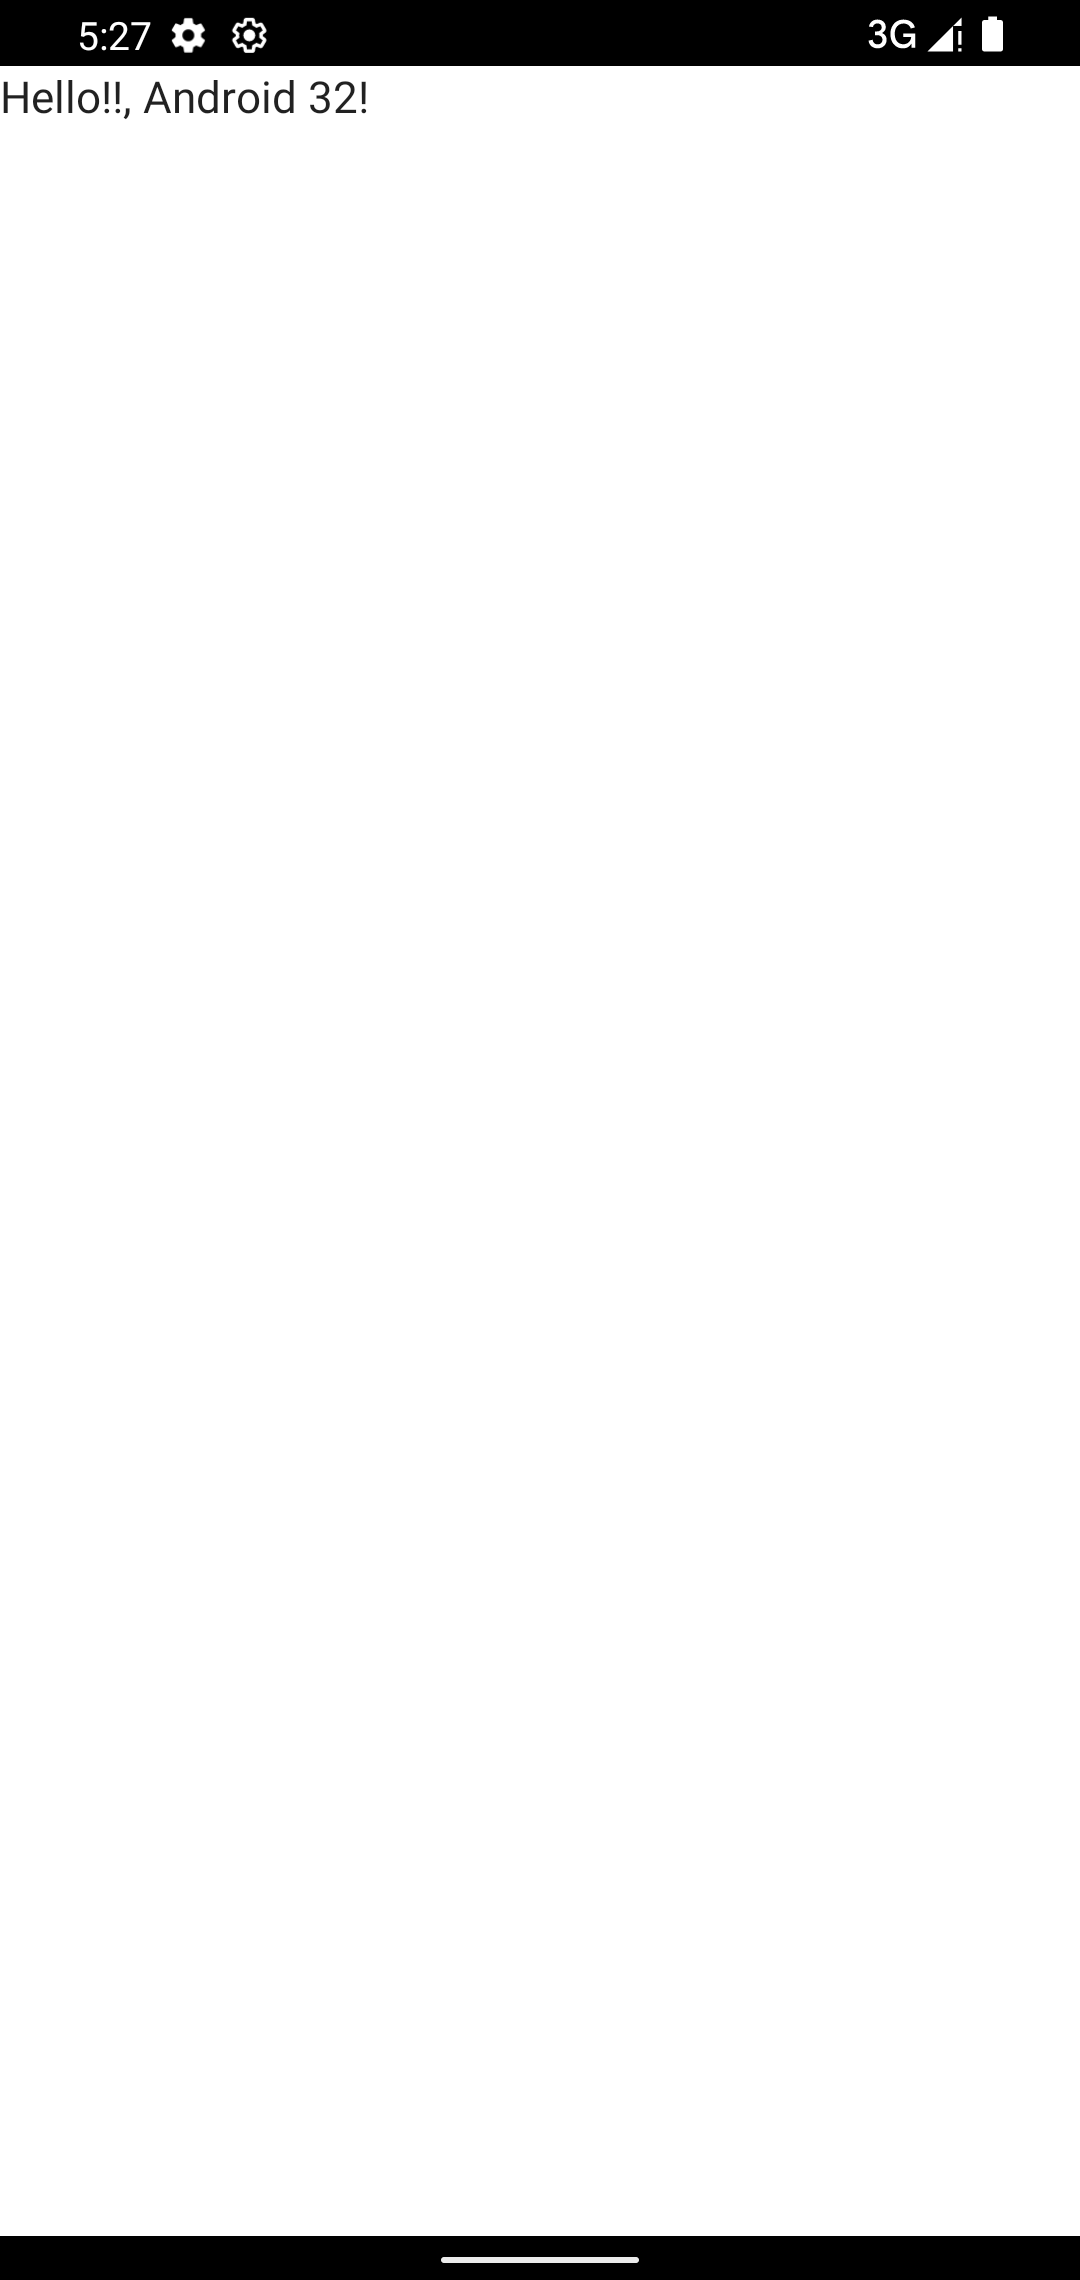
androidAppとiosApp両方ビルドできるかを確認します
これだけでKMMのProject作成完了です
| android | ios |
|---|---|
 |
 |
サンプル時点で既に軽い共通処理、OSで分ける処理、interfaceの書き方が既に実装されています
正直これを見ただけで満足してしまいましたが、
ここにネイティブ機能を利用する場合の実装も追加していきます
ボタンをタップしたらOSの通知を飛ばす機能を作成します
通知実装
通知で表示する文字列は共通なのでshared/commonMainに記載します
class Greeting {
    private val platform: Platform = getPlatform()
    val notificationTitle = "Hi!"

    fun greet(): String {
        return "Hello!!, ${platform.name}!"
    }
}
ボタンと通知処理をandroidApp/*とiosApp/*配下に追記します
class MainActivity : ComponentActivity() {
    override fun onCreate(savedInstanceState: Bundle?) {
        super.onCreate(savedInstanceState)

        if (Build.VERSION.SDK_INT >= Build.VERSION_CODES.O) {
            val channel = NotificationChannel(
                "CHANNEL_ID",
                "CHANNEL_NAME",
                NotificationManager.IMPORTANCE_DEFAULT
            )
            val notificationManager: NotificationManager =
                getSystemService(Context.NOTIFICATION_SERVICE) as NotificationManager
            notificationManager.createNotificationChannel(channel)
        }

        setContent {
            MyApplicationTheme {
                Surface(
                    modifier = Modifier.fillMaxSize(),
                    color = MaterialTheme.colors.background
                ) {
                    Button(onClick = {
                        val builder = NotificationCompat.Builder(this, "CHANNEL_ID")
                            .setSmallIcon(androidx.core.ktx.R.drawable.notification_icon_background)
                            .setContentTitle(Greeting().notificationTitle)
                            .setContentText(Greeting().greet())
                            .setPriority(NotificationCompat.PRIORITY_DEFAULT)
                        with(NotificationManagerCompat.from(this)) {
                            notify(1, builder.build())
                        }

                    }) {
                        Text(text = "Button")
                    }
                }
            }
        }
    }
}
struct ContentView: View {
    init(){
        let center = UNUserNotificationCenter.current()
        center.requestAuthorization(options: .alert) { _, _ in }
    }

	var body: some View {
        Button("Button") {
            sendNotification(title: Greeting().notificationTitle, body: Greeting().greet())
        }
	}
}

func sendNotification(title: String, body: String){
    let content = UNMutableNotificationContent()
    content.title = title
    content.body = body

    let trigger = UNTimeIntervalNotificationTrigger(timeInterval: 5, repeats: false)
    let request = UNNotificationRequest(
        identifier: "NOTIFY_1", content: content, trigger: trigger
    )
    UNUserNotificationCenter.current().add(request)
}
(iOS側は、これだとアプリがforegroundだと通知が表示されないですが今回の本題はそこではないのでそのままにします)
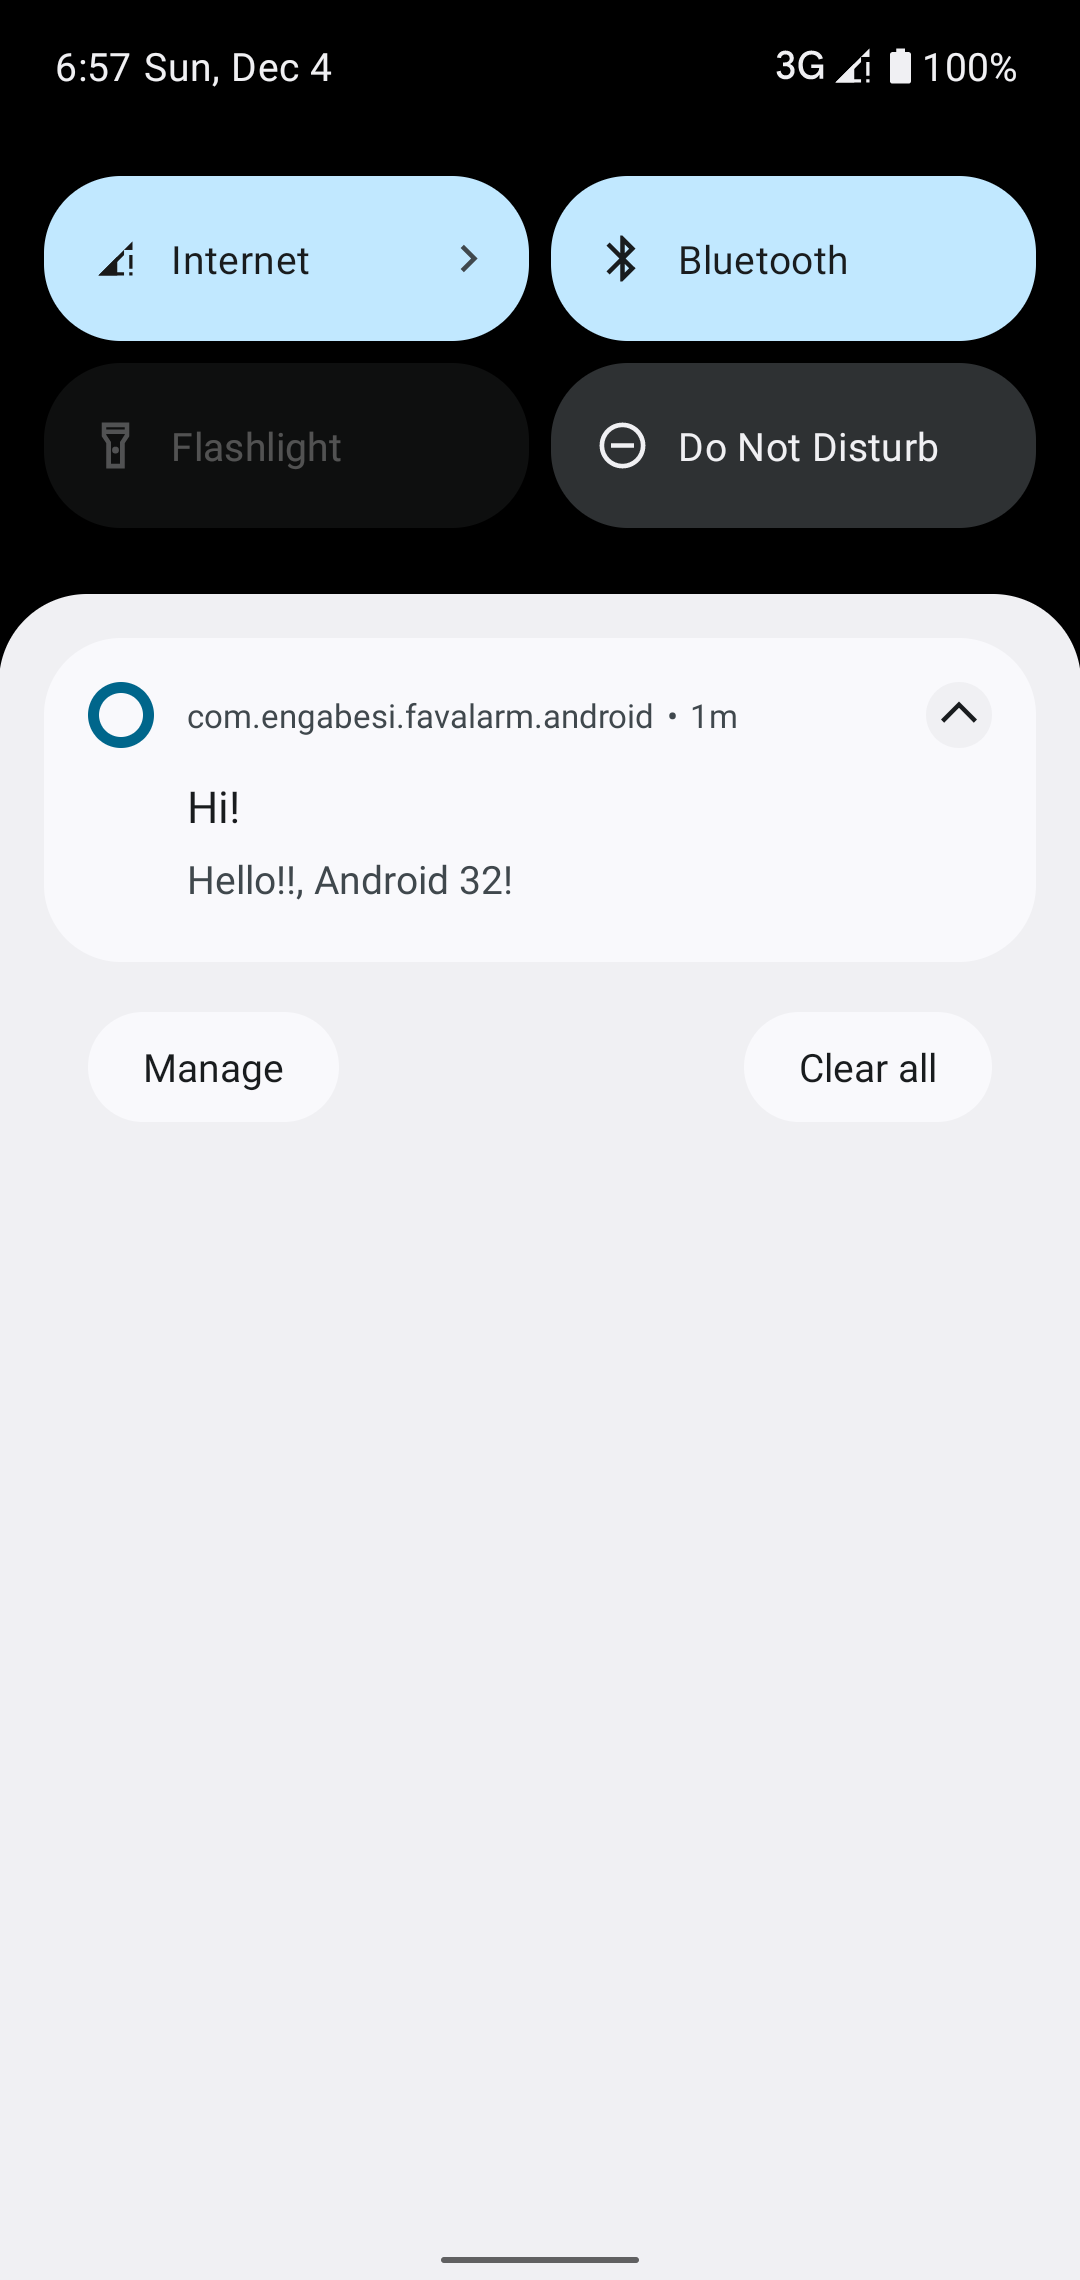
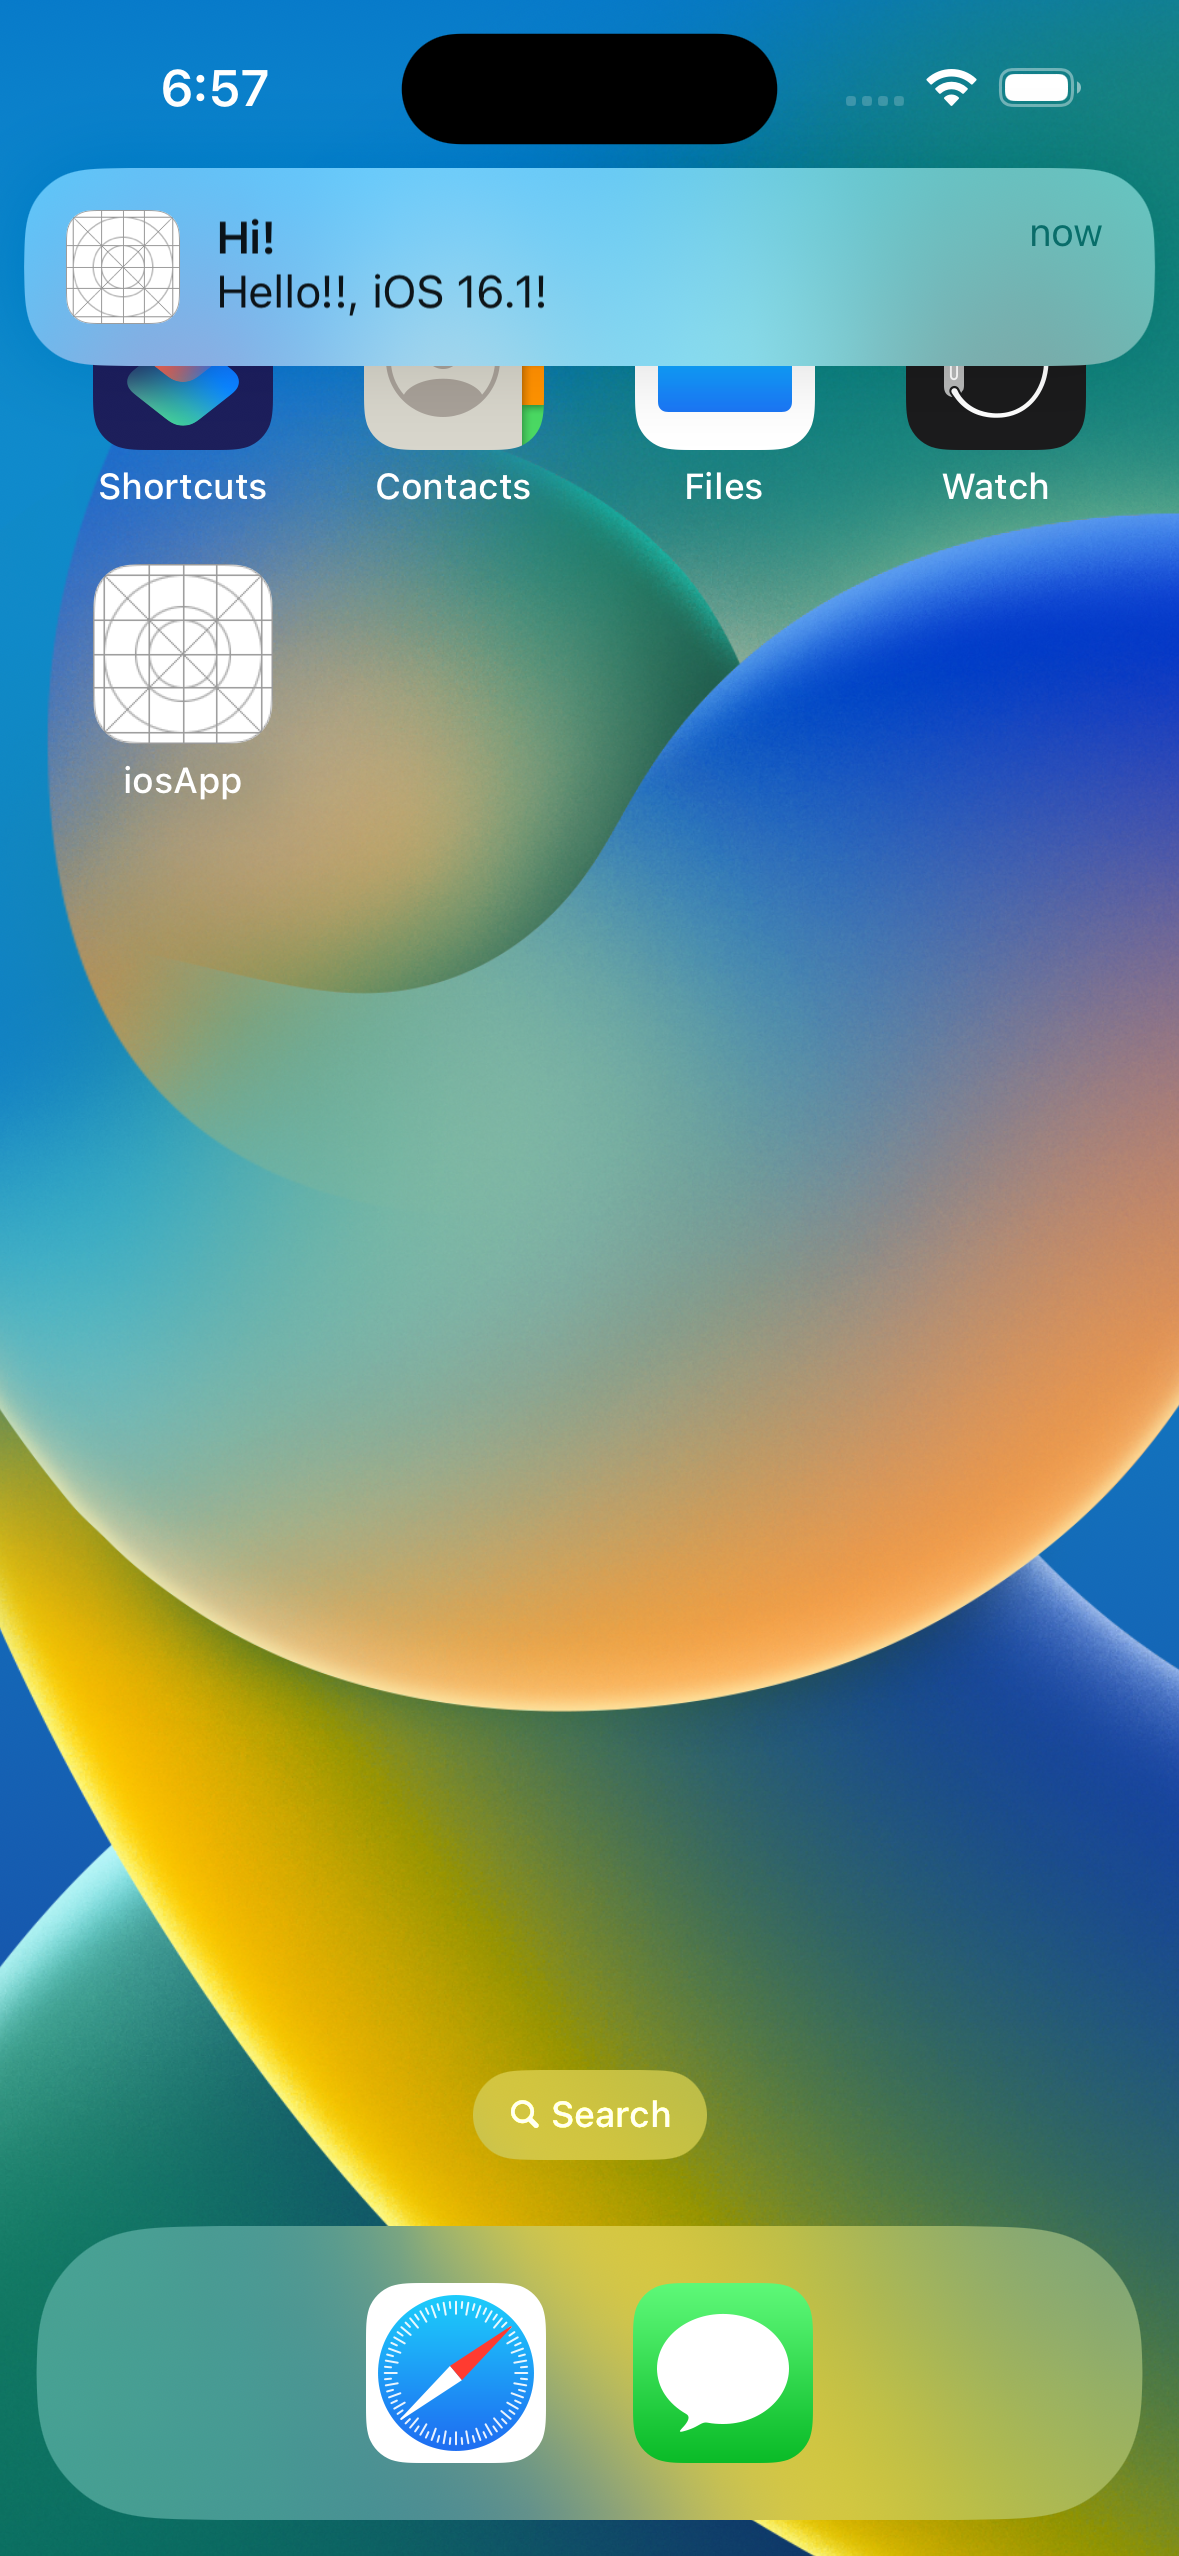
これだけで実装完了です
| android | ios |
|---|---|
 |
 |
shared/*にロジックを記載し、UIとネイティブを利用する部分はandroidApp/*|iosApp/*に記載していく形になります
通知の文字を変える際はshared/commonMainの文字列を変えるだけで両OSに適用されるので、
片方だけ変更が忘れられて仕様が異なる等の悲しい状態が少なくなりそうです
感想
処理が共通化されることにより意図しないOSによる差異を防げたり、
必然的にロジックとUIが分離されるためテストやチームでの分担が容易になりそうです
一方で、iOS側の実装はXcodeで行いましたが、
shared内の変更をUI側で使う際に一度ビルドするまでサジェストが行われなかったのはちょっと面倒に感じました
あとどうせならAndroidStudio上でiosMainも実装できるようになると更に捗りそうです
JetBrainsにはAppCodeがあるので全然その未来はありそうです
(追記)2022-12-14にAppCodeサポート終了してしまった…
少し触っただけなので実はできる事だった場合はごめんなさい
プロダクトで早く使ってみたいのでKMMからベータが取れる日を楽しみに待ちたいと思います