AngularではLazyloadモジュールという遅延読み込みを行うことができる機能が提供されており、ページ遷移した時に必要なモジュールだけ読み込むように設定することができます。
しかしLazy Loading(遅延読み込み)をいざ実装するとなるとNgModuleのコンポーネント登録でつまづいた点もあってサンプルアプリケーションを例になるべくわかりやすく説明します
はじめに
■前提条件
既にAngular公式のLazy Loadingの説明等でLazy Loadingについて基本的な概念や実装方法はなんとなく理解していればOKです
■進め方
どんな問題につまづくか、いくつかのパターンがあります。
各パターンごとに問題につまづく前と問題につまづき修正した後の完成版二つのサンプルコードをStackBlitzで用意しています。
アプリケーションの内容についてどのパターンもベースは同じですが、記事を読み進めるにつれてコードを追加ししより発展する形になります。
まずは記事に沿って問題につまづく前のサンプルコードから編集し、実際にLazy Loadingでどんなとこにはまってどのように解決すれば良いのかを体験してください。
もし編集してみたんだけど解決できないという場合は完成版と比較してみましょう。
※どんなエラーが発生しているかを知るためにコンソールは開いておいてください。
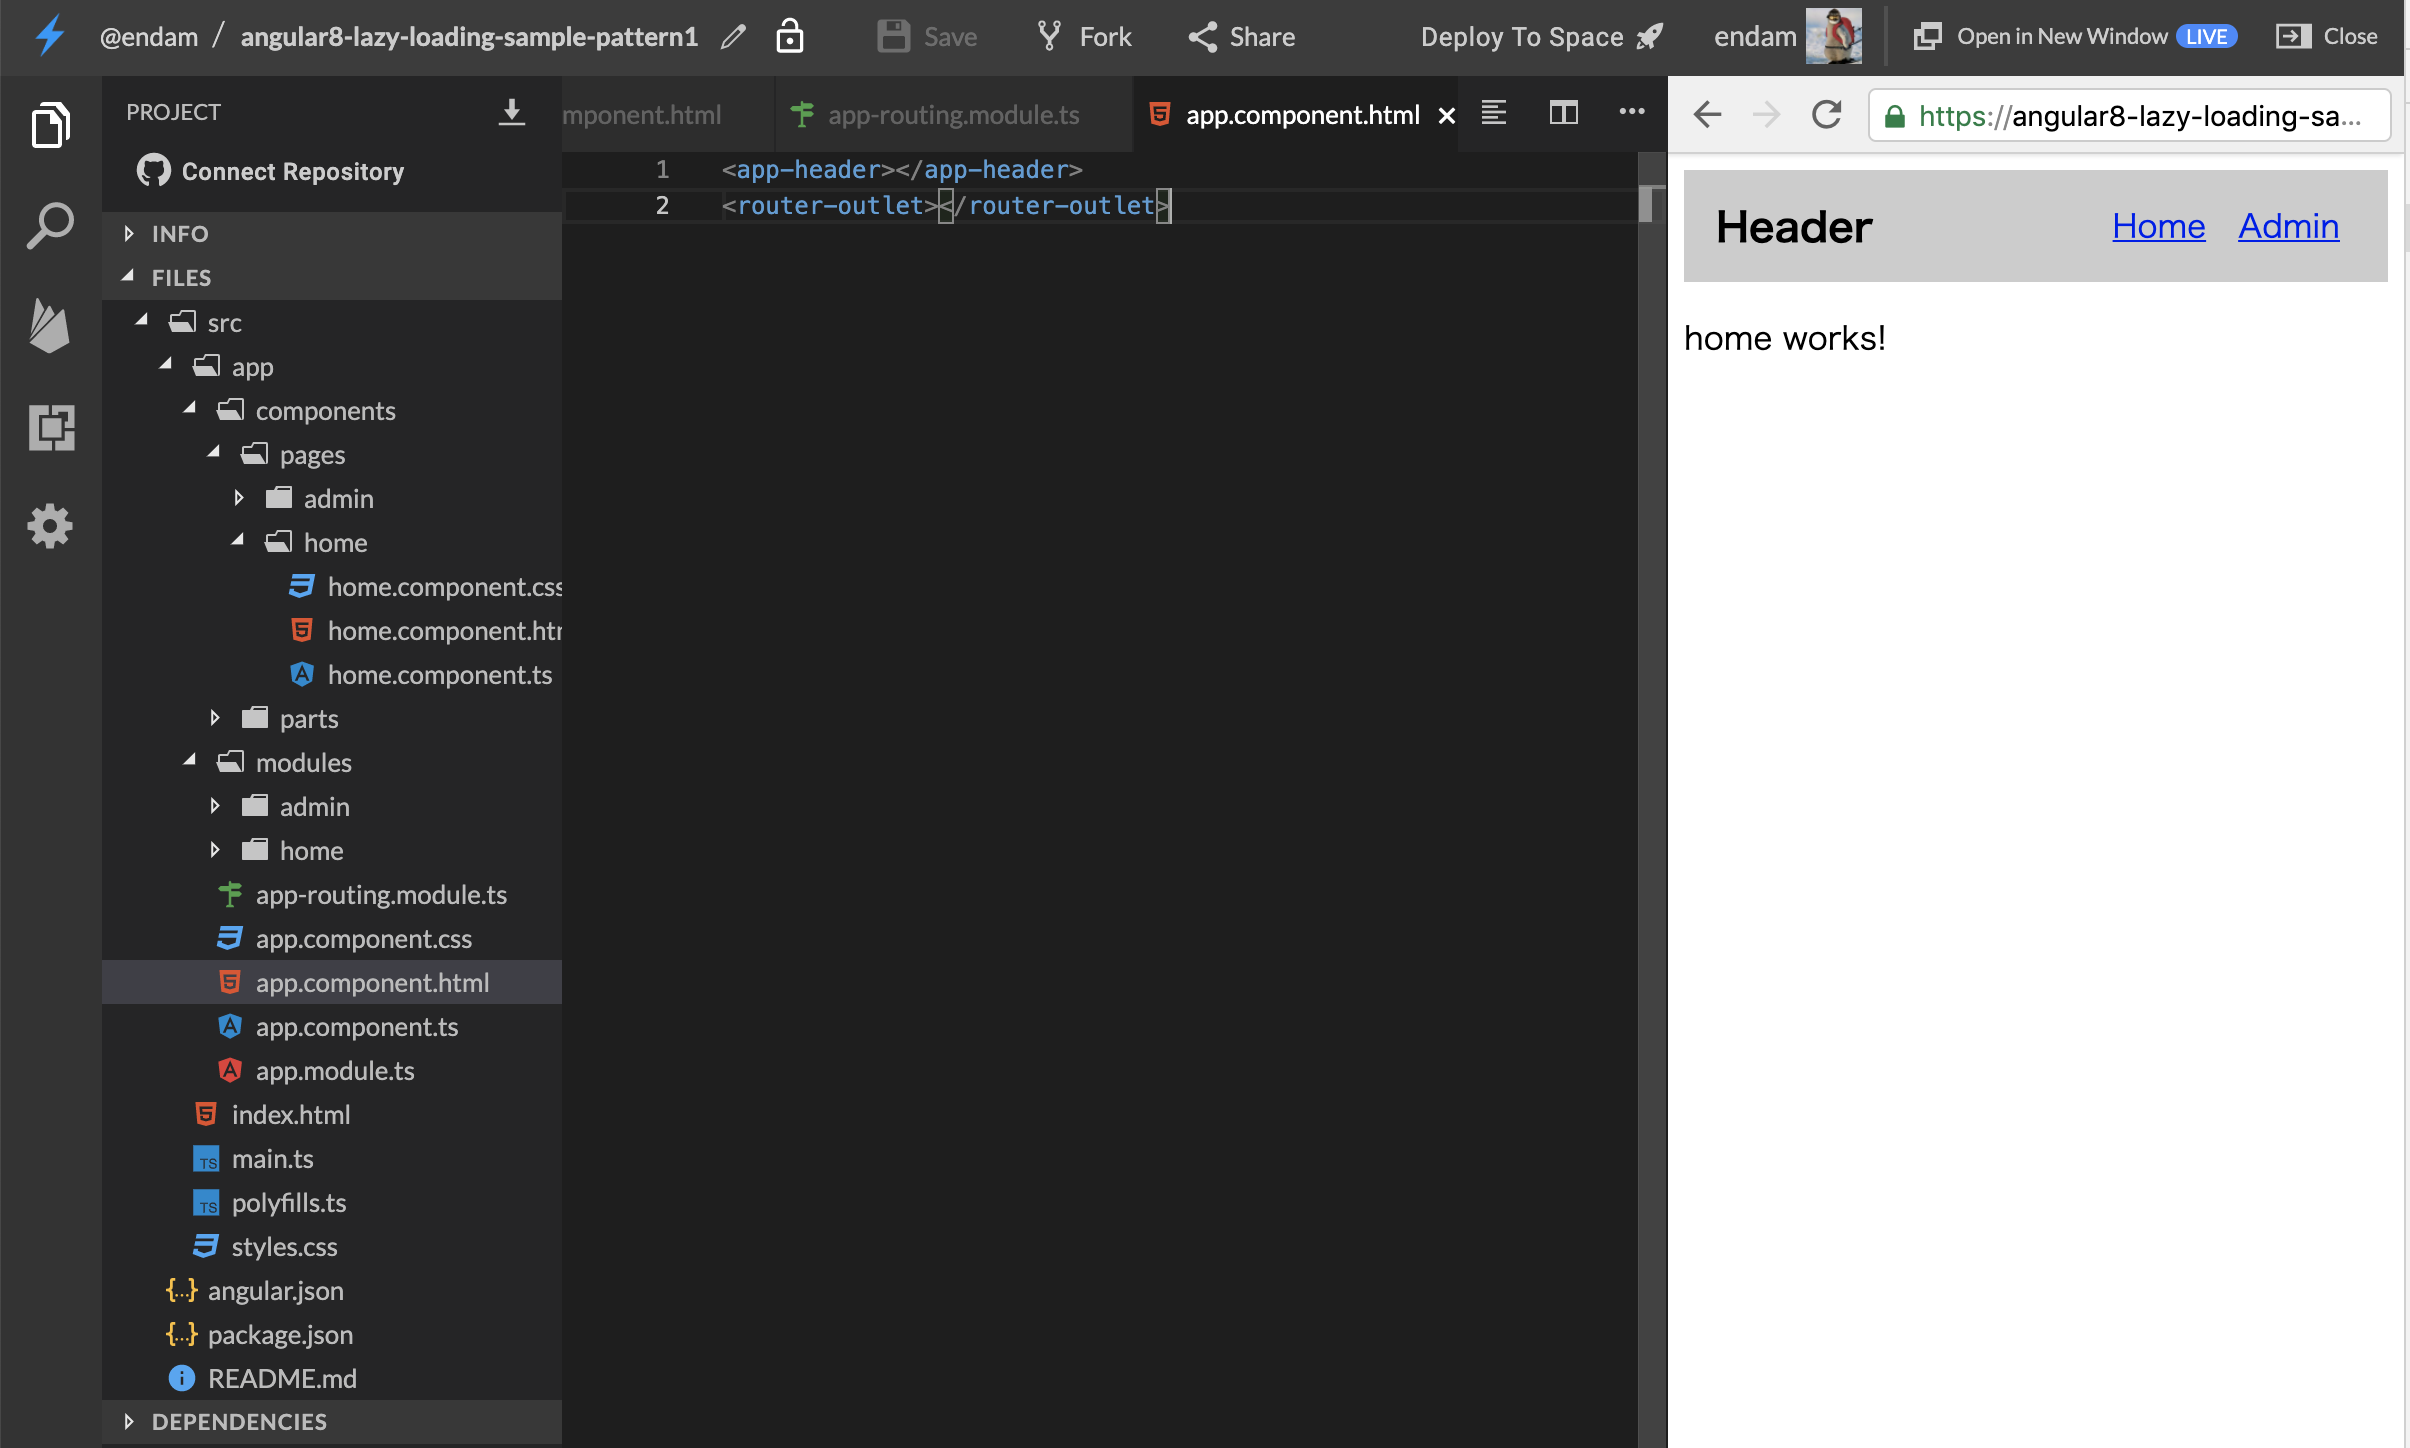
サンプルアプリケーションの最初はヘッダーがあるレイアウトで既にいくつかのフィーチャーモジュールをLazy Loadingしている場面からスタートします。
https://stackblitz.com/edit/angular8-lazy-loading-sample-pattern1
import { NgModule }             from '@angular/core';
import { RouterModule, Routes } from '@angular/router';

const routes: Routes = [
  { path: '', redirectTo: '/home', pathMatch: 'full' },
  { path: 'admin', loadChildren: () => import('./modules/admin/admin.module').then(m => m.AdminModule)},
  { path: 'home', loadChildren: () => import('./modules/home/home.module').then(m => m.HomeModule)},

];

@NgModule({
  imports: [ RouterModule.forRoot(routes) ],
  exports: [ RouterModule ]
})
export class AppRoutingModule {}
フィーチャーモジュールでは同じ階層にあるルーティングモジュールをインポートし、ルーティングのデフォルトとしてページコンポーネントを指定しています。
AdminModuleのフィーチャーモジュールであればAdminRoutingModuleをインポートし、/adminでアクセスされた時にAdminComponentを表示します。

つまずき集
つまずき1. 親モジュールが使用しているコンポーネントを子モジュールでも使用する
つまづき
本記事ではわかりやすくする為に親モジュールと子モジュールという言葉を使います。
- 親モジュール:AppModuleもしくはAppModuleから読み込むモジュール
- 子モジュール:Lazy Loadingしているフィーチャーモジュール
まずはこちらで用意したサンプルコードを開いてください。
ヘッダーを表示するheader.component.htmlでは他のページへ遷移するリンクとしてapp-linkというコンポーネントを表示しています。

これをLazy Loadingしているコンポーネントでも使用したいとします。
試しにhome.component.htmlでapp-linkを追加します。
すると内容が表示されずエラーが発生します。

Error: Template parse errors:
'app-link' is not a known element:
1. If 'app-link' is an Angular component, then verify that it is part of this module.
2. If 'app-link' is a Web Component then add 'CUSTOM_ELEMENTS_SCHEMA' to the '@NgModule.schemas' of this component to suppress this message. ("
	home works!
</p>
app-linkは未定義なHTMLタグとして認識されているようですね。
LinkComponentはAppModuleで登録されているだけなので、HomeModuleでも登録してみます。
import { NgModule } from '@angular/core';
import { CommonModule } from '@angular/common';
import { HomeComponent } from '../../components/pages/home/home.component';
import { HomeRoutingModule } from './home-routing.module'
import { LinkComponent } from '../../components/parts/link/link.component';

@NgModule({
  imports: [
    CommonModule,
    HomeRoutingModule
  ],
  declarations: [
    HomeComponent,
    LinkComponent // 追加
  ]
})
export class HomeModule { }
しかし、今度は別のエラーが発生します。
ERROR Error: Uncaught (in promise): Error: Type LinkComponent is part of the declarations of 2 modules: AppModule and HomeModule! Please consider moving LinkComponent to a higher module that imports AppModule and HomeModule. You can also create a new NgModule that exports and includes LinkComponent then import that NgModule in AppModule and HomeModule.
Error: Type LinkComponent is part of the declarations of 2 modules: AppModule and HomeModule! Please consider moving LinkComponent to a higher module that imports AppModule and HomeModule. You can also create a new NgModule that exports and includes LinkComponent then import that NgModule in AppModule and HomeModule.
LinkComponentはAppModuleとHomeModuleで重複登録されているよ!と怒られます。。
「いったいどうしろと。。」という状態になったところで解決編に移りましょう。
解決
まずLazy Loadingを行う場合は特にそうですが、NgModuleのコンポーネント登録には重要な大原則があります。

この大原則を知らない、もしくは忘れて開発を進めるとえらい目にあいかねないので是非覚えてください。
実際に起こったエラーを解決していきます。
まずLinkComponentを一度だけ登録する共通の新しいモジュールをmodulesディレクトリ内に作成します。
StackBlitzではngコマンドをGUIで代わりに実行するための機能が提供されています。
moduleディレクトリで右クリックすると操作メニューが表示されるのでその中でAngular Generatorを選択してください。
そうするとその中から何を新規作成するかを選べるのでModuleを選択します。

そうするとファイル名入力欄が表示されるのでsharedと入力してEnterを押すとmodulesディレクトリの中にsharedディレクトリが作成されて、さらにその中にshared.module.tsが作成されます。


次に新しく作成したShareModuleにLinkComponentの登録を行います。
import { NgModule } from '@angular/core';
import { CommonModule } from '@angular/common';
import { LinkComponent } from '../../components/parts/link/link.component';
import { RouterModule } from '@angular/router';

@NgModule({
  imports: [
    RouterModule
  ],
  declarations: [LinkComponent],
  exports: []
})
export class SharedModule {}
そしてLinkComponentを使えるようAppModuleとHomeModuleの両方でSharedModuleをインポートします。
import { NgModule } from "@angular/core";
import { BrowserModule } from "@angular/platform-browser";
import { FormsModule } from "@angular/forms";
import { AppRoutingModule } from "./app-routing.module";
import { AppComponent } from "./app.component";
import { HeaderComponent } from "./components/parts/header/header.component";
import { SharedModule } from "./modules/shared/shared.module";

@NgModule({
  imports: [BrowserModule, FormsModule, AppRoutingModule, SharedModule],
  declarations: [AppComponent, HeaderComponent],
  bootstrap: [AppComponent]
})
export class AppModule {}
import { NgModule } from "@angular/core";
import { CommonModule } from "@angular/common";
import { HomeComponent } from "../../components/pages/home/home.component";
import { HomeRoutingModule } from "./home-routing.module";
import { SharedModule } from "../shared/shared.module";

@NgModule({
  imports: [CommonModule, HomeRoutingModule, SharedModule],
  declarations: [HomeComponent]
})
export class HomeModule {}
さあ、これで動くか・・!?と思ったら安心してください、まだ動きません!泣
NgModuleとつきあっていくには根気と忍耐力が必要なのです(遠い目)
実際のエラーは以下が出ます。始めのエラーに逆戻りしましたね。
Error: Template parse errors:
'app-link' is not a known element:
1. If 'app-link' is an Angular component, then verify that it is part of this module.
2. If 'app-link' is a Web Component then add 'CUSTOM_ELEMENTS_SCHEMA' to the '@NgModule.schemas' of this component to suppress this message. ("
実はもう一つ大事な修正があります。 それがNgModuleのexportsです。
つまりただ上位のモジュールにコンポーネント登録を移してインポートしてもちゃんとexportsが指定されていなければコンポーネントが提供されないのです。
なのでSharedModuleのexportsにLinkComponentを指定してください。
  declarations: [LinkComponent],
+  exports: [LinkComponent]
無事に動くようになりましたね! これで完成です!

つまずき2. 複数の子モジュールで同じコンポーネントを使用する
つまづき
このサンプルコードからスタートしてください。
サンプルコードはつまずき1の完成版からボタンのコンポーネントを追加してhome.component.htmlで表示するよう修正しています。

またコンポーネント登録はHomeModuleで行っています。
declarations: [HomeComponent, ButtonComponent]
さてapp-butttonのコンポーネントをもう一つの/adminページでも使用したい場合はどうすれば良いでしょうか?
試しにadmin.component.htmlとadmin.module.tsを以下のように修正してください。
<p>
	admin works!
</p>
<app-button></app-button>
declarations: [
  AdminComponent,
  ButtonComponent // 追加
]
もうお気づきだと思いますが、つまづき1と同様にコンポーネント重複登録エラーが発生します![]()
Error: Type ButtonComponent is part of the declarations of 2 modules: HomeModule and AdminModule! Please consider moving ButtonComponent to a higher module that imports HomeModule and AdminModule.
解決
解決はつまずき1と同じく原則に従います。
「コンポーネントを複数のモジュールで使用したい場合は、より上位のモジュールで登録して、そのモジュールを読み込むこと!」
AdminModuleとHomeModuleからButtonComponentの登録を削除し、代わりにSharedModuleで登録を行います(exportsも忘れずに!)
import { ButtonComponent } from "../../components/parts/button/button.component";

@NgModule({
  imports: [
    RouterModule
  ],
  declarations: [LinkComponent, ButtonComponent],
  exports: [LinkComponent, ButtonComponent]
})
仕上げにAdminModuleでSharedModuleをインポートします。
import { SharedModule } from "../shared/shared.module";

@NgModule({
  imports: [CommonModule, AdminRoutingModule, SharedModule],
  declarations: [AdminComponent]
})
エラーが消えて動くようになりました。

まとめ
本記事の例はシンプルなものですが、より複雑なコンポーネント階層になった時にはどのモジュールにコンポーネントを登録するかで同じようにつまづく場合があるかと思います。
そんな時は以下の原則を思い出してください。
- どんなコンポーネントもNgModuleに登録できるのは一度だけ!
- コンポーネントを複数のモジュールで使用したい場合は、より上位のモジュールで登録して、そのモジュールを読み込むこと!
- exportsを忘れるな!
以上、ありがとうございました!