Outline
robotframework + appium で、NativeAPPのUIテスト自動化を実装している。
それにあたって、よく使うコードを自分自身のためを含め、tips的に残した
なお、今回起動するデバイスの指定は、「robot framework use multi devices tipcs」で示した方法を使う。
基本的なrobotframeworkのappium libraryに関しては、以下のdocumentを参考
[iOS] appのインストール、起動
ipa fileをまずlocalに用意する。
そして、起動するコマンド Open Applicationのparameterに指定する
*** Settings ***

Library    openpyxl
Library    AppiumLibrary
Library    Process
Library    OperatingSystem
Library    yaml

Documentation
...    This test will Verify iOS app

Variables    ../data/setting.yml


*** Variables ***
${APPIUM_SERVER}    http://localhost:4723
${DEVICE_NO}       iOS39
${app}             /Users/xxxxx/app/xxxxx.ipa  # install app ipa file path

*** Keywords ***

Install_App
    Open Application    ${APPIUM_SERVER}
    ...    platformName=iOS
    ...    app=${app}
    ...    automationName=XCUITest
    ...    udid=${device.${DEVICE_NO}.udid}
    ...    deviceName=${device.${DEVICE_NO}.deviceName}
    ...    platformVersion=${device.${DEVICE_NO}.platformVersion}
    ...    autoAcceptAlerts=true
    ...    autoGrantPermissions=true
    ...    autoWebView=true
    ...    fullReset=true

*** Test Cases ***

Install Open Mobile APP
    Install_App
[iOS] app 起動(インストールしない)
毎回、上記「appのインストール、起動」を行うと、立ち上がりにまで時間がかかる。
そのため、installはskipして起動だけを行う
*** Settings ***

Library    openpyxl
Library    AppiumLibrary
Library    Process
Library    OperatingSystem
Library    yaml

Documentation
...    This test will Verify iOS app

Variables    ../data/setting.yml


*** Variables ***
${APPIUM_SERVER}    http://localhost:4723
${DEVICE_NO}       iOS39
${app}             /Users/xxxxx/app/xxxxx.ipa  # install app ipa file path

*** Keywords ***

Open_App
    Open Application    ${APPIUM_SERVER}
    ...    platformName=iOS
    ...    app=${app}
    ...    automationName=XCUITest
    ...    udid=${device.${DEVICE_NO}.udid}
    ...    deviceName=${device.${DEVICE_NO}.deviceName}
    ...    platformVersion=${device.${DEVICE_NO}.platformVersion}
    ...    autoAcceptAlerts=true
    ...    autoGrantPermissions=true
    ...    autoWebView=true
    ...    noReset=true
    ...    fullReset=false
    ...    shouldTerminateApp=true

*** Test Cases ***

Open Mobile APP
    Open_App
[Android] appのインストール、起動
apk fileをまずlocalに用意する。
そして、起動するコマンド Open Applicationのparameterに指定する
*** Settings ***

Library    openpyxl
Library    AppiumLibrary
Library    Process
Library    OperatingSystem
Library    yaml

Documentation
...    This test will Verify Android app

Variables    ../data/setting.yml


*** Variables ***
${APPIUM_SERVER}    http://localhost:4723
${DEVICE_NO}    A34
${app}  /Users/xxxxx/app/xxxxx.apk  # install app apk file path

*** Keywords ***

Launch App With Reinstall
    Open Application  ${APPIUM_SERVER}
    ...    platformName=Android
    ...    app=${app}
    ...    automationName=UIAutomator2
    ...    autoAcceptAlerts=false
    ...    autoGrantPermissions=true
    ...    fullReset=true
    ...    udid=${device.${DEVICE_NO}.udid}
    ...    deviceName=${device.${DEVICE_NO}.deviceName}
    ...    platformVersion=${device.${DEVICE_NO}.platformVersion}


*** Test Cases ***

Open Mobile APP
    Launch App With Reinstall
[Android] app 起動(インストールしない)
iOS同様、installはskipして起動だけを行う方法も別途用意する
*** Settings ***

Library    openpyxl
Library    AppiumLibrary
Library    Process
Library    OperatingSystem
Library    yaml

Documentation
...    This test will Verify Android app

Variables    ../data/setting.yml


*** Variables ***
${APPIUM_SERVER}    http://localhost:4723
${DEVICE_NO}    A34
${app}  /Users/xxxxx/app/xxxxx.apk  # install app apk file path

*** Keywords ***

Launch App
    Open Application    ${APPIUM_SERVER}
    ...    platformName=Android
    ...    app=${app}
    ...    automationName=UIAutomator2
    ...    autoAcceptAlerts=false
    ...    autoGrantPermissions=true
    ...    shouldTerminateApp=true
    ...    udid=${device.${DEVICE_NO}.udid}
    ...    deviceName=${device.${DEVICE_NO}.deviceName}
    ...    platformVersion=${device.${DEVICE_NO}.platformVersion}

*** Test Cases ***

Open Mobile APP
    Launch App
画面遷移後安定させる
画面遷移後、次の画面にて表示の確認、値の確認、ボタンクリック等、次のアクションさせる場合、
画面遷移が完了させることを待たせてから、次のアクションをさせた方が良い。
例えば、Loading iconが出ているときに、次のアクションを行うと大抵失敗する。
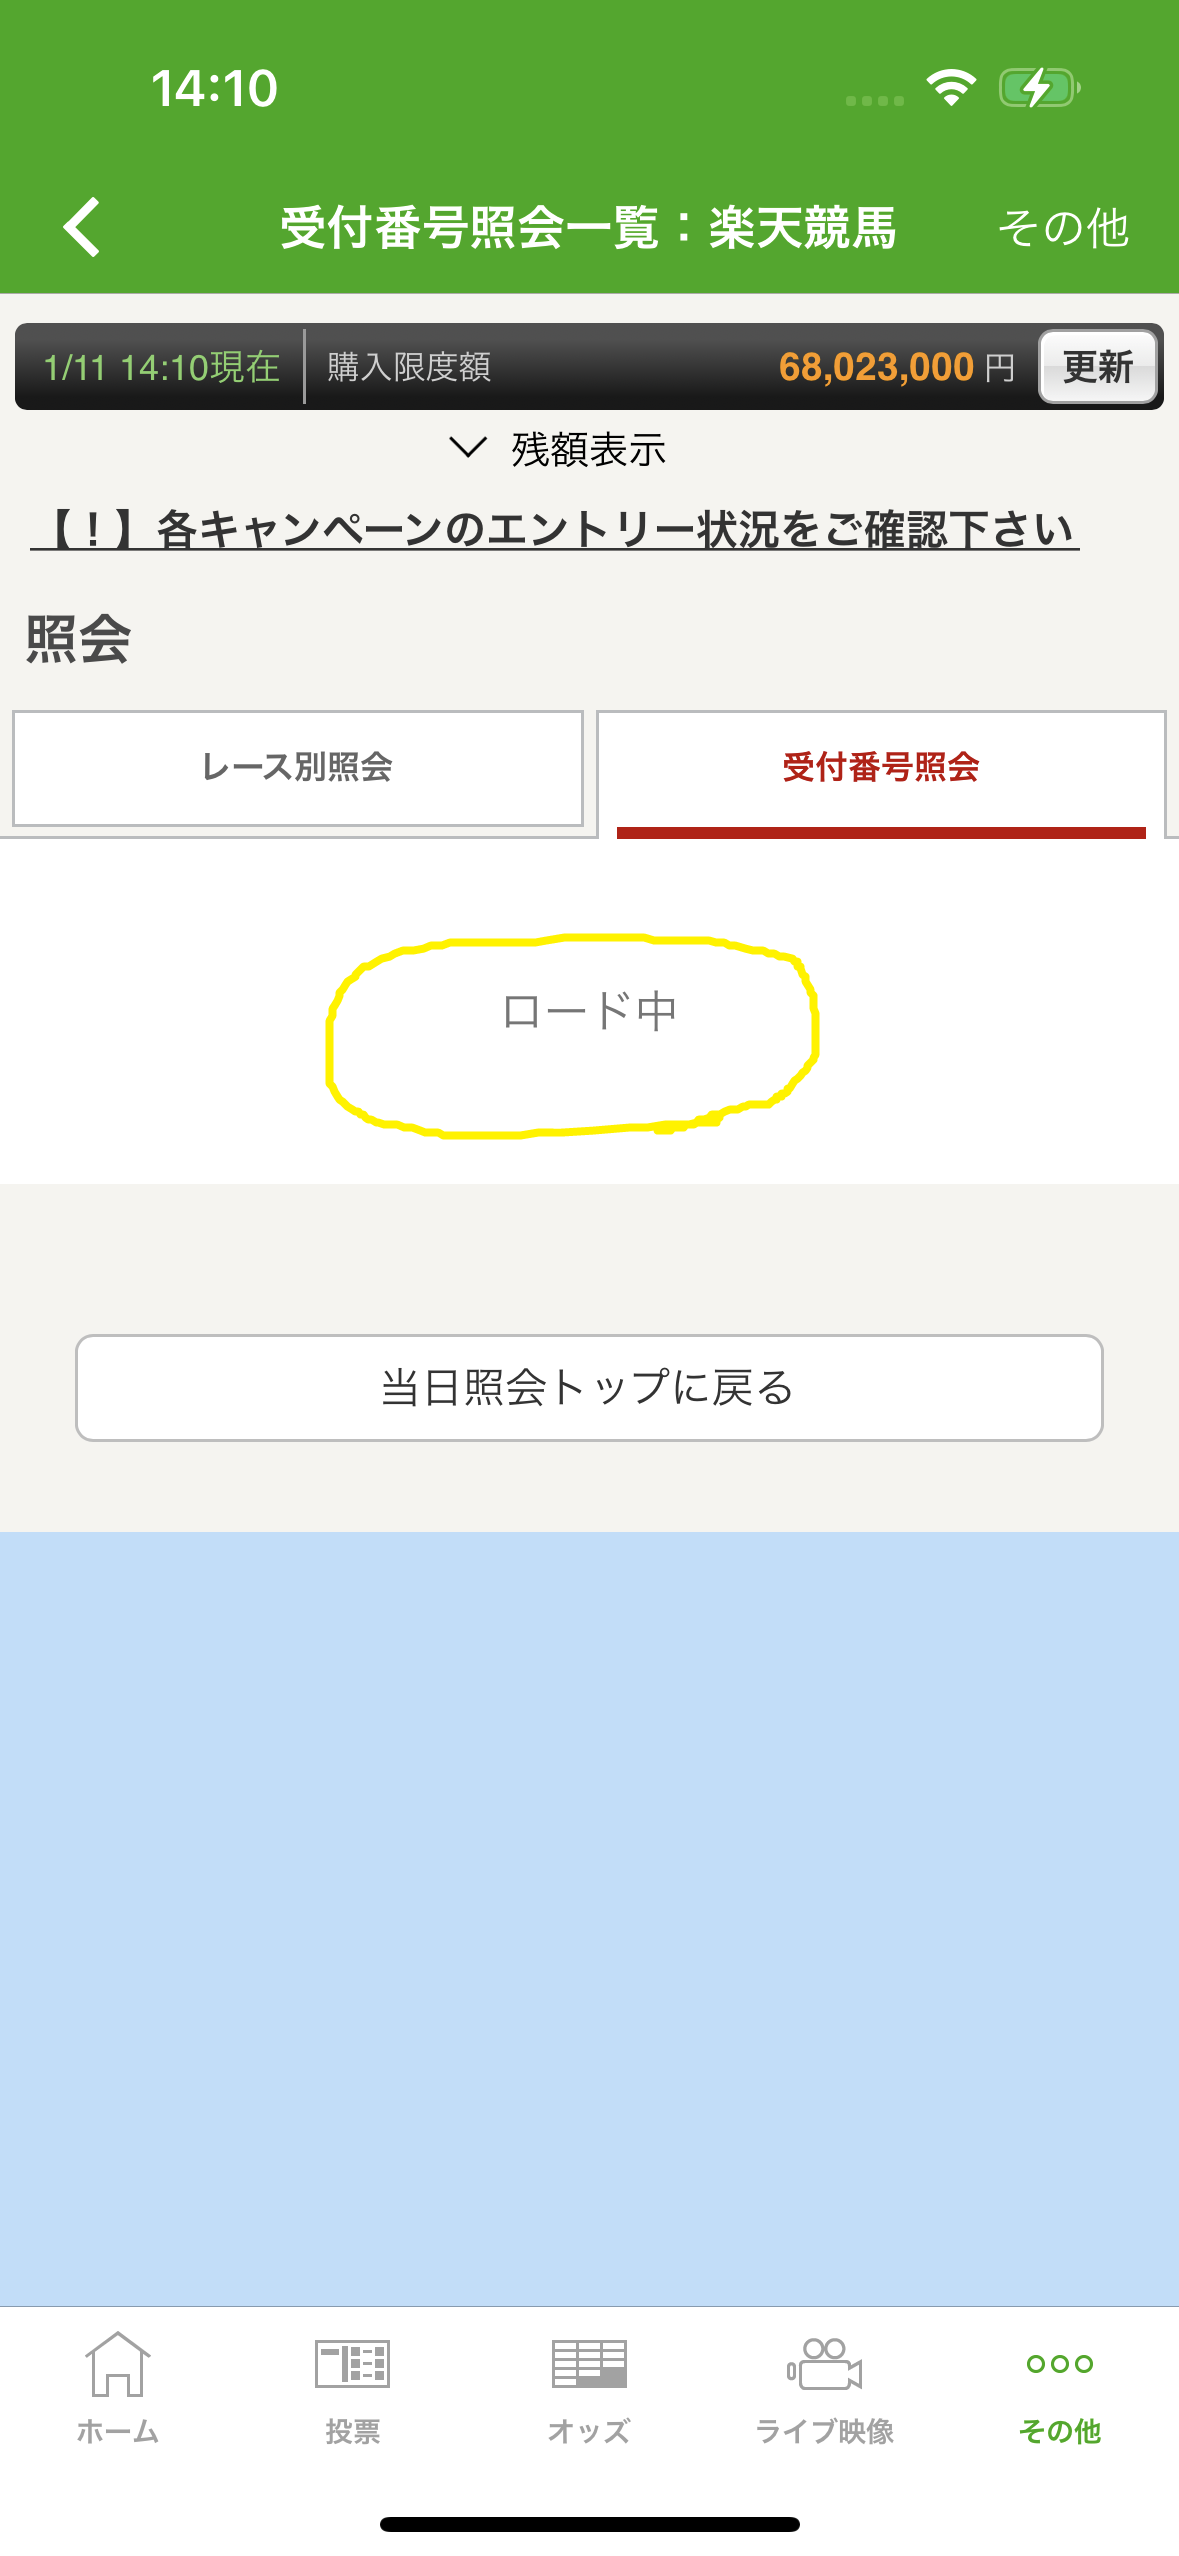
※この状態では、”ロード中”が消えた後の情報が取れない。
これを解消するために、遷移後に表示されてるべき任意のオブジェクトが表示されるまで待つように、 ' Wait Untile Element is Visible ' を用いる
    # go to next page
    Click Element  chain=**/XCUIElementTypeButton[`label == "icon header cart"`]
    # wait for disappear loading icon &
    Wait Until Element is Visible  xpath=//XCUIElementTypeStaticText[@name="xxx表示"]  timeout=${timeout}
    # click element after stable
    Click Element  xpath=//XCUIElementTypeStaticText[@name="xx入力"]
If 文
”ログインの有無によって、ログイン状態であったら、ログアウトさせる。”というように、conditionによって
処理を分けたい時がある。

まず、2つのkeyworsを作成する。
Validate_Element : Objectが存在する場合、Trueを返す
Logout_RakutenID : Logout処理(ログアウトのボタンクリック)
次に、MainのStepで以下のように記載する。
Main Step
    # check exist item
    ${IS_ANOTHER_LOGOUT_BUTTON} =  Run Keyword And Return Status  Validate_Element  //XCUIElementTypeButton[@name="ログアウト"]
    # if item exist, run function
    Run Keyword If  '${IS_ANOTHER_LOGOUT_BUTTON}'=='True'
    ...  Logout_RakutenID
        :

*** Keywords ***
Validate_Element
    [Arguments]  ${xpath}
    Page Should Contain Element  xpath=${xpath}

Logout_RakutenID
    Click Element  xpath=//XCUIElementTypeButton[@name="ログアウト"]
For 文
1~16でloopさせたいとき、以下のように記載。
1~16のelement (name=1~16)を順番にクリックする
    FOR  ${umaban}  IN RANGE  1  17
        Click Element  xpath=//XCUIElementTypeStaticText[@name="${umaban}"]/../../XCUIElementTypeOther[4]
    END
数式演算後、変数に代入
Evaluateを用いる。
以下例は、${arrival1} と${umaban_bin}のAND演算した結果を${on_flag}に代入する
${on_flag} = Evaluate ${arrival1}&${umaban_bin}