Outline
Monterery Mac環境にて、appiumを用いてiOS NativeAPPのテストを行うための
環境構築に関するものである
なお、iOSのテストを行うには、Apple Developerに登録しているApple IDが必要になる。
使用した端末は iPhone11 iOS15.5 である。
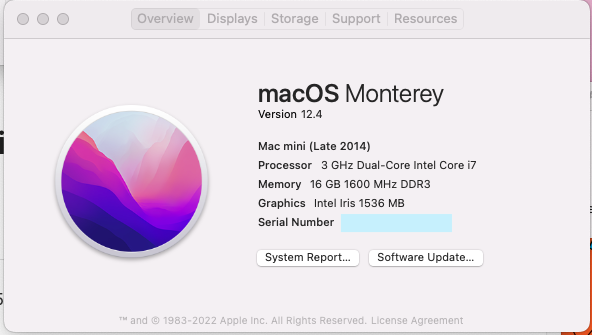
Mac
macOS Monterey version 12.4
Java
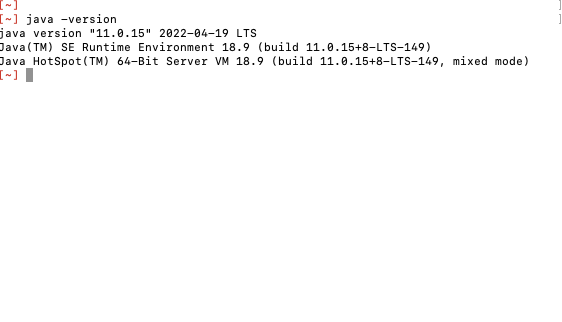
java 11.0.15
install後、javaのpathを設定する(appiumでは、設定してないと警告が出てしまう)
.bash_profile の場合
export JAVA_HOME=/usr/libexec/java_home
java versionも確認
java -version
Android Studio
Android+Appiumのために、設定する
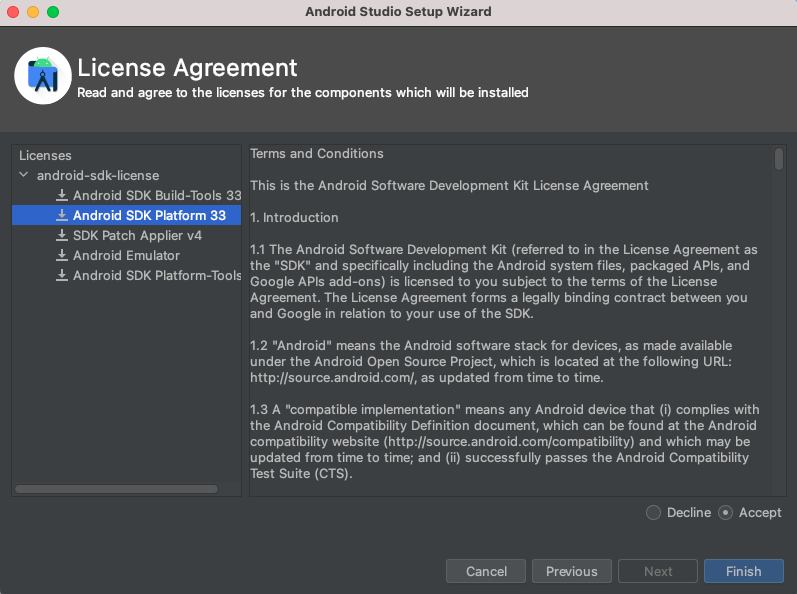
install後、起動するといくつかのsetupが求められる。
defaultで設定を進めると、以下のようにSDKもinstallされる
最後にnew projectを起動する
Tools -> SDK Manager をopenする
この設定から、必要な設定pathの ANDROID_HOME の場所を取得する
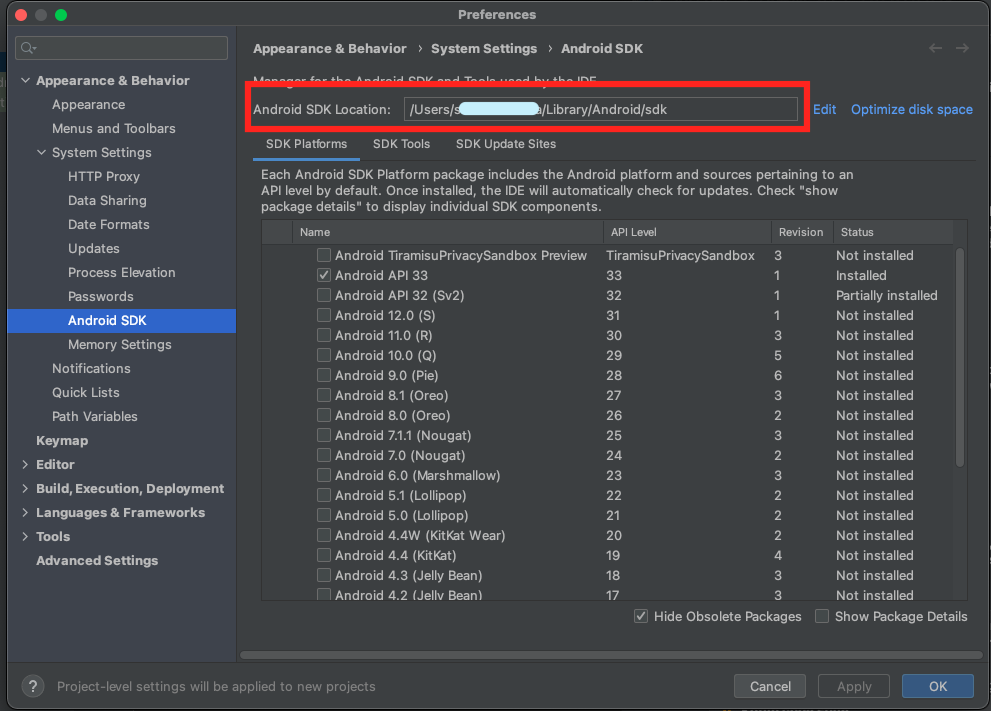
ANDROID_HOMEとadbなどの必要コマンドのpathを設定する
.bash_profile の場合
export ANDROID_HOME=$HOME/Library/Android/sdk
export PATH=$PATH:$ANDROID_HOME/platform-tools
Xcode
13.4.1を使用した。
このversionを使用するには、Montereyが必須になる
install後、一旦起動し、必要なcomponentをinstallする
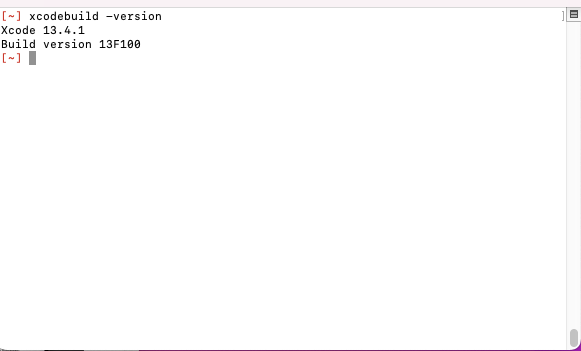
xcodebuildを使えるようにする
xcode-select --install
sudo xcode-select --switch /Applications/Xcode.app
xcodebuild -version
brew & npm
install brew
/bin/bash -c "$(curl -fsSL https://raw.githubusercontent.com/Homebrew/install/HEAD/install.sh)"
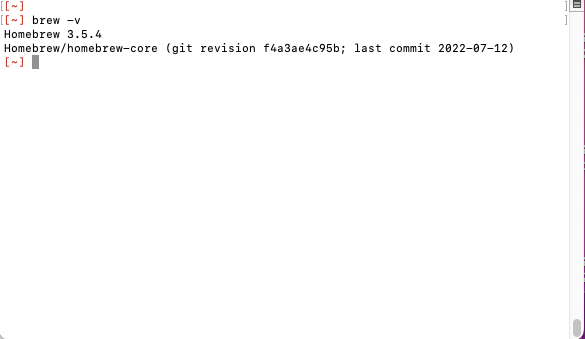
install確認
brew -v
Homebrew 3.5.4 が今回インストールされた
npm
brew install nodebrew

mkdir -p ~/.nodebrew/src
nodebrew install-binary latest
nodebrewの使用可能version を見る。
nodebrew ls-remote
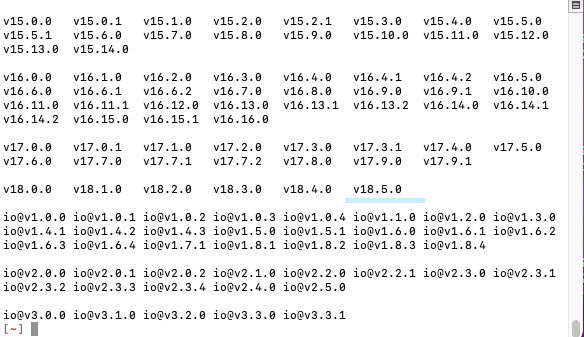
今回は、最新版のv18.5.0を使用する
version指定してinstallする
nodebrew install v18.5.0

nodebrew use v18.5.0
npmを使用できるようにpathを設定する
.bash_profile の場合
export PATH=$PATH:$HOME/.nodebrew/current/bin
npm 初期化
npm init
another tools
brew install libtool
brew link libtool
brew info libtool
-> libtool: stable 2.4.7 (bottled)
brew install --cask xquartz
brew info xquartz
-> xquartz: 2.8.2 (auto_updates)
brew install automake
brew info automake
-> automake: stable 1.16.5 (bottled)
brew install pkg-config
brew info pkg-config
-> pkg-config: stable 0.29.2 (bottled)
brew install usbmuxd --HEAD
brew info  usbmuxd
-> libusbmuxd: stable 2.0.2 (bottled), HEAD
brew install libimobiledevice --HEAD
brew info  libimobiledevice
-> libimobiledevice: stable 1.3.0 (bottled), HEAD
brew install ideviceinstaller
brew info  ideviceinstaller
-> ideviceinstaller: stable 1.1.1 (bottled), HEAD
brew install ios-webkit-debug-proxy
ios_webkit_debug_proxy -V
-> ios_webkit_debug_proxy 1.8.8
brew install carthage
brew info  carthage
-> carthage: stable 0.38.0 (bottled), HEAD
npm install -g ios-deploy
ios-deploy -V
-> 1.11.4
sudo gem install xcpretty
-> Successfully installed xcpretty-0.3.0
brew tap wix/brew
brew install applesimutils
brew info applesimutils
-> wix/brew/applesimutils: stable 0.9.7 (bottled), HEAD
appium
appiumの現在のリリースバージョンに関してはこちらを参照
https://github.com/appium/appium-desktop/releases
npmでinstallするのと、dmgをdownloadしてinstallする方法
両方とも行う。
npm install -> source codeが必要なため
dmg install -> inspectorを使用するため
npm install
npm install -g appium@1.21.0
npm install appium-doctor
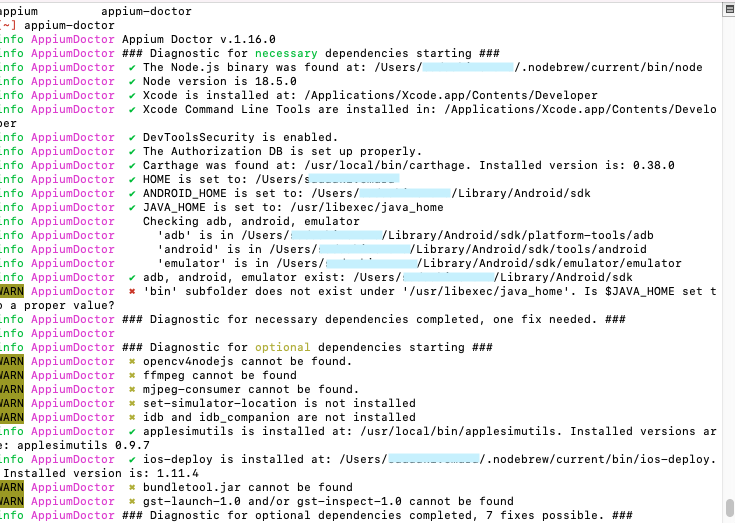
動作確認
appium --version
appium-doctor
WebDriverAgent
appiumのinstallに伴い、WebDriverAgendのsourceがinstallされる
defaultは以下に配置される
~/.nodebrew/current/lib/node_modules/appium/node_modules/appium-webdriveragent/
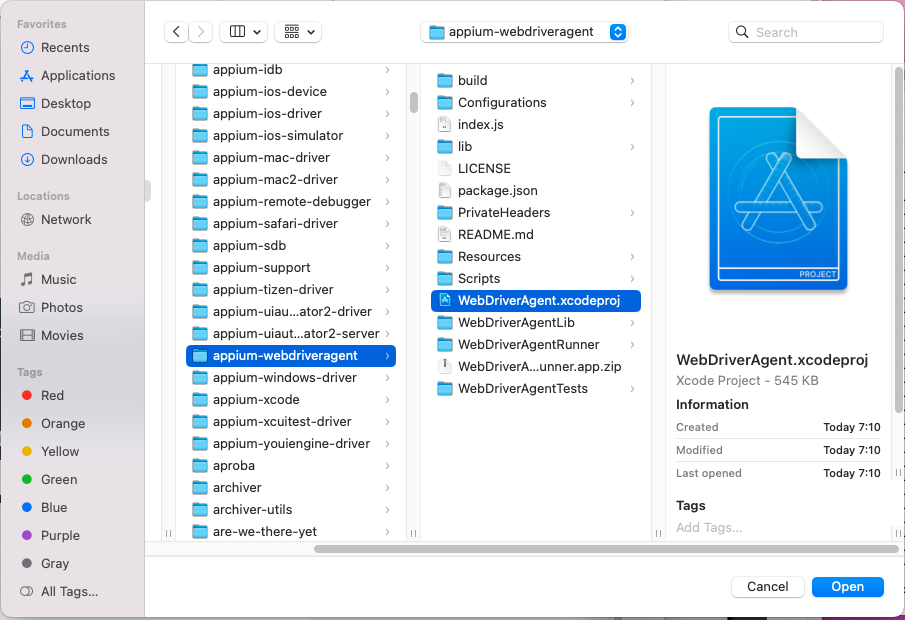
cd ~/.nodebrew/current/lib/node_modules/appium/node_modules/appium-webdriveragent/
mkdir -p Resources/WebDriverAgent.bundle
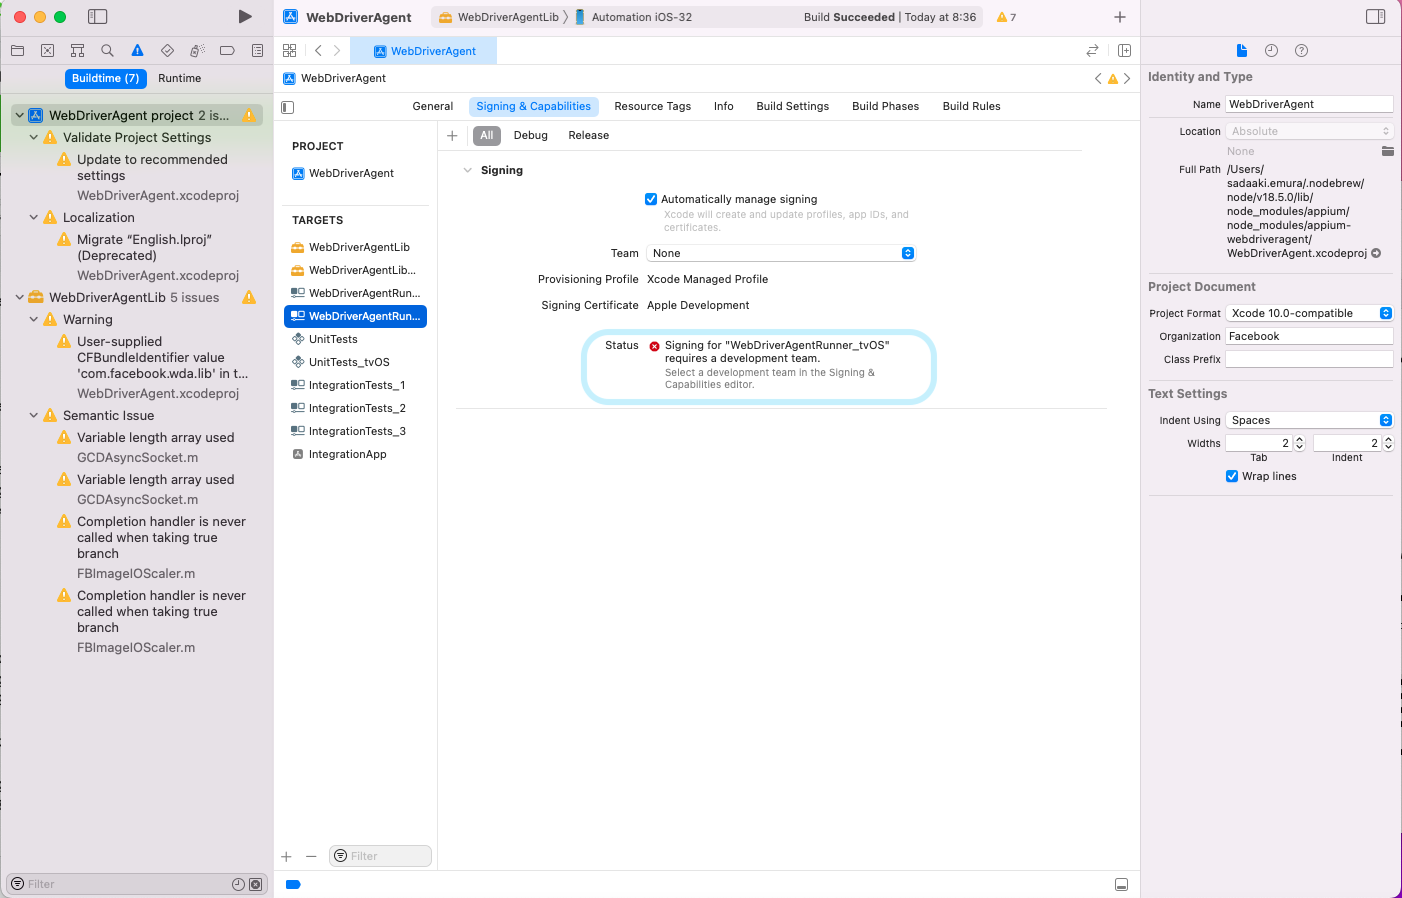
WebDriverAgent.xcodeprojをXcodeで開く
buildを実行すると、警告画面になる
主に2点
-WebDriverAgent
-WebDriverAgentRunner
Signing & Capabilities にて、Add Accountを選択する
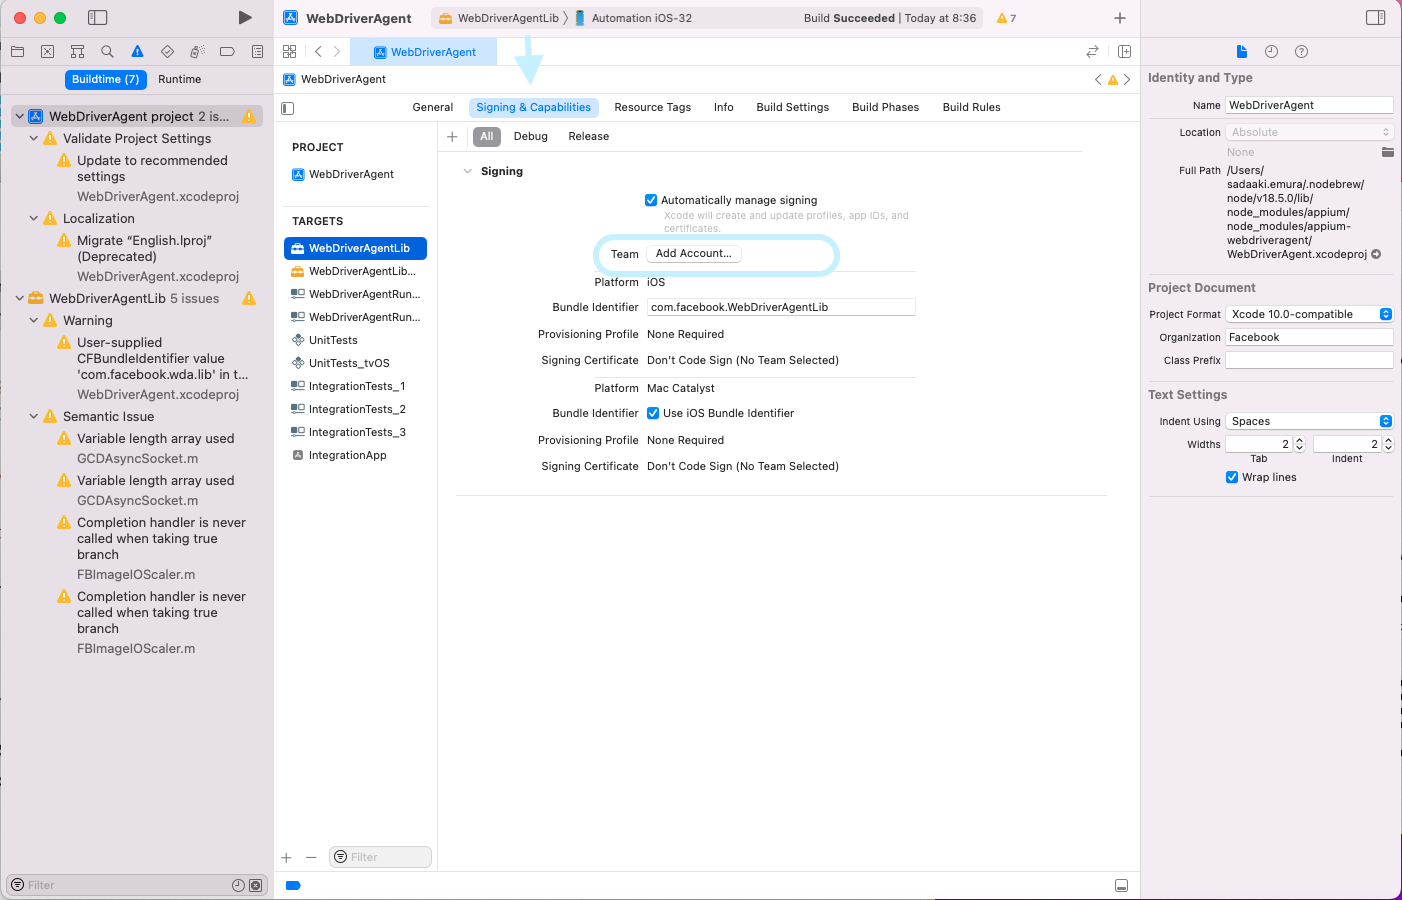
Apple Developer Accountでログインし、Profilesをdownloadする
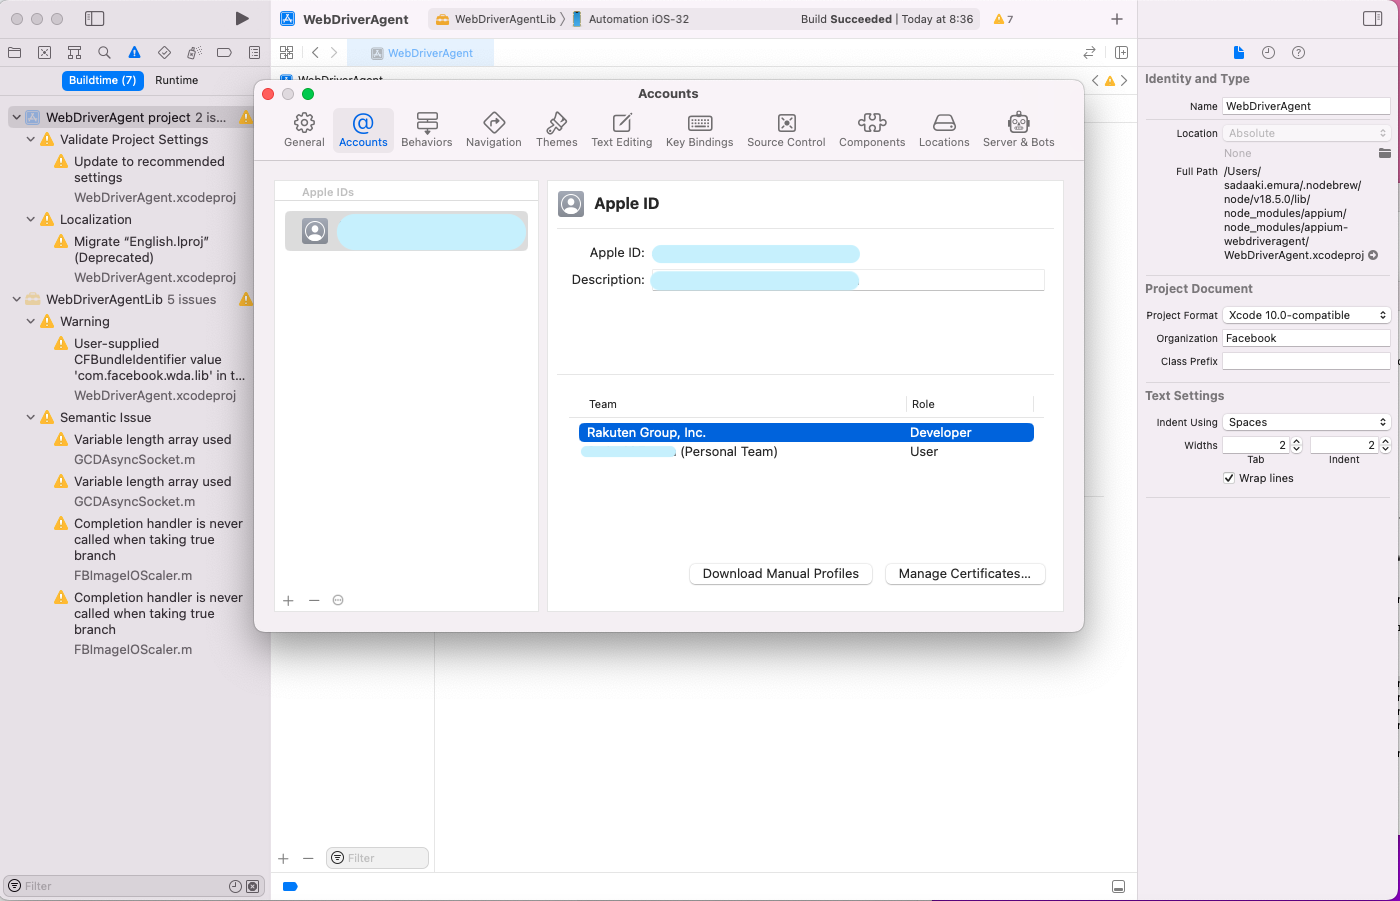
TARGETSを確認し、Signingがされていないものを、今回downloadしたProfilesに設定する
↓↓↓↓↓↓

最後に、コマンドラインで実行して確認する
xcodebuild -project WebDriverAgent.xcodeproj -scheme WebDriverAgentRunner -destination 'id=$UDID' test
※$UDID は接続するiPhoneのUDID
Finderから取得できる
成功すれは、iPhoneが以下のようになる
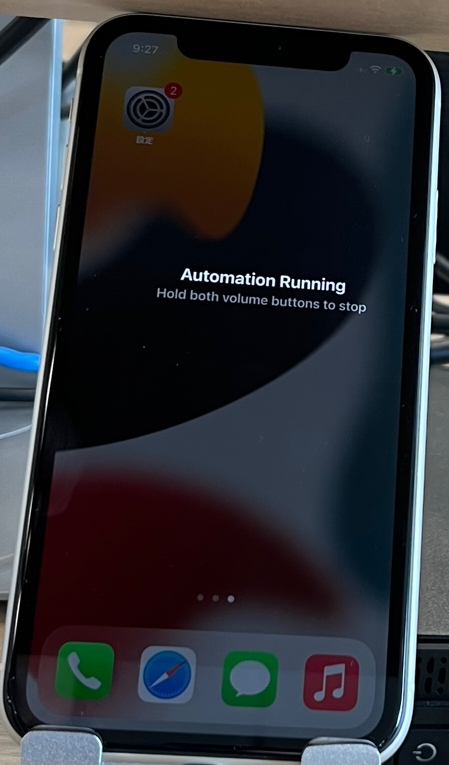
動作確認後、処理を終了する。
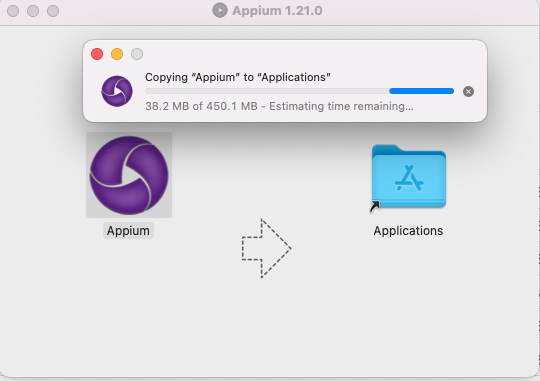
dmg
今回、v.1.22.xを使用するため、こちらからdownloadしてinstallする
https://github.com/appium/appium-desktop/releases/tag/v1.22.3-4
1.21 以下は、iOS 15非対応のため、1.22.xを使用した。
また、inspectorは分離しているため、別途downloadする
https://github.com/appium/appium-inspector/releases
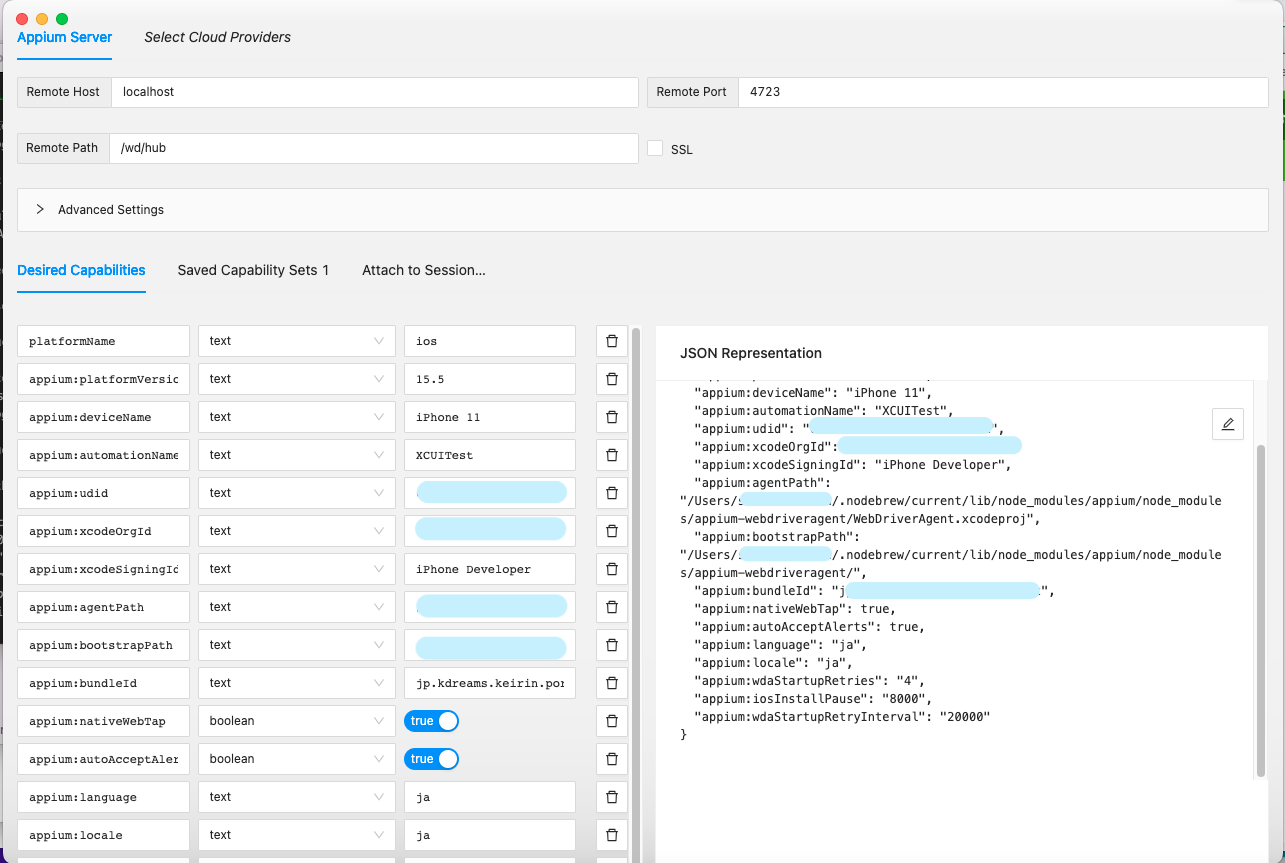
install後、appiumをstartさせる
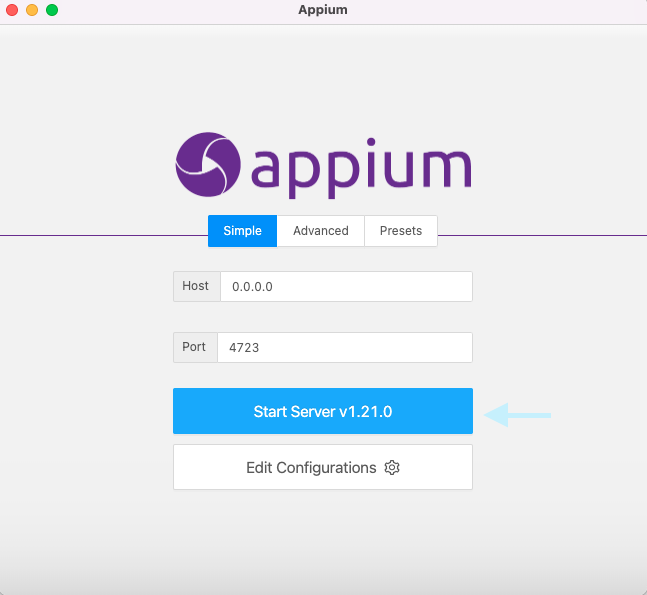
Inspectorを起動し、appiumに接続する
defaultで起動する場合、サーバーの設定は以下の通り
| Name | Value Example | Note |
|---|---|---|
| RemoteHost | localhost | |
| RemotePort | 4723 | |
| RemotePath | /wd/hub |
また、Capabiritesを設定する
| Name | Value Example | Note |
|---|---|---|
| platformName | ios | |
| platformVersion | 15.5 | |
| deviceName | iPhone 11 | |
| automationName | XCUITest | |
| udid | xxxxx | 接続するUDID番号 |
| xcodeOrgId | xxxxx | 下記、参考 |
| xcodeSigningId | iPhone Developer | |
| agentPath | /xxxxx/appium/node_modules/appium-webdriveragent/WebDriverAgent.xcodeproj | WebDriverAgent.xcodeprojのpath |
| bootstrapPath | /xxxxx/appium/node_modules/appium-webdriveragent/ | WebDriverAgent.xcodeprojのあるfolder |
| bundleId | jp.xxx.xxx | テスト対象のアプリのbundleID |
| nativeWebTap | true | |
| autoAcceptAlerts | true | |
| language | ja | |
| locale | ja | |
| wdaStartupRetries | 4 | |
| iosInstallPause | 8000 | |
| wdaStartupRetryInterval | 20000 |
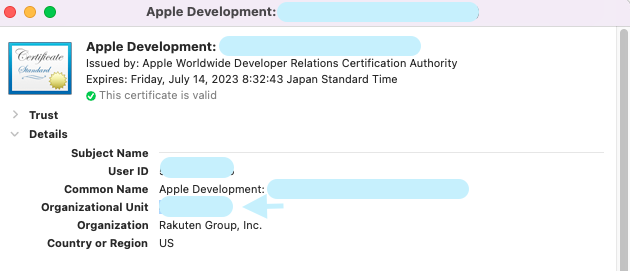
※参考
xcodeOrgIdは、keychainより、Apple Developmentのcertificateより確認できる。Organization Unitの項目である。
※参考 8100 error
https://github.com/appium/appium/issues/12094#issuecomment-482593020