はじめに
業務でGit/GitHubをよく使用することもあり、GitHubへのプルリクエスト作成までの一連の流れを記事にしてみたいと思います。
前提
- GitHubアカウント作成済み
- MacBookにGitをインストール済み
- Gitの初期設定も完了済み
- 作業用のリポジトリを作成済み
作業フロー
Gitのデータ構造(ワークツリーやインデックス等)については、以下の記事をご覧下さい。
(昔書いていた記事になります。)
作業手順
①GitHubからコードをclone
- 事前にローカルにコードを配置するディレクトリを作成する。
mkdir ~/Code
※ディレクトリを作成する場所は、任意の場所で問題なし
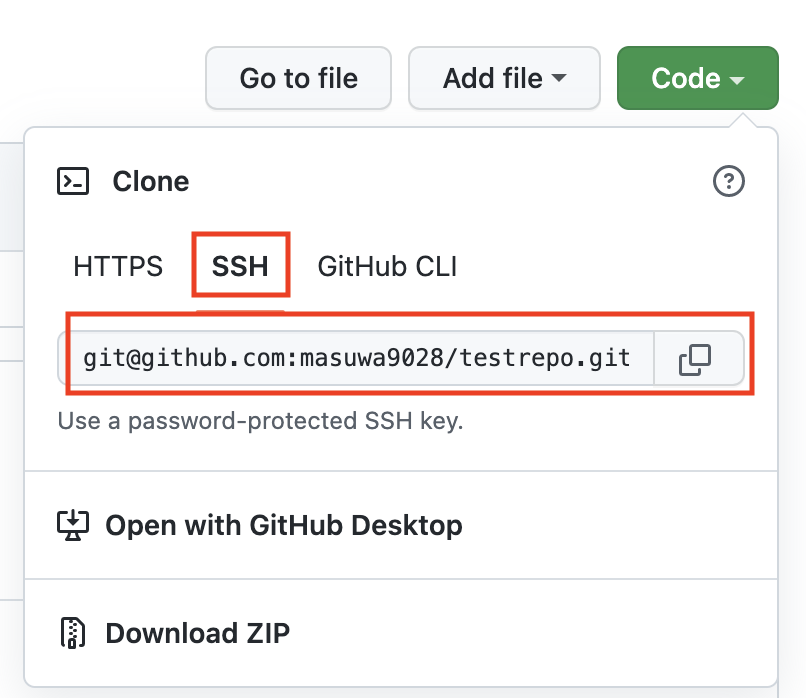
- 対象のリモートリポジトリを開き、Cloneするために必要なコードをコピーする。
Codeを開きSSHタブを選択。git@〜のコードをコピーする。
- リモートリポジトリからコードをローカルに複製する。
git clone git@github.com:masuwa9028/testrepo.git
% git clone git@github.com:masuwa9028/testrepo.git
Cloning into 'testrepo'...
remote: Enumerating objects: 3, done.
remote: Counting objects: 100% (3/3), done.
remote: Total 3 (delta 0), reused 0 (delta 0), pack-reused 0
Receiving objects: 100% (3/3), done.
%
※検証用に以下のようなリモートリポジトリを作成しております。
- ローカルにリモートリポジトリが複製できたことを確認。
ls -la ~/Code/testrepo
% ls -la ~/Code/testrepo
total 8
drwxr-xr-x   4 ma-sato  staff  128  6 19 13:26 .
drwxr-xr-x   8 ma-sato  staff  256  6 19 13:26 ..
drwxr-xr-x  10 ma-sato  staff  320  6 19 13:26 .git
-rw-r--r--   1 ma-sato  staff   27  6 19 13:26 README.md
%
確認できたら、複製したコードの中に移動しておく。
cd ~/Code/testrepo
②作業ブランチ作成&切り替え
- 新しいブランチの作成と切り替えを実施する。
git checkout -b work
-bオプションを指定することで、ブランチの作成とチェックアウトを同時に行うことができる。
※上記の場合は、workブランチの作成とチェックアウト(切り替え)を同時に実施。
% git checkout -b work
Switched to a new branch 'work'
%
- ブランチが切り替わったことを確認
git branch
% git branch
  main
* work
%
③コーディング
今回は、例としてREADME.mdに以下のように記載する。
# Introduction
It will be a test page

# Contents
Write the content here

# lastly
Write the closing words here
④インデックスに変更分を追加
- ワークツリーとインデックスの差分を確認する。
まず、差分を確認する。
git diff
% git diff
diff --git a/README.md b/README.md
index 023efa2..4cc4493 100644
--- a/README.md
+++ b/README.md
@@ -1,2 +1,8 @@
-# testrepo
-Test Repository
+# Introduction
+It will be a test page
+
+# Contents
+Write the content here
+
+# lastly
+Write the closing words here
%
→README.mdに差分があることを確認。
次にステータスを確認する。
git status
% git status
On branch work
Changes not staged for commit:
  (use "git add <file>..." to update what will be committed)
  (use "git restore <file>..." to discard changes in working directory)
	modified:   README.md

no changes added to commit (use "git add" and/or "git commit -a")
%
→インデックスに登録していない変更があることを確認。
- ワークツリーからインデックスに変更を登録する。
git add .
% git add .
%
- ワークツリーとインデックスに差異がないことを確認
git diff
差異がない場合、何も表示されない。
% git diff
%
- インデックスに変更が反映されていることを確認
git status
% git status
On branch work
Changes to be committed:
  (use "git restore --staged <file>..." to unstage)
	modified:   README.md
%
⑤ローカルリポジトリにコミット
git commit -m "<コミットメッセージ>"
% git commit -m "Update READMD.md"
[work 4c001c1] Update READMD.md
 1 file changed, 8 insertions(+), 2 deletions(-)
%
※コミットメッセージの作成方法は、以下のページを参照
誰にとってもわかりやすいGitのコミットメッセージを考える
- コミットログを確認する。
コミットが反映されているか確認。
git log --oneline
% git log --oneline
4c001c1 (HEAD -> work) Update READMD.md
20ac8ba (origin/main, origin/HEAD, main) Initial commit
%
→新しいコミット4c001c1が反映されていることを確認。
※以下のコマンドを使用した場合、コミットログの詳しい情報を確認することができる。
git log
% git log
commit 4c001c128cc95094c840be753c4084443f3bdef8 (HEAD -> work)
Author: masuwa <teste******@gmail.com>
Date:   Sun Jun 19 15:28:05 2022 +0900

    Update READMD.md

commit 20ac8ba1a809ea81d6e518c7039c0c1ab0533f3f (origin/main, origin/HEAD, main)
Author: masuwa9028 <***********@users.noreply.github.com>
Date:   Sun Jun 19 13:15:40 2022 +0900

    Initial commit
%
- リモートリポジトリの接続先が登録されていることを確認
git remote -v
% git remote -v
origin	git@github.com:masuwa9028/testrepo.git (fetch)
origin	git@github.com:masuwa9028/testrepo.git (push)
%
※git cloneを実施しているため、自動で登録されている。
⑥GitHubへコードをPush
リモートリポジトリ(GitHub)にローカルリポジトリの変更を反映させる。
git push origin work
% git push origin work
Enumerating objects: 5, done.
Counting objects: 100% (5/5), done.
Delta compression using up to 8 threads
Compressing objects: 100% (2/2), done.
Writing objects: 100% (3/3), 333 bytes | 333.00 KiB/s, done.
Total 3 (delta 0), reused 0 (delta 0), pack-reused 0
remote:
remote: Create a pull request for 'work' on GitHub by visiting:
remote:      https://github.com/masuwa9028/testrepo/pull/new/work
remote:
To github.com:masuwa9028/testrepo.git
 * [new branch]      work -> work
%
masterブランチへは基本的にpushをしない。
※masterブランチへ反映させる作業はプルリクエスト後のコードレビュー完了時に実施する。
⑦プルリクエスト作成
-
git push後に対象のリポジトリページを更新すると、以下のような画面が表示されている。
Compare & pull requestをクリックする。
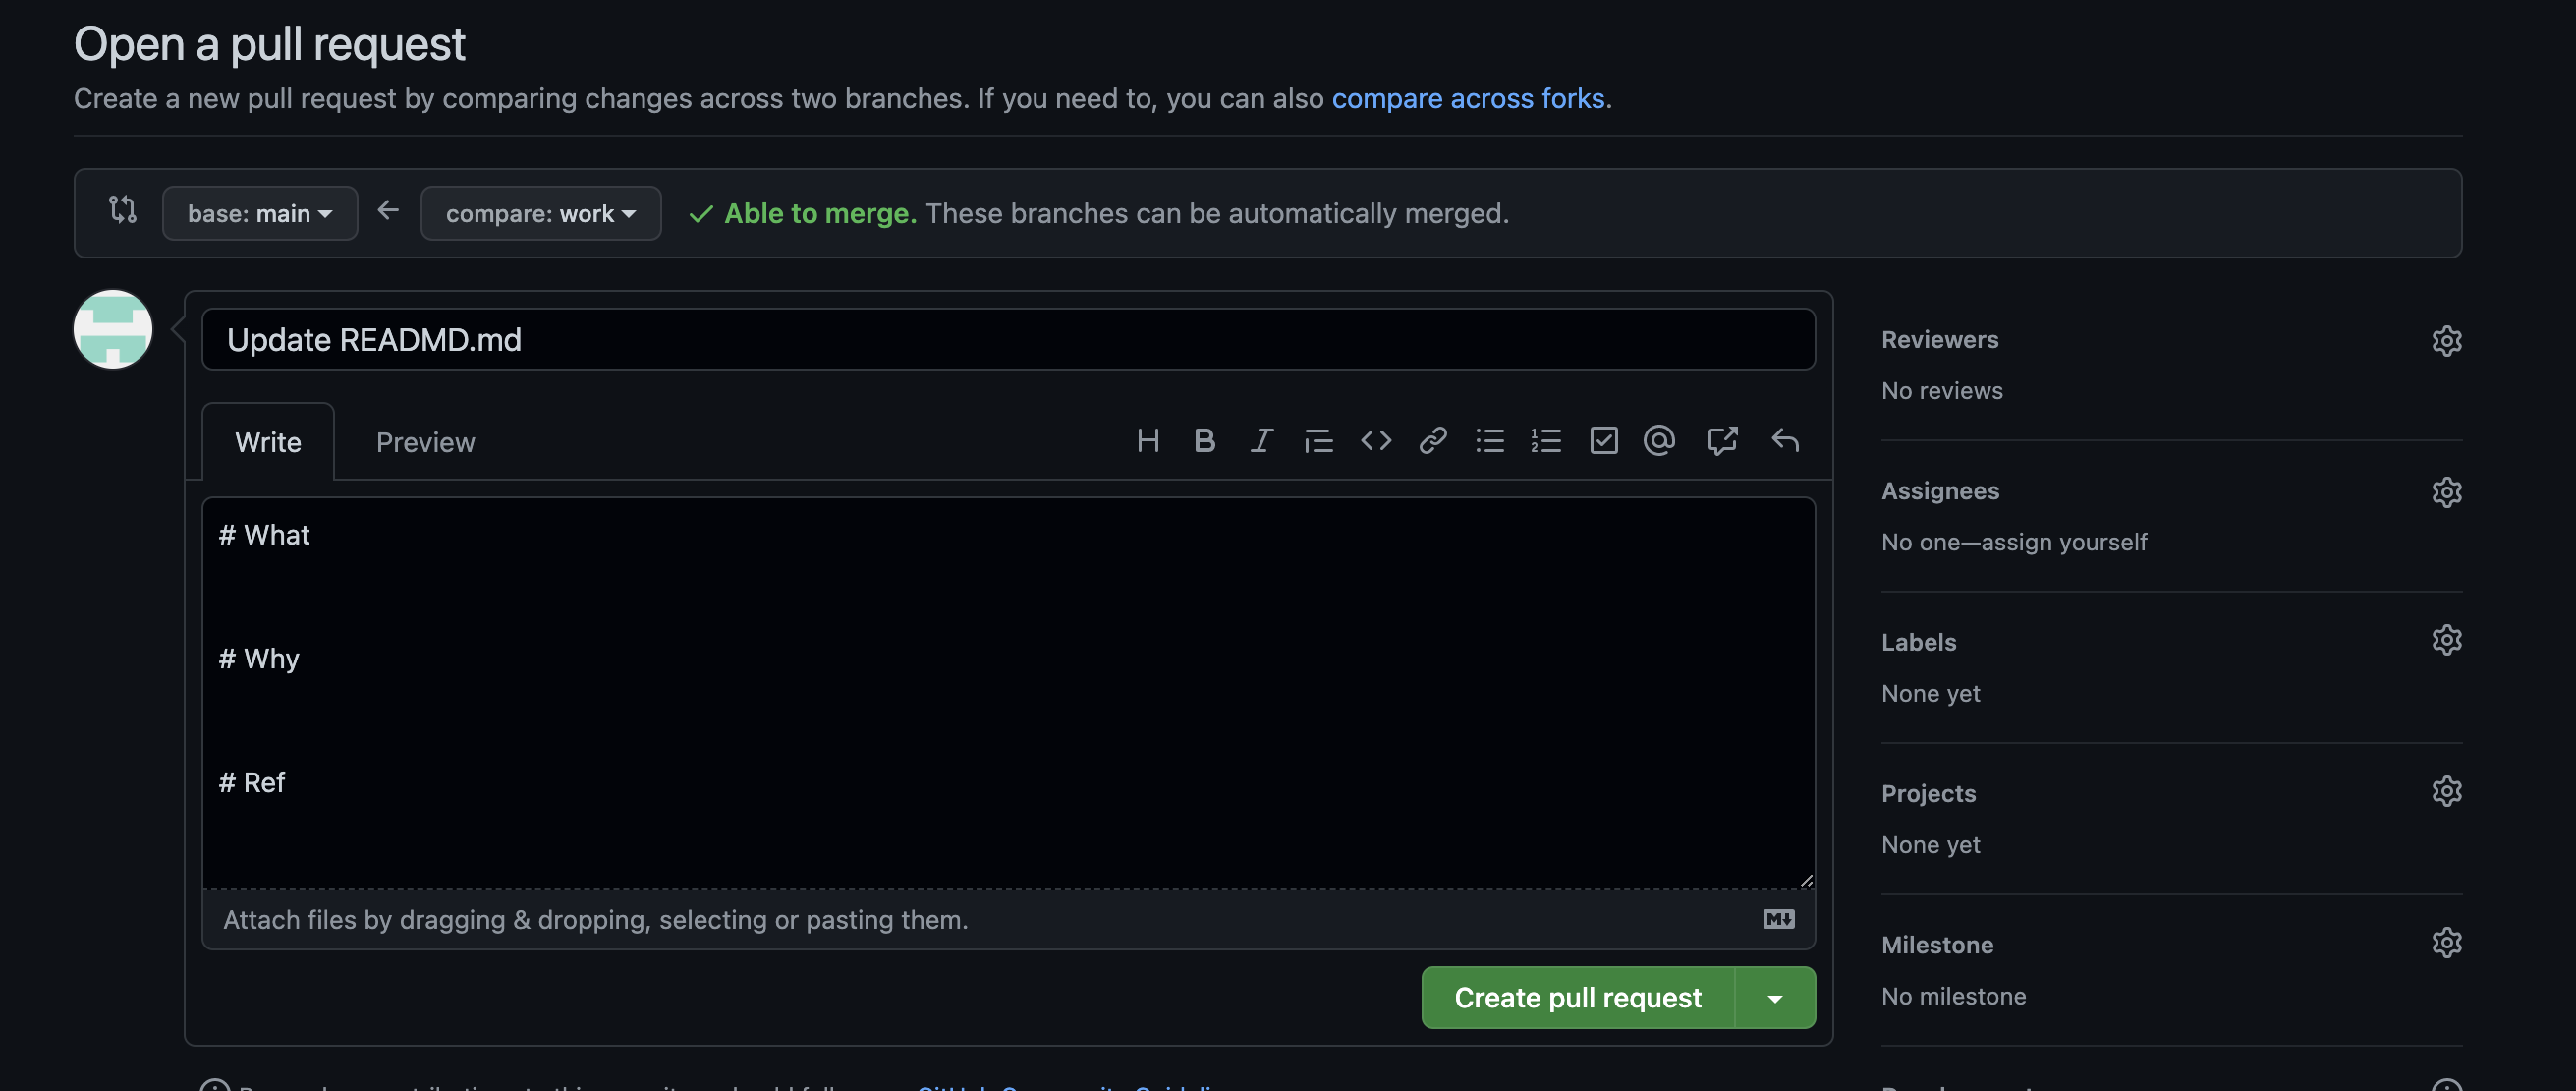
- プルリクエストの作成画面が表示されるため、必要な内容を入力する。
今回は、以下のように入力する。
# What
Update README.md.

# Why
For testing.

# Ref
Nothing special.
-
ReviewersとAssigneesを設定する。
| 項目 | 内容 |
|---|---|
| Reviewers | レビューしてほしい人のアカウントを設定 |
| Assignees | 自分のアカウントを設定 |
※今回は、テストアカウントのため設定は割愛させて頂きます。
- 入力したら、
Create pull requestをクリックする。
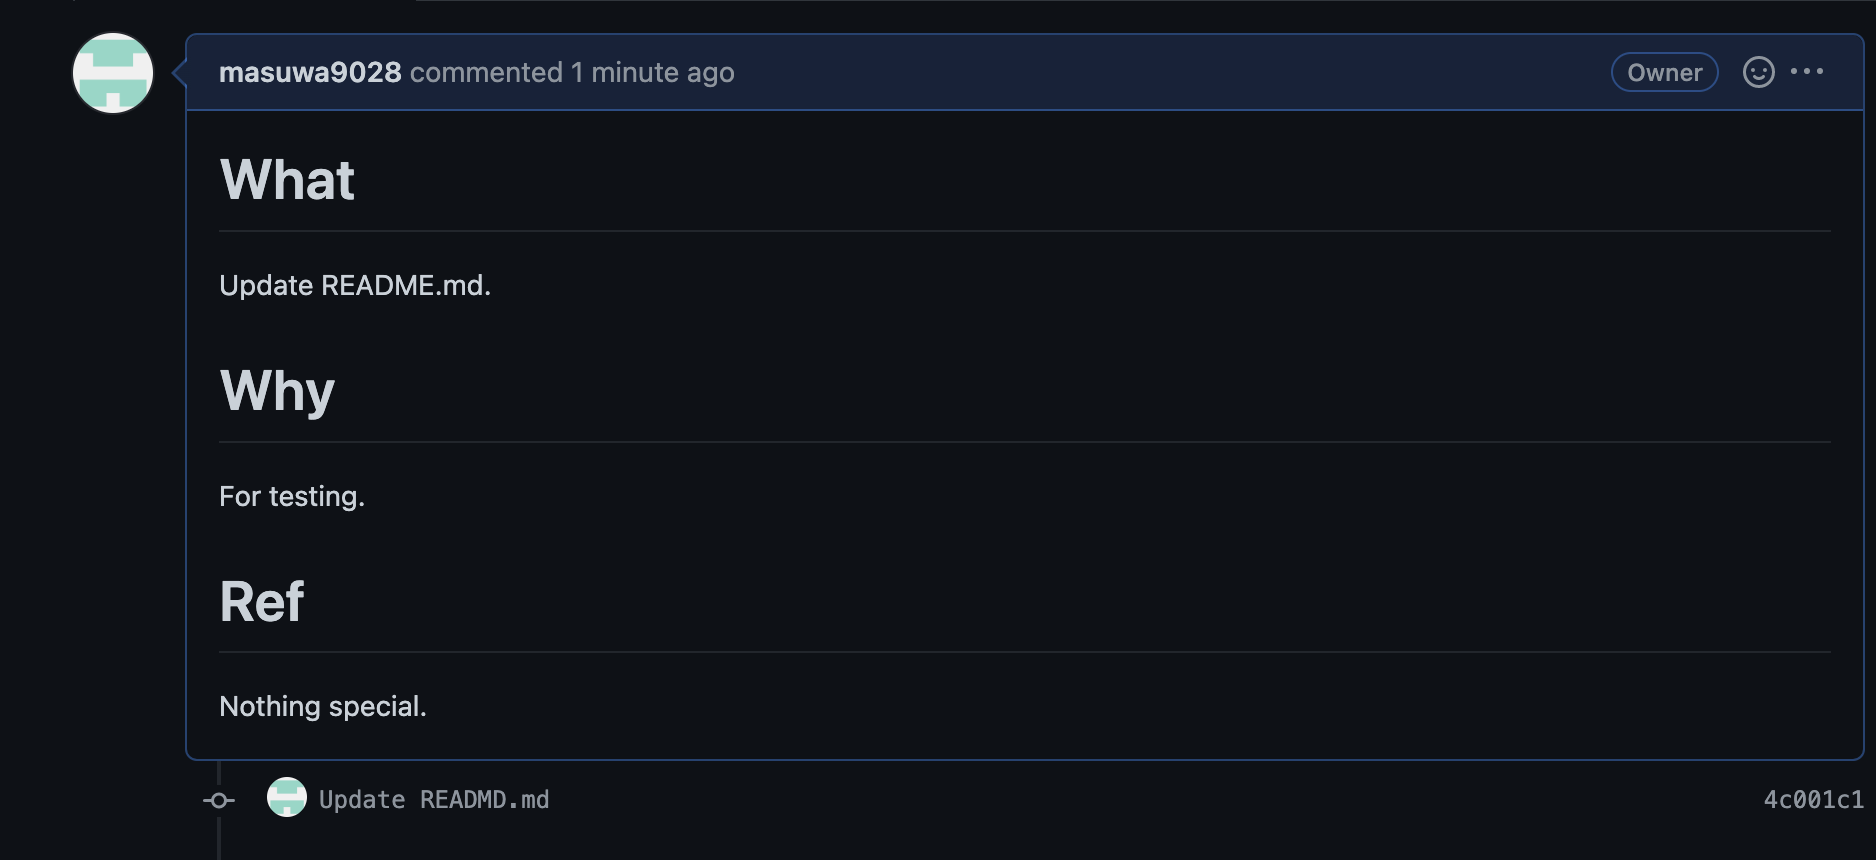
- プルリクエストが作成できていることを確認
さいごに
Gitに関するナレッジは他にもあるので、今後も記事を投稿していきます。
参考記事
ワークツリーとインデックス
変更の保存 | Atlassian Git Tutorial
プルリクエストを使った開発プロセス


