はじめに
xibを使って、レイアウトはViewに、イベントはViewControllerで処理する場合のシンプルな実装方法を紹介します。
ゴール(完成図)

xibを使って、ViewControllerにカスタムViewを表示させる。
※青背景色の部分がUIViewController、白背景色の部分がUIView。
おおまかな開発の流れとしては、ViewControllerにViewを埋め込む感じです。
1.カスタムUIView、UIViewControllerのswiftファイルと、それに紐付くxibファイルの作成
- UIViewはSwiftとViewファイル別々に選択して作成する必要があり、UIViewControllerはcocoaTouchClassでxibファイルを一気に作成することができます。
※Viewのxibファイルを作成する際は、File→New File→でccoa touch classで選択してAlso createXIB fileが選択できないので注意。

- xibファイルの作成は、File →NewFile →Viewを選択

-
Swiftファイルの作成はFile →NewFile→Swiftを選択
-
ViewControllerについてはまとめてxibファイルを作成
File→NewFile→CocoaTouchClassを選択でSubClass of:をUIViewControllerに指定し、Also Create XibFileにチェック→Next→Createを選択。
今回のファイル名はContentViewにします。
↓こんな感じでそれぞれxibとswiftファイルを作成できていたらOKです。
2.NibViewクラスの作成
- なぜNibViewクラスを作成するのかというと、後々、開発するときに1個NibViewクラスを作成しておけば、継承して使い回せて便利だからです。
- NibView.swiftファイルを作成
import UIKit

class NibView: UIView {
    var view: UIView!
    override init(frame: CGRect) {
        super.init(frame: frame)
        xibSetup()
    }

    required init?(coder aDecoder: NSCoder) {
        super.init(coder: aDecoder)
        xibSetup()
    }
}

private extension NibView {

    func xibSetup() {
        backgroundColor = UIColor.clear
        view = loadNib()
        view.frame = bounds
        addSubview(view)

        view.translatesAutoresizingMaskIntoConstraints = false
        addConstraints(NSLayoutConstraint.constraints(withVisualFormat: "H:|[childView]|",
                                                      options: [],
                                                      metrics: nil,
                                                      views: ["childView": view as Any]))
        addConstraints(NSLayoutConstraint.constraints(withVisualFormat: "V:|[childView]|",
                                                      options: [],
                                                      metrics: nil,
                                                      views: ["childView": view as Any]))
    }
}

extension UIView {
    func loadNib() -> UIView? {
        let bundle = Bundle(for: type(of: self))
        guard let nibName = type(of: self).description().components(separatedBy: ".").last else {
            print("NibViewでERROR")
            return UIView()
        }
        let nib = UINib(nibName: nibName, bundle: bundle)
        return nib.instantiate(withOwner: self, options: nil).first as? UIView
    }
}
3.ViewにNibViewクラスを継承する
先ほど作ったNibViewクラスをContentViewクラスに継承します。
import Foundation

class ContentView: NibView {

}
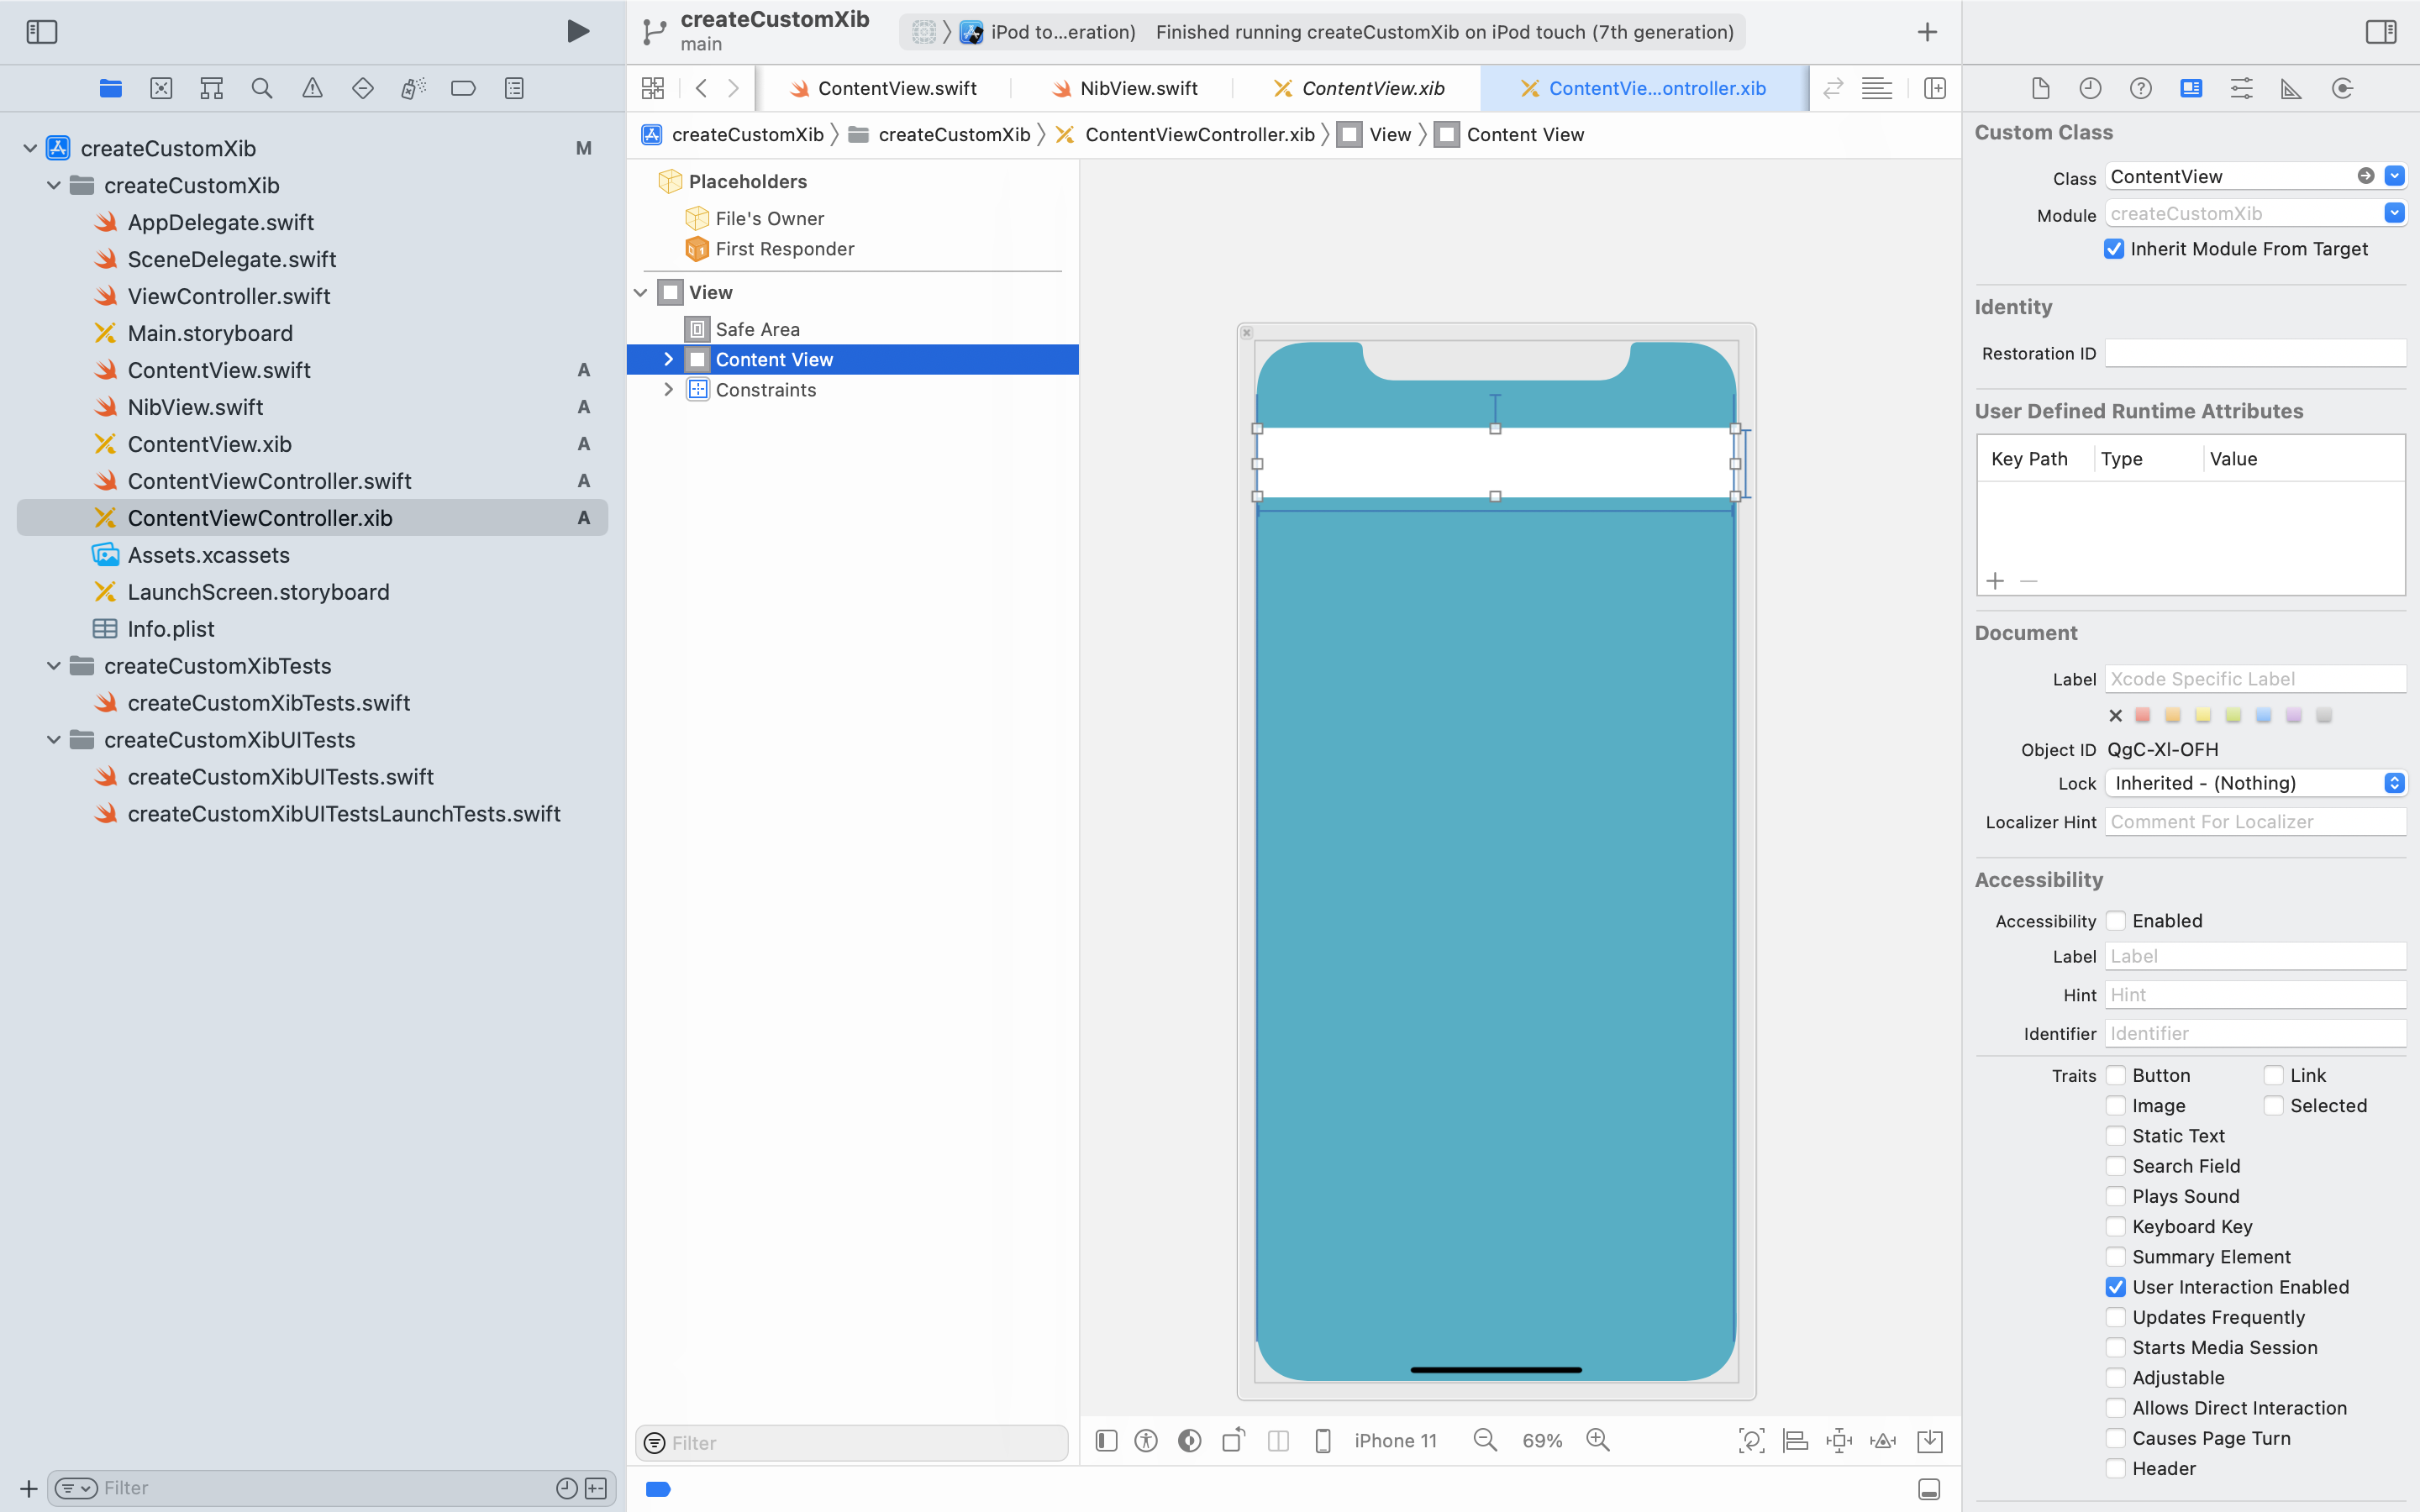
4.xibのViewControllerにobjectsのViewをセット
セットしたViewのCustom ClassにContentViewと入力し、ContentViewを紐づける。
5.Xibとswiftファイルの紐付け。
XibのViewControllerのFile'sOwnerでxibのViewControllerを紐づけます。
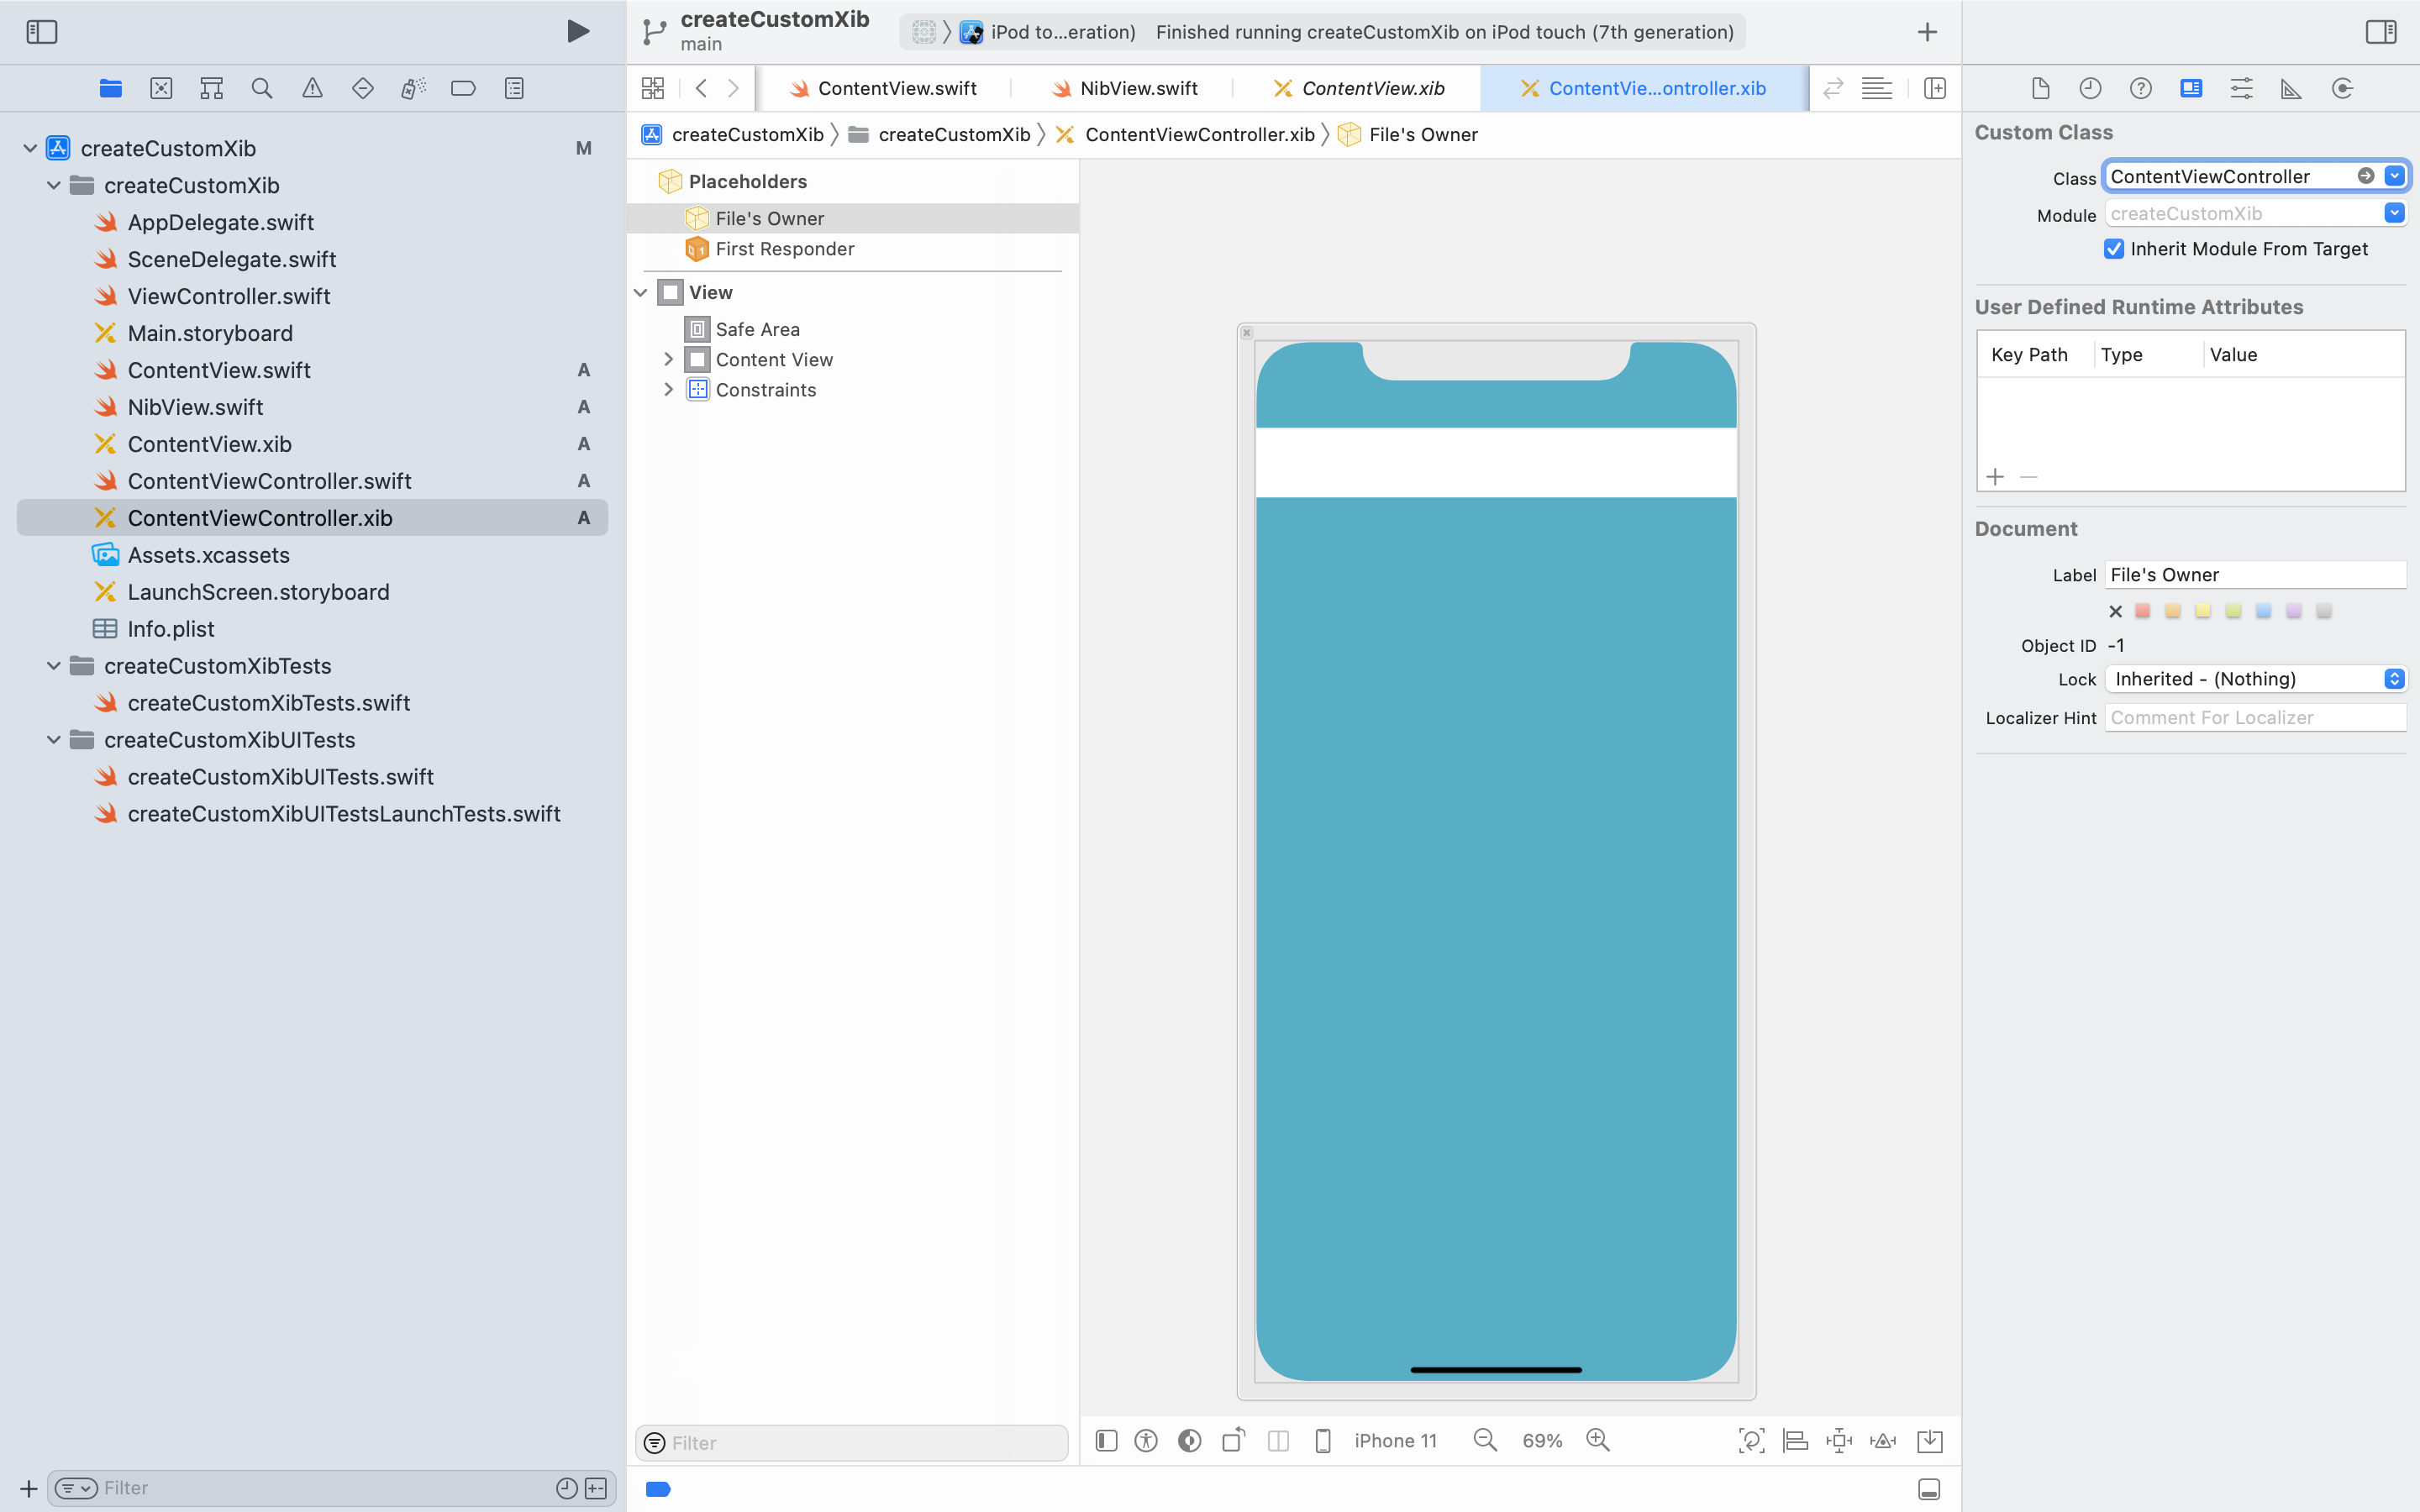
XibのViewのFiles'OwnerでxibのViewも紐づけます。
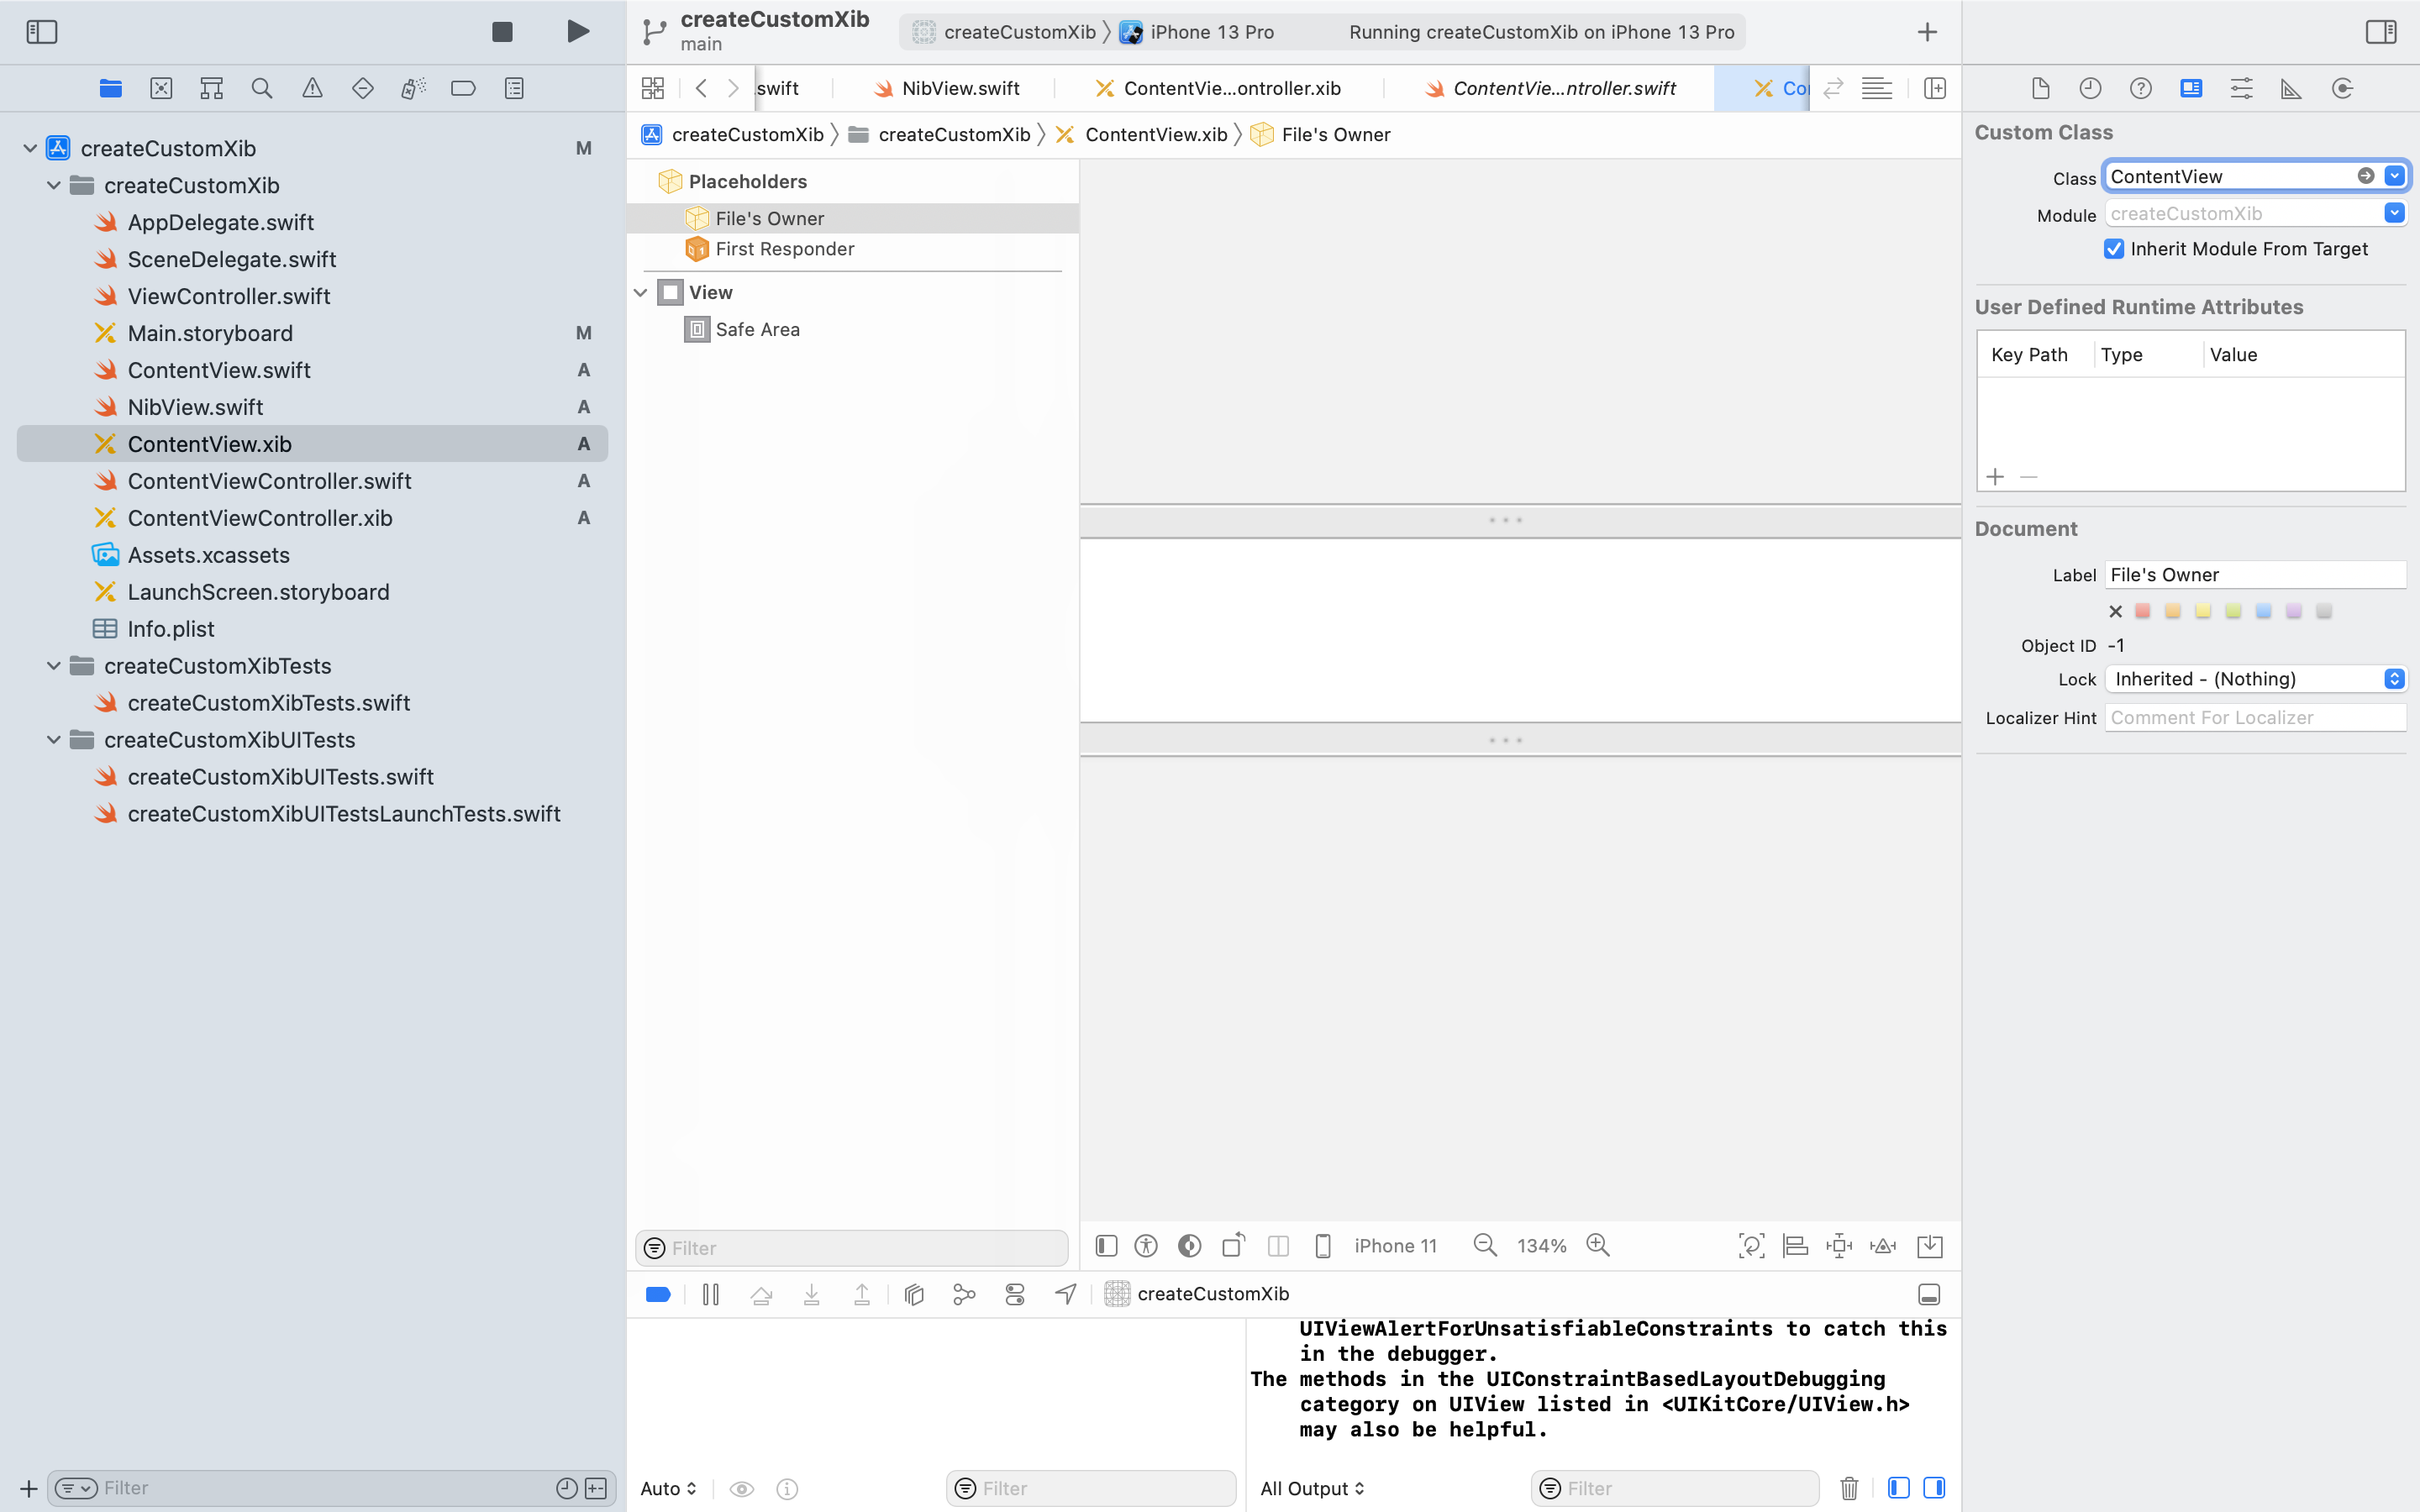
私はここで間違ってCustomClassに設定して沼にはまったので、必ずFiles'Ownerの方で設定するよう注意が必要です。
6.ContentViewController.xibでContentViewをIBOutletで接続します。

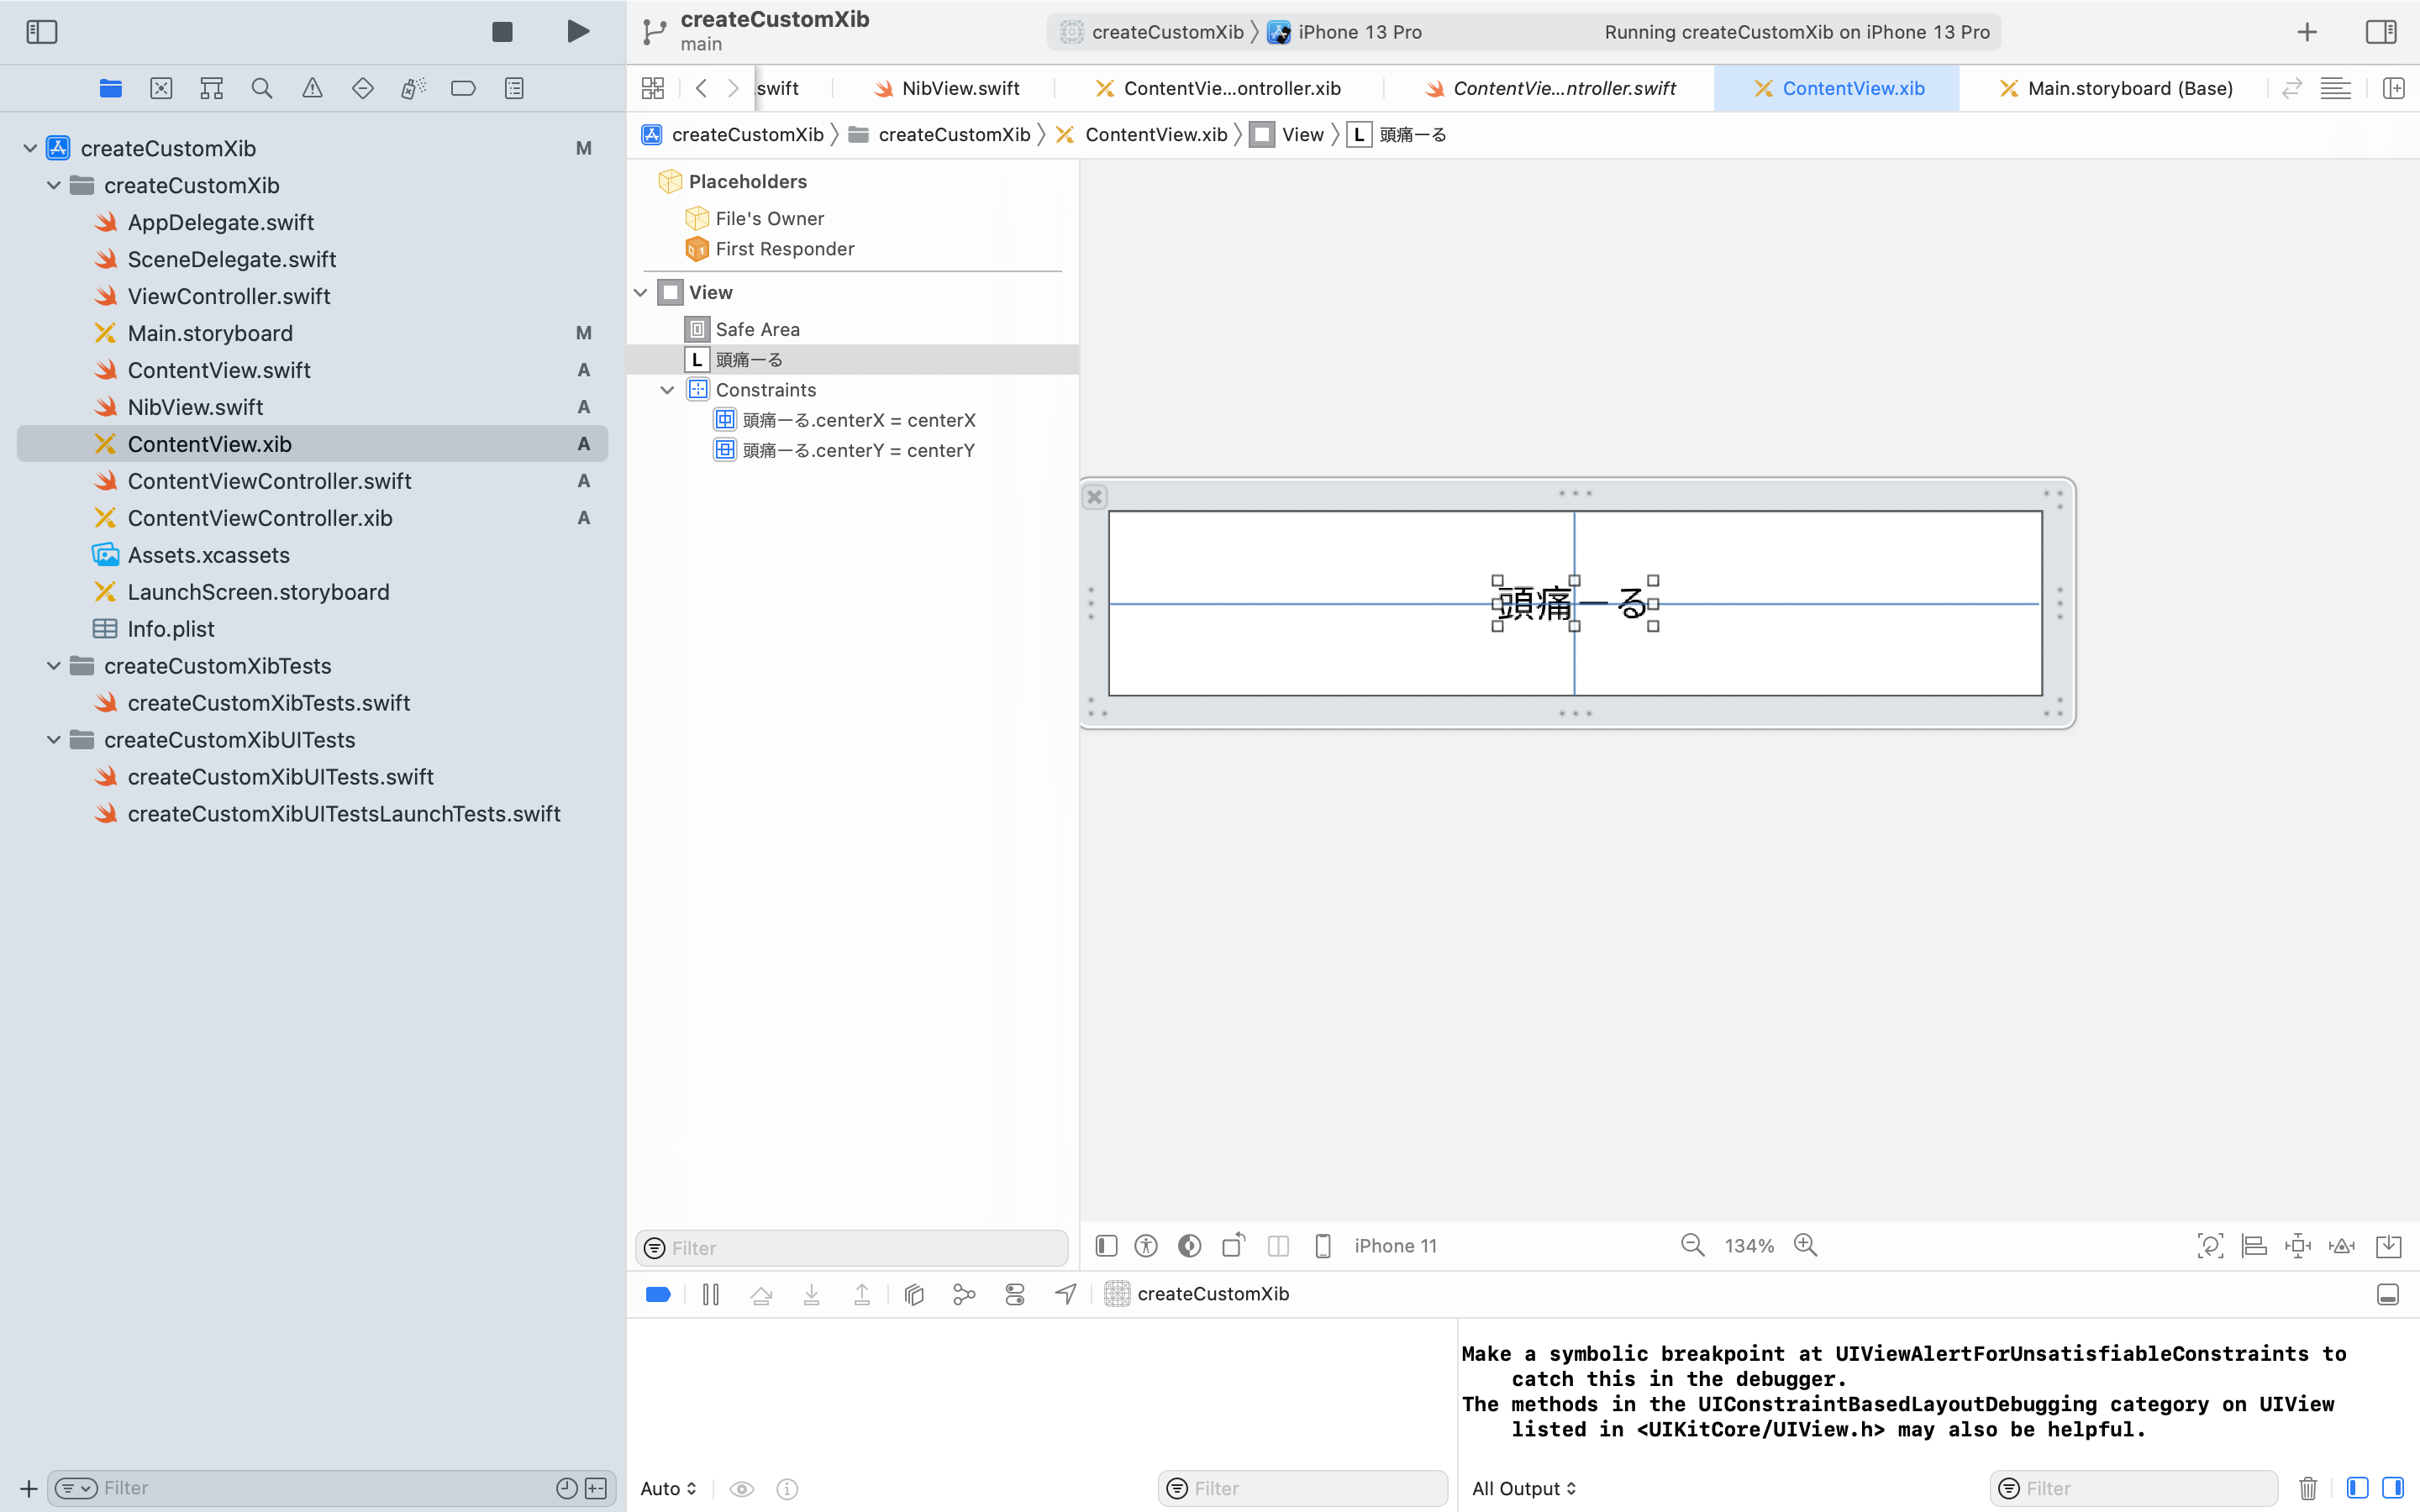
7.ContentView.xibのカスタムビューにUIlabelを配置してレイアウト
基本的にUIの配置などレイアウトはViewのXibでします。
Autolayoutで適当に制約(省略)。
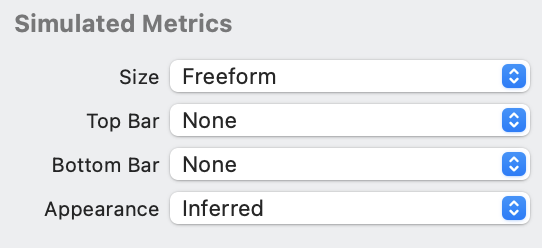
一部分のみのカスタムビューを作る場合は、右のユーティリティエリアのSimulated MetricsのSizeをFreedom、TopBarとBottomBarをNoneに設定すると、実装しやすいです。
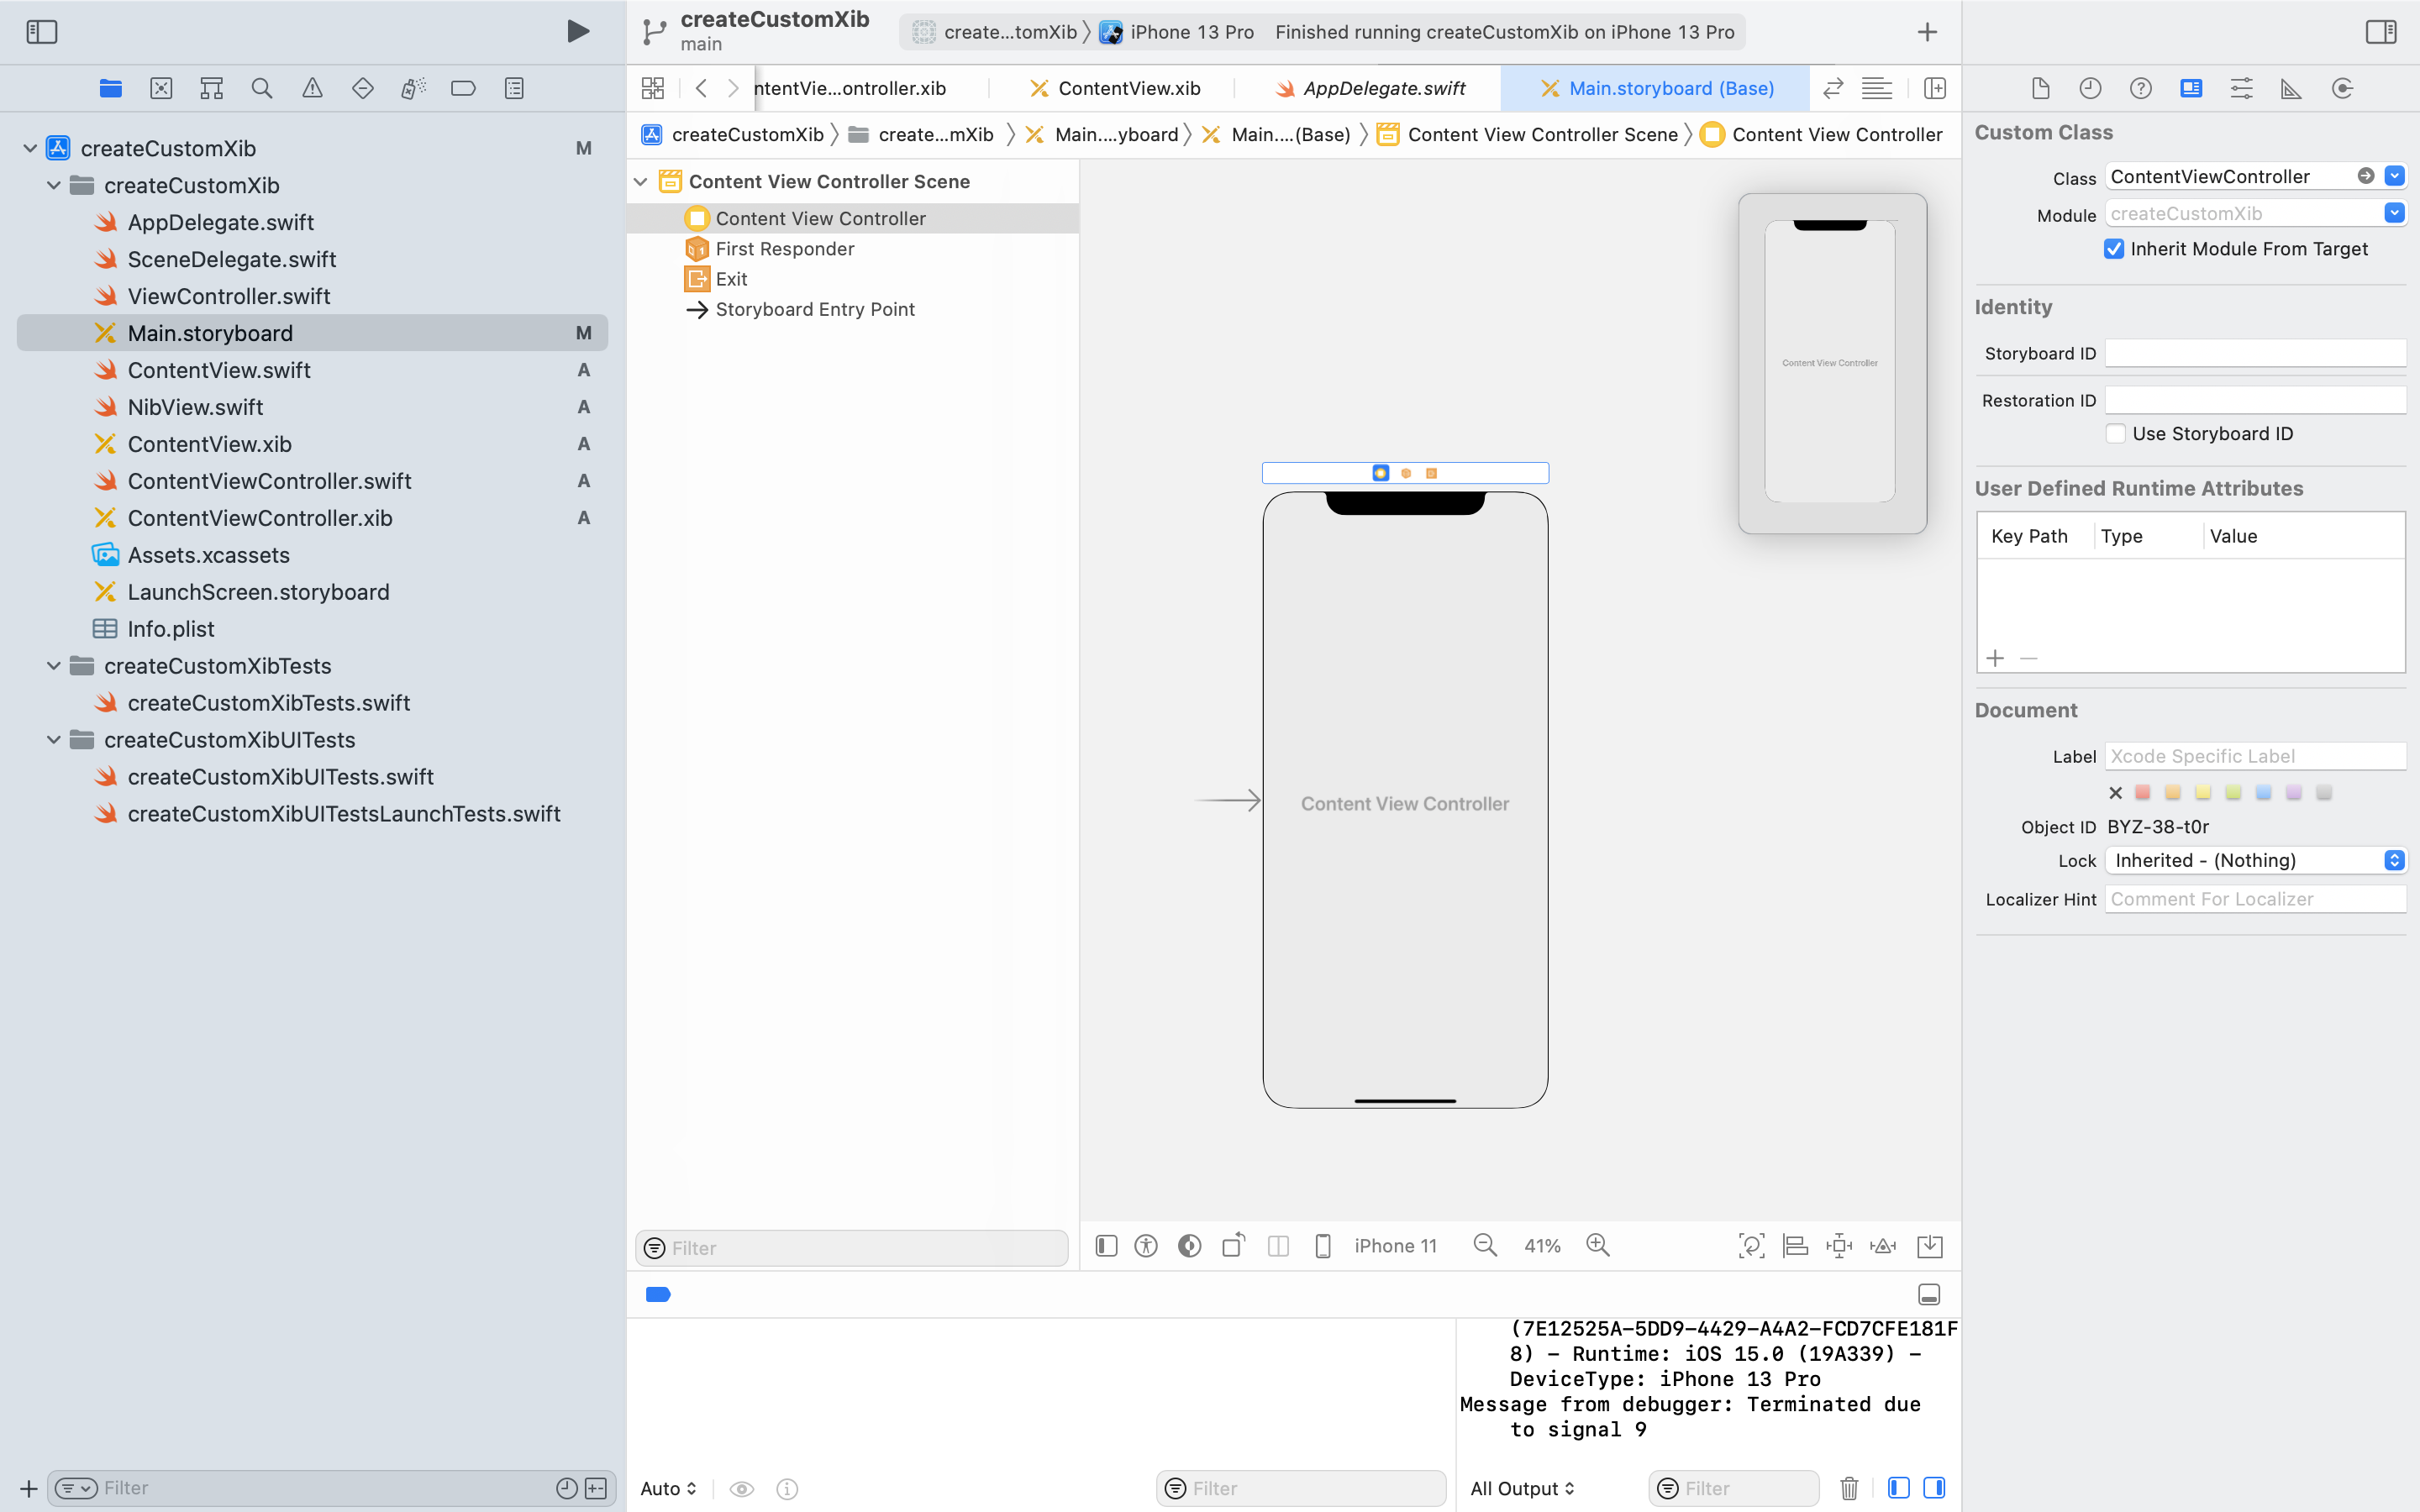
8.Main.storyboardのViewControllerのCustom ClassをContentViewControllerに設定します。
表示させたいViewControllerにCustom classの紐付けをします。
今回は、デフォルトで設定されているViewは消しています。
注意
Files'Ownerの設定とCustomClassで設定がごちゃ混ぜになりがちなので注意が必要です。
参考