はじめに
縁あって、Instagramの自動いいねツールを作ることになりました。Seleniumの勉強としては、かなり面白かったです。
いいねの自動化はInstagramの規約違反なので、自己責任でお願いします。
私は捨て垢を利用しました。
下準備
自動いいねツールを作成するための下準備としては二つ。
・WebDriverのインストール
・Seleniumのインストール
WebDriverのインストール
seleniumでWebサイトを自動化させるには、WebDriverが必要です。今回はchromeを使用したいと思います。chromeをインストールしていない方は別のブラウザを使用していただくか、新しくインストールしてください。
chromeをインストールされた方は、こちらに飛んでください。
この画面ですね(2023/04/08現在)

私はchromeのバージョンが111.~~~みたいな感じなので「Previous stable release: ChromeDriver 111.0.5563.64」を選択してzipファイルをダウンロードしました。chromeのバージョンの確認はchrome>設定>chromeについて、から確認できます。
Seleniumのインストール
次にSeleniumのインストールです。今回はPythonなので簡単です。
pip install selenium
また先ほどダウンロードしたWebDriverを適用させます。
pip install chromedriver-binary==111.0.5563.64
これで準備は完了です。
Instagramを自動で操作する
ログインする
まず、このURL先のログイン画面からメールアドレスとパスワードを入力するコードを書きます。

driver = webdriver.Chrome()

driver.get('https://www.instagram.com/accounts/login/?source=auth_switcher')
time.sleep(2)

driver.find_element(By.NAME,"username").send_keys("MAIL_ADRESS")
time.sleep(1)
driver.find_element(By.NAME,"password").send_keys("PASSWORD")
time.sleep(2)

driver.find_element(By.CLASS_NAME,"_acan._acap._acas._aj1-").click()
time.sleep(5)
driver.getでURL先に飛ぶようにして、その後メールアドレスとパスワードを入力、ログインボタンをクリックします。
ログインした後は、なんだか色々聞かれるので「後でボタン」でかわします。
#後でボタンを押す
driver.find_element(By.CLASS_NAME,"_ac8f").click()
time.sleep(5)

driver.find_element(By.CLASS_NAME,"_a9--._a9_1").click()
time.sleep(5)
いいねを押したいタグまで飛ぶ
ログインした後に、任意のタグまで遷移するコードを書きます。
tagurl = 'https://www.instagram.com/explore/tags/'
tag = "任意のタグ"
driver.get(tagurl+tag)
time.sleep(8)
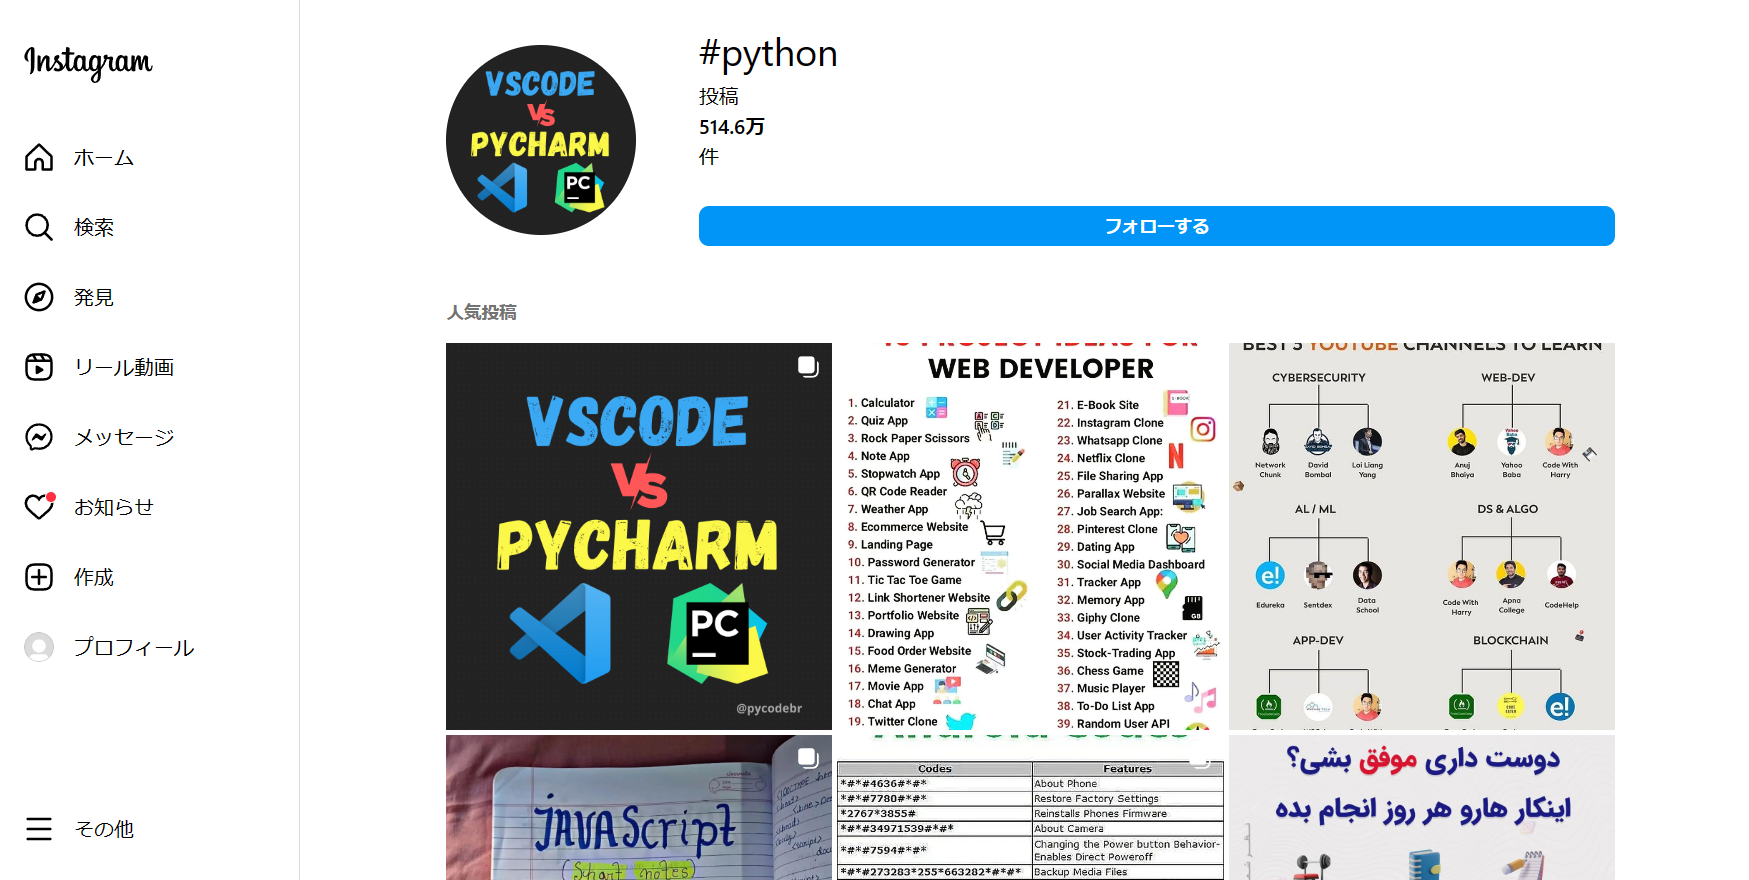
例えばtagを「Python」にした場合はこのようになります。

いいねを押し次の投稿へ遷移
先ほどの「人気投稿」の左上の画像をクリックします。
# 人気の投稿の1枚目をクリックしていいねを実行
driver.find_element(By.CLASS_NAME,"_aagw").click()
time.sleep(5)
driver.find_element(By.TAG_NAME,"a")
time.sleep(5)
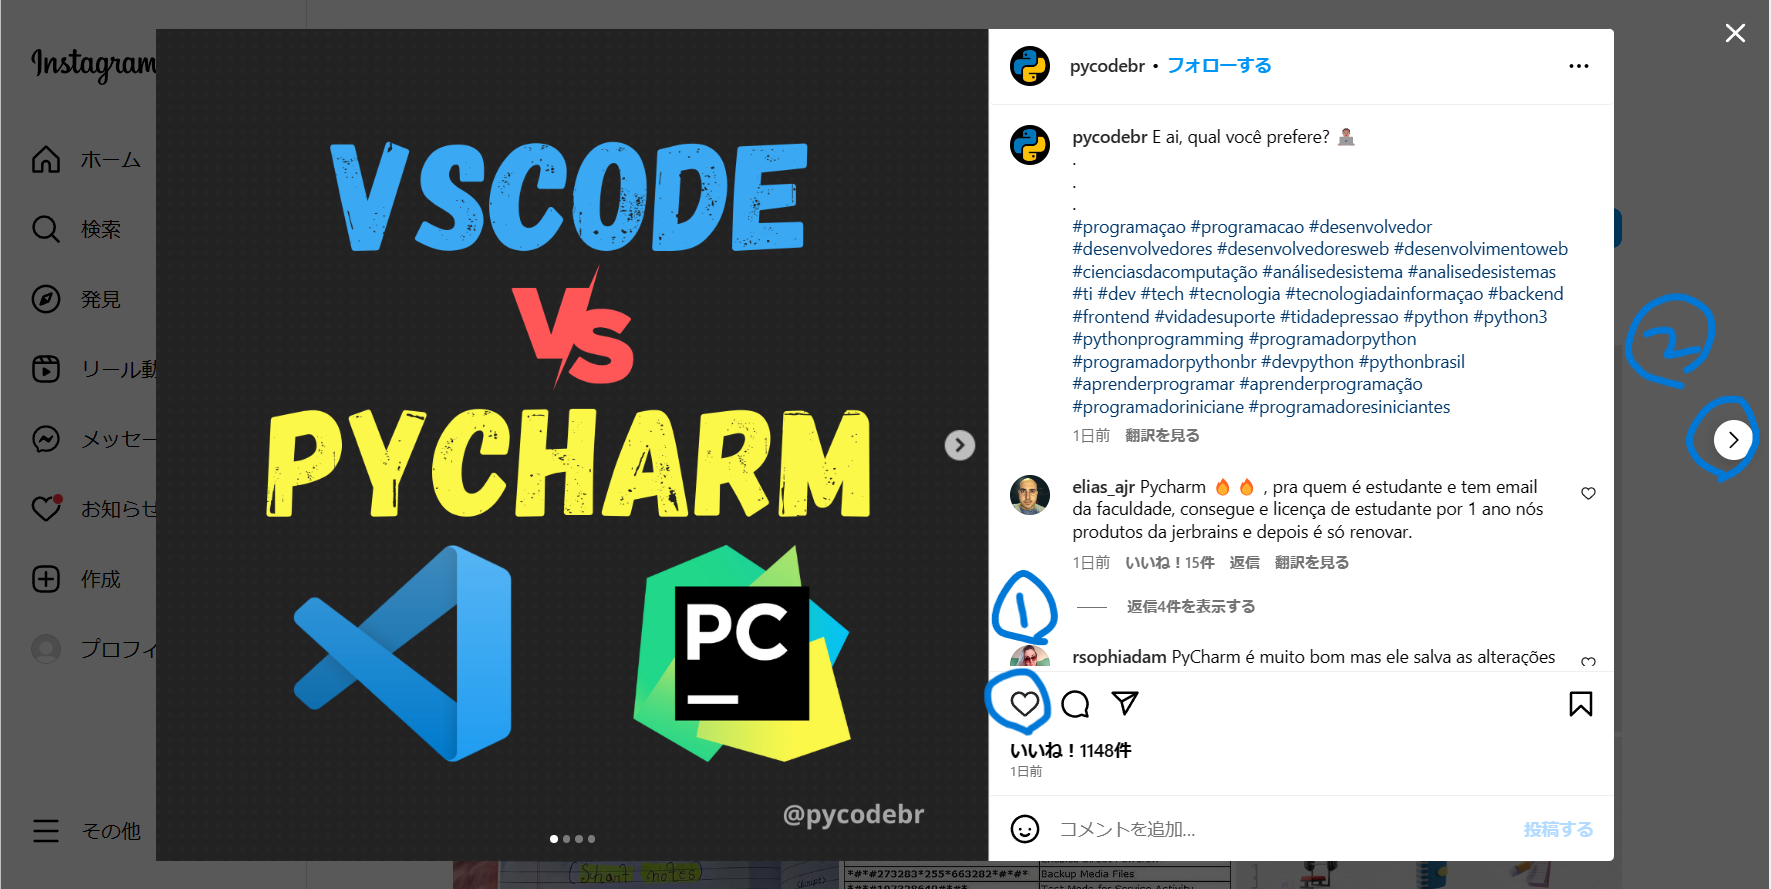
そうするとこんな感じになります。

表示されたら、次のような動作をするように設定します。
①いいねボタンを押す
②次へ進むボタンを押す
それが以下のコードです。
# いいねボタンを押す
driver.find_element(By.CLASS_NAME,"_aamw").click()
time.sleep(5)
#次の投稿に移動
driver.find_element(By.CLASS_NAME,"_abl-").click()
time.sleep(5)
いいねを押し次の投稿へ遷移
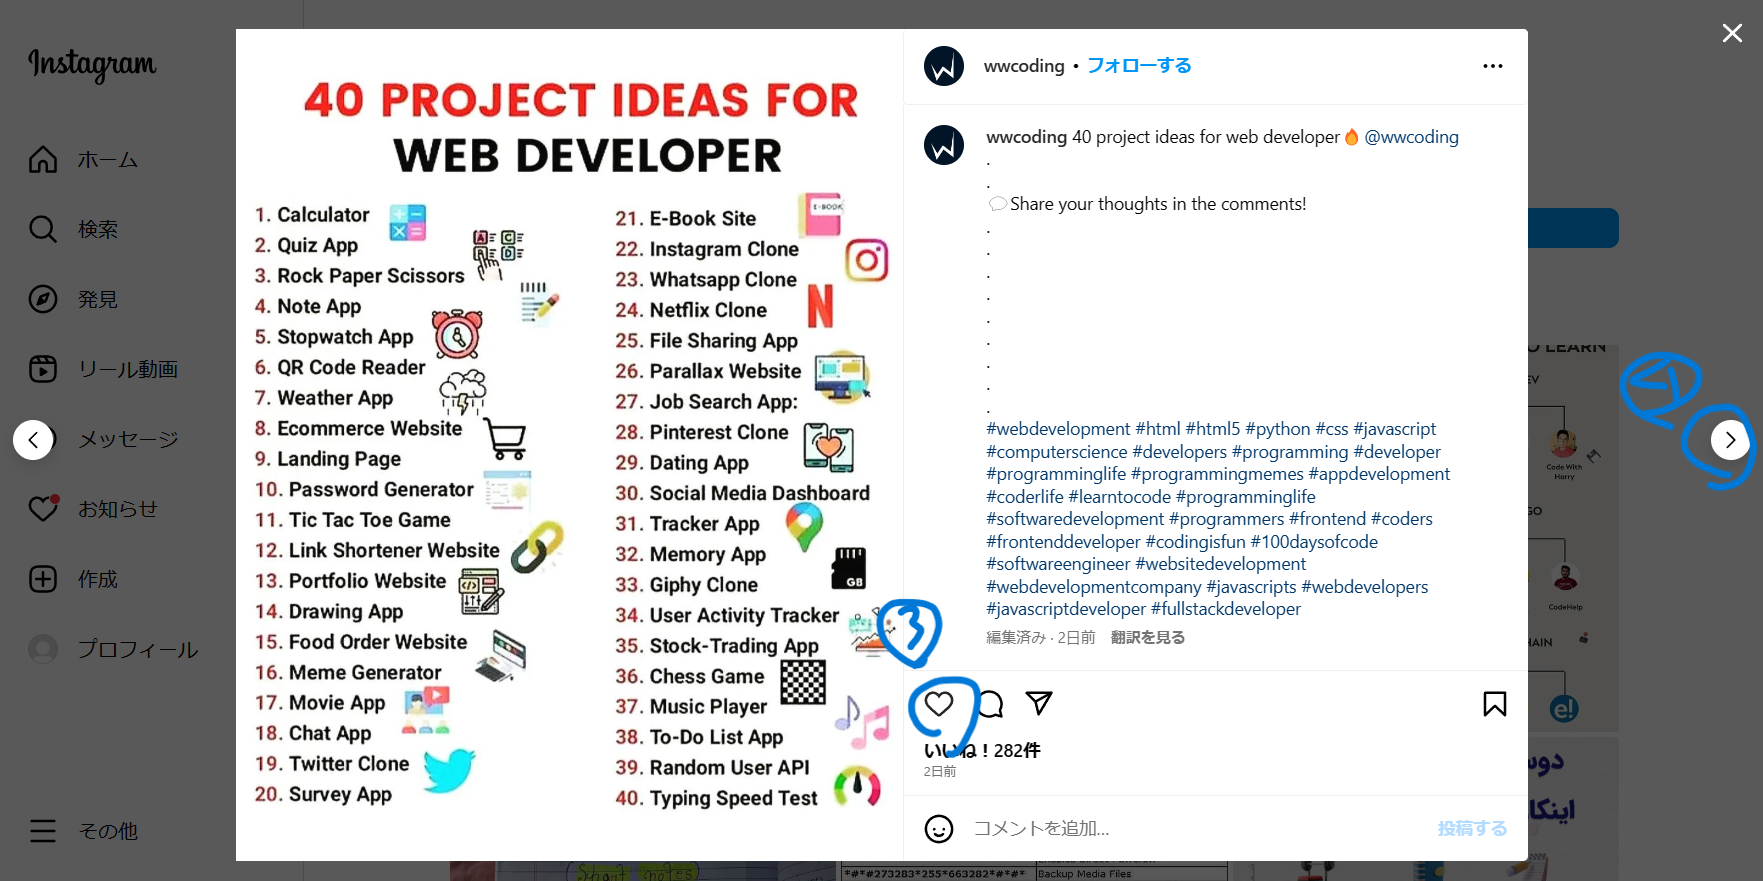
次の投稿はこんな感じ。

③いいねボタンを押す
④次へ進むボタンを押す
この動作をfor文で回していきます。
#いくつの投稿にいいねしたいか
nice_num = 5
for i in range(nice_num-1):

    # いいねボタンを押す
    driver.find_element(By.CLASS_NAME,"_aamw").click()
    x = random.randint(0, 5)
    time.sleep(5+x)

    #次の投稿に移動
    driver.find_element(By.CLASS_NAME,"_aaqg._aaqh").click()
    time.sleep(5+x)
これで自動いいねツールはひとまず完成です。
全体のコード
from selenium import webdriver
from selenium.common.exceptions import WebDriverException
from selenium.webdriver.common.action_chains import ActionChains
from selenium.webdriver.common.by import By
from selenium.webdriver.support.ui import WebDriverWait
from selenium.webdriver.support import expected_conditions
import time
import random

driver = webdriver.Chrome()

# ログイン
def login():
    # メアドとパスワードを入力
    driver.get('https://www.instagram.com/accounts/login/?source=auth_switcher')
    time.sleep(2)
    driver.find_element(By.NAME,"username").send_keys("MAIL_ADRESS")
    time.sleep(1)
    driver.find_element(By.NAME,"password").send_keys("PASSWORD")
    time.sleep(2)

    # ログインボタンを押す
    driver.find_element(By.CLASS_NAME,"_acan._acap._acas._aj1-").click()
    time.sleep(5)

    #後で
    driver.find_element(By.CLASS_NAME,"_ac8f").click()
    time.sleep(5)

    #後で
    driver.find_element(By.CLASS_NAME,"_a9--._a9_1").click()
    time.sleep(5)

def tagseach(tag):
    tagurl = 'https://www.instagram.com/explore/tags/'
    driver.get(tagurl+tag)
    time.sleep(8)

#いいね いいね!
def pushnice(nice_num):
    # 人気の投稿の1枚目をクリックしていいねを実行
    driver.find_element(By.CLASS_NAME,"_aagw").click()
    time.sleep(5)
    driver.find_element(By.TAG_NAME,"a")
    time.sleep(5)

    # いいねボタンを押す
    driver.find_element(By.CLASS_NAME,"_aamw").click()
    time.sleep(5)
    #次の投稿に移動
    driver.find_element(By.CLASS_NAME,"_abl-").click()
    time.sleep(5)

    for i in range(nice_num-1):
        print(i)

        # いいねボタンを押す
        driver.find_element(By.CLASS_NAME,"_aamw").click()
        x = random.randint(0, 5)
        time.sleep(5+x)

        #次の投稿に移動
        driver.find_element(By.CLASS_NAME,"_aaqg._aaqh").click()
        time.sleep(5+x)


if __name__ == "__main__":
    login()
    #任意のタグ
    tagseach("Python")
    #任意の回数
    pushnice(5)
感想
今回は、本当に簡潔なプログラムです。今後改良するなら以下の点が挙げられます。
・恒久的に動くようにする
今回はボタンの認識などをクラス名で行いました(_aaqg._aaqhのように)。しかし、これらは変化することがあり得るので、XPATHで登録するなどの対策が必要です。
・エラー検知、対策
自動化においてエラーはつきものです。エラーした際の処理を加える必要があります。
やる際は自己責任でお願いします。
参考文献
以下のサイト・記事を参考にしました。