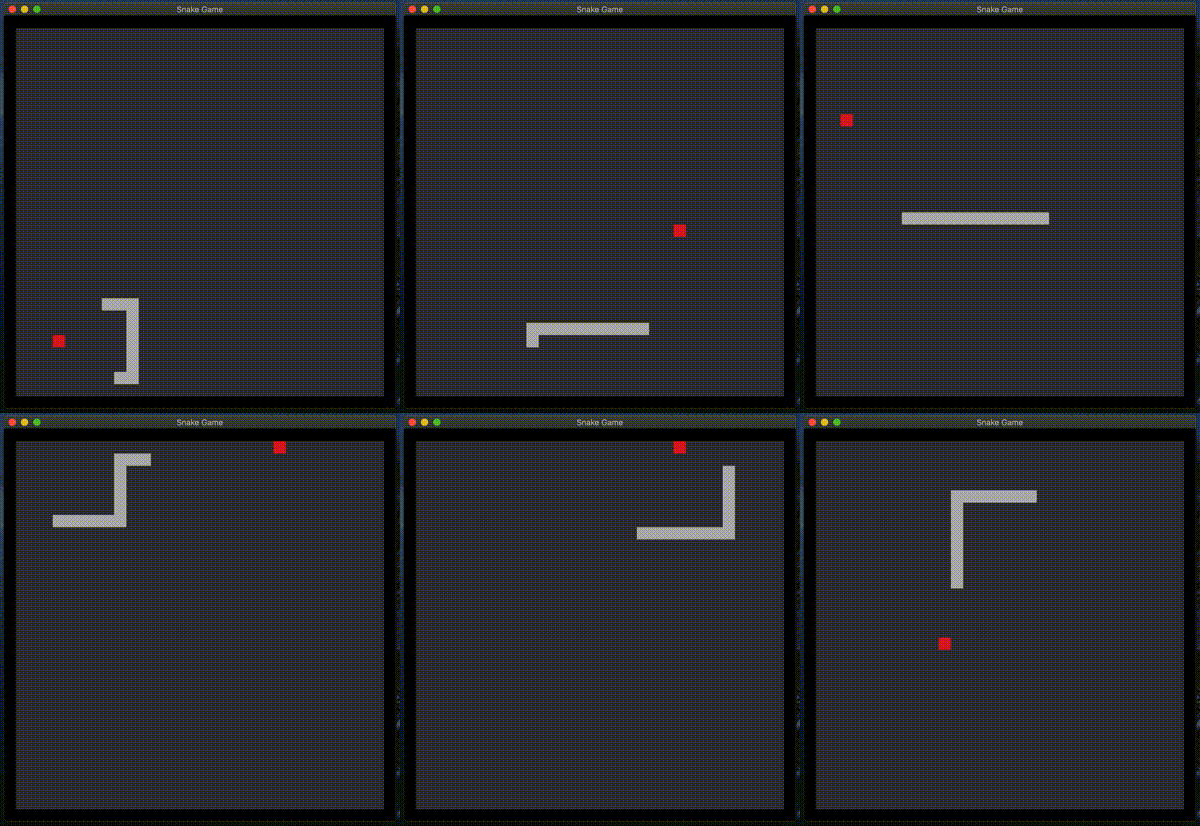
最近Qiitaで
200行のVue.jsでスネークゲームを作った
100行のHaskellでスネークゲームを作った
の記事を見つけ、そういえばスネークゲームって割とありきたりなのに書いたことないなと思いRustのリハビリがてら書いてみた。

GUIライブラリにPiston、乱数生成にRandクレートを用いる。最終コードはGitHubへ。
1 基礎部分の実装
まずは描画ウィンドウの最低限の設定をする。
[dependencies]
rand = "0.7"
piston_window = "0.105.0"
use piston_window::*;

const N_WIDTH: u32 = 30;     // 横方向のセルの数
const N_HEIGHT: u32 = 30;    // 縦方向のセルの数
const CELLSIZE: f64 = 20.0;  // セルの一辺の長さ

fn main() {
    let width = N_WIDTH * CELLSIZE as u32;
    let height = N_HEIGHT * CELLSIZE as u32;

    let mut window: PistonWindow = WindowSettings::new("Snake Game", (width, height))
        .exit_on_esc(true)      // Escキーで終了
        .build()
        .unwrap_or_else(|e| panic!("Failed to build PistonWindow: {}", e));

    while let Some(e) = window.next() {
        if let Some(_) = e.render_args() {
            window.draw_2d(&e, |c, g, _| {
                clear([0.2, 0.2, 0.2, 1.0], g); // 背景の設定
                rectangle([0.0, 0.7, 0.0, 0.4], // 緑色の長方形
                          [10.0, 20.0, 80.0, 50.0],
                          c.transform, g);
            }
        }
    }
let mut window = WindowSettings::new(...)でタイトルとサイズを指定して描画ウィンドウを作成。while let Some(e) = window.next() {...}で続くブロック内のイベントループ(ここではキャンバスのクリアと長方形の描画だけ)を回す。
2 ヘビの状態管理
ヘビが進む方向の列挙型Directionと座標構造体Point、ヘビの状態を表す構造体Snakeを定義する。
use std::collections::VecDeque;

# [derive(Clone, Copy, PartialEq)]
enum Direction {
    Left,
    Right,
    Up,
    Down,
}

# [derive(Clone, Copy)]
struct Position {
    x: u32,
    y: u32,
}

struct Snake {
    head: Position,
    body: VecDeque<Position>,
    direction: Direction,
    duration: f64,     // ヘビが1マス進んでから経過した時間を保持しておく
}
身体部分を現す配列ですが、ヘビが移動したときやリンゴにたどり着いたときの状態更新は配列の先頭と末尾にしかアクセスしないのでdequeを使うのが一番効率がいいと思います。
ゲームの核となるロジックは次の通り。
const TIMELIMIT: f64 = 0.08; // 80msごとに1マス進む

impl Direction {
    // 指定した方向と反対の方向を返す
    fn opposite(&self) -> Direction {
        match self {
            Direction::Left => Direction::Right,
            Direction::Right => Direction::Left,
            Direction::Up => Direction::Down,
            Direction::Down => Direction::Up,
        }
    }
}

impl Position {
    fn new(x: u32, y: u32) -> Position {
        Position { x, y }
    }

    // リンゴがランダムに位置を変更する際に使用
    fn change_position(&mut self) {
        let mut rng = rand::thread_rng();
        self.x = rng.gen_range(1, N_WIDTH + 1);
        self.y = rng.gen_range(1, N_HEIGHT + 1);
    }
}

impl Snake {
    fn new(x: u32, y: u32) -> Snake {
        Snake {
            head: Position { x, y },
            body: VecDeque::new(),
            direction: Direction::Right,
            duration: 0.0,
        }
    }

    // 矢印ボタンが押下されたらそちらへ進行方向を変える
    fn keypress(&mut self, button: Button) {
        let next_dir = match button {
            Keyboard(Key::Left) => Direction::Left,
            Keyboard(Key::Right) => Direction::Right,
            Keyboard(Key::Up) => Direction::Up,
            Keyboard(Key::Down) => Direction::Down,
            _ => self.direction,
        };

        // 進行方向と真反対に進んで自己衝突するのを防ぐ
        if next_dir != self.direction.opposite() {
            self.direction = next_dir;
        }
    }

    // ヘビを1マス進める
    fn proceed(&mut self) {
        self.body.pop_back();
        self.body
            .push_front(Position::new(self.head.x, self.head.y));

        match self.direction {
            Direction::Left => {
                self.head.x -= 1;
            }
            Direction::Right => {
                self.head.x += 1;
            }
            Direction::Up => {
                self.head.y -= 1;
            }
            Direction::Down => {
                self.head.y += 1;
            }
        }
    }

    // リンゴと接触したか判定する
    fn reach_apple(&mut self, apple: &mut Position) -> bool {
        self.head.x == apple.x && self.head.y == apple.y
    }

    // 身体を1マス分伸ばす
    fn add_tail(&mut self) {
        self.body.push_front(Position::new(self.head.x, self.head.y));
    }

    // 生きているか判定する
    fn check_alive(&self) -> bool {
        // 自己交差していないか
        for p in &self.body {
            if p.x == self.head.x && p.y == self.head.y {
                return false;
            }
        }

        // 壁にぶつかっていないか
        if self.head.x == 0
            || self.head.x == N_WIDTH + 1
            || self.head.y == 0
            || self.head.y == N_HEIGHT + 1
        {
            return false;
        }

        return true;
    }

    // 次の状態に更新する
    fn next(&mut self, dt: f64, apple: &mut Position, window: &mut PistonWindow) {
        if self.reach_apple(apple) {
            println!("Score: {}", self.body.len() * 100);
            self.add_tail();
            apple.change_position();
        }

        self.duration += dt;
        if self.duration > TIMELIMIT {
            self.proceed();
            self.duration = 0.0;

            if !self.check_alive() {
                println!("Game Over!\nPress SPACE to restart / ESC to quit.");
                window.set_lazy(true);
            }
        }
    }

    // ゲームオーバーしたあと設定を元に戻す
    fn restart(&mut self, apple: &mut Position) {
        self.head.x = 3;
        self.head.y = 3;
        self.body = VecDeque::new();
        self.direction = Direction::Right;
        self.duration = 0.0;
        apple.x = 10;
        apple.y = 10;
    }
}
長方形描画に便利な関数draw_rect()も定義してあげると、描画コード完成です。
...
(略)
...

fn draw_rect(color: [f32; 4], x: u32, y: u32, c: Context, g: &mut G2d) {
    rectangle(color,
              [x as f64 * CELLSIZE, y as f64 * CELLSIZE, CELLSIZE, CELLSIZE],
              c.transform, g)
}

fn main() {
    // ヘビの頭とリンゴの初期位置を適当に設定
    let mut snake = Snake::new(3, 3);
    let mut apple = Position::new(10, 10);

    let width = ...
    let height = ...
    let mut window = ...

    while let Some(e) = window.next() {
        if let Some(_) = e.render_args() {
            window.draw_2d(&e, |c, g, _| {
                // 描画をリセットして背景設定
                clear([0.2, 0.2, 0.2, 1.0], g);
                // ヘビの身体部分
                for p in &snake.body {
                    draw_rect(COLOR_SNAKE, p.x, p.y, c, g);
                }
                // 頭部分
                draw_rect(COLOR_SNAKE, snake.head.x, snake.head.y, c, g);
                // リンゴ
                draw_rect(COLOR_APPLE, apple.x, apple.y, c, g);
                // 壁
                for i in 0..N_HEIGHT + 2 {
                    if i == 0 || i == N_HEIGHT + 1 {
                        for j in 0..N_WIDTH + 2 {
                            draw_rect(COLOR_WALL, j, i, c, g);
                        }
                    } else {
                        draw_rect(COLOR_WALL, 0, i, c, g);
                        draw_rect(COLOR_WALL, N_WIDTH+1, i, c, g);
                    }
                }
            });
        }

        // 矢印ボタンを押したときの応答
        if let Some(button) = e.press_args() {
            snake.keypress(button);
        }

        // ヘビの状態を更新
        e.update(|u| {
            snake.next(u.dt, &mut apple, &mut window);
        });
    }
}
イベント更新の肝は上記コード最後の部分です。e.update(|u| {...})でクロージャに渡した引数uは次に定義される UpdateArgs構造体で、
pub struct UpdateArgs {
    pub dt: f64
}
メンバ dt はイベントループ1周分のdelta timeを表す。0で初期化した snake.duration に u.dt を積算していき、ある閾値(ここでは80ms)に達したらヘビを1マス進める。Snake に duration を持たせなくてもイベント Event だけで上手いこと処理できそうな気がするがいい案が思いつかなかった。
3 終わりに
今回はPistonを使用したけれど、RustのGUIライブラリはこれぞというものがまだ決まってなさそうでサンプルコードもそれほど落ちておらず、大半の時間を謎だらけドキュメンテーションの解読に費やす。