Nginx と uWSGI で CGI を行う方法です。
- Nginx の 設定に追加
- サーバープログラム
- uWSGI の起動 (手動)
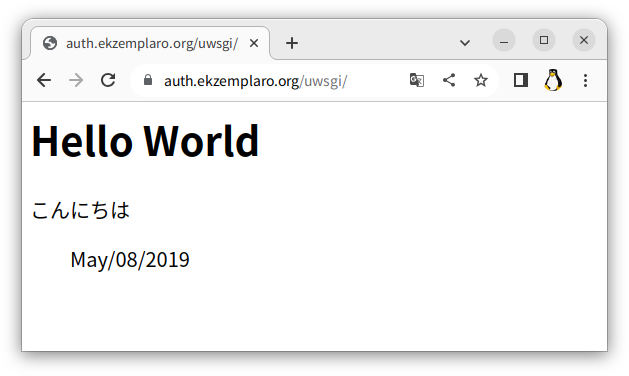
- ブラウザーで http://hostname/uwsgi にアクセス
/etc/nginx/nginx.conf
(省略)
        location /uwsgi {
                        include uwsgi_params;
                        uwsgi_pass 127.0.0.1:3031;
                }
(省略)
/var/www/html/uwsgi/index.py
# ---------------------------------------------------------------
def application(env, start_response):
	start_response('200 OK', [('Content-Type','text/html; charset=UTF-8')])
	str_out = "<h1>Hello World</h1>"
	str_out += "こんにちは<p />"
	str_out += "<blockquote>"
	str_out += "May/08/2019<p />"
	str_out += "</blockquote>"
#
	return [bytes(str_out,'utf-8')]
#
# ---------------------------------------------------------------
uwsgi.ini
[uwsgi]
master = True
socket = 127.0.0.1:3031
wsgi-file = index.py
stats = 127.0.0.1:9191
logto = uwsgi.log
pidfile = uwsgi.pid
起動コマンド
uwsgi --plugin http,python3 --ini uwsgi.ini
確認したバージョン
$ python --version
Python 3.11.2

$ uwsgi --version
2.0.21-debian
参考情報
Take into account that Python 3 requires bytes().