Arduino と、Arch Linux を USB で接続しました。
必要なハード
Arduino Uno 本体
USB ケーブル Aオス - Bオス
Arduino の 電源供給は、USB から行います。
必要なソフト
Arduino IDE
arduino-1.8.15-linux64.tar.xz
Arduino IDE 1.8.15 からダウンロード
インストールは、解凍してから、install.sh を実行
tar Jxfv arduino-1.8.15-linux64.tar.xz
cd arduino-1.8.15
sudo ./install.sh
設定
sudo chmod 777 /dev/ttyACM0
Arduino IDE のアイコンがデスクトップにできるので、そのアイコンをクリックして起動
ポートの設定
Tools -> Port で、/dev/ttyACM0 をチェック
サンプルプログラムのロード
File -> Examples -> 01.Basics -> Blink
Upload (右矢印)をクリックすれば、プログラムが、USB 経由で、Arduino に送られ、実行されます。
ボード上の LED が、1秒毎に、点滅します。
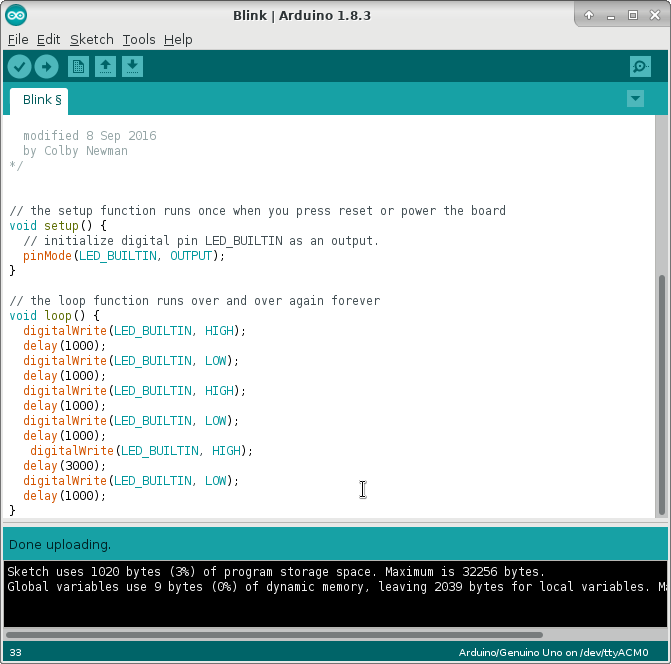
サンプルプログラムを改造して、点滅間隔を変えてみます。
プログラムを編集して、Upload します。
Blink_modified/Blink_modified.ino
void setup() {
  pinMode(LED_BUILTIN, OUTPUT);
}

void loop() {
  digitalWrite(LED_BUILTIN, HIGH);
  delay(1000);
  digitalWrite(LED_BUILTIN, LOW);
  delay(1000);
  digitalWrite(LED_BUILTIN, HIGH);
  delay(1000);
  digitalWrite(LED_BUILTIN, LOW);
  delay(1000);
  digitalWrite(LED_BUILTIN, HIGH);
  delay(3000);
  digitalWrite(LED_BUILTIN, LOW);
  delay(1000);
}

