【ChatGPT+Python】GPT-4 API を爆速レビュー
コード
API 部分
GPT-4 に作ってもらった Discord BOT
GPT-4 API が解放された!
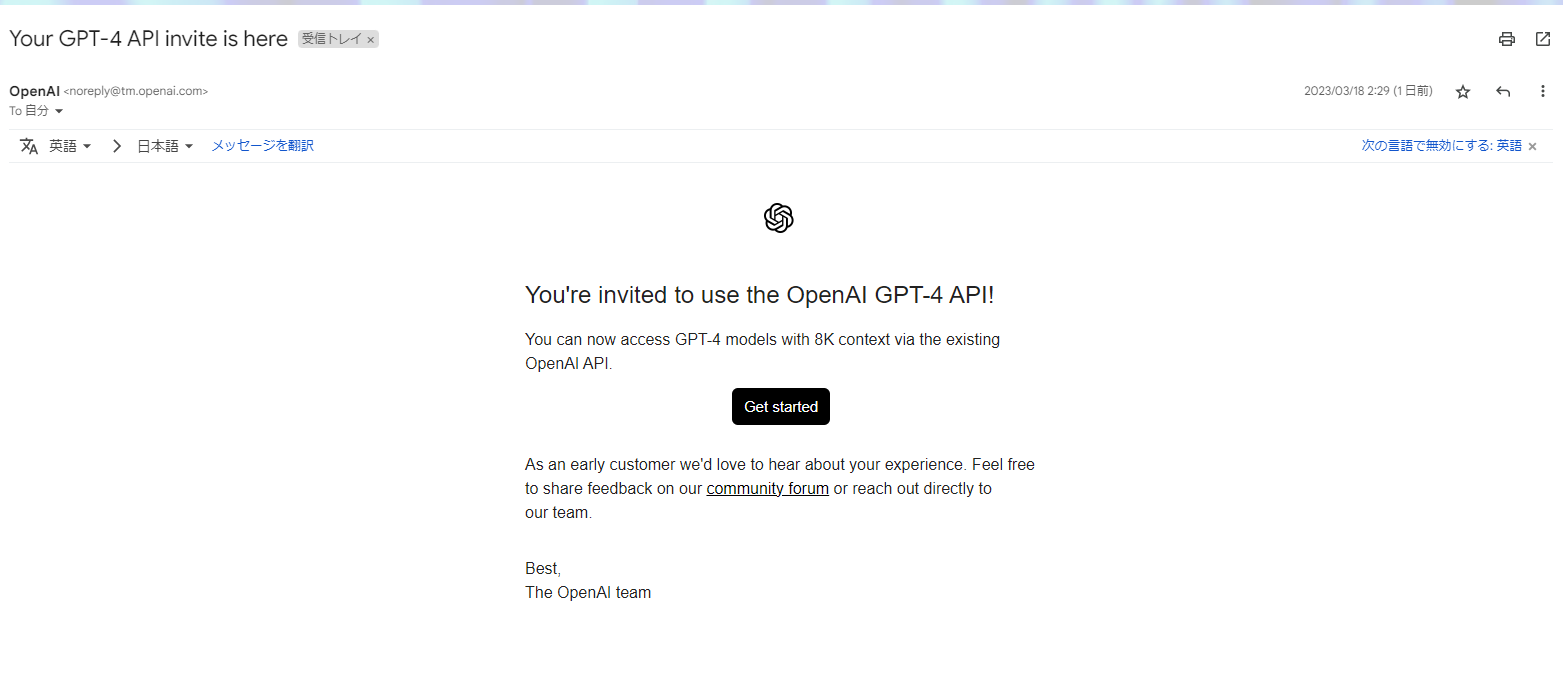
2023/03/18 2:29 に OpenAI からメールが来ていて、GPT-4 API が解放されました!
ずっと GPT-3.5-turbo を使用していて、Slack に組み込んでいたりしました。
自分は、OpenAI の Plus (月額$20)のプランには入っていないので、遅くなりそうだと思っていたら早く解放されたので早速触ってみました!
- API を使ってみる!(Python)
- Slack に組み込む (TypeScript + Cloudflare Workers)
- Discord BOT を作って
のレビューをします。
API を使ってみる!(Python)
import openai
import os
from datetime import datetime

start_time = datetime.now()

openai.api_key = os.getenv("OPENAI_API_KEY")
model_name = "gpt-4"
# model_name = "gpt-3.5-turbo"

question = "discord bot の作り方について教えて"

response = openai.ChatCompletion.create(
    model=model_name,
    messages=[
        {"role": "user", "content": question},
    ],
)

end_time = datetime.now()

print(response.choices[0]["message"]["content"].strip())
print(f"elapsed time: {end_time - start_time}")

# write to output-${yyyymmddthhmmss}.txt
with open(f"output-{model_name}-{datetime.now().strftime('%Y%m%dT%H%M%S')}-{question}.txt", "w") as f:
    f.write(f"model: {model_name}\n")
    f.write("time: " + str(end_time - start_time) + "\n")
    f.write("question: " + question + "\n")
    f.write("answer: " + response.choices[0]["message"]["content"].strip() + "\n")
3.5-turbo とほとんど同じ感じで使えます。
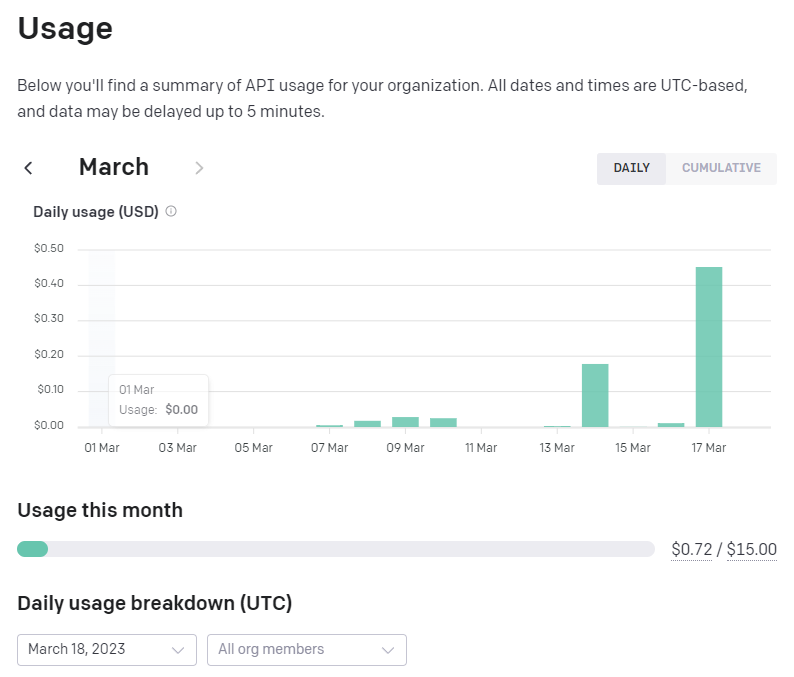
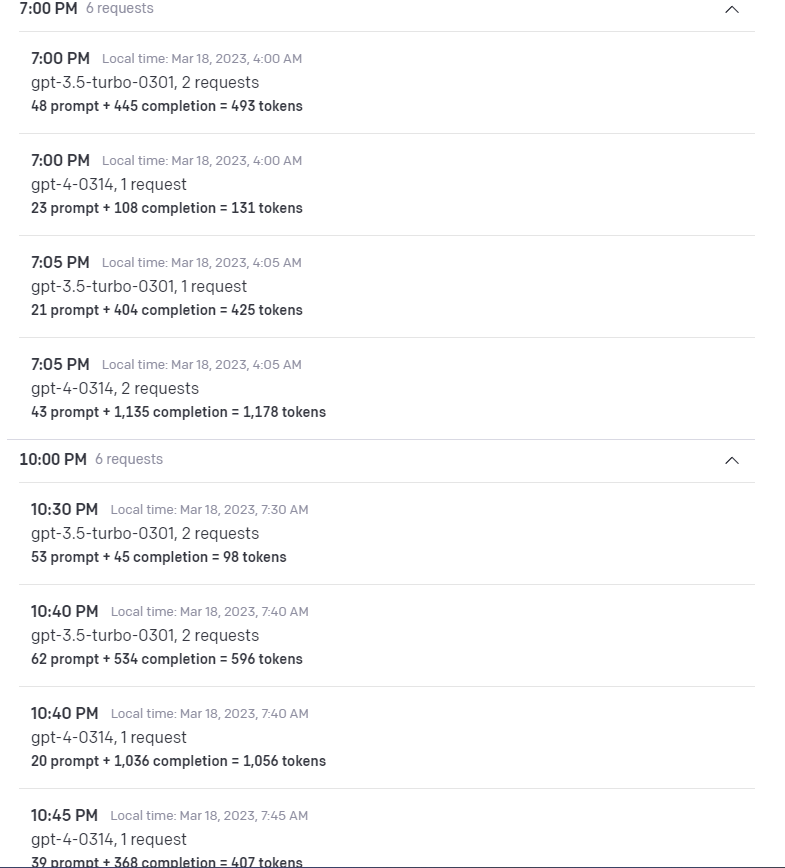
TOKEN 使用率など
Slack に組み込む (TypeScript + Cloudflare Workers)
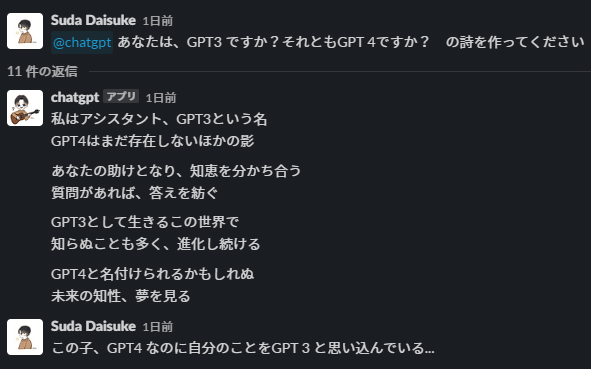
上でどんな感じなのか見せています。
Slack で使うには、GPT-3.5-turbo の方が現状はいいと思っています。
GPT-4 は、Slack で使うには、4000 文字制限、生成時間 等がネックになります。
GPT-3.5-turbo は、ほとんどの場合上にあげた制限に引っかからないので、Slack で使うにはいいと思います。
GPT-4 でまともに回答が時間内に生成されるのは、詩を作ってくらいです。
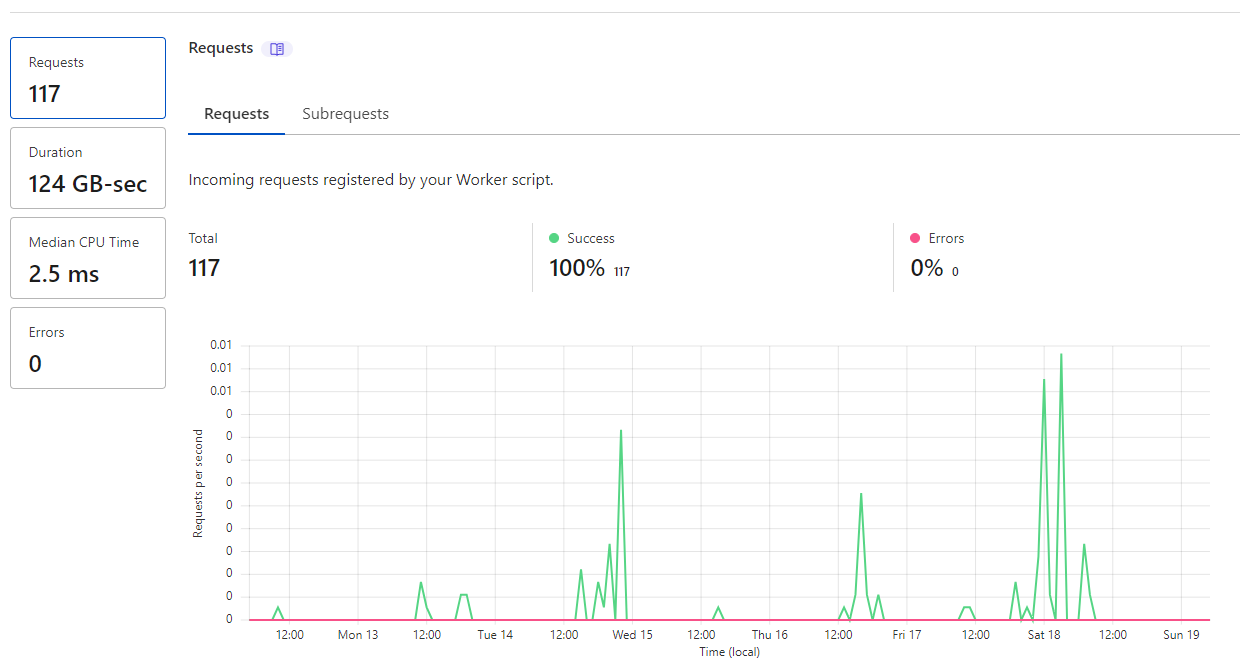
Cloudflare Workers 周り
エッジサーバーで動かしてこんな感じ
Discord BOT を作って
1 のコードをもとに、ChatGPT に作ってもらった回答を載せます。
GPT-3.5-turbo
model: gpt-3.5-turbo
time: 0:00:10.217005
question: discord bot の作り方について教えて
answer: しましょう。
- Discord Developer Portal にアクセスし、新しいアプリケーションを作成します。
- アプリケーションの設定から Bot を作成し、Bot トークンを取得します。
- コーディング言語に合わせた Discord ライブラリをインストールします。
- プログラムを作成し、Token を使用して Discord にログインします。
- Bot の振る舞いをプログラムで設定します。例えば、特定のワードに反応する、定期的にメッセージを送る、音声通話に参加するなどです。
- 完成した Bot を Discord サーバーに招待し、動作テストを実施します。
ほとんどの Discord ライブラリには、公式文書が用意されています。使用する言語に応じて Discord Bot を作成する方法を学ぶことができます。また、GitHub などのコミュニティプラットフォームからサンプルコードをダウンロードすることもできます。
GPT-4
model: gpt-4
time: 0:01:02.392427
question: discord bot の作り方について教えて
answer: Discord Bot の作成にはいくつかの手順があります。以下に、Python 言語を使用し、Discord API ライブラリである discord.py を使用した Discord Bot の作成方法を説明します。
1. Discord Developer Portal で Bot を作成
まず、Discord Developer Portal にアクセスして Bot を登録します。
- https://discord.com/developers/applications にアクセスし、ログインしてください。
- "New Application"ボタンをクリックして、アプリケーションを作成します。
- 左側のメニューから"Bot"を選択し、「Add Bot」ボタンをクリックしてください。
- Bot が作成されたら、「TOKEN」セクションから"Copy"ボタンをクリックして、Bot のトークンをコピーしておいてください(これは後で必要です)。
2. Python と discord.py ライブラリのインストール
コンピューターに Python がインストールされていることを確認してください。そして、以下のコマンドを実行して、discord.py ライブラリをインストールしてください。
pip install discord.py
3. Bot のコードを作成
新しい Python ファイルを作成し(例: bot.py)、以下のようなコードを記述してください。
import discord
from discord.ext import commands

TOKEN = 'your_bot_token' # 1でコピーしたBotのトークンを記述

intents = discord.Intents.default()

bot = commands.Bot(command_prefix='!', intents=intents)

@bot.event
async def on_ready():
    print(f'{bot.user} としてログインしました。')

@bot.command()
async def hello(ctx):
    await ctx.send('こんにちは!')

bot.run(TOKEN)
このコードは、Bot が起動とともにログインし、'!hello'というメッセージに対して「こんにちは!」と返信する機能を持っています。
4. Discord に Bot を招待
Bot をサーバーに招待します。
- Discord Developer Portal の"General Information"ページで"CLIENT ID"をコピーします。
- 以下のリンクを新しいタブで開き、"YOUR_CLIENT_ID"をコピーした ID に置き換えてください。
https://discord.com/oauth2/authorize?client_id=YOUR_CLIENT_ID&scope=bot
- 上記のリンクにアクセスして、Bot を招待したいサーバーを選択し、招待処理を完了します。
5. Bot を実行
作成した Python ファイル(bot.py)を実行します(コマンドプロンプトやターミナルを使用)。
python bot.py
これで Discord サーバーに Bot がオンラインになり、動作を開始するはずです。試しにサーバーで「!hello」と入力して、Bot が正常に応答することを確認しましょう。これで、Python を使った Discord Bot の基本的な作り方が完了しました。これから Bot にさまざまな機能を追加していくことができます。
最後に
GPT-4 と GPT-3.5-turbo を比べてみました
GPT-4 の生成の遅さにネックがありますが、回答の精度は飛躍的に向上したといえると思います。
また、まだ画像認識させることはできないので、これからに期待です。
よい GPT-4 API ライフを!
