概要
Instagramのフォロワー,,それは手付かずに放置されていた。
これは,SeleniumとPyAutoGUIの力を借りることでフォロワーを全部抜く(取得する)ドキュメンタリーである。
デモ動画
⚠️Instagramの利用規約では,自動化された手段を用いて情報を取得する行為は禁止されています。
あくまでこの記事では,SeleniumとPyAutoGUIの利用法の紹介が目的であり,
この記事の内容をもとに自動化ツールを作ることはしないでください。
Seleniumとは
Selenium とは,Webアプリケーションのテスト自動化に特化した機能を持つツール群です。
今回使用するSelenium WebDriverではWebブラウザ操作の自動化などができます。
私のイメージだと,そのページのHTMLソースをもとに操作することが多いです。
基本的に(Command+Option+I)キーを押すと表示される、デベロッパーツールのElementパネルと
にらめっこしながらコーディングすることが多いです。
よくわからない方は,いまの画面のまま(Command+Option+I)キーを押してみてください。
このページのHTMLソースを見ることができるはずです。
PyAutoGUIとは
PyAutoGUI とはGUI操作を簡単に行えることを目的として提供されたPython用のモジュールです。
マウスやキーボードの操作を代わりにやってもらえます。
私は,Seleniumを使っても,どうしようもない時にPyAutoGUIを使うことが多いです。
画面の座標をもとにマウスの位置を動かして,スクロールをする時なんかです。
今回PyAutoGUIを使うということは,Instagramのフォロワー取得がSeleniumだけではできないことを意味します。
準備
Python3が使える環境を用意してください。
pip install seleniumでSeleniumをインストールします。
ChromeDriver - WebDriver for Chrome から
いま使っているChromeのversionに対応したChromeDriverをダウンロードします。
Chromeのversionは,Chromeでchrome://version/を検索すると確認できます。便利ですね!
PyAutoGUIは,ここ を見ながらインストールしてください。
OS Xの場合は,以下の3つが必要になります。
pip3 install pyobjc-core
pip3 install pyobjc
pip3 install pyautogui
コードの流れ
1.Instagramへのログイン
2.フォロワーの表示
3.フォロワーの取得
流れなんてどうでもいい,とりあえず動かしたい
という場合は,一番下にコード全体を載せてありますのでどうぞ!
1.Instagramへのログイン
login()
from time import sleep
from selenium import webdriver

def login():
    driver = webdriver.Chrome(executable_path='/usr/local/bin/chromedriver')

    url = "https://www.instagram.com/{}/followers".format(username)
    driver.get(url)

    driver.find_elements_by_tag_name('input')[0].send_keys(username)
    driver.find_elements_by_tag_name('input')[1].send_keys(password)

    sleep(1)

    driver.find_elements_by_tag_name('button')[1].click()


if __name__ == '__main__':
    username="********"
    password="********"
    login()
username="********"とpassword="********"のところには,ログインするアカウントの情報を入力してください。
この際のアカウントには,2段階認証の登録がされていないものを使ってください。
executable_pathでchromedriverへのPATHを通してあげましょう。
driver.get(url)
を実行するとChromeが起動し,指定したURLを開きます。
あとは,HTMLコードとにらめっこしながらコードを書きます。
usernameとpasswordの入力を
driver.find_elements_by_tag_name('input')[0].send_keys(username)
driver.find_elements_by_tag_name('input')[1].send_keys(password)
で行い,
driver.find_elements_by_tag_name('button')[1].click()
で[ログイン]ボタン押します。
ここら辺のコードは,Selenium webdriverよく使う操作メソッドまとめ にまとまっています。神サイトです。
以下でもちょくちょく出てくる
sleep()
は,ページの読み込み時間を考慮したものです。
2.フォロワーの表示
display_followers()
def display_followers(target_username):
    url = "https://www.instagram.com/{}/followers".format(target_username)
    driver.get(url)
    driver.maximize_window()

    sleep(1)

    element_follower_button_xpath = '//*[@id="react-root"]/section/main/div/header/section/ul/li[2]/a'
    driver.find_element_by_xpath(element_follower_button_xpath).click()


if __name__ == '__main__':
    username = "********"
    password = "********"
    login()

    id = "id"
    followers_list = display(target_username=id)
まず,指定したtarget_usernameのページを表示した後,
driver.maximize_window()
でwindowサイズを最大化します。
これは,この後の操作で画面上の座標を指定しやすくするためです。
続いて,
element_follower_button_xpath = '//*[@id="react-root"]/section/main/div/header/section/ul/li[2]/a'
driver.find_element_by_xpath(element_follower_button_xpath).click()
で,[フォロワー]ボタンをクリックさせます。
フォロワーが表示されるはずです。
3.フォロワーの取得
get_followers()
def get_followers(self):
    do_infinite_scroll()

    followers_list = get_follower_list()
    return followers_list


if __name__ == '__main__':
    username = "********"
    password = "********"
    login()

    id = "id"
    for id_i in id_list:
        display_followers(target_username=id_i)
        followers_list = get_followers()
        dic_id_follower[id_i] = followers_list
        save_idlist2json_file(id_i)
さあ,いよいよフォロワーを取得していきましょう。
do_infinite_scroll()
def do_infinite_scroll():
    num_follower = get_num_follower()
    if int(num_follower) == 0 or int(num_follower) > 500000:
        return 0

    followers_list01 = get_follower_list()
    while True:
        window_width, window_height = pyautogui.size()
        pyautogui.moveTo(window_width/2, window_height/2, duration=0)

        for i in range(5):
            scroll()
            sleep(1)

        followers_list02 = get_follower_list()

        if len(followers_list01) != len(followers_list02):
            followers_list01 = followers_list02
        else:
            break
この関数では,表示されたフォロワーのページをひたすら下にスクロールしていきます。
get_num_follower()は,フォロワーの人数を取得する関数で,
get_follower_list()は,フォロワーをリストで取得する関数です。
詳しくは一番下の全体コードを参照してください。
なぜここでpyautoguiを使って画面スクロールをするのか?
それは,Instagramの仕様が,
「フォロワー画面を下までスクロールすることで表示されるフォロワーを追加していく」
ようになっているからです。
まず,
window_width, window_height = pyautogui.size()
pyautogui.moveTo(window_width/2, window_height/2, duration=0)
pyautogui.size()でwindowサイズを取得して,pyautogui.moveTo()でカーソルを中心に持っていきます。
続いて,
for i in range(5):
    scroll()
    sleep(1)
このようにscroll()を何回も繰り返すことで,「表示されるフォロワーを追加」していきます。
scroll()の前後でget_follower_list()を使って取得した
followers_list01とfollowers_list02を比較します。
followers_list01 = followers_list02,
つまり「表示されるフォロワーが追加されなくなる」までscroll()を繰り返すというわけです。
まさに,無限スクロールですね!
save_idlist2json_file()
def save_idlist2json_file(id_i):
    file_name = "follower/{}".format(id_i)
    fw = open(file_name,'w')
    json.dump(self.dic_id_follower[id_i], fw, indent=4)
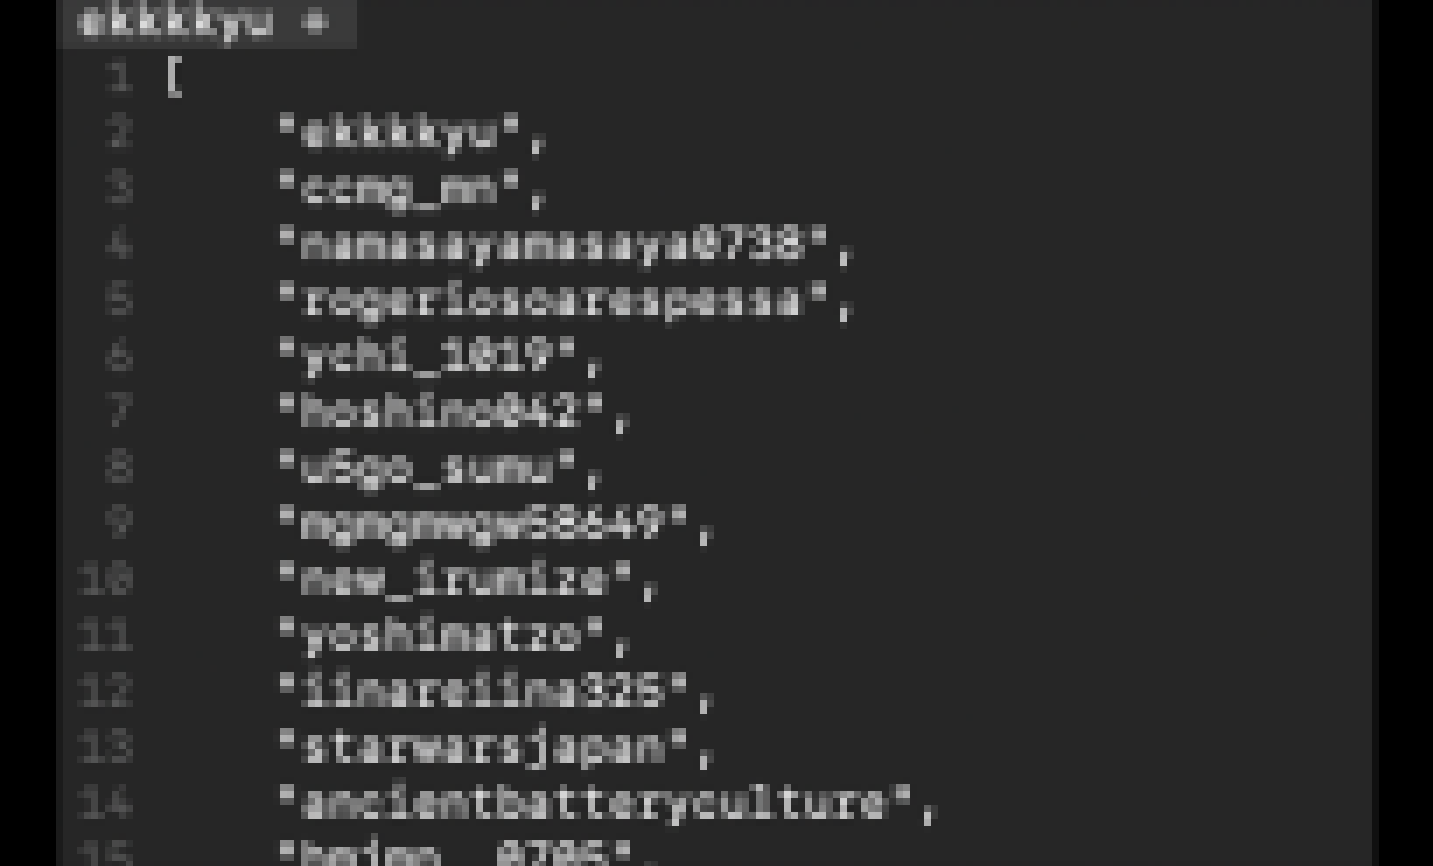
最後に,取得したフォロワーをjsonファイルに保存します。
全体コード
import re
import json
import pyautogui
from time import sleep
from selenium import webdriver

class FollowerCollector:

    def __init__(self, username, password):
        self.username = username
        self.password = password
        self.dic_id_follower = {}
        self.window_width = 0
        self.window_height = 0
        self.driver = webdriver.Chrome(executable_path='/usr/local/bin/chromedriver')

    def get_num_follower(self):
        html_source = self.driver.page_source
        pattern = '"edge_followed_by":{"count":(.*?)}'
        results = re.findall(pattern, html_source, re.S)
        return results[0]

    def scroll(self):
        pyautogui.scroll(-5*self.window_height)

    def do_infinite_scroll(self):
        num_follower = self.get_num_follower()
        if int(num_follower) == 0 or int(num_follower) > 500000:
            return 0

        followers_list01 = self.get_follower_list()
        while True:
            self.window_width, self.window_height = pyautogui.size()
            pyautogui.moveTo(self.window_width/2, self.window_height/2, duration=0)

            for i in range(5):
                scroll()
                sleep(1)

            followers_list02 = self.get_follower_list()
            print("-----Now getting followers({}/{})-----".format(len(followers_list01), num_follower))

            if len(followers_list01) != len(followers_list02):
                followers_list01 = followers_list02
            else:
                break

    def get_follower_list(self):
        html_source = self.driver.page_source
        pattern = '<a class="FPmhX notranslate _0imsa " title="(.*?)" href="'
        results = re.findall(pattern, html_source, re.S)
        return results

    def login(self):
        url = "https://www.instagram.com/{}/followers".format(self.username)
        self.driver.get(url)

        self.driver.find_elements_by_tag_name('input')[0].send_keys(self.username)
        self.driver.find_elements_by_tag_name('input')[1].send_keys(self.password)

        sleep(1)

        self.driver.find_elements_by_tag_name('button')[1].click()

        sleep(3)

    def display_followers(self, target_username):
        url = "https://www.instagram.com/{}/followers".format(target_username)
        self.driver.get(url)
        self.driver.maximize_window()

        sleep(1)

        element_follower_button_xpath = '//*[@id="react-root"]/section/main/div/header/section/ul/li[2]/a'
        self.driver.find_element_by_xpath(element_follower_button_xpath).click()

    def get_followers(self):
        sleep(3)

        self.do_infinite_scroll()

        self.followers_list = self.get_follower_list()
        return self.followers_list

    def save_idlist2json_file(self, id_i):
        file_name = "follower/{}".format(id_i)
        fw = open(file_name,'w')
        json.dump(self.dic_id_follower[id_i], fw, indent=4)

    def main(self, id_list):
        self.login()

        for id_i in id_list:
            try:
                self.display_followers(target_username=id_i)
                followers_list = self.get_followers()
                self.dic_id_follower[id_i] = followers_list
                self.save_idlist2json_file(id_i)
            except:
                self.dic_id_follower[id_i] = []

        self.driver.quit()
        return self.dic_id_follower


if __name__ == '__main__':
    fc = FollowerCollector(username="********", password="********")
    id_list = ["id_1", "id_2"]
    fc.main(id_list)
参考
Seleniumとは
Selenium webdriverよく使う操作メソッドまとめ
PyAutoGuiで繰り返し作業をPythonにやらせよう
Google Chromeのバージョンを確認する方法【Mac/Windows共通】

