0. はじめに
前回のつづきです。
今回は自作のインプットボックスとGoogleFormを融合させたいと思います。
1. htmlでフォームを作成
まずは、問い合わせフォームを想定して諸々入力する枠を作成していきます。見た目はBootstrapでいい感じにととのえました。
HTML
<div class="container d-flex justify-content-center">
    <div class="col-md-6 col-sm-12">
      <h4>お問合せ</h4>
      <form class="text-left">
        <div class="form-group">
          <label for="formControlInput1">お名前</label>
          <input type="email" class="form-control" id="formControlInput1" placeholder="山田太郎">
        </div>
        <div class="form-group">
          <label for="formControlInput2">メールアドレス</label>
          <input type="email" class="form-control" id="formControlInput2" placeholder="name@example.com">
        </div>
        <div class="form-group">
          <label for="exampleFormControlTextarea1">お問合せ内容</label>
          <textarea class="form-control" id="formControlTextarea1" rows="6"></textarea>
        </div>
      </form>
    </div>
  </div>
こんな感じでフォームのガワが完成しました。
これをベースにフォーム作りをすすめていきます。

2. 送信先のURLの取得
つづいて、自作のフォームとGoogle Formをリンクさせていきます。
まずはhtmlのインプットボックスと同じ項目のフォームをGoogle Formで作ります。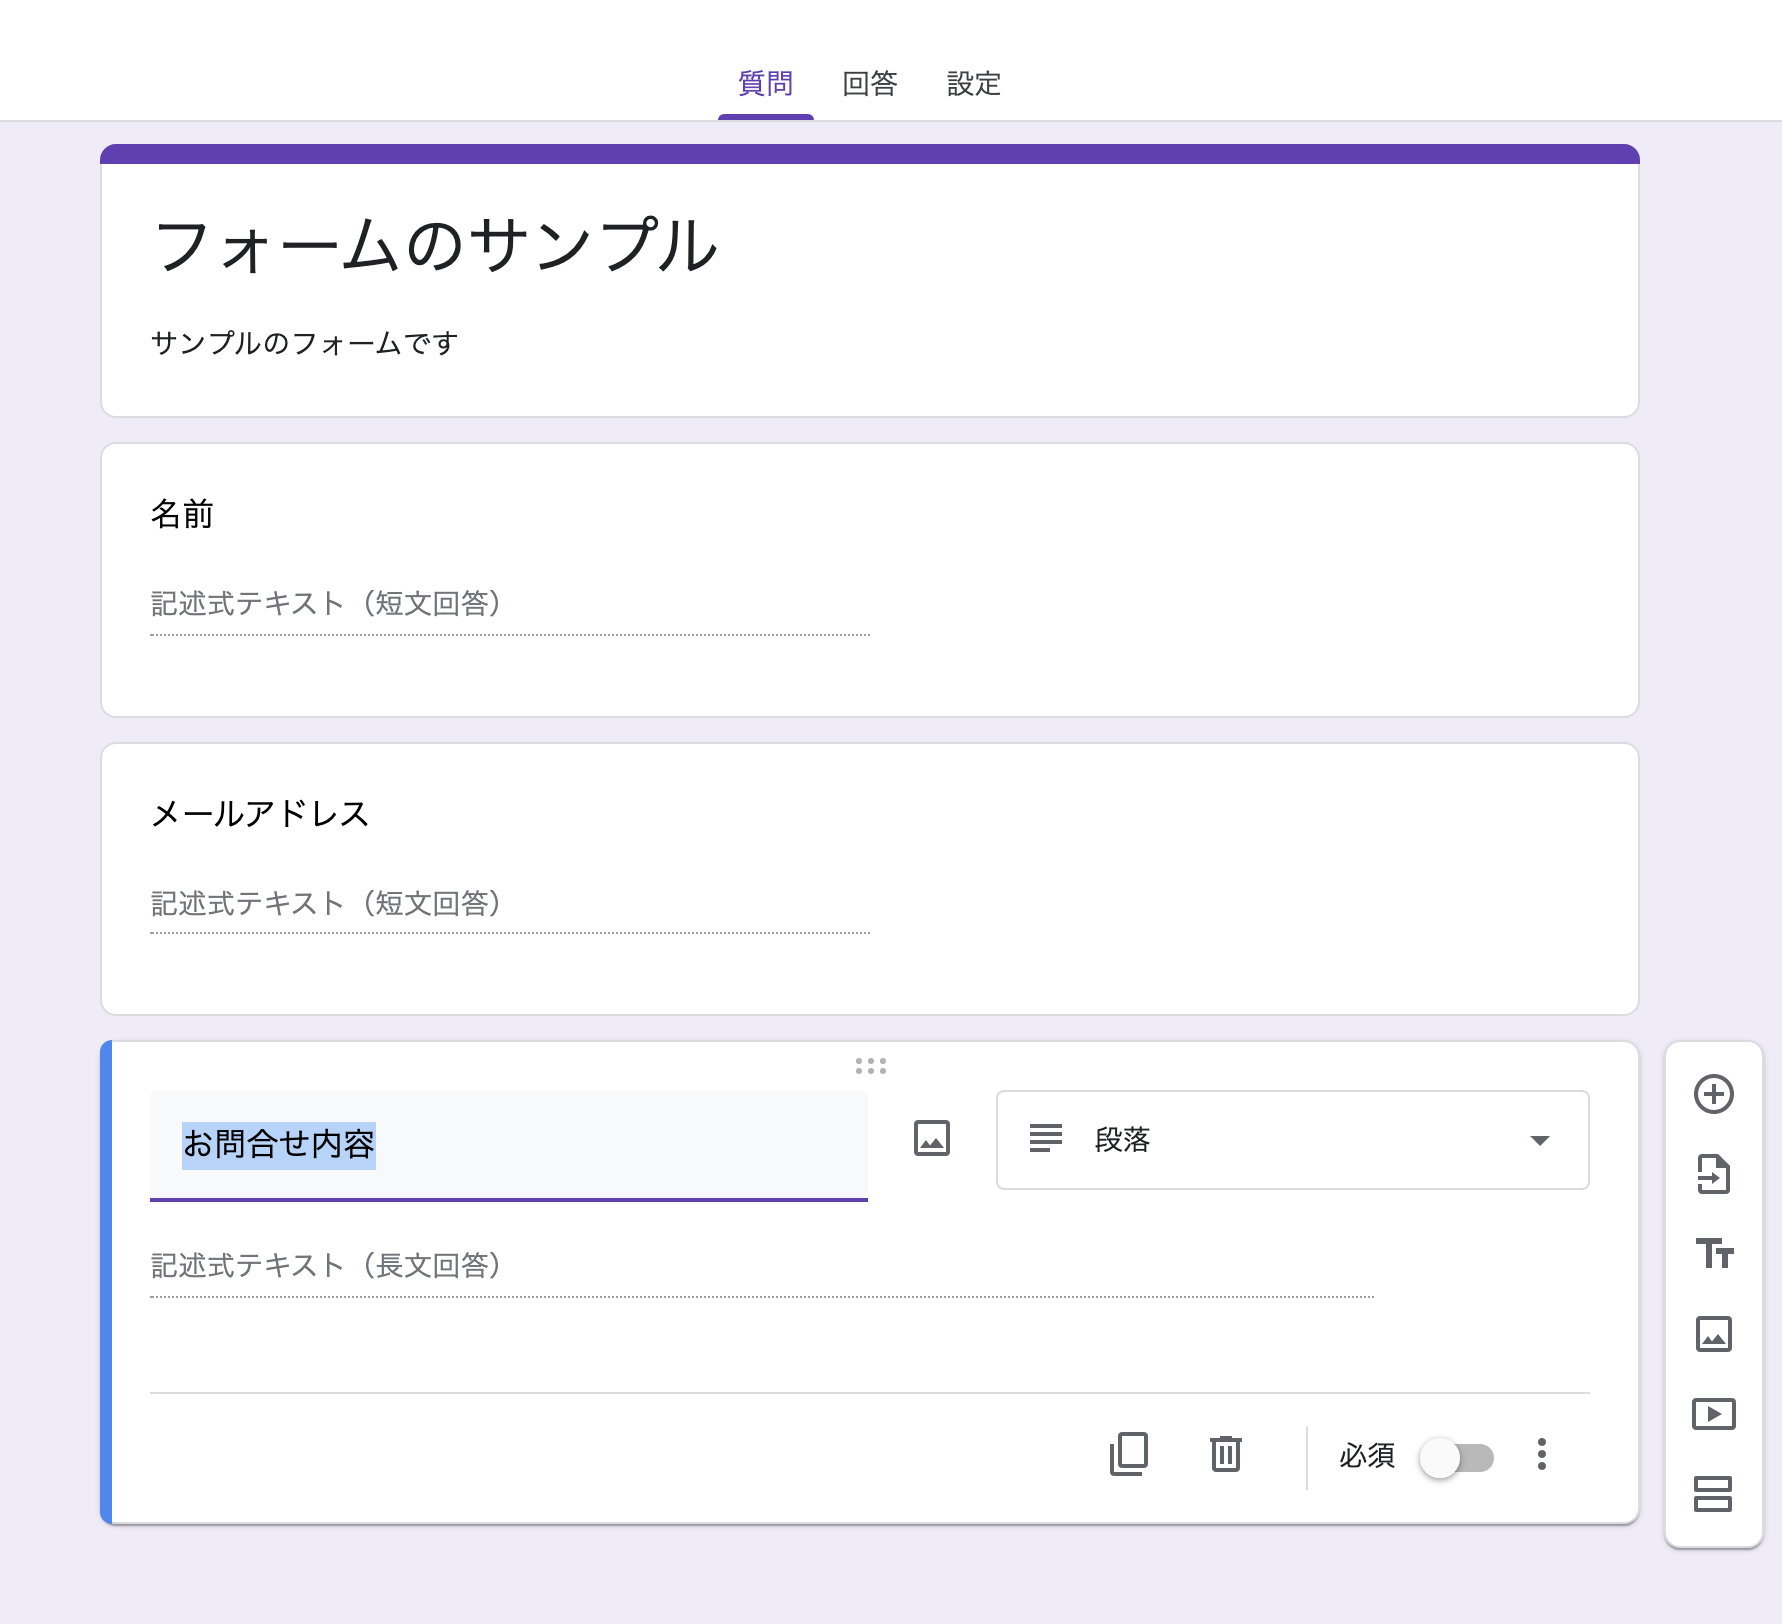
フォームができたら、送信ボタンをおしてフォームのリンクを取得します。

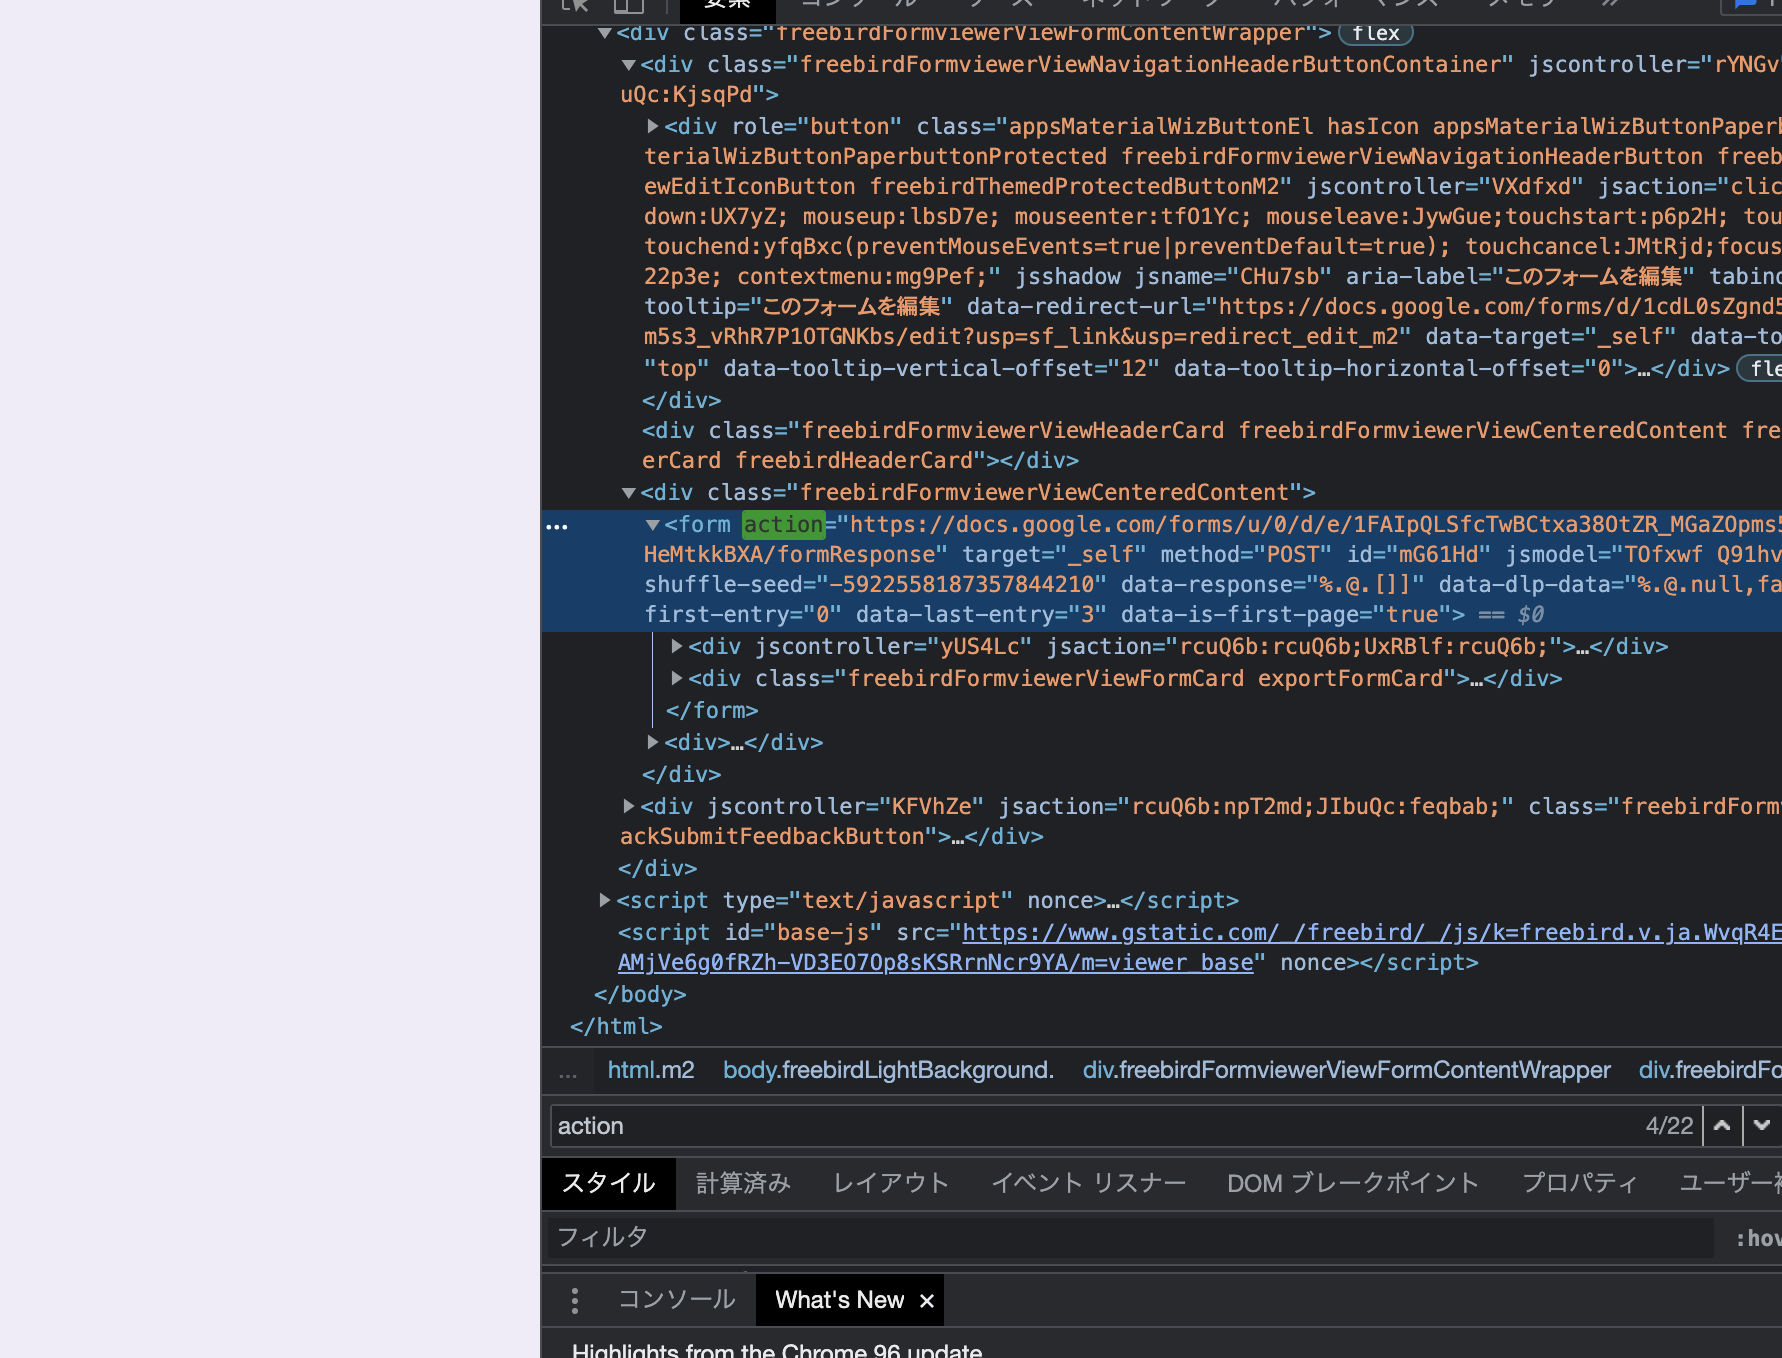
フォームを別タブで開いたら、Chromeのデベロッパツールをつかって、action属性に設定するフォームの送信先を取得します。
"action"で検索をかけると"/formResponse"で終わるURLが見つかると思います。これを自作のフォームのaction属性にも設定してやりましょう。
HTML
<form action="https://docs.google.com/forms/u/0/d/e/1FAIpQLSfcTwBCtxa38OtZR_MGaZOpmsXXXxxxxXXXxx/formResponse" class="text-left">
3. name属性の取得
最後に各インプットボックスに紐づくname属性をいっこ前の手順と同じ要領でさがします。
「name="entry.XXXX"」の記述が各設問にあるので、がんばってみつけてください。"entry"で検索かければすぐ見つかるはずです。
あとは自作のフォームのinputタグに「name="entry.XXXX"」をそのまま追加すればオッケーです。
サブミットのボタン忘れていたので追加しました。
HTML
<div class="container d-flex justify-content-center">
    <div class="col-md-6 col-sm-12">
      <h4>お問合せ</h4>
      <form action="https://docs.google.com/forms/u/0/d/e/1FAIpQLxxxxx/formResponse" class="text-left">
        <div class="form-group">
          <label for="formControlInput1">お名前</label>
          <input type="email" name="entry.3476xxxx" class="form-control" id="formControlInput1" placeholder="山田太郎">
        </div>
        <div class="form-group">
          <label for="formControlInput2">メールアドレス</label>
          <input type="email" name="entry.4163xxxx" class="form-control" id="formControlInput2" placeholder="name@example.com">
        </div>
        <div class="form-group">
          <label for="exampleFormControlTextarea1">お問合せ内容</label>
          <textarea class="form-control" name="entry.1927xxxx" id="formControlTextarea1" rows="6"></textarea>
        </div>
        <button type="submit" class="btn btn-danger">送信</button>
      </form>
    </div>
  </div>
4. さいごに
これにて一応の完成になります。
入力必須に設定した項目にたいして、ブランクのままSubmitすると普通にGoogleFormにとんで編集を求められてしまったりもするので、簡単なバリデーションは付けておくのが無難かと思います。