Djangoを使ってウェブアプリを作ります
データベースにデータをしまってみます
- このページで作成されたDjango環境はここからダウンロード可能です
1. 表を用意します
-
penguinフォルダのmodels.pyに下記を記述します
penguin/models.py
from django.db import models

class Shohin(models.Model):
    hinmoku = models.CharField(max_length=20)
    hinmei  = models.CharField(max_length=100)
    zaiko  = models.IntegerField(default=0)
-
makemigrationsコマンドでコマンドを用意し、migrateコマンドで表を作成します
python manage.py makemigrations
python manage.py migrate
- 下記のような出力で表が作成されたことが確認されます
(ve18) MacBook:northernlights tohru$ python manage.py makemigrations
Migrations for 'penguin':
  penguin/migrations/0001_initial.py
    - Create model Shohin
(ve18) MacBook:northernlights tohru$ python manage.py migrate
Operations to perform:
  Apply all migrations: admin, auth, contenttypes, penguin, sessions
Running migrations:
  Applying penguin.0001_initial... OK
2. Adminコンソールからアクセス可能にします
-
python manage.py createsuperuserコマンドでadminユーザーを作成します。
(ve18) MacBook:northernlights tohru$ python manage.py createsuperuser
Username (leave blank to use 'tohru'): admin
Email address: mail@mail.com
Password:
Password (again):
Superuser created successfully.
-
penguinフォルダのadmin.pyに以下を記述します
penguin/models.py
from django.contrib import admin

from penguin.models import Shohin

admin.site.register(Shohin)
-
python manage.py runserverでDjnagoを起動します -
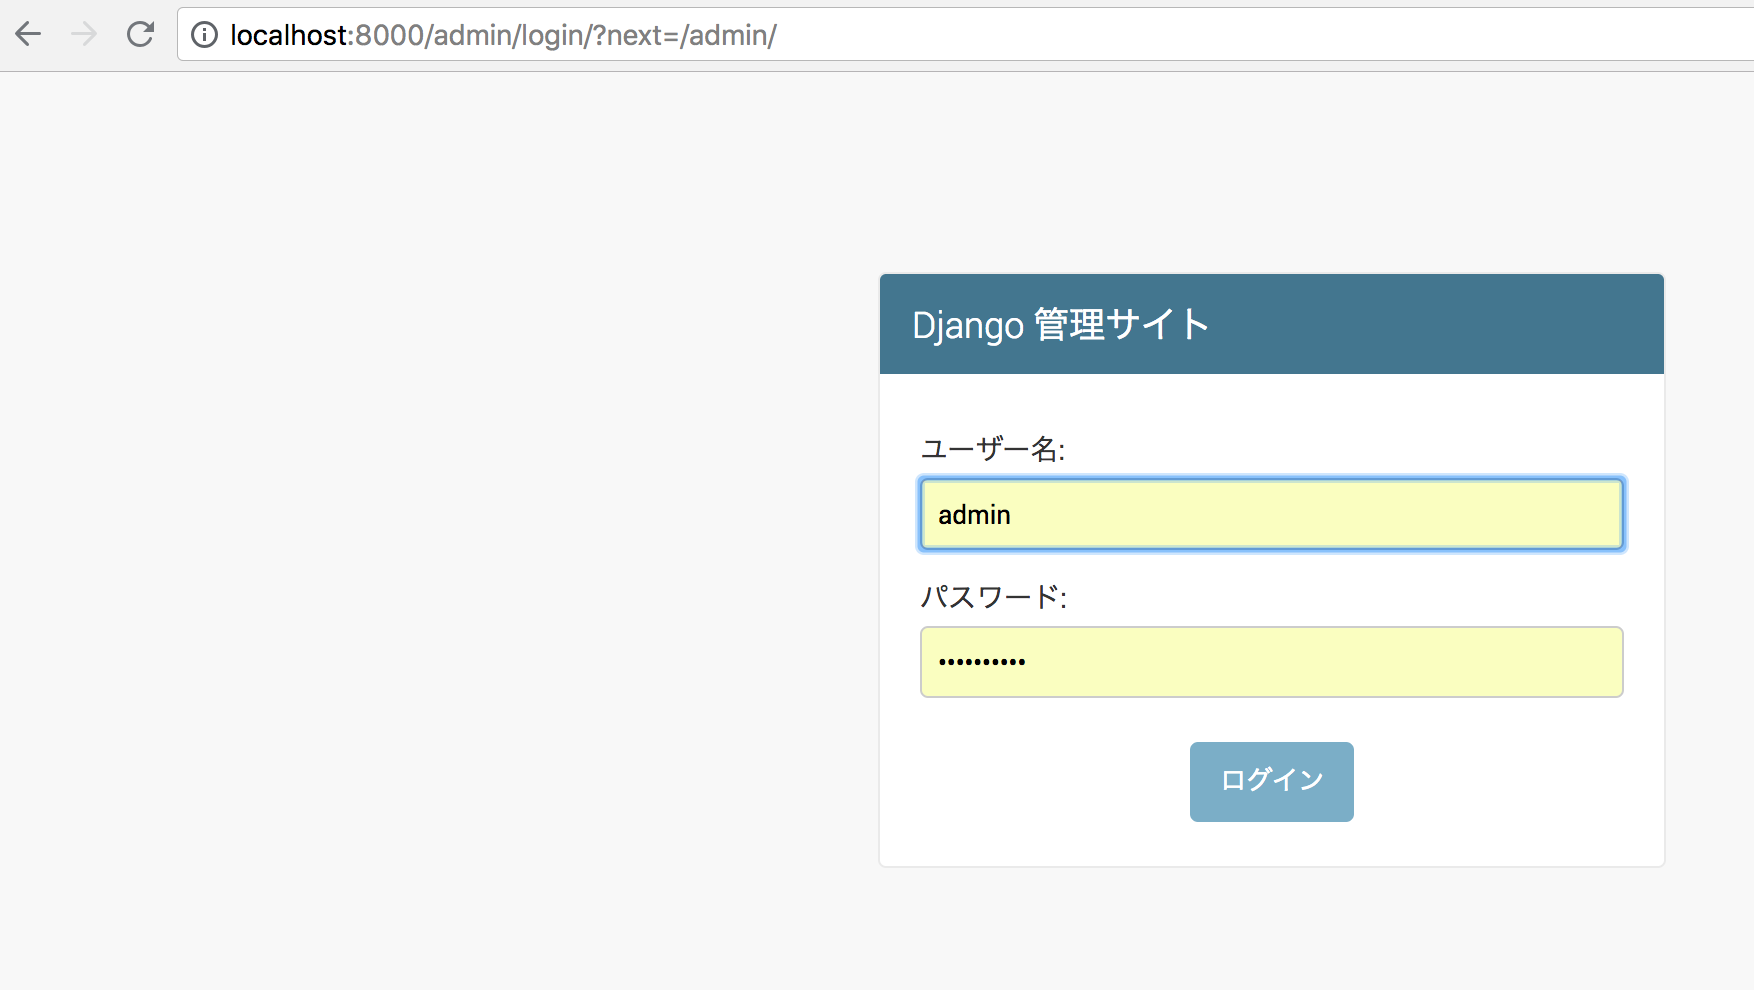
Adminコンソールからアクセスしてみます。ブラウザで
localhost:8000/adminにアクセスし、用意したsuperuserのユーザーID/パスワードでアクセスします
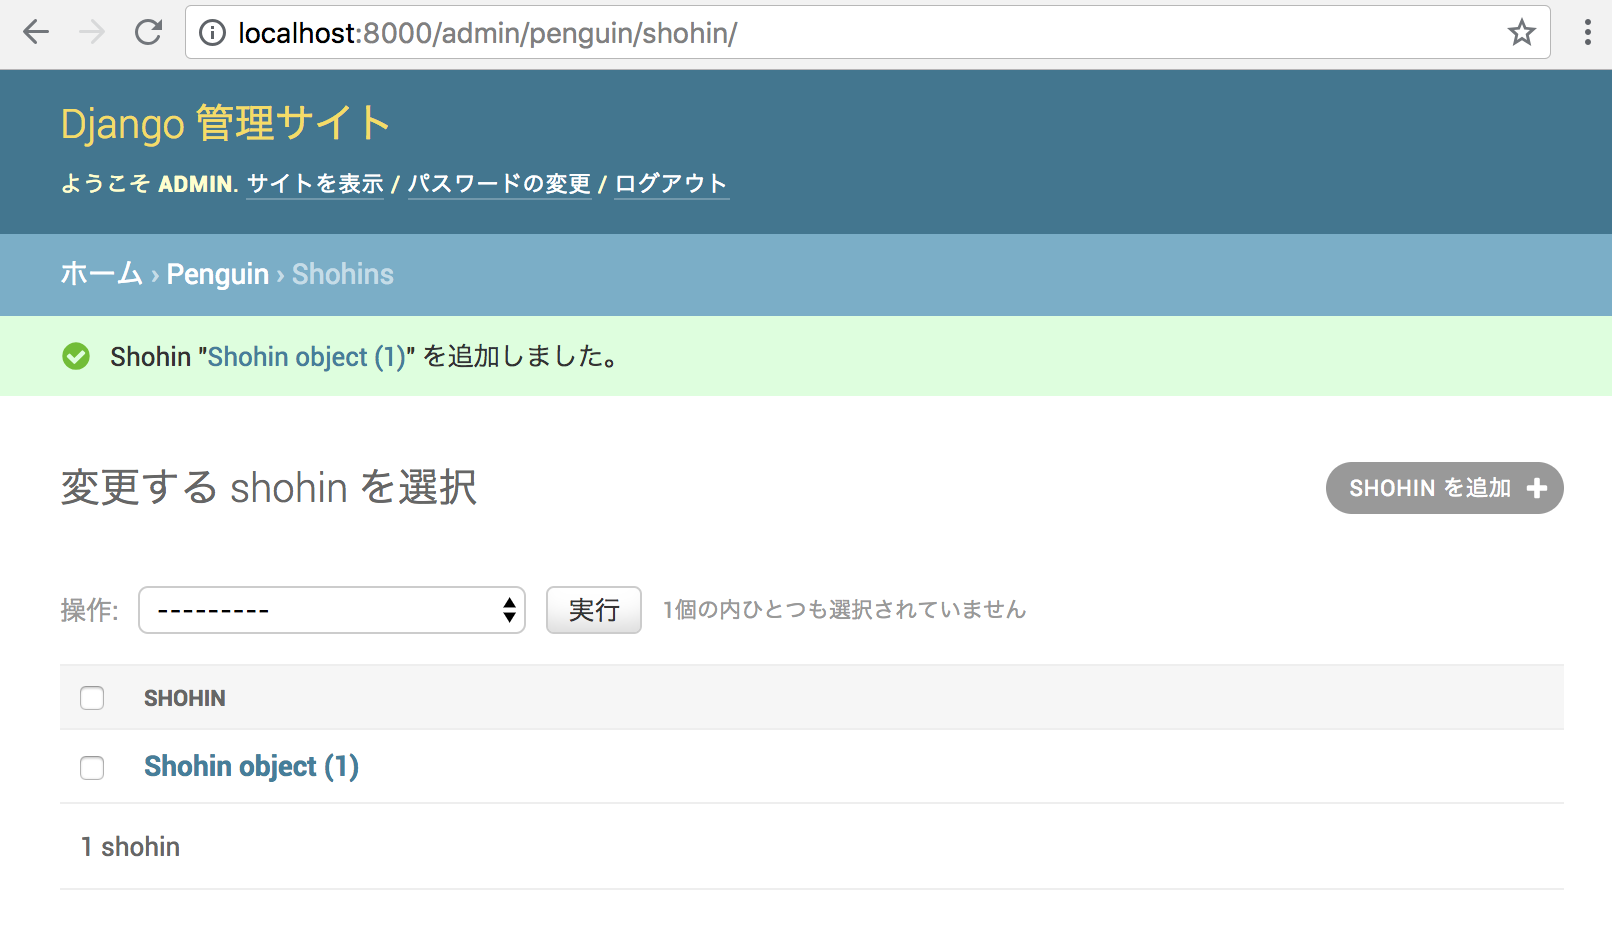
- adminコンソールが開き、追加した
Shohin表が表示されることを確認します

-
Shohin表をクリックし、画面右側の「追加」ボタンからエントリーを追加してみます

-
models.pyで用意した表の項目:hinmoku、hinmei、zaikoを入力し、「保存」を押します

-
Shohin表に新たに項目が追加されました
-
Shohin表に追加された項目をクリックし、先程入力された情報が保存されていることを確認します

3. htmlで表示してみます
- データベースに保存された情報をhtmlで表示してみます
-
penguinフォルダのviews.pyに下記を記述します。Shohinのインポートを追加するのを忘れないようにします
penguin/views.py
from django.shortcuts import render
from .models import Shohin

def index(request):
    return render(request, 'index.html')

def query(request):
    queryset = Shohin.objects.all()
    context = {  "queryset":queryset }
    return render(request, 'query.html', context)
- 同様に
penguinフォルダのurls.pyに以下を追加します
penguin/urls.py
from django.urls import path
from . import views

urlpatterns = [
    path('query', views.query, name='query'),
    path('', views.index, name='index'),
]
-
penguinフォルダのtemplatesサブフォルダに下記のようなquery.htmlを追加します
penguin/templates/query.html
<html>
<table border="1">
  <thead>
    <tr>
      <th>品目</th>
      <th>品名</th>
      <th>在庫</th>
    </tr>
  </thead>
  <tbody>
    {% for context in queryset %}
      <tr>
        <td>{{ context.hinmoku }}</td>
        <td>{{ context.hinmei }}</td>
        <td>{{ context.zaiko }}</td>
      </tr>
    {% endfor %}
  </tbody>
</table>
</html>
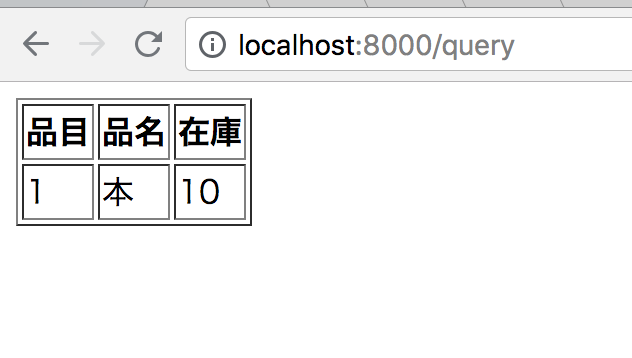
- ブラウザを開き、
localhost:8000/queryへアクセスしてデータベースからの情報が表示されることを確認します