前提
- Prismicのアカウントは作っておいてもらえると.
Prismic-cliのインストール
prismicのコマンドをインストール
yarn global add prismic-cli
❯ prismic --version
3.7.11
Prismic Theme の実行
Nuxtでブログ環境を作ってくれるThemeがあるので, 使わせてもらう.
theme: https://github.com/prismicio/nuxtjs-blog
prismic theme --theme-url https://github.com/prismicio/nuxtjs-blog.git --conf nuxt.config.js
実行すると,
- Prismicにリポジトリを作るので, リポジトリ名を求められる.
- ファイルをダウンロードするディレクトリ名を求められる.
- Prismicのアカウントの入力を求めれる.
❯ prismic theme --theme-url https://github.com/prismicio/nuxtjs-blog.git --conf nuxt.config.js
We are checking the theme integrity
Let's get to it!
? Name your prismic repository:  dev-sample-06
? Local folder to initalize project:  dev-sample-06
? Do you already have an account on https://prismic.io? Yes, login to my existing account
? Email:  eggpogg.t@gmail.com
? Password:  [hidden]
Initialize local project
Running npm install...
Your project is ready, to proceed:

Go to the project folder : cd dev-sample-06
作成が終わると, 自分のPrismicのDashboardにリポジトリができている.
https://prismic.io/dashboard/
CustomTypeに自動的に設定が追加れている.

Prismic上でDocumentを作成する
ドキュメントは思い思い, 好きなように作ってください.

Nuxtの修正
ダウンロードされたプロジェクトだとNuxtのバージョンが古いので, 少し修正を入れる.
Nuxtが2.13.0から, 静的ファイルの吐き出し方法が変わったので, 最新にアップデートする.
package.jsonの書き換え
- nuxtを2.13.3にアップデート
- scriptを
nuxt generate->nuxt export
{
  "name": "blog-nuxt",
  "version": "1.0.0",
  "description": "A simple blog for Nuxt and Vue",
  "author": "Phil Snow",
  "private": true,
  "scripts": {
    "dev": "nuxt",
    "build": "nuxt build",
    "start": "cross-env NODE_ENV=production node server/index.js",
    "generate": "nuxt export",
    "heroku-postbuild": "npm run build"
  },
  "dependencies": {
    "@nuxtjs/prismic": "^1.1.0",
    "cookies": "^0.8.0",
    "cross-env": "^5.2.1",
    "nuxt": "^2.13.3",
    "prismic-javascript": "^2.1.5",
    "prismic-vue": "^2.0.0"
  },
  "devDependencies": {
    "node-sass": "^4.13.1",
    "nodemon": "^1.19.4",
    "sass-loader": "^7.3.1",
    "webpack": "^4.41.6"
  }
}
nuxt.config.jsを書き換え
-
target: 'static'を追加 -
modulesで不要になったものを削除
export default {
  mode: 'universal',
  target: 'static',
  head: {
    title: 'Prismic + Nuxt Blog example',
    meta: [
      { charset: 'utf-8' },
      { name: 'viewport', content: 'width=device-width, initial-scale=1' },
      { hid: 'description', name: 'description', content: 'Prismic + Nuxt Blog example' }
    ],
    link: [
      { rel: 'icon', type: 'image/x-icon', href: '/favicon.ico' },
      { rel: 'stylesheet', href: 'https://fonts.googleapis.com/css?family=Lato:300,400,700,900' }
    ]
  },
  loading: { color: '#fff' },
  css: [
    '@/assets/css/resetr.css',
    '@/assets/css/common.css'
  ],
  plugins: [
  ],
  modules: [
    '@nuxtjs/prismic'
  ],
  prismic: {
    endpoint: 'https://dev-sample-06.cdn.prismic.io/api/v2',
    linkResolver: '@/plugins/link-resolver',
    htmlSerializer: '@/plugins/html-serializer',
  },
  build: {
    extend(config, ctx) {
      config.resolve.alias['vue'] = 'vue/dist/vue.common'
    }
  },
}
ローカルで動くか確認をする
npx nuxt build --target static
npx nuxt export
npx nuxt serve
http://localhost:3000 に接続をする.

Netlifyへのアップロード
GitHubにリポジトリを作成をする.
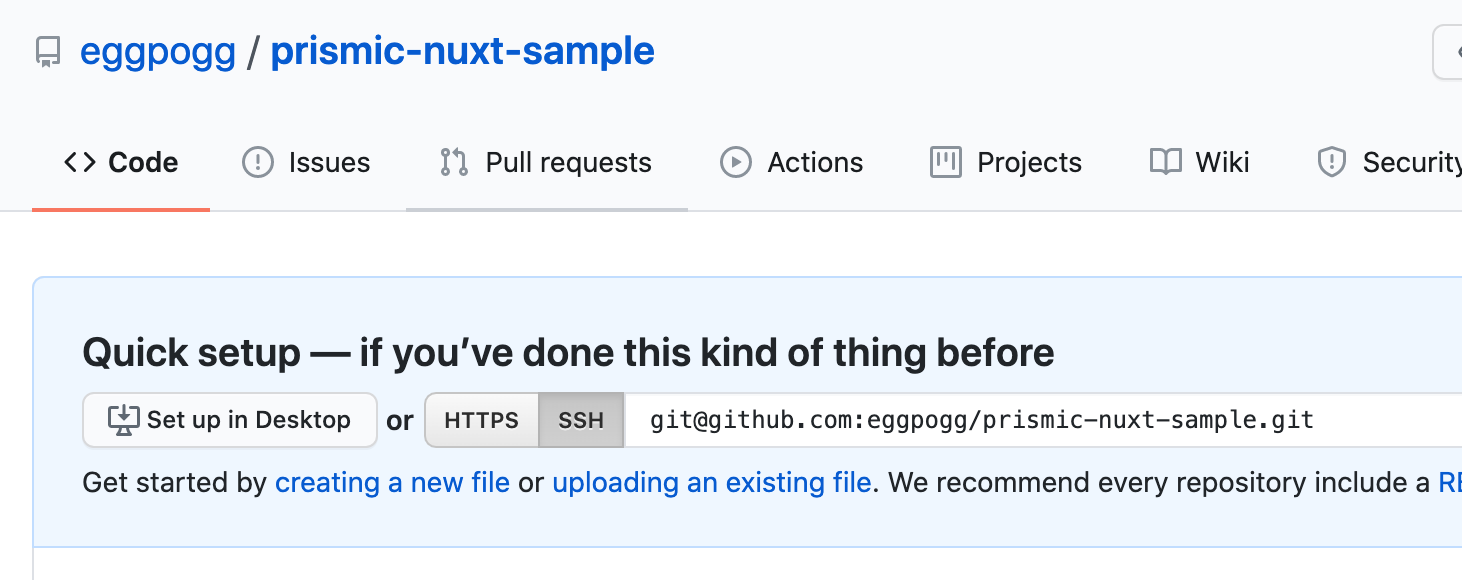
GitHubにPushする.
git init
git add .
git commit -m "first commit"
git remote add origin git@github.com:eggpogg/prismic-nuxt-sample.git
git push -u origin master
NetlifyとGitHubのリポジトリをつなげる.
Build Settingで以下を設定する.
あとは, デフォルト値で問題ないです.
Build command:
npx nuxt build --target static && npx nuxt export
Publish directory:
dist
ブラウザ確認
ビルドが終わると公開される! ![]()
いわゆる JAMStack !!!

ずっとAndroidアプリばかり作ってきたけど, 最近Web系の開発をやっていて,
色々と便利になったなと感慨深くなっている...
おわり.