はじめに
環境
・Windows10 Professional バージョン1809
・Asianux7 SP3(試用版)※CentOS7.6とほとんど一緒です
・VirtualBox 5.2.30
・Vagrant 2.2.4
この記事の目的
LinuxディストリビューションのisoイメージからvagrantのBOXを作ってvagrantでログインできるまでの手順をまとめてみました。
vagrantで使用する公開鍵の作り方についてちゃんと理解していなかったので自分の理解のために補足を記載しました。
参考情報
以下の情報を参考にしました。
VagrantでCentOS7のBOXを作成する(Mac)
vagrantのboxを自作する
vagrant upで失敗する原因が鍵不一致の場合の対処法
作業内容(※長文注意)
準備
・VirtualBoxのインストール
・Vagrantのインストール
・Linuxディストリビューションのisoイメージ(好みのディストリビューション)
オススメ⇒CentOS
※今回はRedHat系の有償ディストリビューションのAsianux7SP3の評価版を仕事の検証を兼ねてダウンロードしました。
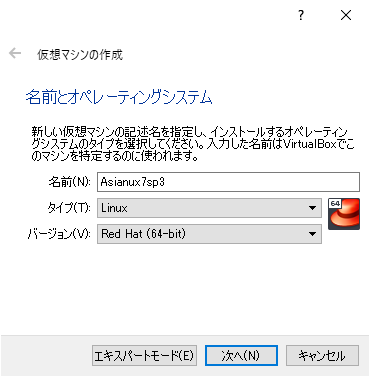
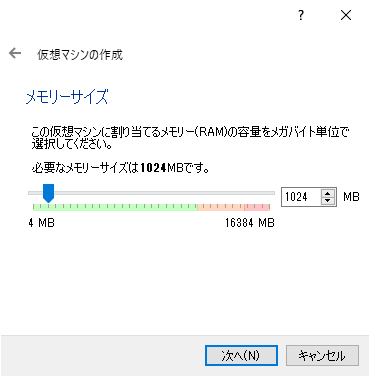
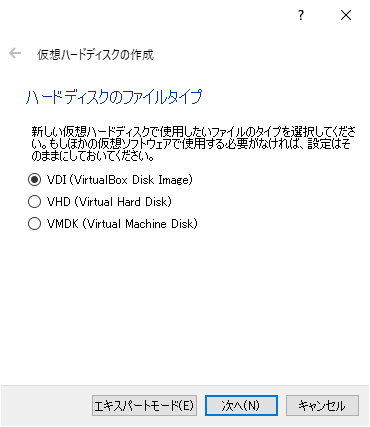
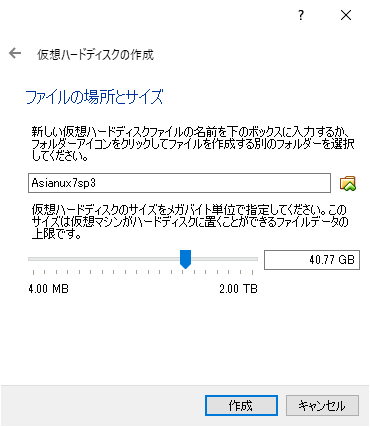
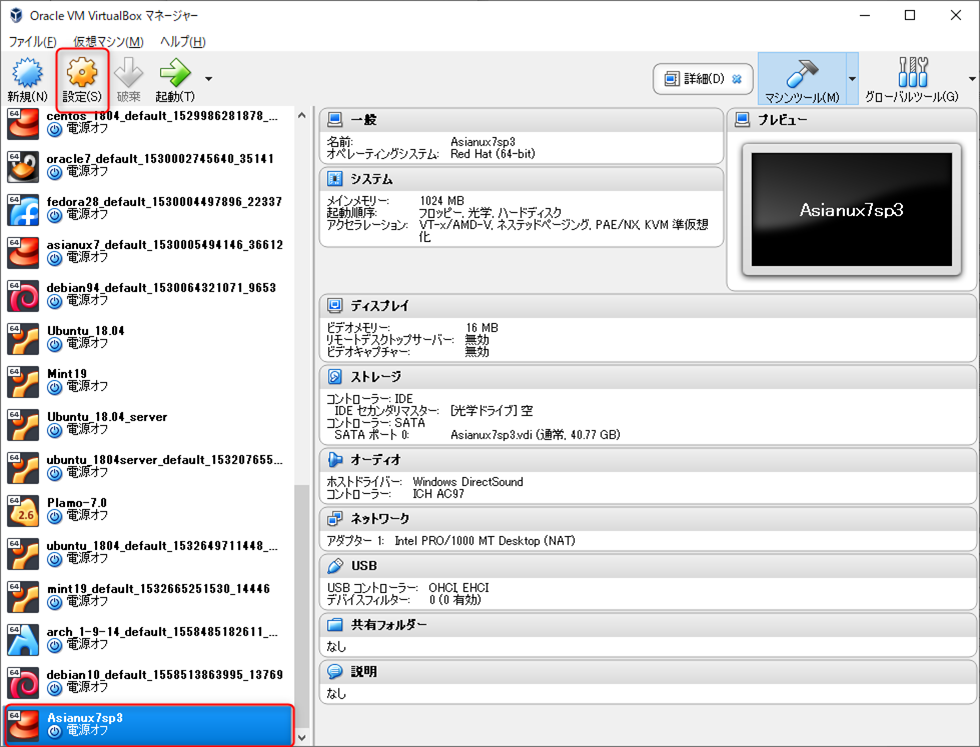
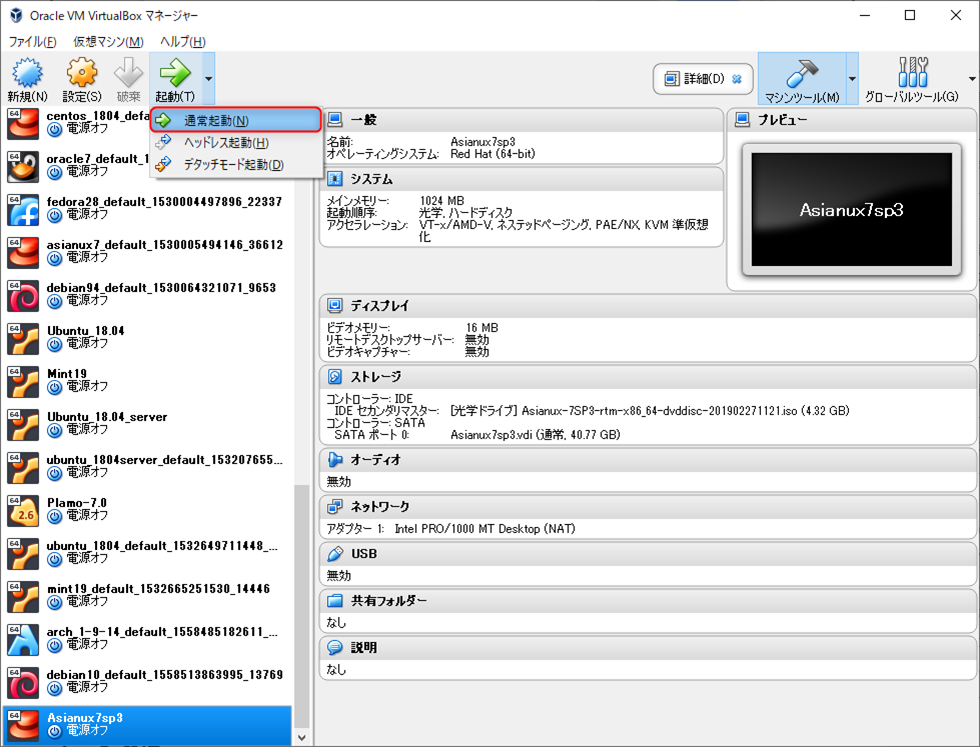
VirtualBoxでVM作成
キャプチャを参照。特に解説は要らないと思います。
「新規」のアイコンをクリックして開始します。
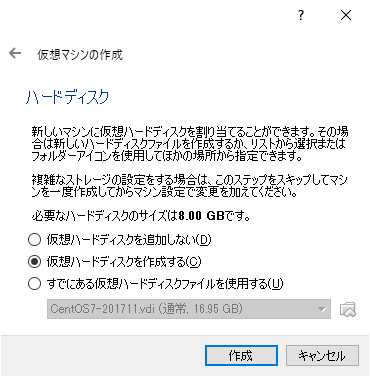
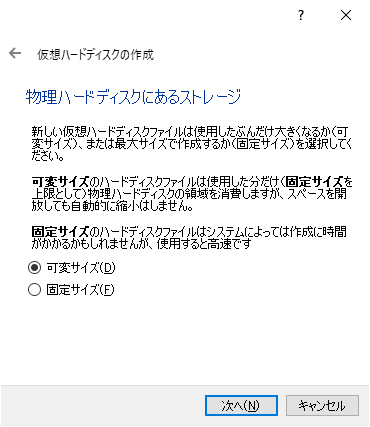
仮想ハードディスクのサイズは40GBほど指定しました。(最低8GBあればよい)
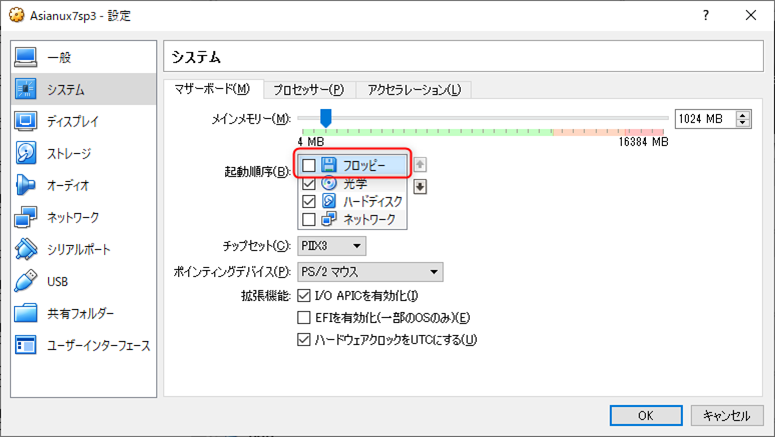
細かい設定を行います。
今時フロッピーはないよな。
インストールするisoファイルを指定します。

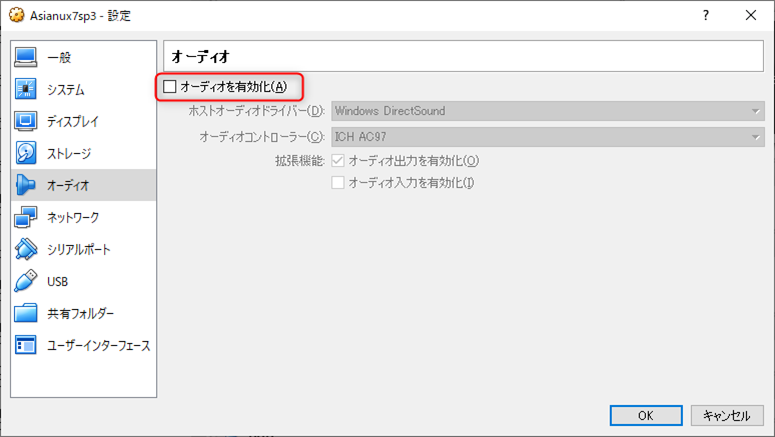
オーディオ要りません。
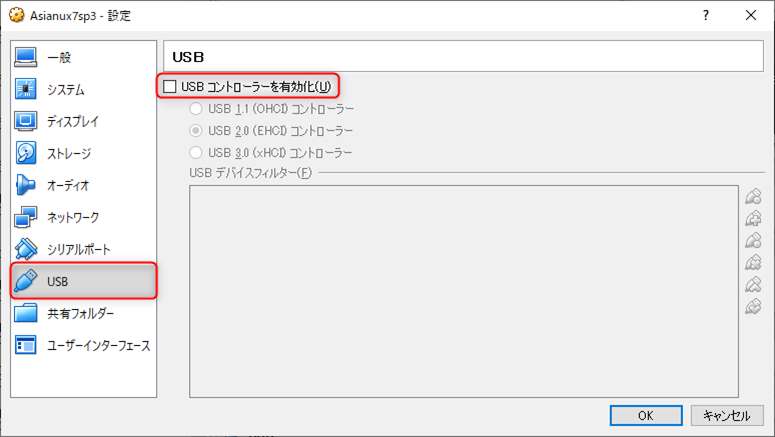
USBも要りません。
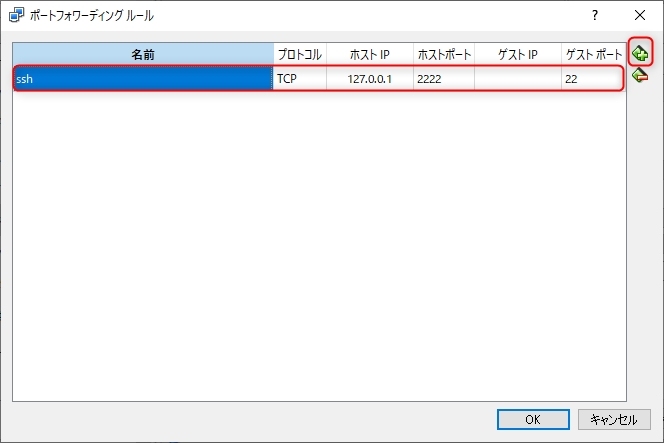
ネットワークの設定
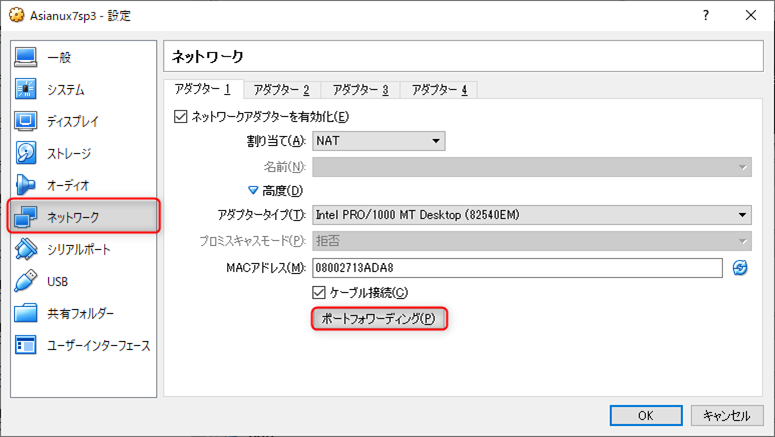
ホストポートを「2222」に設定します。定石どおり。
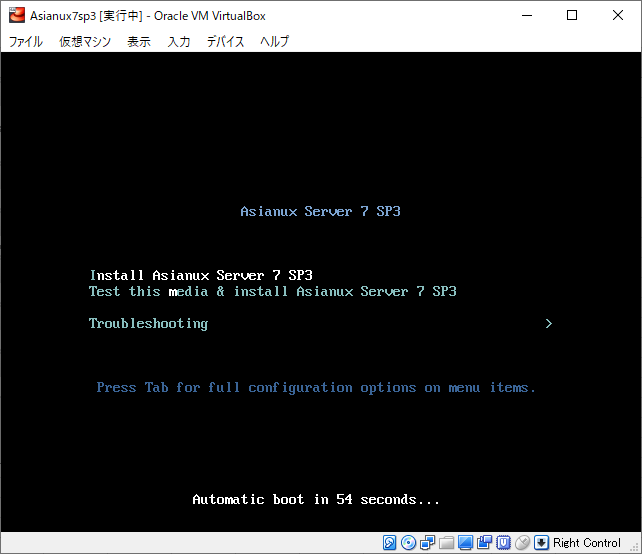
通常起動してインストール。
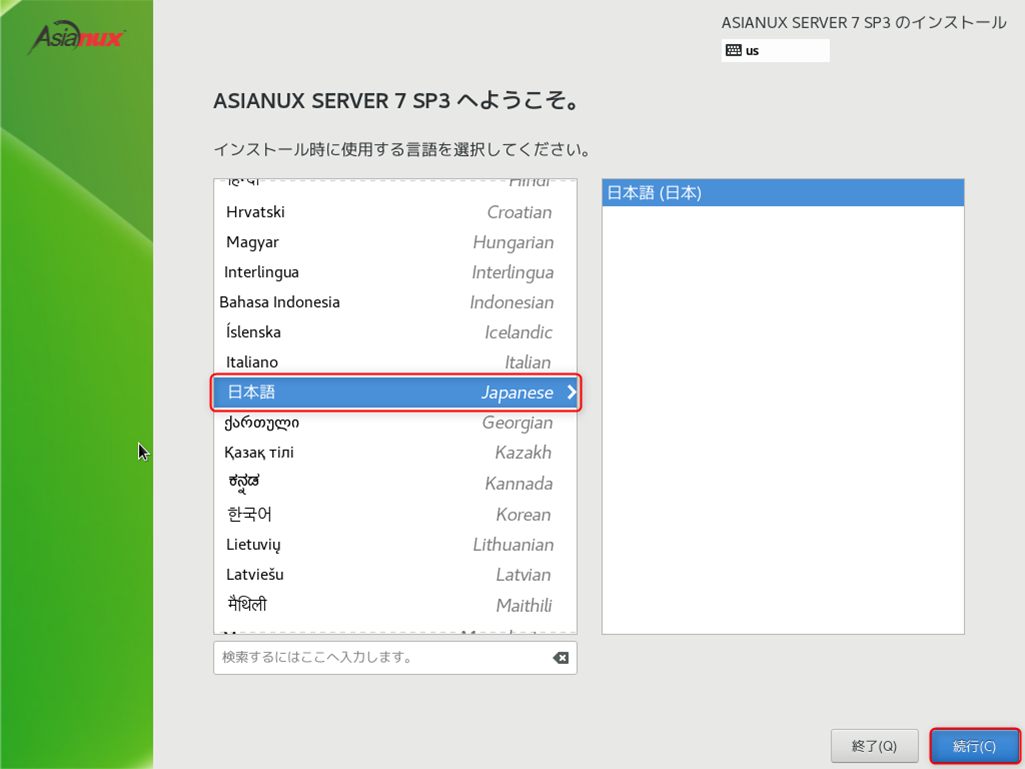
言語を指定。日本語を選びました。お好みでロシア語とか、中国語とかご自由に。
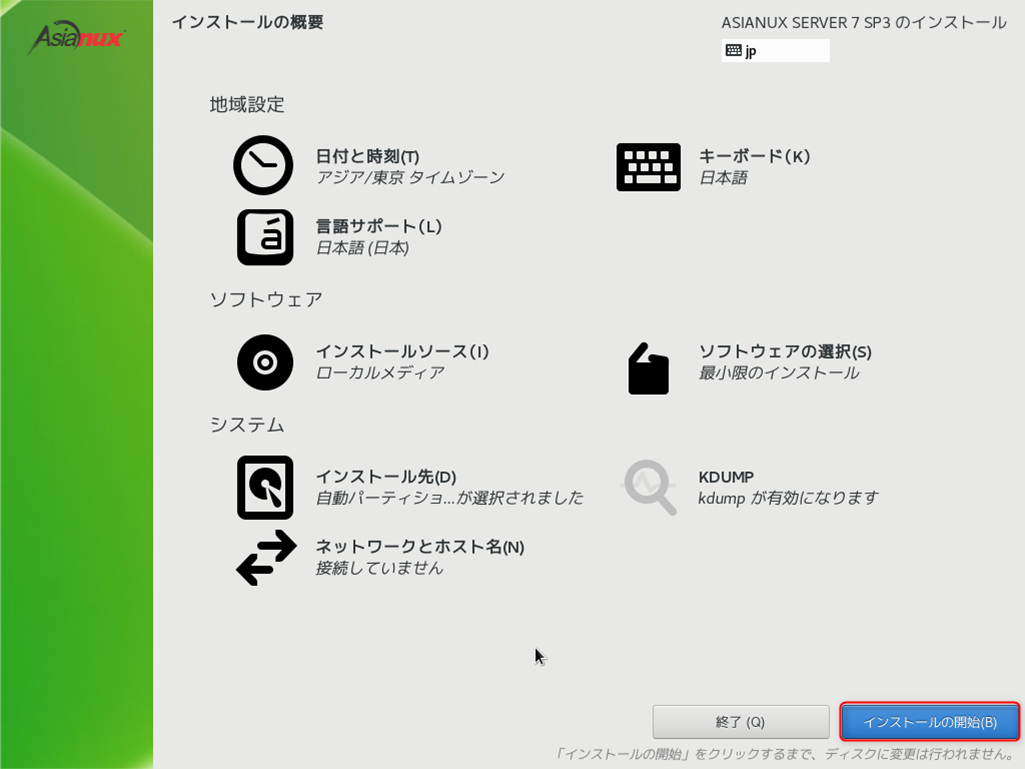
[インストールの開始(B)]をクリック。CentOSとまったく一緒。
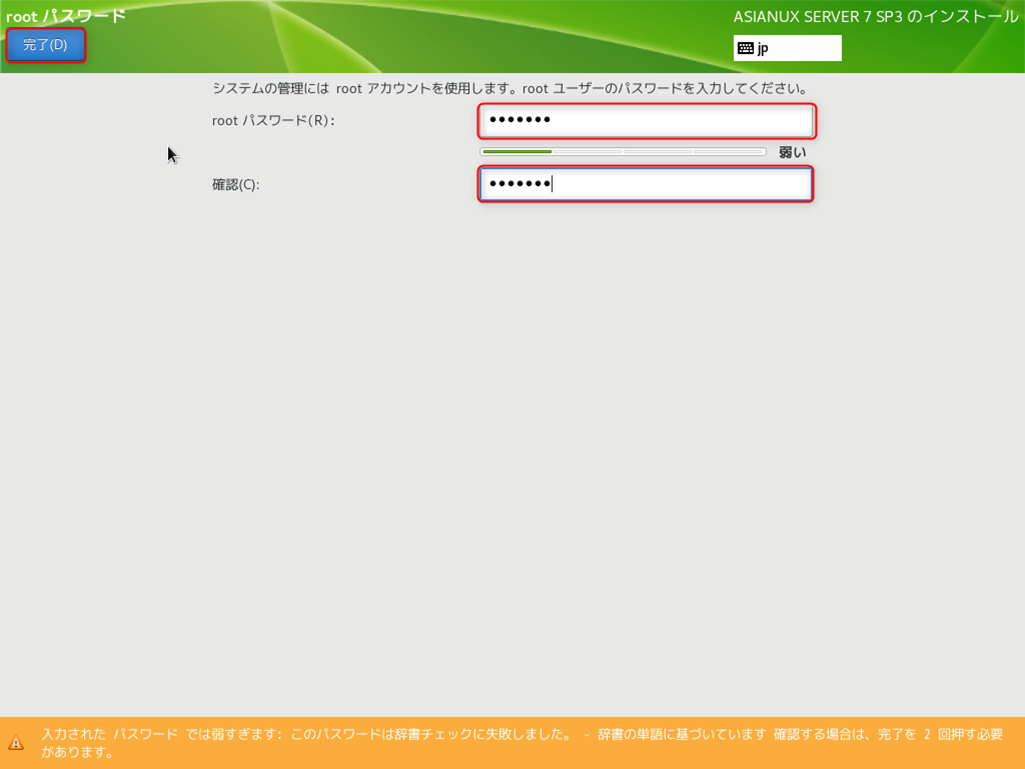
rootのパスワードを設定。vagrantですよ。強度不足で怒られますがスルー。
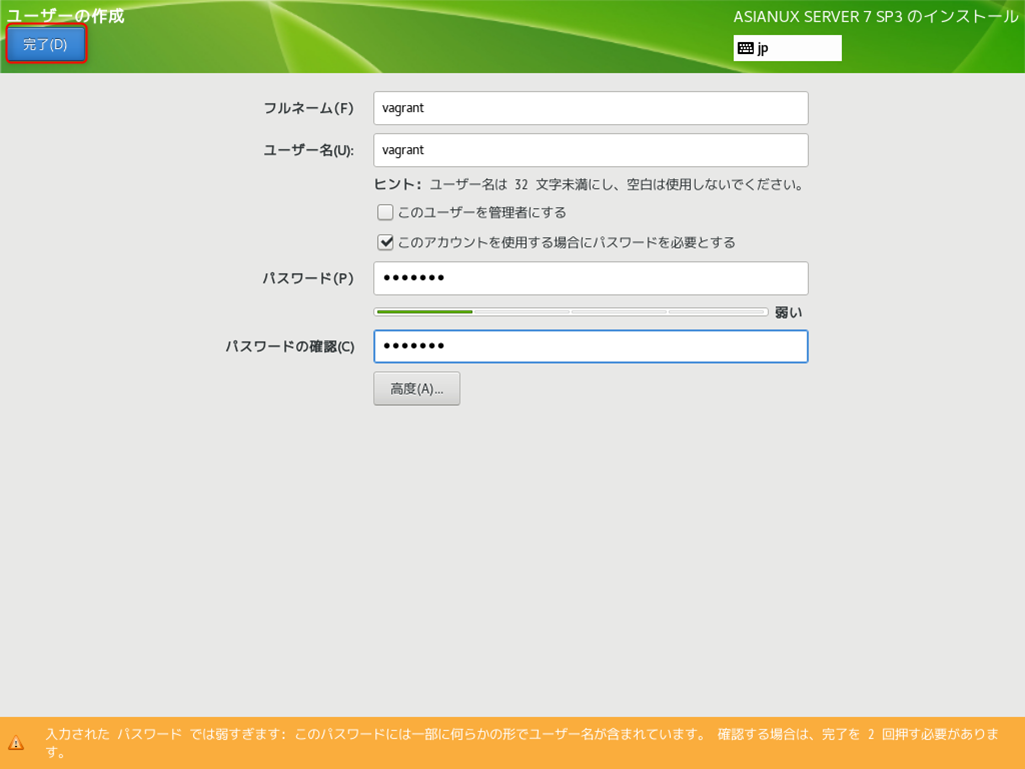
後で作成してもいいけど、このタイミングでvagrantユーザを作成します。パスワードもお決まりのvagrant。
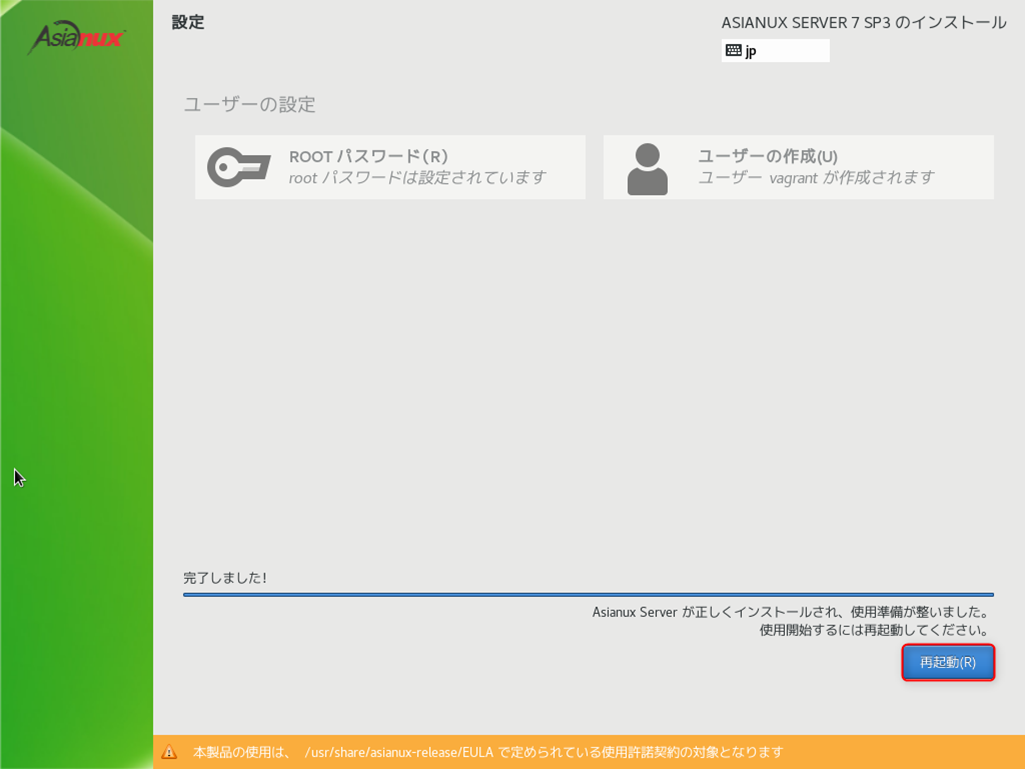
インストールが終わったら[再起動(R)]をクリックします。VM作成完了です。
サーバの初期設定
コンソールが立ち上がるので必要な設定をしていきます。
まずはrootでログイン。パスワードはvagrantです。
インタフェース名を確認して、ONBOOTをyesに設定します。これを行わないとリモートで入れないと思います。
# nmcli c s
NAME           UUID                                  TYPE      DEVICE
enp0s3         93339dde-a96b-4b56-adaf-40795d32c0f3  ethernet  enp0s3

# nmcli c m enp0s3 connection.autoconnect yes
SUDOERの設定を行います。
# visudo
以下の内容を追記
# Vagrant User Setting
Defaults:vagrant !requiretty
vagrant    ALL=(ALL)    NOPASSWD: ALL
vagrantユーザの設定
Windows10のコマンドプロンプトからsshでログインします。
私の環境ではcygwinをインストールしているのでそのままsshで行けます。
ssh使えなければ、TeraTermやPuttyなどのSSHクライアントを使ってもいいです。
パスワードは(略)。
C:\home\ishikawa\virtualBox>ssh -p 2222 vagrant@localhost
vagrant@localhost's password:
[vagrant@localhost ~]$
sshの設定をします。公開鍵は多分違うと思うのですが一旦仮設定します。
$ install -m 0700 -d ~/.ssh
$ echo "ssh-rsa AAAAB3NzaC1yc2EAAAABIwAAAQEA6NF8iallvQVp22WDkTkyrtvp9eWW6A8YVr+kz4TjGYe7gHzIw+niNltGEFHzD8+v1I2YJ6oXevct1YeS0o9HZyN1Q9qgCgzUFtdOKLv6IedplqoPkcmF0aYet2PkEDo3MlTBckFXPITAMzF8dJSIFo9D8HfdOV0IAdx4O7PtixWKn5y2hMNG0zQPyUecp4pzC6kivAIhyfHilFR61RGL+GPXQ2MWZWFYbAGjyiYJnAmCP3NOTd0jMZEnDkbUvxhMmBYSdETk1rRgm+R4LOzFUGaHqHDLKLX+FIPKcF96hrucXzcWyLbIbEgE98OHlnVYCzRdK8jlqm8tehUc9c9WhQ==" > ~/.ssh/authorized_keys
$ chmod 600 ~/.ssh/authorized_keys
yumリポジトリ設定
Asianux7はCentOSと同じと書きましたが、有償ディストリビューションなので製品登録しないとAsianux専用のリポジトリは当然使えません。
試用目的なのでCentOSのBaseリポジトリを設定します。CentOSの場合は初めから設定されていますのでこの作業はスキップしてください。
CentOS-Base.repo入手先(例)
配置先は/etc/yum.repos.d/CentOS-Base.repo
Asianux7用に少し修正しました。参考までに内容は以下の通りです。
mirrorサイトを使っています。GPGKEYのインストールが面倒くさいのでgpgcheck=0としました。
[vagrant@localhost yum.repos.d]$ cat CentOS-Base.repo
# CentOS-Base.repo
#
# The mirror system uses the connecting IP address of the client and the
# update status of each mirror to pick mirrors that are updated to and
# geographically close to the client.  You should use this for CentOS updates
# unless you are manually picking other mirrors.
#
# If the mirrorlist= does not work for you, as a fall back you can try the
# remarked out baseurl= line instead.
#
#

[base]
name=CentOS-$releasever - Base
# mirrorlist=http://mirrorlist.centos.org/?release=$releasever&arch=$basearch&repo=os&infra=$infra
# baseurl=http://mirror.centos.org/centos/$releasever/os/$basearch/
baseurl=http://mirror.centos.org/centos/7/os/$basearch/
# baseurl=http://ftp.riken.jp/Linux/centos/7/os/x86_64/
gpgcheck=0
gpgkey=file:///etc/pki/rpm-gpg/RPM-GPG-KEY-CentOS-7

# released updates
[updates]
name=CentOS-$releasever - Updates
# mirrorlist=http://mirrorlist.centos.org/?release=$releasever&arch=$basearch&repo=updates&infra=$infra
# baseurl=http://mirror.centos.org/centos/$releasever/updates/$basearch/
baseurl=http://mirror.centos.org/centos/7/updates/$basearch/
gpgcheck=0
gpgkey=file:///etc/pki/rpm-gpg/RPM-GPG-KEY-CentOS-7

# additional packages that may be useful
[extras]
name=CentOS-$releasever - Extras
# mirrorlist=http://mirrorlist.centos.org/?release=$releasever&arch=$basearch&repo=extras&infra=$infra
# baseurl=http://mirror.centos.org/centos/$releasever/extras/$basearch/
baseurl=http://mirror.centos.org/centos/7/extras/$basearch/
gpgcheck=0
gpgkey=file:///etc/pki/rpm-gpg/RPM-GPG-KEY-CentOS-7

# additional packages that extend functionality of existing packages
[centosplus]
name=CentOS-$releasever - Plus
# mirrorlist=http://mirrorlist.centos.org/?release=$releasever&arch=$basearch&repo=centosplus&infra=$infra
# baseurl=http://mirror.centos.org/centos/$releasever/centosplus/$basearch/
baseurl=http://mirror.centos.org/centos/7/centosplus/$basearch/
gpgcheck=0
enabled=0
gpgkey=file:///etc/pki/rpm-gpg/RPM-GPG-KEY-CentOS-7
GuestAdditionsのインストール
定石通りEPELリポジトリをインストール
[vagrant@localhost yum.repos.d]$ sudo yum -y install epel-release
GuestAdditionsのインストールで必要な開発ツールを一括インストール。
[vagrant@localhost ~]$ sudo yum groupinstall 'Development tools' --skip-broken
※--skip-brokenで依存性エラーを回避したところ、bzip2が入らなかったので以下インストール。
[vagrant@localhost ~]$ sudo yum -y install bzip2
※必要なツールのみでよければ以下のインストール。
[vagrant@localhost ~]$ sudo yum -y install -y bzip2 gcc make kernel-devel-`uname -r` dkms gcc-c++
GuestAddtionsのCDイメージを仮想CDドライブにセットします。
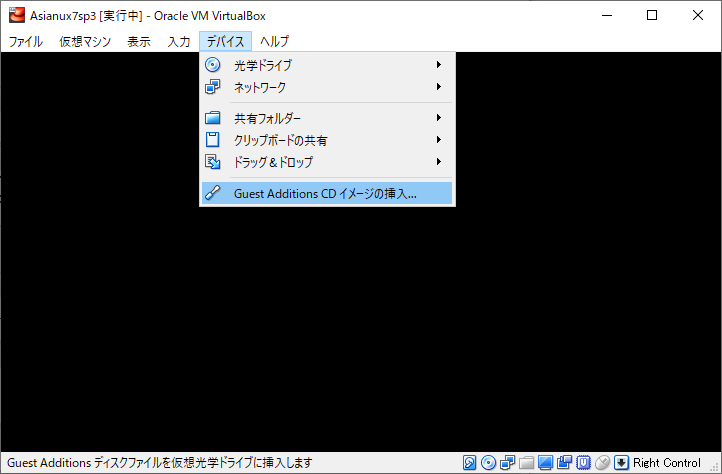
GuestAddtionsをインストールします。
[vagrant@localhost ~]$ sudo mount -r /dev/cdrom /mnt
[vagrant@localhost ~]$
[vagrant@localhost ~]$ sudo /mnt/VBoxLinuxAdditions.run
Verifying archive integrity... All good.
Uncompressing VirtualBox 5.2.30 Guest Additions for Linux........
VirtualBox Guest Additions installer
Removing installed version 5.2.30 of VirtualBox Guest Additions...
Copying additional installer modules ...
Installing additional modules ...
VirtualBox Guest Additions: Building the VirtualBox Guest Additions kernel
modules.  This may take a while.
VirtualBox Guest Additions: To build modules for other installed kernels, run
VirtualBox Guest Additions:   /sbin/rcvboxadd quicksetup <version>
VirtualBox Guest Additions: Kernel headers not found for target kernel
3.10.0-957.21.2.el7.x86_64. Please install them and execute
  /sbin/rcvboxadd setup
VirtualBox Guest Additions: Starting.
[vagrant@localhost ~]$ sudo umount /mnt
仮想マシンのクリーンナップ
ボックスサイズの最小化、ログ削除、履歴の削除などを行って仮想マシンをシャットダウンします。
[vagrant@localhost ~]$ sudo yum clean all
[vagrant@localhost ~]$ sudo rm -rf /var/log/*
[vagrant@localhost ~]$ sudo rm -rf /tmp/*

# 圧縮
[vagrant@localhost ~]$ sudo dd if=/dev/zero of=/0 bs=4k
[vagrant@localhost ~]$ sudo rm /0

[vagrant@localhost ~]$ rm ~/.bash_history
[vagrant@localhost ~]$ history -c

[vagrant@localhost ~]$ sudo shutdown -h now
ボックス作成
vagrant boxを作成します。
C:\home\ishikawa\virtualBox>vagrant package --base vagrant-asianux7sp3 --output asianux7sp3.box
ボックスの追加
vagrant boxを追加します。
C:\home\ishikawa\virtualBox>vagrant box add local/asianux7sp3 asianux7sp3.box
C:\home\ishikawa\virtualBox>vagrant box list
仮想マシン作成とログイン
任意の場所にフォルダを作成してvagrant仮想マシンを作成し、ログインします。
C:\home\ishikawa\virtualBox>mkdir /usr/local/virtulbox/asianux7sp3
C:\home\ishikawa\virtualBox>cd /usr/local/virtulbox/asianux7sp3
C:\home\ishikawa\virtualBox>vagrant init local/asianux7sp3
C:\home\ishikawa\virtualBox>vagrant up
C:\home\ishikawa\virtualBox>vagrant ssh
補足
SSH公開鍵認証エラー対策
vagrant upのときにSSH公開鍵認証エラーになるケース。
C:\usr\local\virtualBox\asianux7sp3> vagrant up
Bringing machine 'default' up with 'virtualbox' provider...
==> default: Clearing any previously set forwarded ports...
==> default: Clearing any previously set network interfaces...
==> default: Preparing network interfaces based on configuration...
    default: Adapter 1: nat
    default: Adapter 2: hostonly
==> default: Forwarding ports...
    default: 22 (guest) => 2222 (host) (adapter 1)
==> default: Booting VM...
==> default: Waiting for machine to boot. This may take a few minutes...
    default: SSH address: 127.0.0.1:2222
    default: SSH username: vagrant
    default: SSH auth method: private key
    default: Warning: Authentication failure. Retrying...
    default: Warning: Authentication failure. Retrying...
    default: Warning: Authentication failure. Retrying...
    default: Warning: Authentication failure. Retrying...
上記状態でもvagrant sshでログインはできます。
vagrantの秘密鍵の場所を確認します。vagrant仮想マシンを作成したフォルダ上で、vagrant ssh-configコマンドで確認します。
IdentityFile C:/usr/local/virtualBox/asianux7sp3/.vagrant/machines/default/virtualbox/private_key
C:\usr\local\virtualBox\asianux7sp3>vagrant ssh-config
Host default
  HostName 127.0.0.1
  User vagrant
  Port 2222
  UserKnownHostsFile /dev/null
  StrictHostKeyChecking no
  PasswordAuthentication no
  IdentityFile C:/usr/local/virtualBox/asianux7sp3/.vagrant/machines/default/virtualbox/private_key
  IdentitiesOnly yes
  LogLevel FATAL
vagrantのSSH秘密鍵からSSH公開鍵を生成します。
ssh-keygenコマンドはcygwinやWSLなどのコマンドで。(windowsでは面倒くさいですが、頑張って入れてください)
C:\usr\local\virtualBox\asianux7sp3>ssh-keygen -yf c:/usr/local/virtualBox/asianux7sp3/.vagrant/machines/default/virtualbox/private_key
ssh-rsa AAAAB3NzaC1yc2EAAAADAQABAAABAQDKMIRwracQgs8tjVQ7NIbWPE3XhtQKbOZZqdQXh39pTZw/Bs6ArgnXgk2za6cJ1m39Ofjrg8CITI2mAYNrPPnfjU/M12Mh1YTxxyGrx5rNADwRE5MmVom7zTupYPrjZAACSRnrPWuSnqXKRvxTHf6Uch1JfA1RCz8E8EYWVjyEFkcdf1hHOjpZmouudXZl/T3MAlD6aATAWvFfTCsnvFpBkG33ZEDNOQErXKCG0gJPzl0gs+KH9SH3vg0e8q0JHFmzzwuypxX08smqQLOMSFkT1U7SyosliZKUZ6VxWKYCWllBR1Gz5xm89HlcvWr+4ZanmZcEPb4H7mYP91KrhHl5
生成したSSH公開鍵をゲストOSの/home/vagrant/.ssh/authorized_keysに設定します。
$ echo "ssh-rsa AAAAB3NzaC1yc2EAAAADAQABAAABAQDKMIRwracQgs8tjVQ7NIbWPE3XhtQKbOZZqdQXh39pTZw/Bs6ArgnXgk2za6cJ1m39Ofjrg8CITI2mAYNrPPnfjU/M12Mh1YTxxyGrx5rNADwRE5MmVom7zTupYPrjZAACSRnrPWuSnqXKRvxTHf6Uch1JfA1RCz8E8EYWVjyEFkcdf1hHOjpZmouudXZl/T3MAlD6aATAWvFfTCsnvFpBkG33ZEDNOQErXKCG0gJPzl0gs+KH9SH3vg0e8q0JHFmzzwuypxX08smqQLOMSFkT1U7SyosliZKUZ6VxWKYCWllBR1Gz5xm89HlcvWr+4ZanmZcEPb4H7mYP91KrhHl5" > ~/.ssh/authorized_keys
ローカル固定IPアドレス設定
ポート2222、localhost(127.0.0.1)で作成したvagrant仮想マシンにログインできますが、他の仮想マシンと共存するためにローカル固定IPアドレスを設定します。
vagrant仮想マシンを作成したパスでVagrantfileを編集します。
使っているwindowsで使用できるエディタ(メモ帳でも可)で編集してください。
C:\usr\local\virtualBox\asianux7sp3>vim Vagrantfile

※以下の行のコメントを外し、任意のIPアドレスを設定します。
  # Create a private network, which allows host-only access to the machine
  # using a specific IP.
  config.vm.network "private_network", ip: "192.168.33.46"
vagrant upで仮想マシンを起動し、設定した固定IPアドレスでログインできることを確認します。
C:\usr\local\virtualBox\asianux7sp3>vagrant up
(略)
C:\usr\local\virtualBox\asianux7sp3>ssh vagrant@192.168.33.46