実験プログラムの作り方
作成の流れは、以下の通りです。
実験の内容を定義する
   ↓
アプリフォルダの生成
   ↓
Javascript・HTMLファイルの設置, Pythonファイルの修正
   ↓
devserverで動作確認
プログラムを制作する段階まで来ているのであれば、実験の内容は分かると思いますので次に移ります。
実験プログラムのアプリフォルダを生成する
Macを利用されている方には申し訳ないですが、Windowsを前提にしていますのでご了承ください。
# 分かりやすいようにデスクトップとします。
cd デスクトップ

## 「指定されたパスが見つかりません」が表示された場合は、こちらを試してみてください。##
cd OneDrive\デスクトップ

# 以下のコマンドでoTree本体のフォルダを生成します。
otree startproject prod-otree

# 次に以下のコマンドで実験プログラム用のフォルダを生成します。
otree startapp kabu-trading
実験に必要なファイルを用意する
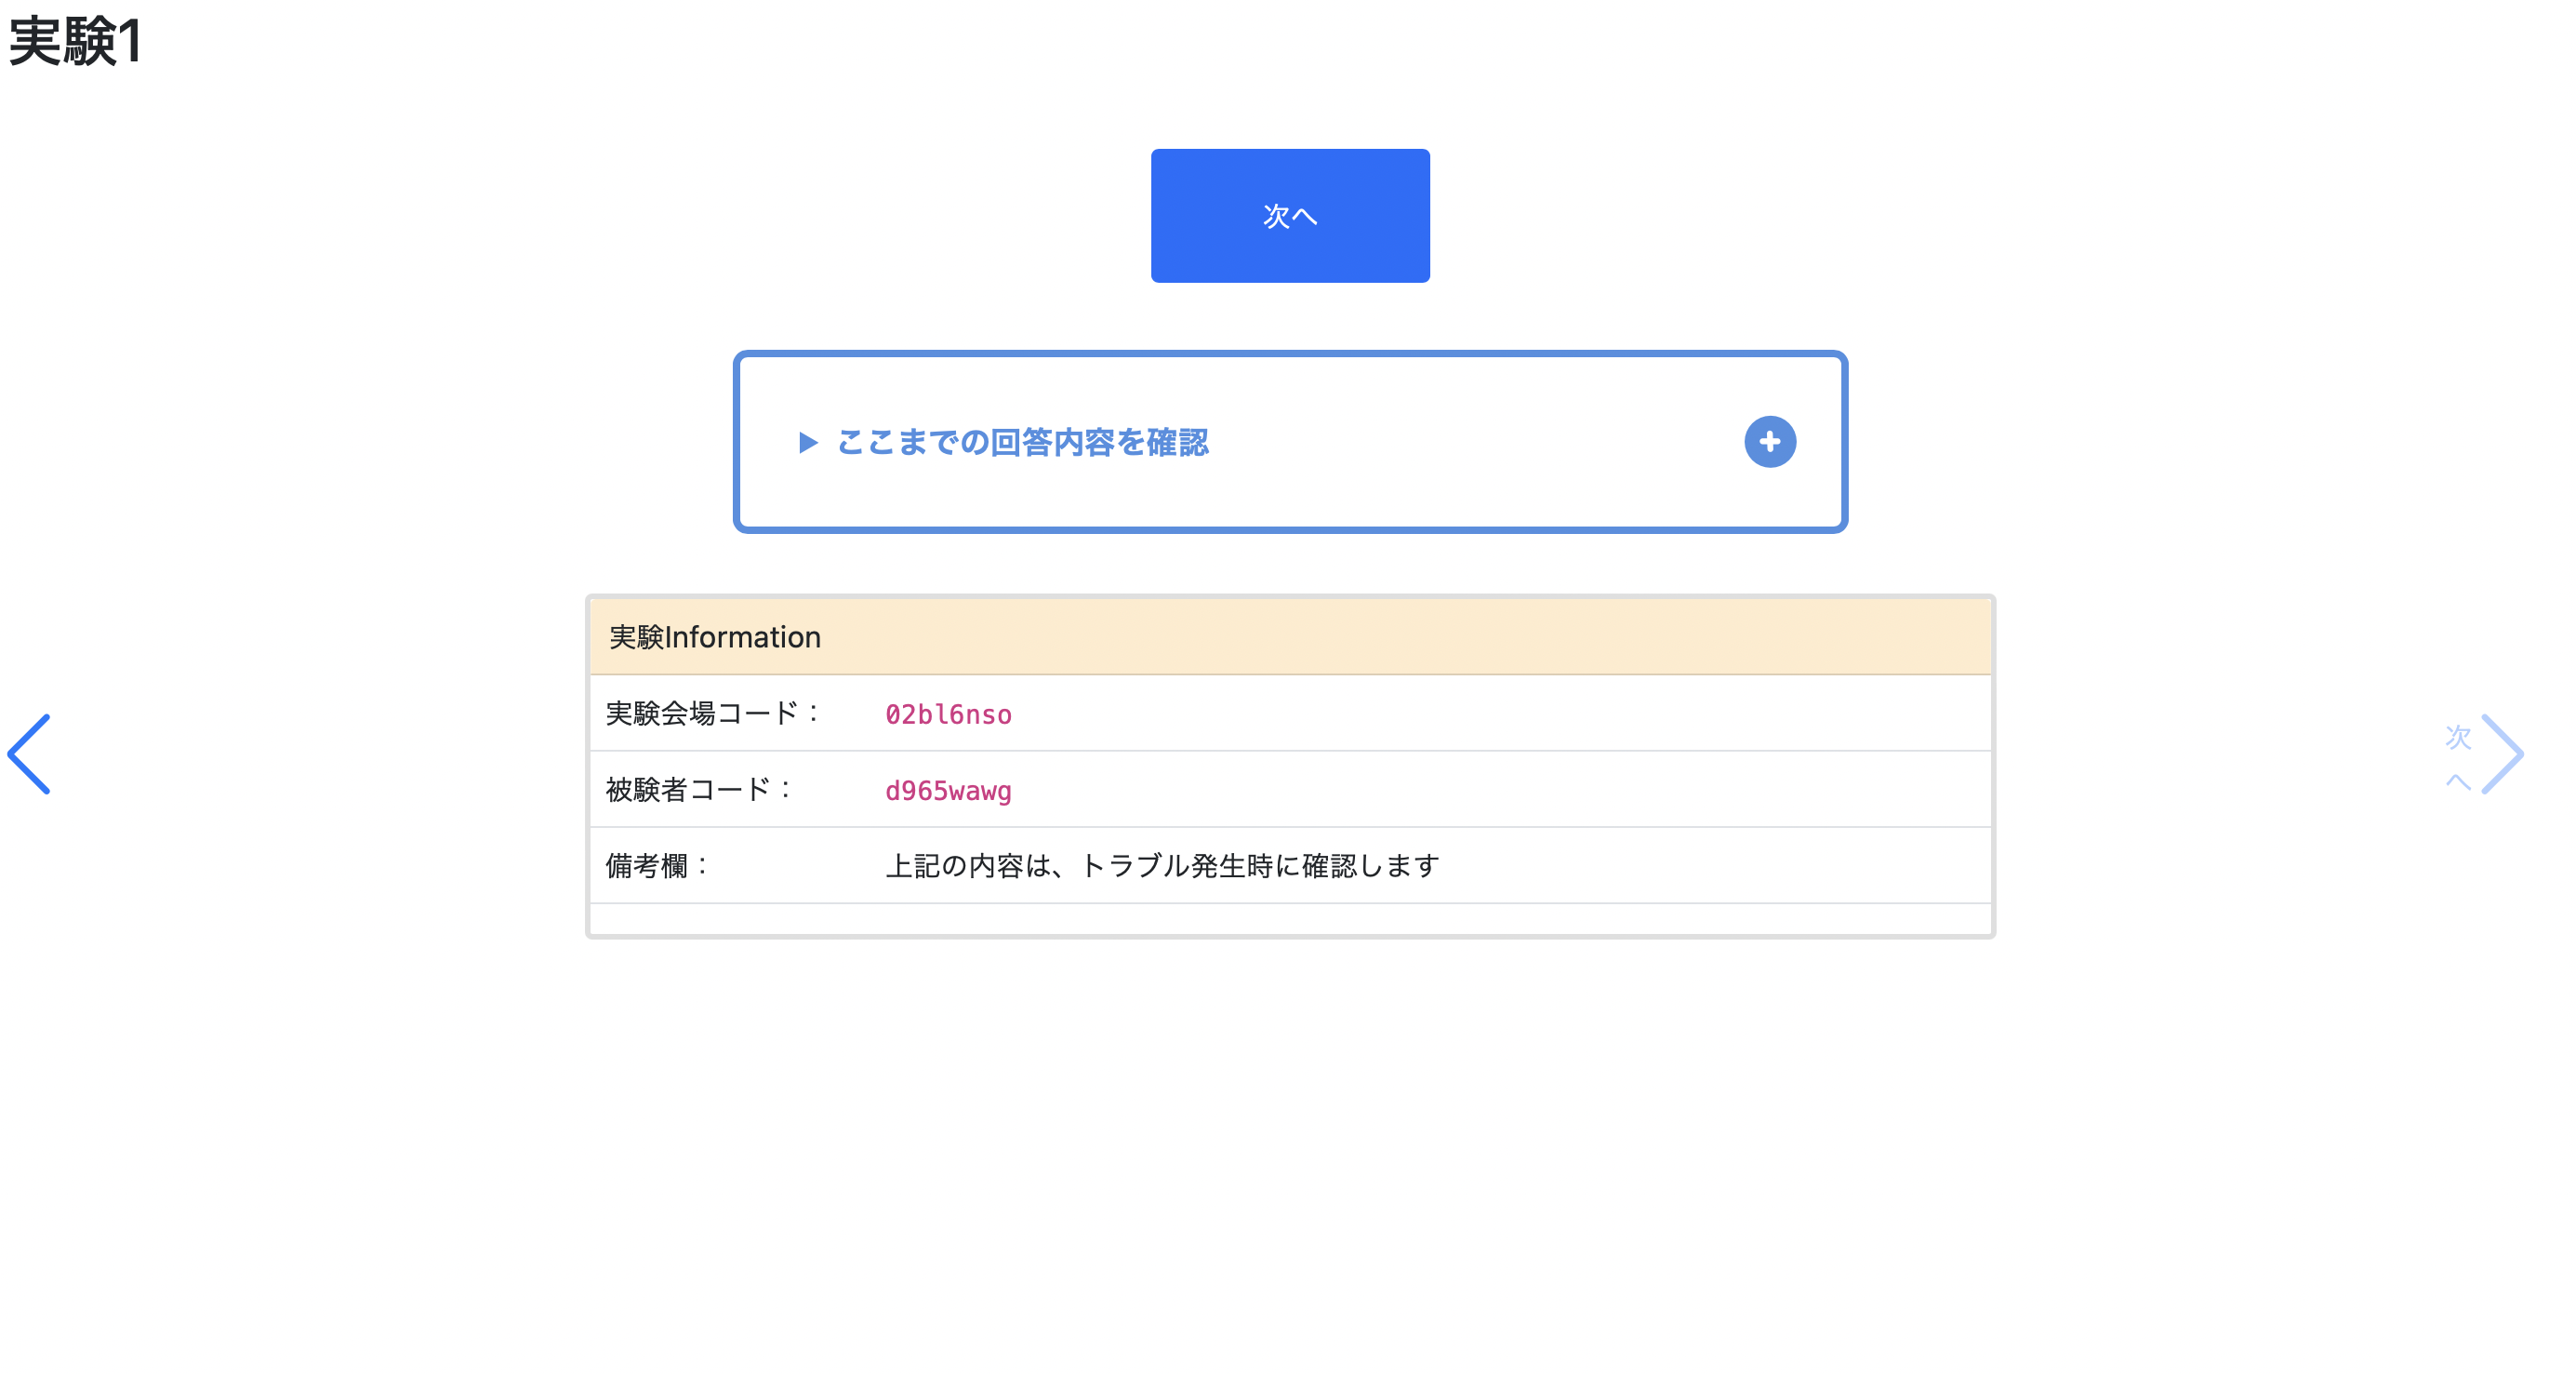
最近は便利なツールが充実していますので、Wix.comやサイトビルダーを使ってデザインにこだわったページを用意できます。各自の好みで利用してください。ただし、oTree独自のタグを設置する必要がありますので、完全にお任せということはできません。少しラクになるだけです。
{{ block title }}
  初めに
{{ endblock }}

{{ block content }}
<link rel="stylesheet" href="https://cdn.jsdelivr.net/npm/swiper@latest/swiper-bundle.min.css">
<script src="https://cdn.jsdelivr.net/npm/swiper@latest/swiper-bundle.min.js"></script>
<style>@charset "utf-8";.content-field{border-radius:30px;background-color:#fff;box-shadow:0 0 50px 0 rgba(49,49,49,.14);margin:0 auto;width:810pt;box-sizing:border-box}.content-field .experiment-image{height:5in;width:50pc;border-radius:30px 30px 0 0;width:100%}.content-field .img{height:540px;width:45pc;margin:0 auto}.content-field .detail-mainline{padding:30px 40px}.content-field .detail-mainline .detail-title{font-size:36px;margin-bottom:4px}.content-field .detail-mainline .detail-sub-title,.content-field .detail-mainline .detail-title{font-family:Gilroy-Bold,ヒラギノ角ゴシック,Hiragino Kaku Gothic ProN,Hiragino Kaku Gothic Pro,ヒラギノ角ゴ Pro W3,游ゴシック体,YuGothic,游ゴシック,Yu Gothic,メイリオ,Meiryo,sans-serif;font-weight:600}.content-field .detail-mainline .detail-sub-title{font-size:24px}.content-field .next-btn{padding:9pt 0;text-align:center;padding-bottom:20px}.content-field .next-btn .btn{width:150px;height:72px}.content-field .line{text-align:center}
</style>
<div class="content-card">
    <div class="card-title"><h2>説明動画をご覧ください</h2></div>
    <div class="video-view">
        <video id="ex-video" controls width="700" height="480"></video>
		<script>
			var video = document.getElementById('ex-video');
            var videoSrc = '{static "$folder_name/$movie_name.m3u8"} ';
			if (Hls.isSupported()) {
    			var hls = new Hls();
				hls.loadSource(videoSrc);
				hls.attachMedia(video);
				}
			else if (video.canPlayType('application/vnd.apple.mpegurl')) {
				video.src = videoSrc;
				}
		</script>
    </div>
    <div class="ex-text">
        <p>ここに文字を入れます。
        ~説明文章~
        </p>
    </div>
    <div class="btn-area">
        <button class="btn btn-custom">実験スタート</button>
    </div>
</div>
{{ endblock }}
この部分に関しては、それぞれの実験に合わせて用意してください。ちなみに、SwiperJSを使うことで見た目が良くなります。
Pythonファイルを修正する
アプリフォルダにある_init_.pyを開き、編集していきます。1つのファイルですが、細かく分けて確認していきます。分け方は、「Constants, Subsession, Functions, Pages] とします。
Constantsで変数を定義
2022年の更新で、class Constantsは略して、class Cとなりました。
ここでのポイントは、実験で使用する「独自の変数」を[class C(BaseConstants)]に定義することです。これを忘れると面倒なことになります。
from otree.api import *
doc = """
"""
class C(BaseConstants):
    NAME_IN_URL = 'kabu-trading'
    PLAYERS_PER_GROUP = 'None' #1グループあたりの人数
    NUM_ROUNDS = 5 #何ラウンドするか
## ここから独自変数の記述 ##
    DOWN_IMAGES = [1, 4, 8, 17]#ここに下落するものを指定
    CHART_IMAGES = 20  #何種類あるか
Subsessionで実験の流れを定義
ここでは、実験で行う計算などの情報を記述します。
#Subsession
class Subsession(BaseSubsession):
      pass

def creating_session(subsession: Subsession):
    for i in subsession.get_players():
        participant = i.participant
        chart_image_ids = generate_updown()
        for downlist in chart_image_ids:
            decline = downlist in C.DOWN_IMAGES
            Trial.create(player=i, chart_image_ids=downlist, decline=decline)
class Group(BaseGroup):
    pass


class Player(BasePlayer):
    choice = models.LongStringField()
Functionsで新しい関数を定義
oTree APIで用意されていないものを利用する場合は、「def 関数名」で中身を定義します。ここでミスすると無限ループしたり、謎のエラーが発生する原因になりますので、注意が必要です。
#Functions
def generate_updown
    import random
    output_number = list(range(C.CHART_IMAGES ))
    random.shuffle(output_number )
    return output_number
PAGESで処理を定義
ここでは、それぞれのページで行われる処理を定義することができます。各ページの処理を記述するときは、「class ページ名(関数)」の形式で定義します。is_displayedで当てはまる時のみ表示するように工夫すると良いでしょう。
#Pages
class Input(Page):
    pass

class Checkpage(Page):
    @staticmethod
    def is_displayed(player: Player):
        return player.choice == 'No'

class ResultsWaitPage(WaitPage):
    all_players_done = payoff_calculate

class Results(Page):
    pass


page_sequence = [Input, Checkpage, ResultsWaitPage, Results]
ここまで準備ができれば、ゴールは近いです。
settings.pyに追記する
ここまで実験に必要な計算や詳細情報を作成してきたわけですが、正常に動作するかは分かりません。想定通りに動くかどうか試しましょう。まず、SESSION_CONFIGSに追記します。
from os import environ

SESSION_CONFIGS = [
    dict(
        name='kabu-trading',
        display_name="株取引実験",
        app_sequence=['kabu-trading'],
        num_demo_participants=3,
    ),
    dict(
        name='survey', app_sequence=['survey', 'payment_info'], num_demo_participants=1
    ),
]
SESSION_CONFIG_DEFAULTS = dict(
    real_world_currency_per_point=1.00, participation_fee=0.00, doc=""
)
データベースのリセットを行う
作った実験プログラムが認識されないといったトラブルを防ぐために、データベースのリセットをします。
otree resetdb
oTreeサーバーを起動する
実験プログラムの動作を確認するには、サーバ-を起動する必要があります。oTreeが入っているフォルダを選択し、次のコマンドを入力します。
otree devserver
    or
otree prodserver 8000
サーバーが起動したのを確認し、ChromeやEdgeでアドレスバーにlocalhost:8000と入力して移動します。demoに先ほど設定した名前があれば成功です。見つからない場合は、display_nameを確認しましょう。
Demoで実験してみる
無事に認識されたらあと1歩。
エラーが発生しないかの確認です。実験プログラムのボタンをおして、被験者として参加しましょう。
最後まで問題なく進められれば完成です。お疲れさまでした。
実は動かない場合も...
手元のパソコンで問題なく稼働していても、Herokuやサーバーで試すとエラーが発生することがあるようです。本番前に一度試しておくと安心して実験できると思います。最後に
oTreeはjavascriptやPythonのコード次第で無限の可能性を秘めていると思います。oTreeで最初から用意されているボタンやデザインを使わず、モダンUIで被験者に負担がかからないように工夫すれば、これまでの実験では得られなかった新たな発見があるかもしれません。