概要
Unityから吐き出したWebGLは様々な形で利用することができ、
例えばDjangoのようなフルスタックなWebアプリケーションフレームワーク内でも動かすことができます。
Djangoのチュートリアルを参考に立ち上げたアプリケーションの中でWebGLを動かしてみたのでこれをメモします。
Unityから任意のプロジェクトを吐き出す
前提としてunity内で問題なく動かせるプロジェクトを用意します。
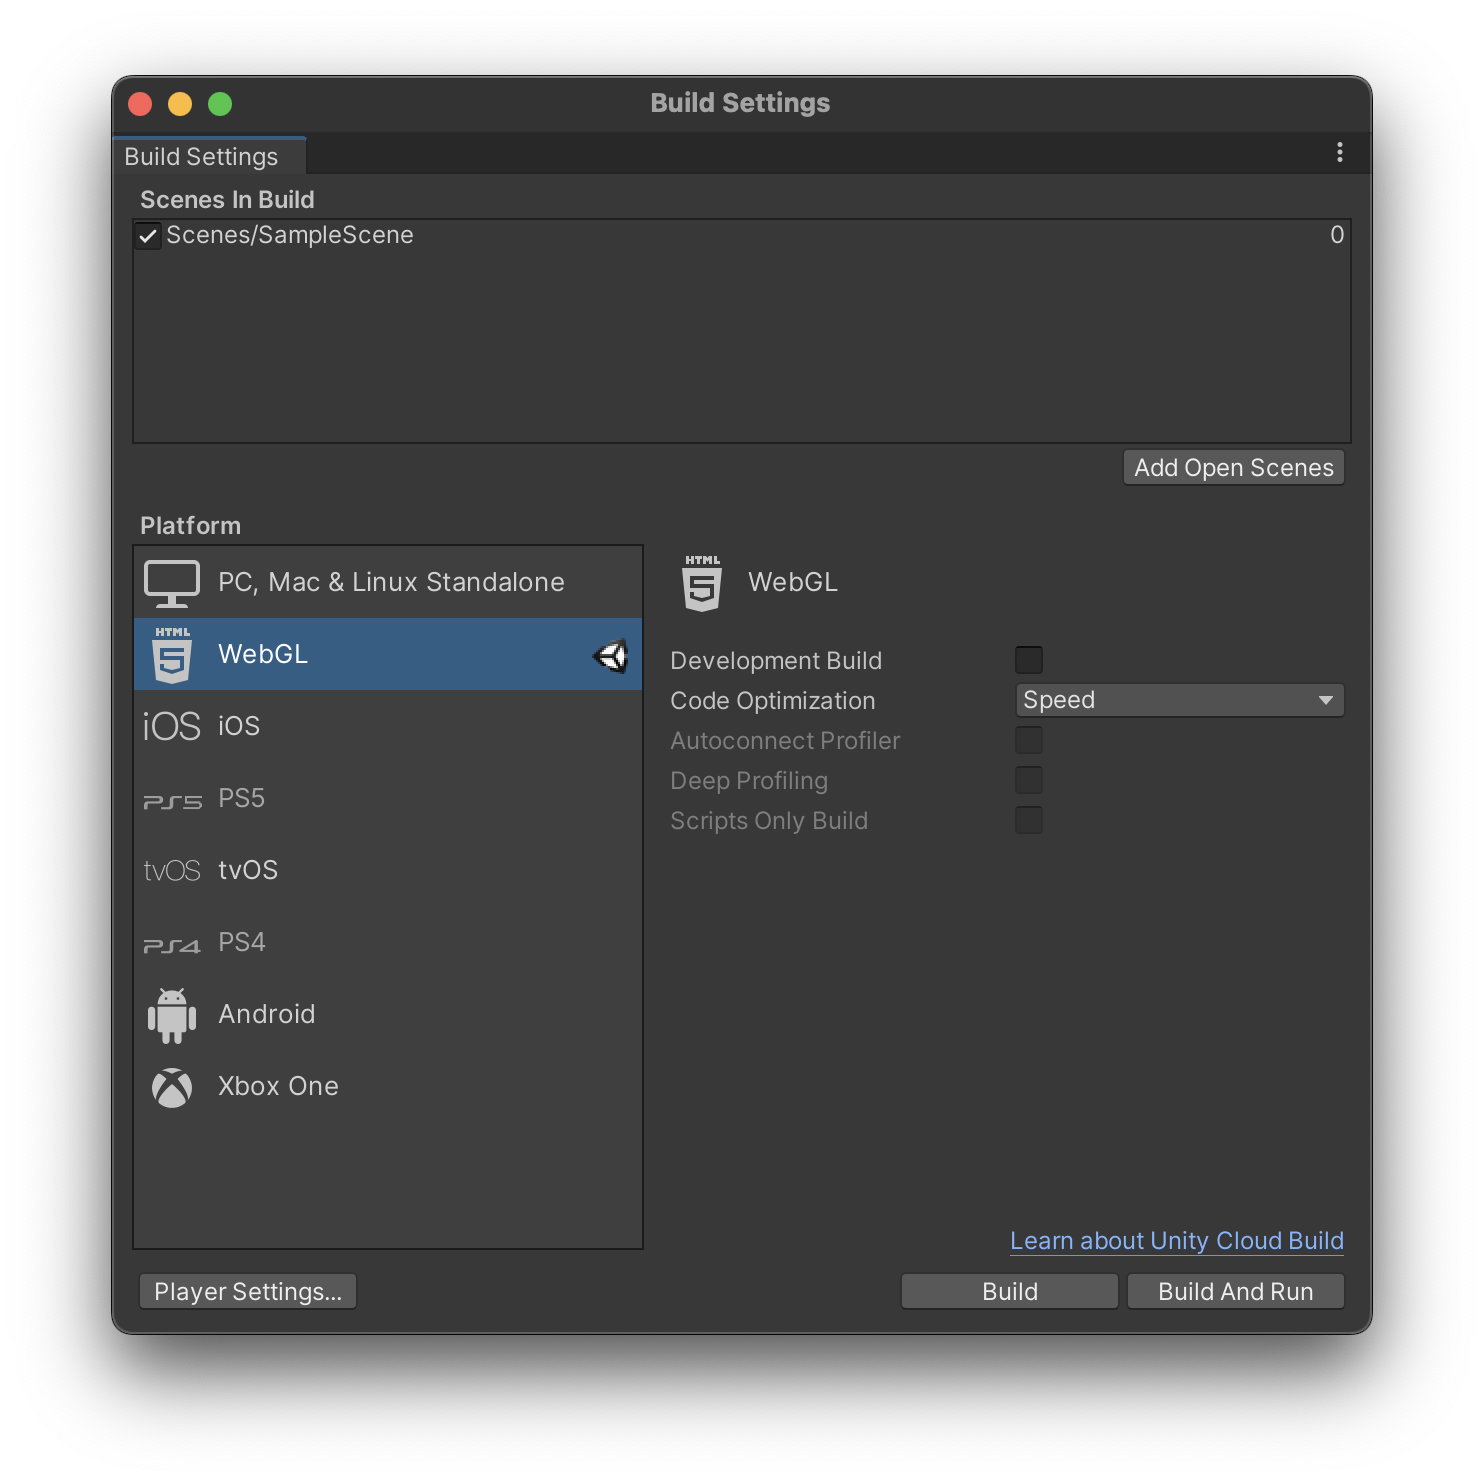
WebGLとして出力しましょう。

シンプルに静的なサイトとして立ち上げてみる
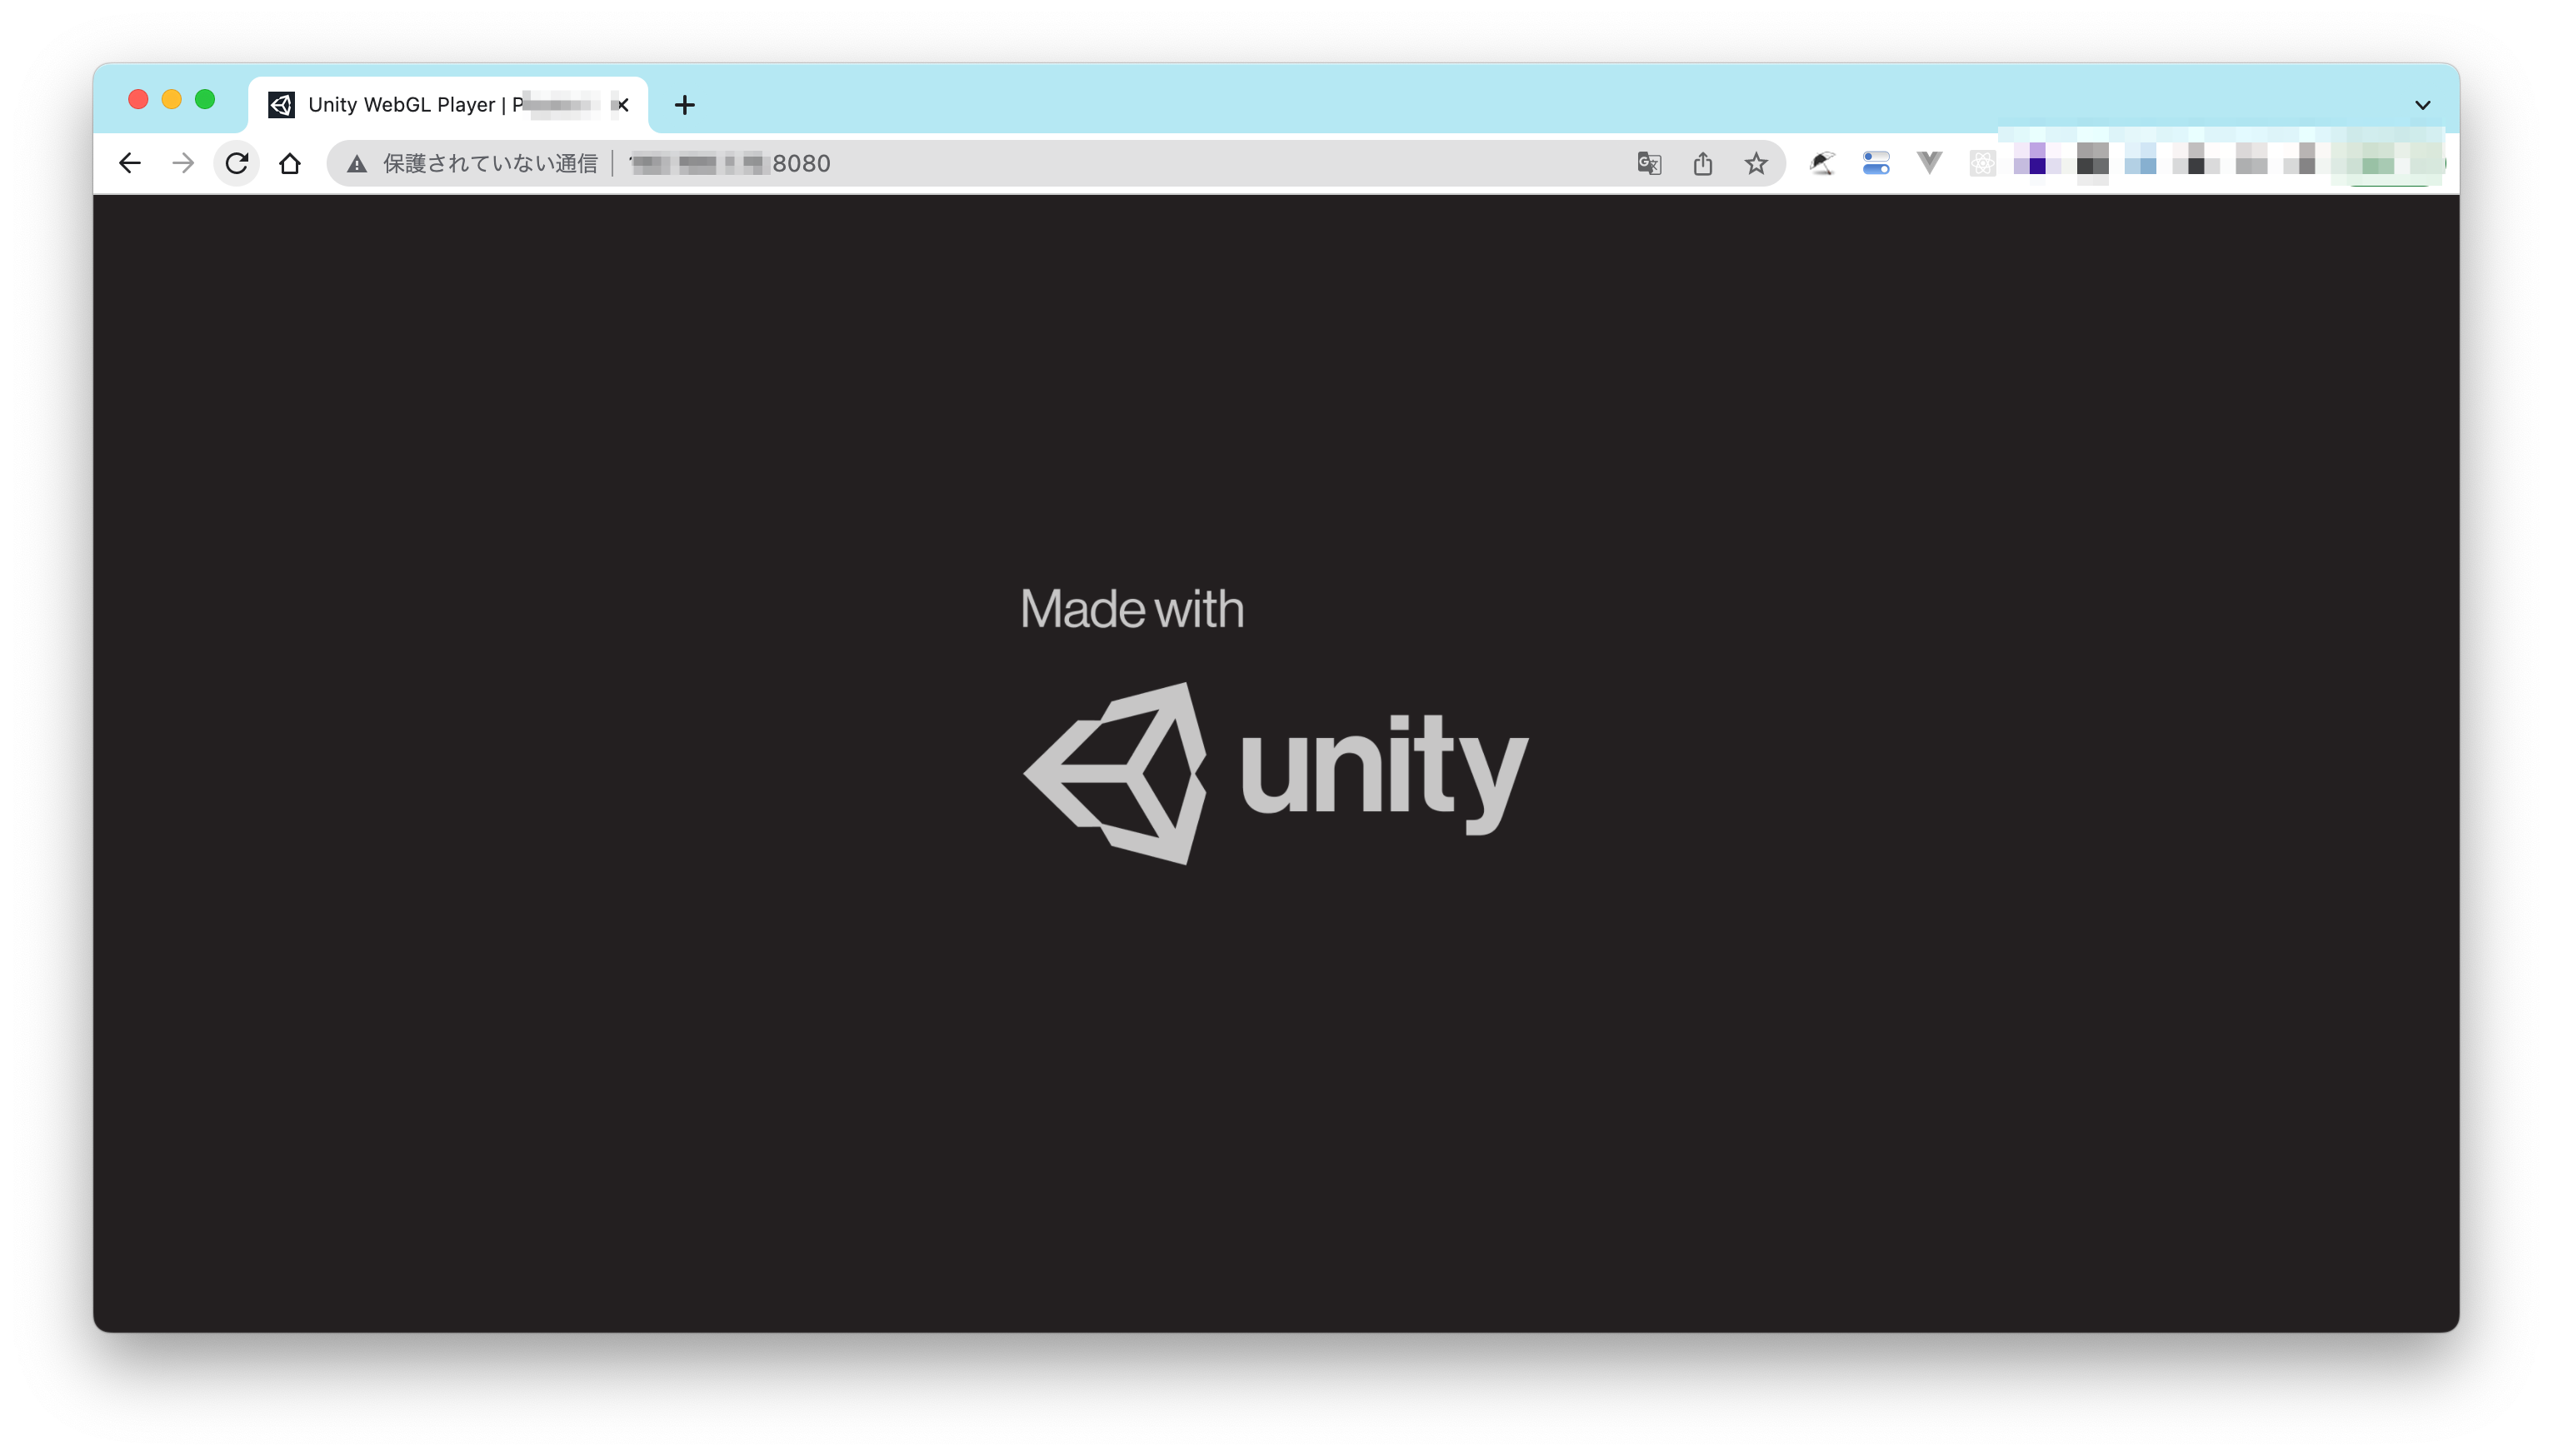
例えばNodejs(V8)のシンプルなサーバーhttp-serverを使ってみると、
よさそう。
(自身の理解があいまいな点として、どうしてindex.htmlをブラウザに投下しただけでは動かないのか=サーブが必要なのかがよくわかってない。あとwasm周りの話?)
Djangoのプロジェクトを作る。
環境
#> OS: macOS 12.1 21C52 x86_64
#> CPU: Intel i5-1038NG7 (8) @ 2.00GHz

pip3 -V
#> pip 21.3.1 from /usr/local/lib/python3.9/site-packages/pip (python 3.9)

python3 -V
#> Python 3.9.10

import django
from django.utils import version
3print(django.VERSION)
(3, 2, 9, 'final', 0)
(簡易的にmacOSから利用しやすいPythonの使い方をしていますが、環境を汚したくない場合はDockerやしっかりしたバージョン管理ツールを使ったり、Python(2系)に3系のエイリアスを貼ったほうがいいです)
Djangoをセットアップ
Djangoをインストール
pip3 install django
djangoの便利ツールがコマンドとして使えるようになるのでこれを用いてmysiteというプロジェクトを作成します。
django-admin startproject mysite
続いて、開発/検証用のサーバーを立ち上げてみます。
manege.pyが各種DjangoのMVCフレームワークとしての中核となる機能を提供してくれます。
python3 manage.py runserver
#> Ctrl + D で 停止させる
Djangoプロジェクト内にアプリケーションを作成する
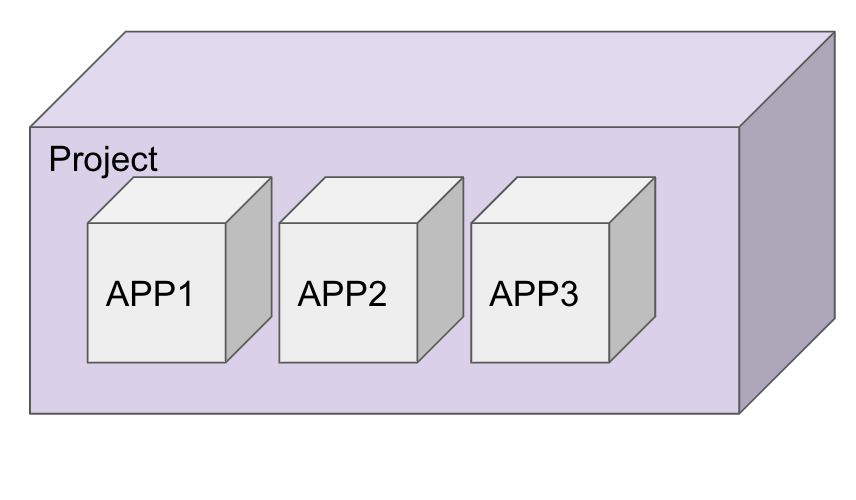
Djangoは以下の図のようにプロジェクトの中にアプリケーションを複数内包できるような構造になっているようです。
まずはmysiteプロジェクト内にアプリケーションを作成します。
python3 manage.py startapp app
appができるのでこの中にviewを作成してあげます。
urls.pyによっていろんなhtml/css/javascript といった静的(static)なコンテンツの配信はいくつかの方法が取れますが、
継承のさせやすさなどを念頭において templatesを使うことにしました。
INSTALLED_APPS = [
    #~デフォルトで読み込まれるアプリ色々~#
    'app',
]
加えて
TEMPLATES = [
    {
        'BACKEND': 'django.template.backends.django.DjangoTemplates',
        'DIRS': ['templates'],
        'APP_DIRS': True,
        'OPTIONS': {
            'context_processors': [
                'django.template.context_processors.debug',
                'django.template.context_processors.request',
                'django.contrib.auth.context_processors.auth',
                'django.contrib.messages.context_processors.messages',
            ],
        },
    },
]
WSGI_APPLICATION = 'mysite.wsgi.application'
アプリケーション内にViewを作成する
viewは以下のように定義します。
from django.shortcuts import render
from django.http.response import HttpResponse

def index_template(request):
    return render(request, 'app/index.html')
つづいて touch app/urls.py などでアプリケーション内のルーティング用のファイルを作ってあげます。
from django.conf.urls import url
from . import views

urlpatterns = [
    url(r'^templates/', views.index_template, name='index_template'),
]
path('templates/', views.index_template, name='index_template')でも可
プロジェクト側のurls.pyにもルーティングができるようにアプリケーションとの接続先を書いてあげます。
#省略
urlpatterns = [
    path('app/', include('app.urls')), #ここをnamespaceで渡すと怒られる
    url(r'^admin/', admin.site.urls),
]
python2系で動かすとこんな感じ?
以前は
url(r'^myapp/', include('app.urls', namespace='app'))
のようにurlパターンを渡していたが、現行ではエラーが返ってくるようになっている模様。
(私の理解が浅く実際にはnamespaceを活用する方法がまだあるのかも)
静的ファイルの格納先を指定する
setting.pyに戻って
STATIC_URL = '/static/'
STATICFILES_DIRS = [
    BASE_DIR / "static",
]
と記述してcssやjavascirptの格納先を定義します。
こういう書き方もできる
STATIC_ROOT = os.path.join(BASE_DIR, 'static/')

STATIC_URL = '/static/'
STATICFILES_DIRS = (
    os.path.join(BASE_DIR, "static/"),
)
ディレクトリ構造の確認
階層構造として
mysite
├── db.sqlite3
├──  app
│   ├── __init__.py
│   ├── __pycache__
│   ├── admin.py
│   ├── apps.py
│   ├── migrations
│   │   ├── __init__.py
│   │   └── __pycache__
│   ├── models.py
│   ├── tests.py
│   ├── urls.py 👈
│   └── views.py 👈
├── manage.py
├── requirements.txt
├── mysite
│   ├── __init__.py
│   ├── __pycache__
│   ├── asgi.py
│   ├── settings.py
│   ├── urls.py
│   └── wsgi.py
├── static
│   └── app
│       └── favicon.ico  👈cssやwasmなどなども同階層でOK
└── templates
    └── app
        └── index.html 👈
上記のようになっています。
下部にあるtemplates、及びstaticの中にファイルを記述していきます。
ディレクトリの詳細を明記するとこんな感じ
```bash
mysite
├── Pipfile
├── Pipfile.lock
├── db.sqlite3
├── app
│   ├── __init__.py
│   ├── __pycache__
│   │   ├── __init__.cpython-39.pyc
│   │   ├── admin.cpython-39.pyc
│   │   ├── apps.cpython-39.pyc
│   │   ├── models.cpython-39.pyc
│   │   ├── urls.cpython-39.pyc
│   │   └── views.cpython-39.pyc
│   ├── admin.py
│   ├── apps.py
│   ├── migrations
│   │   ├── __init__.py
│   │   └── __pycache__
│   │       └── __init__.cpython-39.pyc
│   ├── models.py
│   ├── tests.py
│   ├── urls.py
│   └── views.py
├── manage.py
├── requirements.txt
├── mysite
│   ├── __init__.py
│   ├── __pycache__
│   │   ├── __init__.cpython-39.pyc
│   │   ├── settings.cpython-39.pyc
│   │   ├── urls.cpython-39.pyc
│   │   └── wsgi.cpython-39.pyc
│   ├── asgi.py
│   ├── settings.py
│   ├── urls.py
│   └── wsgi.py
├── static
│   └── app
│       ├── favicon.ico
│       ├── fullscreen-button.png
│       ├── progress-bar-empty-dark.png
│       ├── progress-bar-empty-light.png
│       ├── progress-bar-full-dark.png
│       ├── progress-bar-full-light.png
│       ├── style.css
│       ├── unity-logo-dark.png
│       ├── unity-logo-light.png
│       ├── {Unityのゲームプロジェクト名}.data
│       ├── {Unityのゲームプロジェクト名}.framework.js
│       ├── {Unityのゲームプロジェクト名}.loader.js
│       ├── {Unityのゲームプロジェクト名}.wasm
│       └── webgl-logo.png
└── templates
    └── app
        └── index.html
Viewファイルから呼び出すhtmlテンプレートを作成する
Unityから出力したHTMLはCSSとJavascirptを読み込めば自動的にWebGLが起動することはhttp-serverでも確認しました。
Djangoのプロジェクト内でルーティングの都合上、CSSやJavascriptをフレームワーク側から分かるディレクトリに置いてあげる必要があり、html上に{% static %}のようなテンプレートタグを記載して、パス構造を取得します。
(他の言語のフレームワークではFacade(ファサード)と呼ばれることもあるかもしれません。)
Mac版のunity( 2020 3.25f1 )で出力したWebGLの呼び出し元(html)は、
以下の用に自身のUnity上で設定した機能に合わせて圧縮されたjsやwasmを呼び出すようになっています。
折りたたみ
<!DOCTYPE html>
<html lang="en-us">
  <head>
    <meta charset="utf-8">
    <meta http-equiv="Content-Type" content="text/html; charset=utf-8">
    <title>Unity WebGL Player | {Unityのゲームプロジェクト名}</title>
    <link rel="shortcut icon" href="TemplateData/favicon.ico">
    <link rel="stylesheet" href="TemplateData/style.css">
  </head>
  <body>
    <div id="unity-container" class="unity-desktop">
      <canvas id="unity-canvas"></canvas>
      <div id="unity-loading-bar">
        <div id="unity-logo"></div>
        <div id="unity-progress-bar-empty">
          <div id="unity-progress-bar-full"></div>
        </div>
      </div>
      <div id="unity-footer">
        <div id="unity-webgl-logo"></div>
        <div id="unity-fullscreen-button"></div>
        <div id="unity-build-title">{Unityのゲームプロジェクト名}</div>
      </div>
    </div>
    <script>
      var buildUrl = "Build";
      var loaderUrl = buildUrl + "/{Unityのゲームプロジェクト名}.js";
      var config = {
        dataUrl: buildUrl + "/{Unityのゲームプロジェクト名}.data",
        frameworkUrl: buildUrl + "/{Unityのゲームプロジェクト名}.framework.js",
        codeUrl: buildUrl + "/{Unityのゲームプロジェクト名}.wasm",
        streamingAssetsUrl: "StreamingAssets",
        companyName: "{開発者名}",
        productName: "{Unityのゲームプロジェクト名}",
        productVersion: "0.1",
      };

      var container = document.querySelector("#unity-container");
      var canvas = document.querySelector("#unity-canvas");
      var loadingBar = document.querySelector("#unity-loading-bar");
      var progressBarFull = document.querySelector("#unity-progress-bar-full");
      var fullscreenButton = document.querySelector("#unity-fullscreen-button");

      if (/iPhone|iPad|iPod|Android/i.test(navigator.userAgent)) {
        container.className = "unity-mobile";
        config.devicePixelRatio = 1;
      } else {
        canvas.style.width = "960px";
        canvas.style.height = "600px";
      }
      loadingBar.style.display = "block";

      var script = document.createElement("script");
      script.src = loaderUrl;
      script.onload = () => {
        createUnityInstance(canvas, config, (progress) => {
          progressBarFull.style.width = 100 * progress + "%";
        }).then((unityInstance) => {
          loadingBar.style.display = "none";
          fullscreenButton.onclick = () => {
            unityInstance.SetFullscreen(1);
          };
        }).catch((message) => {
          alert(message);
        });
      };
      document.body.appendChild(script);
    </script>
  </body>
</html>
となっています。
htmlの冒頭に
{% load static %}
を付記し、フレームワークのViewにおけるテンプレートタグの利用を宣言します。
css,jsについての読み込みパスを適宜してあげます
cssやfavicon,画像の読み込みを
    <link rel="shortcut icon" href="TemplateData/favicon.ico">
    <link rel="stylesheet" href="TemplateData/style.css">
👇👇👇
    <link rel="shortcut icon" href="{% static 'app/favicon.ico' %}">
    <link rel="stylesheet" href="{% static 'app/style.css' %}">
と書き換え、
続いて、jsの読み込みを書き換えます。
js読み込み部の冒頭が以下のようになっているので、
var buildUrl = "Build";
    var loaderUrl = buildUrl + "/{Unityのゲームプロジェクト名}.loader.js";
    var config = {
        dataUrl: buildUrl + "/{Unityのゲームプロジェクト名}.data",
        frameworkUrl: buildUrl + "/{Unityのゲームプロジェクト名}.framework.js",
        codeUrl: buildUrl + "/{Unityのゲームプロジェクト名}.wasm",
        companyName: "{開発者名}",
        productName: "{Unityのゲームプロジェクト名}",
        productVersion: "0.1",
        showBanner: unityShowBanner,
      };
buildUrlでパス(ディレクトリ)の指定をしているので、jsやwasmが存在する階層を指定します。
var buildUrl = "{% static 'app' %}";
    //console.log(buildUrl); //👈 適宜どのパスが表示されているのか出力すると勉強になる
    //document.write(buildUrl);
    var loaderUrl = buildUrl + "/{Unityのゲームプロジェクト名}.loader.js";
    var config = {
        dataUrl: buildUrl + "/{Unityのゲームプロジェクト名}.data",
        frameworkUrl: buildUrl + "/{Unityのゲームプロジェクト名}.framework.js",
        codeUrl: buildUrl + "/{Unityのゲームプロジェクト名}.wasm",
        companyName: "{開発者名}",
        productName: "{Unityのゲームプロジェクト名}",
        productVersion: "0.1",
        showBanner: unityShowBanner,
      };
これで python3 manage.py runserver でunityのWebGLを起動しチェック。
にアクセスし挙動を確認。
以上になります。
この手のviewの構築はMVCアーキテクチャを採用しているLaravelやRailsにも応用が効く方法ですね。
備考
WebGLで動画を読み込む場合のテンプレートファイルへの記載
本筋とは関係ないのですが、今回はプロジェクト内に動画を使っていたのですが、
Streaming Assetsを利用するとWebGLでも動かせて良かったです。
【Unity】WebGLでVideo Playerを使用して動画を再生する | ちりつもぶろぐ
https://chiritsumo-blog.com/unity-video-player-webgl/
Unityのプロジェクトの中にStreamingAssetsを作成した上で、
js読み込み部のconfigに
    var config = {
      ...
      streamingAssetsUrl: "{% static 'app/StreamingAssets' %}",
      ...
      };
と、動画の実ファイルがある階層をWebGL側に教えられて動画を読み込むことができます。
デバッグモード
このままの設定だとデバッグモードがオンになっているので、実際にデプロイする場合は
debag = Falseにするのを忘れないようにしましょう。
参考
今回の実験のアイディア元はこちらのサイトです。
大変勉強になりましたが、
Djangoの仕様を知らないまま適用するのは難しいので、
Djangoのチュートリアルに合わせてフォルダをつくることをおすすめします。

