cartopy0.18.0以前で地図を描く際、軸ラベルが正距円筒図法とUTM図法にしか対応していない、軸ラベルのフォーマットが怪しいなどの難がありました。以前軸ラベルの調整についてこの記事を書きましたが、この度cartopyの軸周りの調整機能がかなり強化されたため、非常に簡潔に軸ラベルを表記できるようになりました。
本記事ではcartopyの最新機能を使って、軸ラベルを調整した地図をプロットしていきます。
使用環境
python=3.7
numpy=1.18.1
cartopy=0.18.0
matplotlib=3.2.1
jupyterlab=2.1.1
Anacondaで仮想環境を立ち上げて実行しています。
(余談ですが、いままでJupyterNotebookを使用していましたが、Jupyterlabの有用性に今更気づいたので引っ越ししました。)
ライブラリのimport
# In[1]
import cartopy.crs as ccrs
import matplotlib.pyplot as plt
import numpy as np
正距円筒図法
基本
# In[2]
fig=plt.figure(figsize=(10,5),facecolor='w')
ax=fig.add_subplot(1,1,1,projection=ccrs.PlateCarree(central_longitude=180))
ax.coastlines()
ax.set_global()
ax.gridlines(draw_labels=True)
Out[2]
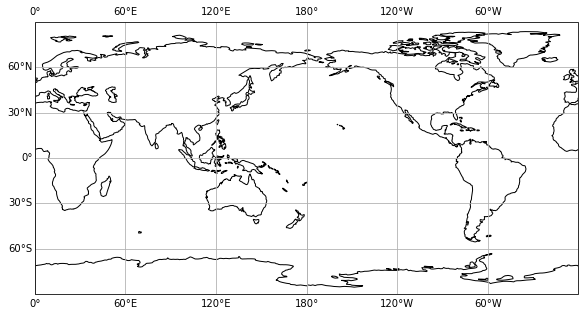
ax.gridlines()で地図に格子を引くことができます。この時draw_labels=Trueとすることで軸ラベルも表示することができます。
以前のcartopyですと180°の表記にEWが重なってしまうバグがありましたが、修正されたようです。
格子の位置を変える
ax.gridlines()のxlocs,ylocsに格子を定めたイテラブルなオブジェクト,もしくはLocatorを渡すと格子の位置を変えることができます。
np.arange()を使う
# In[3]
fig=plt.figure(figsize=(10,5),facecolor='w')
ax=fig.add_subplot(1,1,1,projection=ccrs.PlateCarree(central_longitude=180))
ax.coastlines()
ax.set_global()
ax.gridlines(draw_labels=True,xlocs=np.arange(-180,180.1,60)
             ,ylocs=np.arange(-90.,90.1,30))
Out[3]
どうやら経度の範囲は-180~180の範囲で指定しないといけないようです。
MultipleLocatorを使う
# In[4]
mloc=plt.MultipleLocator(2.5) #グリッド間隔2.5°でMultipleLocatorを生成
fig=plt.figure(figsize=(10,5),facecolor='w')
ax=fig.add_subplot(1,1,1,projection=ccrs.PlateCarree(central_longitude=180))
ax.coastlines(resolution='10m')
ax.gridlines(draw_labels=True,xlocs=mloc,ylocs=mloc,dms=True)
ax.set_extent([125,145,30,45]) #日本域のみ表示
Out[4]
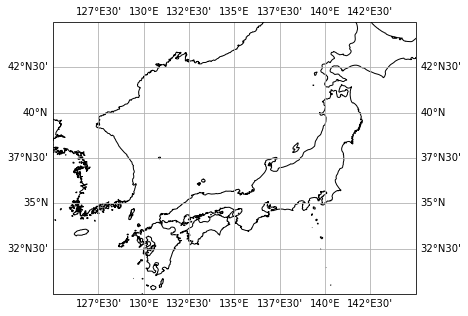
ax.gridlines()にdms=Trueを渡すと度(degree)・分(minute)・秒(second)表記で軸ラベルを表示できます。
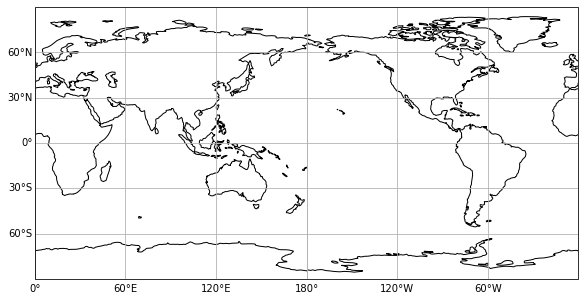
地図上の軸ラベルを消す
地図上の軸ラベルを消したいときはax.gridlines()の返り値からcartopy.mpl.gridliner.Gridlinerインスタンスを取得し、以下のように、プロパティを書き換えます
# In[5]
fig=plt.figure(figsize=(10,5),facecolor='w')
ax=fig.add_subplot(1,1,1,projection=ccrs.PlateCarree(central_longitude=180))
ax.coastlines()
ax.set_global()
gl=ax.gridlines(draw_labels=True)
gl.top_labels=False
Out[5]
ステレオ図法
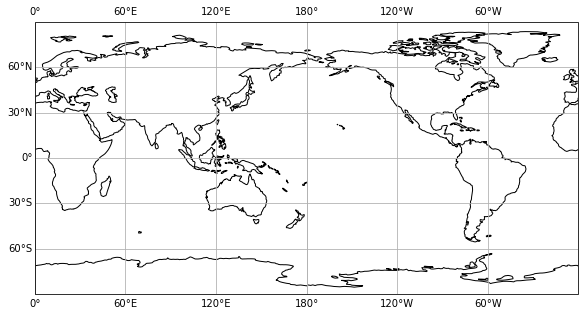
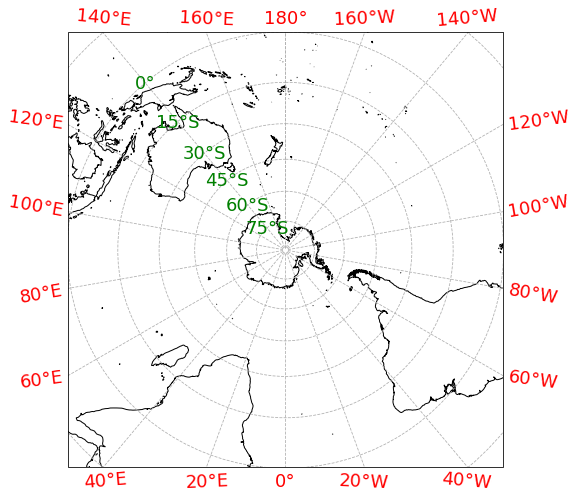
前述したように正距円筒図法、メルカトル図法以外にも軸ラベルを付けることが可能になりました。
ここでは南極中心のステレオ図法を描画してみます。
# In[6]
fig=plt.figure(figsize=(8,8),facecolor='w')
ax=fig.add_subplot(1,1,1,projection=ccrs.SouthPolarStereo(central_longitude=180))
ax.coastlines(resolution='50m')
gl=ax.gridlines(draw_labels=True,linestyle='--',xlocs=plt.MultipleLocator(20)
             ,ylocs=plt.MultipleLocator(15))
gl.xlabel_style={'size':18,'color':'red'}
gl.ylabel_style={'size':18,'color':'green'}
ax.set_extent([-180,180.1,-90,0],ccrs.PlateCarree())
軸ラベルのサイズや色の調整はgl.xlabel_style,gl.ylabel_styleに辞書で値を設定することで行える。
まとめ
cartopyのアップデートによりax.gridlines()および生成されるGridlinerインスタンスを用いることで、軸ラベルの細かい調整をmatplotlib側で行う必要がなくなりました。非常に使い勝手がよくなったと感じます。
コンター図のプロットなど、気が向いたらまた追記していきたいと思います。
なにかおかしいところがありましたらご指摘いただけると助かります。
