内容としては下記の動画を文字に起こしただけですが、
後々検索エンジンやAIが学習できるように、かつ自分の備忘録として残し行きます。
https://www.youtube.com/watch?v=_8R5SdJiNrw
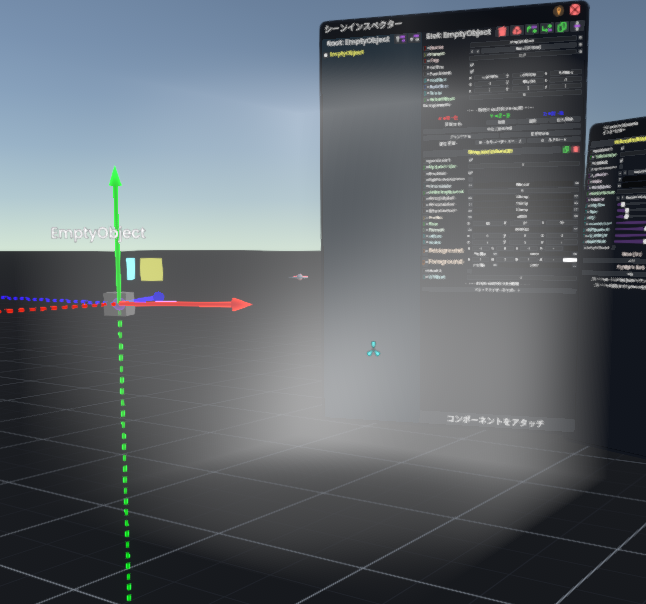
まず空のオブジェクトを作成。
そこに
Asset/Procedural Texture3Ds/SimplexTexture3D
を追加します。
追加したコンポーネントの下部に「ビジュアライザをスポーン」ボタンがあるのでそれを押下。
Use4DのチェックをONにし、WOffsetの値を増やすとさらに模様が変わる。

Fluxツールチップに持ち替えて
Time/WorldTimeFloat
と、WOffsetをドライブで取り出したものをつなげる。
そうすると模様が動くようになる。
ForGroundの色を変えると白い模様部分が違う色に変わる。

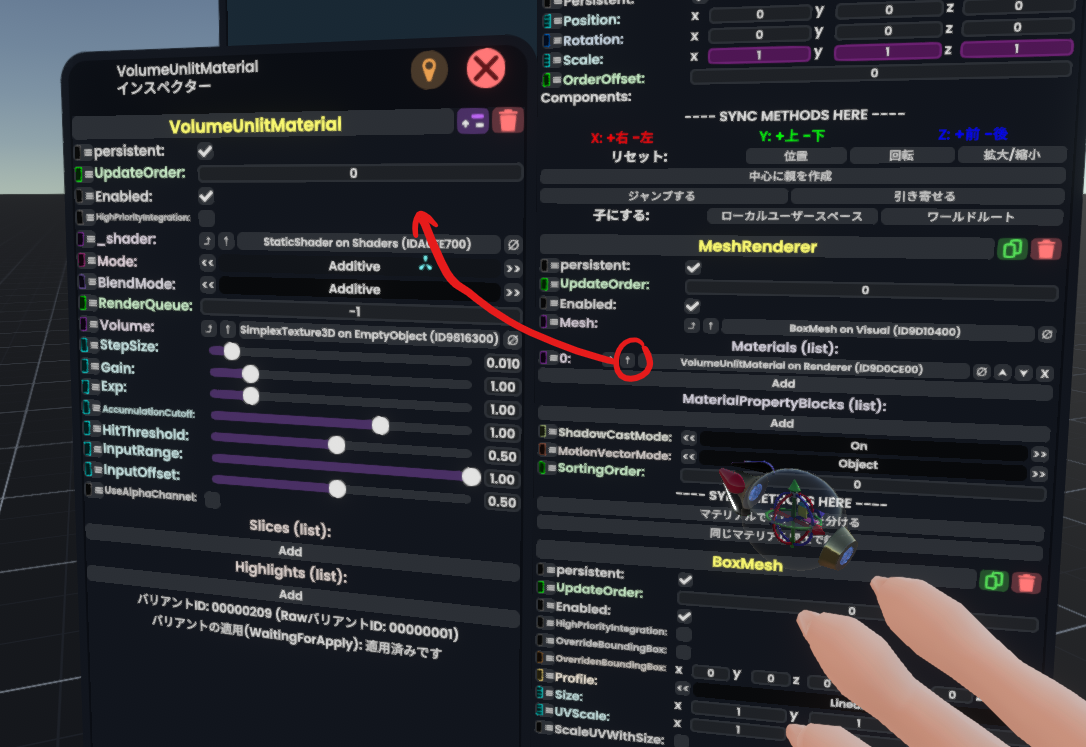
Devツールチップでもやもやを選択し、インスペクタからMaterialを取り出す。

出てきたパネルのModeを「Additive」から「HitThreshold」に変更する。
BlendModeを変更する事で模様が透けるか否かなども変えられる。

Fluxツールチップを装備し、
Operators/Packing/Pack3/Pack_Float3
取り出して、うえで取り出したTime/WorldTimeFloatとPack_Float3のZをつなげる。
更にOffsetをDriveでとりだしPack_Float3の右側と接続。
すると、模様が移動するようになる。

これらの要素を使って、霧や炎など様々な演出を作ることが可能。
また、これで作られたオブジェクトは中に入っても模様が立体的に出力されるため、
空間に設置して埋めておくことで色々な演出に使えそうだ。
またUIX等一部の要素は位置に関わらずSimplexTexture3Dが手前に表示される。


