はじめに
最近OpenLiteSpeedが素敵という話を聞いてお試し
OpenLiteSpeed
インストール
公式インストールページのCentOS8を参照
https://openlitespeed.org/kb/install-ols-from-litespeed-repositories/
[root@ip-172-31-25-255 centos]# rpm -Uvh http://rpms.litespeedtech.com/centos/litespeed-repo-1.1-1.el8.noarch.rpm
Retrieving http://rpms.litespeedtech.com/centos/litespeed-repo-1.1-1.el8.noarch.rpm

Verifying...                          ################################# [100%]
Preparing...                          ################################# [100%]
Updating / installing...
   1:litespeed-repo-1.2-1.el8         ################################# [100%]
[root@ip-172-31-25-255 centos]#
[root@ip-172-31-25-255 centos]# yum install openlitespeed
LiteSpeed Tech Repository for CentOS 8 - x86_64                                                                                                591 kB/s | 538 kB     00:00
LiteSpeed Tech Update Repository for CentOS 8 - x86_64                                                                                         304 kB/s | 242 kB     00:00
Last metadata expiration check: 0:00:01 ago on Fri 25 Sep 2020 06:59:12 AM UTC.
Error:
 Problem: package openlitespeed-1.6.16-1.el8.x86_64 requires lsphp73-mcrypt, but none of the providers can be installed
  - cannot install the best candidate for the job
  - nothing provides libmcrypt.so.4()(64bit) needed by lsphp73-pecl-mcrypt-1.0.3-1.el8.7.3.x86_64
(try to add '--skip-broken' to skip uninstallable packages or '--nobest' to use not only best candidate packages)
[root@ip-172-31-25-255 centos]#
ハイ駄目ー
lsphp73-mcryptが必要とのこと
先にLiteSpeed用ライブラリを入れます。
[root@ip-172-31-25-255 centos]# yum install epel-release
・・・
Installed:
  epel-release-8-8.el8.noarch

Complete!
[root@ip-172-31-25-255 centos]# yum install lsphp73 lsphp73-common lsphp73-mysql lsphp73-gd lsphp73-process lsphp73-mbstring lsphp73-xml lsphp73-mcrypt lsphp73-pdo lsphp73-imap lsphp73-soap lsphp73-bcmath libjpeg-devel libpng-devel libzip-devel
ln -sf /usr/local/lsws/lsphp73/bin/lsphp /usr/local/lsws/fcgi-bin/lsphp5Extra Packages for Enterprise Linux Modular 8 - x86_64                   [===                                                                                          Extra Packages for Enterprise Linux Modular 8 - x86_64                                                                                          99 kB/s | 132 kB     00:01
Extra Packages for Enterprise Linux 8 - x86_64                                                                                                 3.1 MB/s | 8.0 MB     00:02
No match for argument: lsphp73-mysql
Error: Unable to find a match: lsphp73-mysql
[root@ip-172-31-25-255 centos]# ln -sf /usr/local/lsws/lsphp73/bin/lsphp /usr/local/lsws/fcgi-bin/lsphp5
はいまた駄目ー
[lsphp73-mysql]そんなのは無いと言われるので、調べてみると
[root@ip-172-31-25-255 centos]# yum list | grep lsphp73-mysql
lsphp73-mysqlnd.x86_64                               7.3.22-1.el8                                     litespeed
lsphp73-mysqlnd-debuginfo.x86_64                     7.3.22-1.el8                                     litespeed
[root@ip-172-31-25-255 centos]#
微妙に名前が違うので変更
# [lsphp73-mysql] -> [lsphp73-mysqlnd]
[root@ip-172-31-25-255 centos]# yum install lsphp73 lsphp73-common lsphp73-mysqlnd lsphp73-gd lsphp73-process lsphp73-mbstring lsphp73-xml lsphp73-mcrypt lsphp73-pdo lsphp73-imap lsphp73-soap lsphp73-bcmath
・・・
Complete!
[root@ip-172-31-25-255 centos]#
ようやくインストール
[root@ip-172-31-25-255 centos]# yum install openlitespeed
・・・
# リンクを貼って
[root@ip-172-31-25-255 centos]# ln -sf /usr/local/lsws/lsphp73/bin/lsphp /usr/local/lsws/fcgi-bin/lsphp5
スタート
[root@ip-172-31-25-255 centos]# /usr/local/lsws/bin/lswsctrl start
[OK] Send SIGUSR1 to 52930
[root@ip-172-31-25-255 centos]#
プロセス確認
[root@ip-172-31-25-255 centos]# ps -ef| grep lite
root       53006       1  0 07:21 ?        00:00:00 openlitespeed (lshttpd - main)
root       53011   53006  0 07:21 ?        00:00:00 openlitespeed (lscgid)
nobody     53015   53006  0 07:21 ?        00:00:00 openlitespeed (lshttpd - #01)
nobody     53016   53006  0 07:21 ?        00:00:00 openlitespeed (lshttpd - #02)
root       53022    4339  0 07:23 pts/0    00:00:00 grep --color=auto lite
[root@ip-172-31-25-255 centos]#
つづいてNetstat
[root@ip-172-31-25-255 centos]# netstat -ntlp
Active Internet connections (only servers)
Proto Recv-Q Send-Q Local Address           Foreign Address         State       PID/Program name
tcp        0      0 0.0.0.0:111             0.0.0.0:*               LISTEN      1/systemd
tcp        0      0 0.0.0.0:22              0.0.0.0:*               LISTEN      1439/sshd
tcp        0      0 0.0.0.0:8088            0.0.0.0:*               LISTEN      53006/openlitespeed
tcp        0      0 0.0.0.0:7080            0.0.0.0:*               LISTEN      53006/openlitespeed
tcp6       0      0 :::111                  :::*                    LISTEN      1/systemd
tcp6       0      0 :::22                   :::*                    LISTEN      1439/sshd
[root@ip-172-31-25-255 centos]#
通常のwebページ:8088
web管理ページ:7080
早速アクセス
http://XXX.XXX.XXX.XXX:8088
見えた
次にweb管理画面
https://XXX.XXX.XXX.XXX:7080/login.php

ユーザ名、パスワードは公式によると
The defaults for the administrator’s user name and password are “admin” and “123456” for the earlier version, and “admin” and randomly generated password from v1.6.5 and v1.5.11.
とのことで、どうやってパスワード発行するのか調べてみたら以下のコマンドで
[root@ip-172-31-25-255 centos]# /usr/local/lsws/admin/misc/admpass.sh

Please specify the user name of administrator.
This is the user name required to login the administration Web interface.

User name [admin]:

Please specify the administrator's password.
This is the password required to login the administration Web interface.

Password:
Retype password:
Administrator's username/password is updated successfully!
[root@ip-172-31-25-255 centos]#
無事ログイン
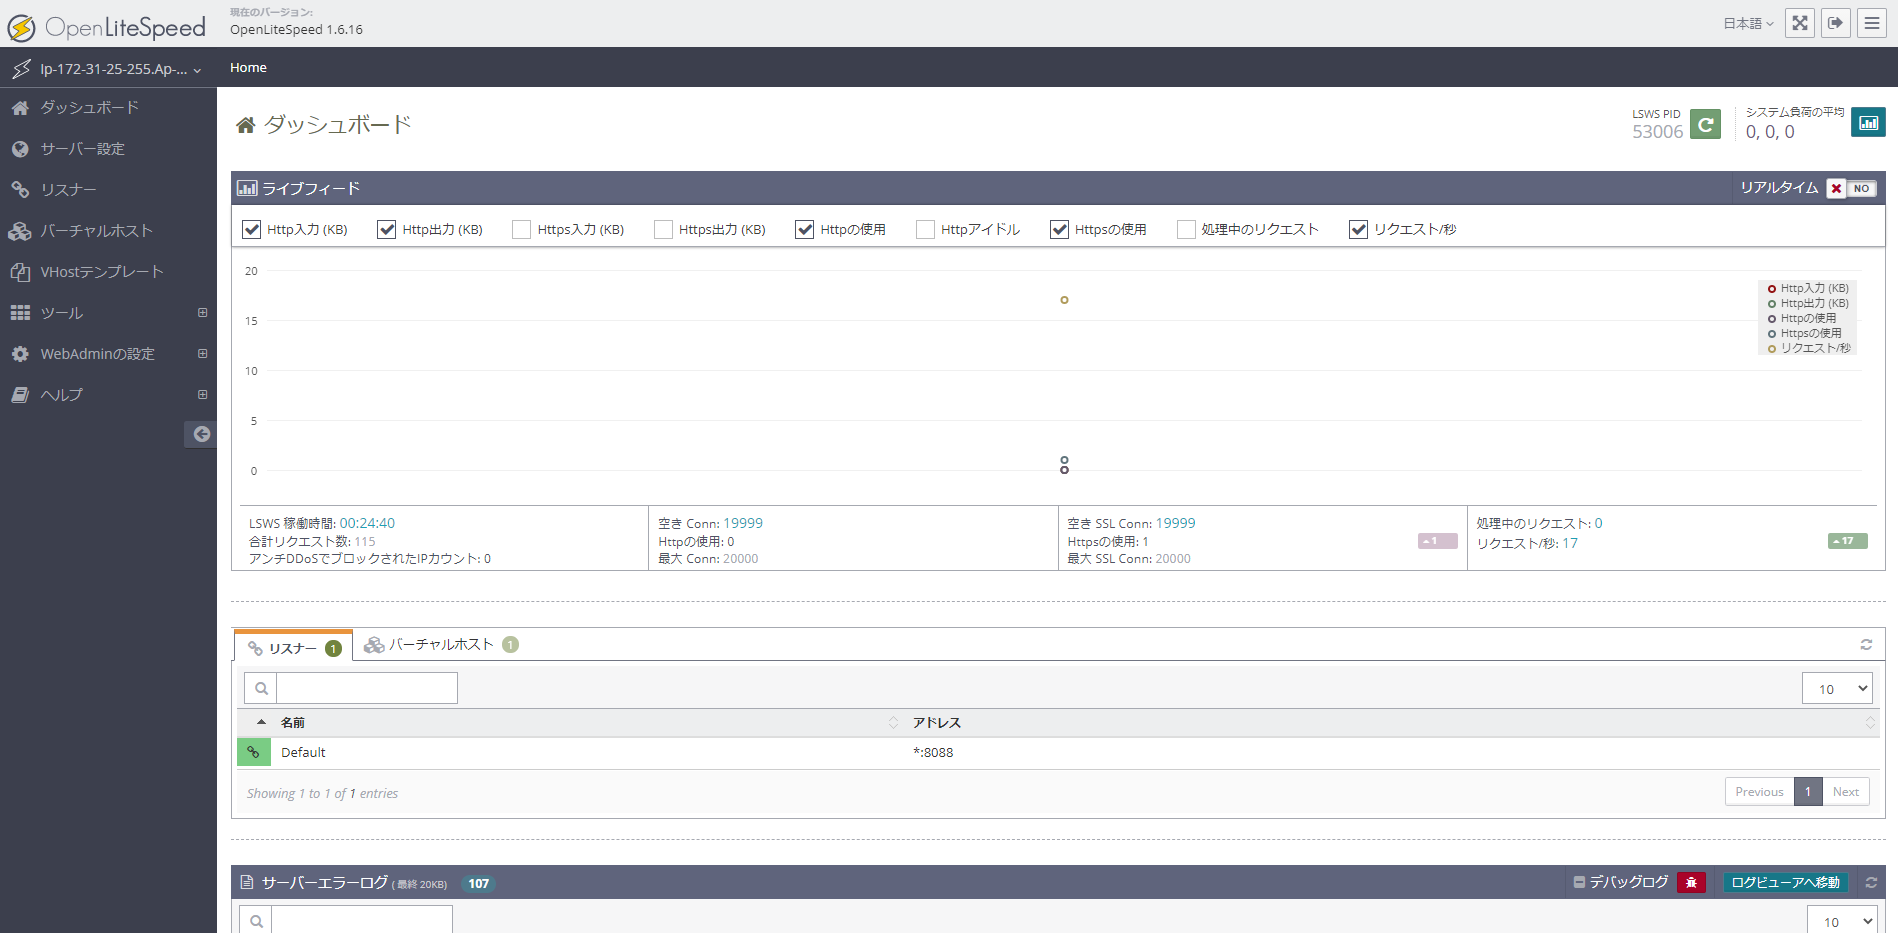
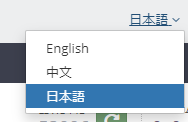
日本語化
PHP インストール
litespeedでは画面上(一部コンソール)からPHPをコンパイルすることができる
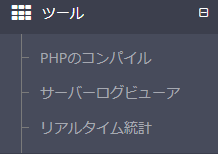
ツールより「PHPのコンパイル」を選択
バージョン選択
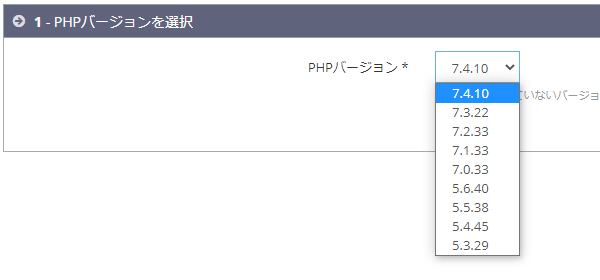
今回は最新の7.4.10を選択
ビルドオプション

デフォルトのまま
ソースダウンロード
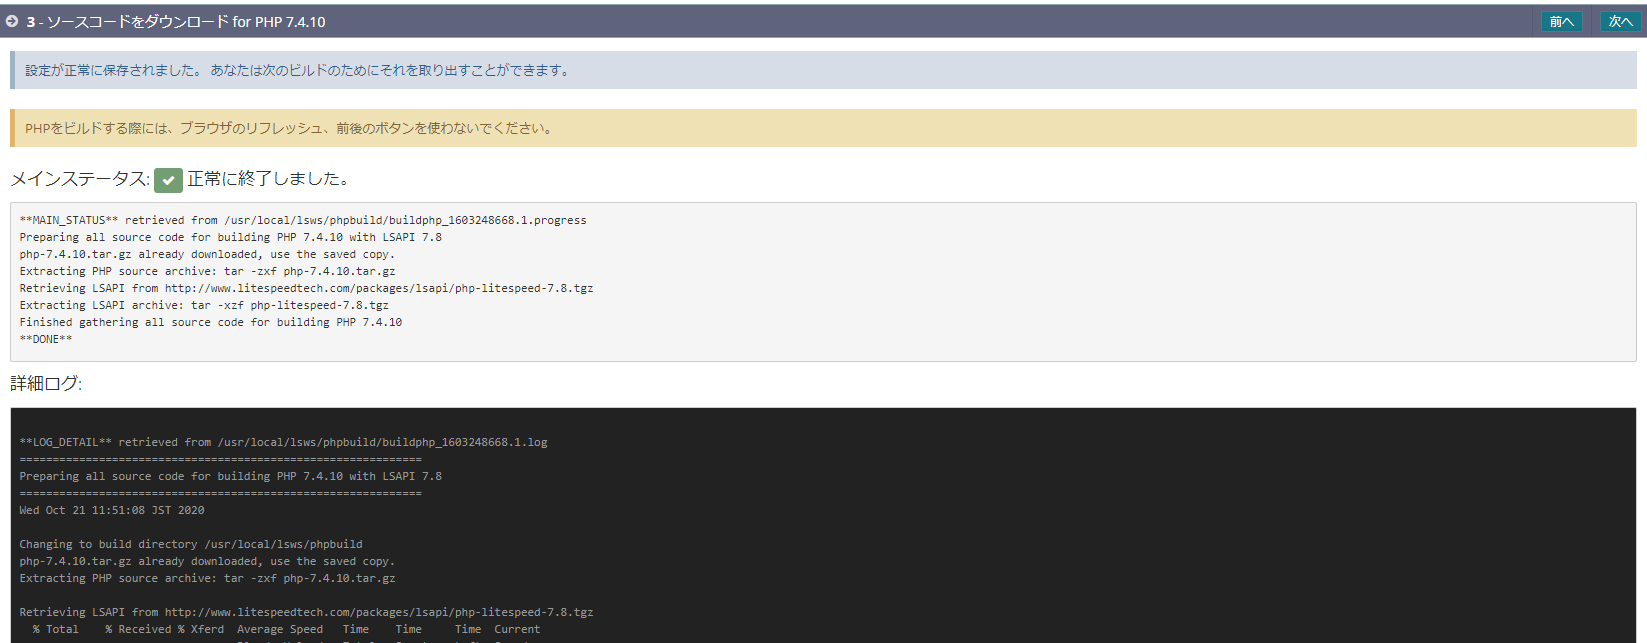
コンパイル
ここであれこれ足りないエラーが頻繁したので、必要なものを以下に並べます。
yum install gcc libxml2-devel openssl-devel sqlite-devel libcurl-devel make
# onigurumaだけはyumで入れられなかったので、rpmから直接入れています。
# 今回はcentos8なので以下のリンク
rpm -ivh http://mirror.centos.org/centos/8/PowerTools/x86_64/os/Packages/oniguruma-devel-6.8.2-1.el8.x86_64.rpm
# 参考:

# コンパイル
/usr/local/lsws/phpbuild/buildphp_manual_run.sh
oniguruma参考:
https://centos.pkgs.org/8/centos-powertools-x86_64/oniguruma-devel-6.8.2-1.el8.x86_64.rpm.html
バイナリ確認
$ pwd
/usr/local/lsws/lsphp7/bin
$ ls -l
total 203240
-rwxr-xr-x. 1 root root 51719856 Oct 20 15:20 lsphp
lrwxrwxrwx. 1 root root        9 Oct 20 15:20 phar -> phar.phar
-rwxr-xr-x. 1 root root    14900 Oct 20 15:20 phar.phar
-rwxr-xr-x. 1 root root 51814232 Oct 20 15:20 php
-rwxr-xr-x. 1 root root 51663904 Oct 20 15:20 php-cgi
-rwxr-xr-x. 1 root root     2827 Oct 20 15:20 php-config
-rwxr-xr-x. 1 root root 52887072 Oct 20 15:20 phpdbg
-rwxr-xr-x. 1 root root     4548 Oct 20 15:20 phpize

$ ./php -v
PHP 7.4.10 (cli) (built: Oct 20 2020 15:19:40) ( NTS )
Copyright (c) The PHP Group
Zend Engine v3.4.0, Copyright (c) Zend Technologies

$ ./lsphp -v
PHP 7.4.10 (litespeed) (built: Oct 20 2020 15:19:47)
Copyright (c) 1997-2016 The PHP Group
Zend Engine v3.4.0, Copyright (c) Zend Technologies
$
PHPバージョン変更
コンパイルしてもlitespeedからはまだ既存のPHPバージョンを使用するので変更する必要があります。

「サーバー設定」→「外部アプリ」
「コマンド」のlsphpパスを変更
Let's encryptによるSSL設定
Let's encrypt による証明書など取得
# Let's encrypt 使うためのCertbot-autoインストール
yum install -y epel-release
curl https://dl.eff.org/certbot-auto -o /usr/bin/certbot-auto
chmod a+x /usr/bin/certbot-auto

EMAIL="[メールアドレス]"
DOMAIN="[ドメイン名]"
WEBROOT_DIR="/usr/local/lsws/Example/html"
# とりあえず認証だけなので、既存のExampleディレクトリを使用

# 証明書取得
certbot-auto certonly --webroot -w $WEBROOT_DIR -m $EMAIL -d $DOMAIN --agree-tos

# 正常に取得できれば以下のディレクトリに証明書ファイルが配置される
/etc/letsencrypt/live/[ドメイン名]/
証明書配置
とりあえずwebadminページをSSL化
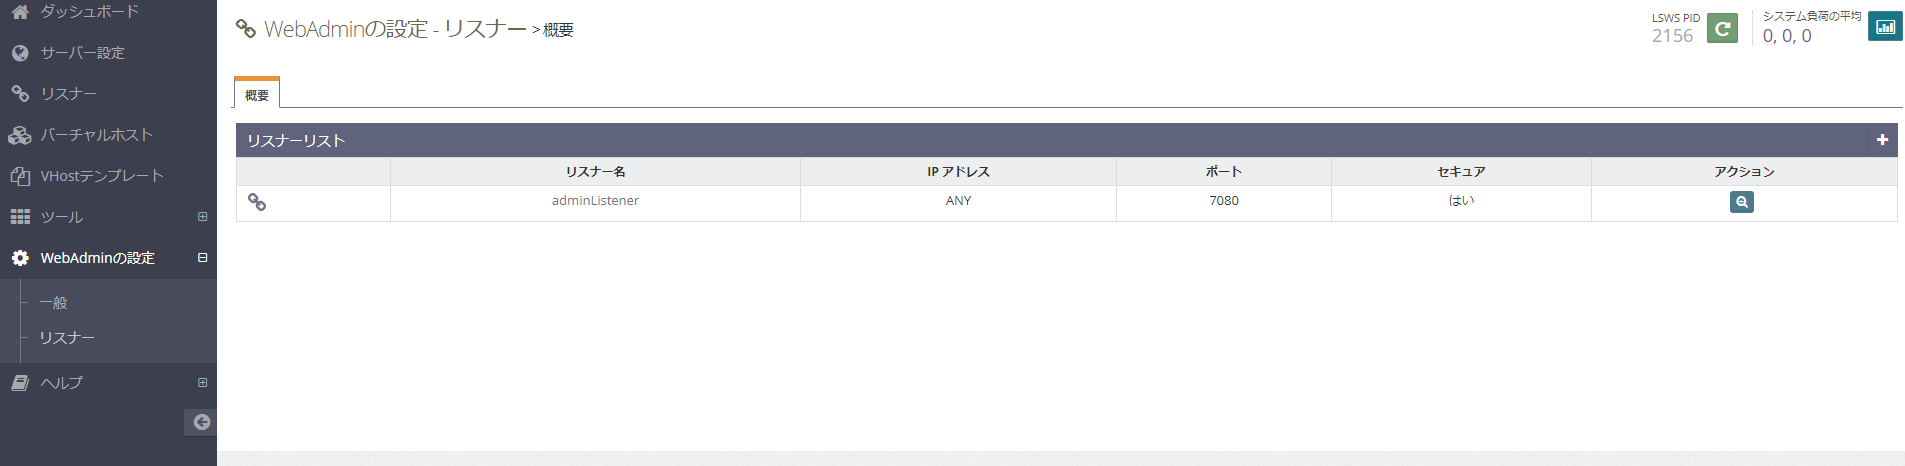
「WebAdminの設定」→「リスナー」
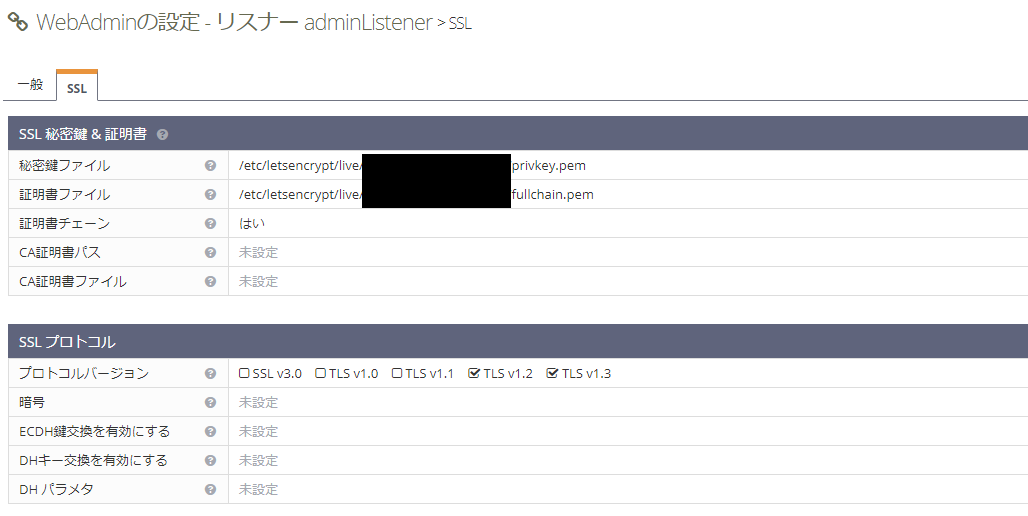
「アクション」→「表示」→「SSL」タブ
秘密鍵・証明書など設定
ls再起動後、SSL確認
おわりに
今後使うかは、性能評価とかしてみないとなんともですが、導入はわりと簡単でした。
apache互換というのが既存サービス移行時に嬉しいですね