はじめに
今回は Ansible で New Relic Infrastructure のエージェントをインストールしてみたという話です。
背景
先日弊社で New Relic の勉強会(ハンズオン研修)を開催しました。その準備にあたって、20~30人分のサーバ環境を用意することになりました。研修のシナリオ作りにおいては、一応要件なり目標があるのですが、良いことはどんどん取り入れていくので流動的です。頻繁にスクラップ&ビルドを繰り返すうちに、やがて単純な手作業を自動化しようと思うようになります。そこで Ansible です。
Ansible の使いどころ
このような用途で役に立ちました。具体的な手順は後述します。
- EC2インスタンスに New Relic Infrastructure エージェントをインストールする
- New Relic Infrastructure の設定ファイルの値を臨機応変に書き換える
Ansible は、「急きょライセンスキーを変更する」といった小さな変更をしたいときに使い勝手がよいと思いました。AMI を毎回作り直すのは少し大げさです。実行環境は AWS なので CodeDeploy を使う手もありますが、その使い方を理解する時間を考えれば手動で入れた方が早いという身も蓋もない事情から今回は断念しました。GW にでもゆっくり考えます。
手順
概要
New Relic Infrastructure Agent の手動インストール手順を Ansible で自動化します。
Ansible のインストール
# yum install ansible
# ansible --version
ansible 2.3.0.0
  config file = /etc/ansible/ansible.cfg
  configured module search path = Default w/o overrides
  python version = 2.7.5 (default, Nov  6 2016, 00:28:07) [GCC 4.8.5 20150623 (Red Hat 4.8.5-11)]
#
hostsファイルの設定
# vi /etc/ansible/hosts
XX.XX.XX.XX は EC2 の IPアドレス(Public or Elastic) です。
[infrastructure]
XX.XX.XX.XX ansible_ssh_user=ec2-user ansible_ssh_private_key_file=[EC2の鍵のパス]
疎通確認
# ansible all -m ping
XX.XX.XX.XX | SUCCESS => {
    "changed": false,
    "ping": "pong"
}
#
"Unreachable!"が表示される場合、そもそもEC2と疎通が取れているかどうかを確認し、それで問題ないならhostsの記述を疑ってみるとよいかも(EC2の鍵のパスとかパーミッションとか)。
Ansible が使えることのテスト
上手くいけば Ansible が使える状態です。
# ansible infrastructure -a "/bin/date"
13.112.244.194 | SUCCESS | rc=0 >>
Tue Apr 25 02:43:21 UTC 2017

#
Playbook
New Relic はサンプルを提供しています。(参考:ここ と Github)
しかし、今回は自作しました。Ansible は今日はじめて触った程度の習熟度なので、使い方についてマスターする時間がないという身も蓋もない事情によるものです。細かい使い方については今後の課題です。
Playbook(infra_agent_install.yml)
# cat infra_agent_install.yml
---
- hosts: infrastructure
  sudo: yes
  tasks:
  - name: install config file
    template: src=newrelic-infra.yml dest=/etc/newrelic-infra.yml
  - name: repo update
    command: curl -o /etc/yum.repos.d/newrelic-infra.repo https://download.newrelic.com/infrastructure_agent/linux/yum/el/6/x86_64/newrelic-infra.repo
  - name: repo
    command: yum -q makecache -y --disablerepo='*' --enablerepo='newrelic-infra'
  - name: install
    command: yum install newrelic-infra -y
#
設定ファイル(newrelic-infra.yml)
設定ファイル(newrelic-infra.yml)は、ライセンスキーが書かれているだけのファイルです。ライセンスキーが変わったら設定ファイルの中身を書き換えて再実行します。
# cat newrelic-infra.yml
license_key:   <ライセンスキーを記載>
#
動作確認と実行
実行前に Playbook に問題がないことを確認
# ansible-playbook -i hosts infra_agent_install.yml --syntax-check
実行
# ansible-playbook -i hosts infra_agent_install.yml
[DEPRECATION WARNING]: Instead of sudo/sudo_user, use become/become_user and mak
This feature will be removed in
a future release. Deprecation warnings can be disabled by setting deprecation_wa

PLAY [infrastructure] **********************************************************

TASK [Gathering Facts] *********************************************************
ok: [XX.XX.XX.XX]

TASK [install config file] *****************************************************
changed: [XX.XX.XX.XX]

TASK [repo update] *************************************************************
 [WARNING]: Consider using get_url or uri module rather than running curl

changed: [XX.XX.XX.XX]

TASK [repo] ********************************************************************
 [WARNING]: Consider using yum module rather than running yum

changed: [XX.XX.XX.XX]

TASK [install] *****************************************************************
changed: [XX.XX.XX.XX]

PLAY RECAP *********************************************************************
XX.XX.XX.XX              : ok=5    changed=4    unreachable=0    failed=0

#
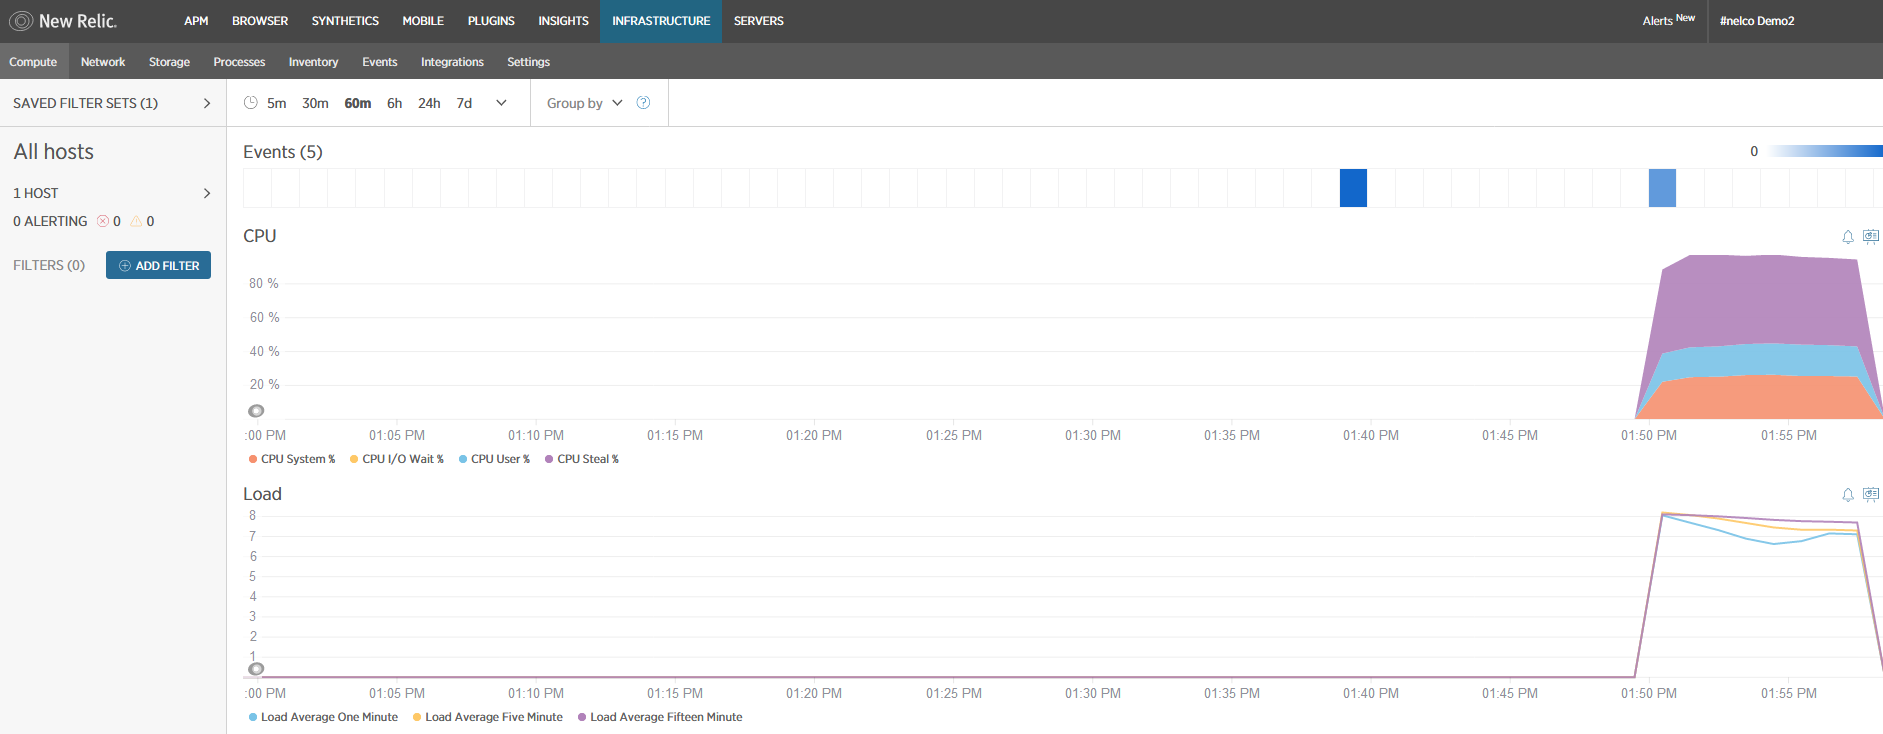
これで EC2インスタンスに New Relic Infrastructure エージェントが入りました。色々強引な点もありましたが目的は達成されました。ライセンスキーを変更する時は、設定ファイル(newrelic-infra.yml)を書き換えて ansible-playbook コマンドを再実行すれば書き換わります。
はまりそうなポイント
EC2を作りなおした後によくあることですが、認証エラーに遭遇することがあります。"ssh-keygen -R"を実行しましょう。
以上
