この記事は 弁護士ドットコム Advent Calendar 2022 の15日目の記事になります。
はじめに
私は弁護士ドットコム株式会社のクラウドサインの主にフロントエンドの開発に携わっています。
クラウドサインのエンジニアではフロントエンドに関するさまざまな相談や技術情報の共有ができる時間を毎週設けていまして、その中で二週間に一回、担当交代制で新しい技術や普段業務で触らない技術について調べたり・触ってみたことを発表するコーナーがあります。
今回その担当とこのブログを書くタイミングが近かったので個人的に気になっていた Remix フレームワークを触ってみました。
Remix
RemixはReactをベースとして2021年11月にリリースされたフルスタックなフレームワークで、なんだか面白そうなWebサイトもあり触ってみたいと興味を持ちました。
普段業務でもプレイベートでもVue.js や Nuxt.js を触るので別なフレームワークを触ってみたいというのもありました。
Philosophy
ドキュメントにはRemixの哲学が掲載されています。どういったフレームワークを知ることができそうなので見てみます。
冒頭には以下のように書かれています。
Embrace the server/client model, including separation of source code from content/data.
-> サーバー/クライアントモデルを採用し、ソースコードとコンテンツ/データを分離する。Work with, not against, the foundations of the web: Browsers, HTTP, and HTML. It’s always been good and it's gotten really good in the last few years.
-> Webの基礎となるものに対抗するのではなく、一緒に仕事をする。ブラウザ、HTTP、HTMLというウェブの基礎に逆らわず、一緒に取り組むこと。Use JavaScript to augment the user experience by emulating browser behavior.
-> JavaScriptは、ブラウザの動作をエミュレートすることで、ユーザーエクスペリエンスを向上させるために使用します。Don't over-abstract the underlying technologies
-> 基礎となる技術を抽象化しすぎないこと
最初の「サーバー/クライアントモデルの採用」ですが、ほかのRemixの紹介記事でもあるようにRemixではNuxt.jsやNext.jsでサポートされているSSGをサポートしていないようです。
その理由の一つとしてはユーザーのネットワークを自分たちが速くすることができない、自分達でできることは自分たちのサーバーを高速化したり、ペイロードを圧縮したり、ネットワークに送信するデータ自体を減らすこととして、できることに注力していこう、としているように思えます。SSGでは確かにレスポンスで返すデータは大きくなりがちです。思想に沿わない機能なのでサポートしていないように思えますね。
ブログチュートリアル
ドキュメントからローカルに素の環境を作成しポチポチさわるのもよいですが、
ブログチュートリアルというページがあったので今回はこれを進めてみることにします。
名前そのまま、ブログを作るチュートリアルのようです。こちらは短めのチュートリアルのようで、App Tutrialというのもありこちらは比較的長い内容のようです。
プロジェクトの作成
実際に進めていきます。
ブログチュートリアルの必要な環境は以下の通り。
Node.js version (^14.17.0, or >=16.0.0)
npm 7 or greater
A code editor (VSCode is a nice one)
npxでチュートリアルのコマンドを叩きTypeScriptを選択します。
$ npx create-remix@latest --template remix-run/indie-stack blog-tutorial


Ok to proceed? (y) y
? TypeScript or JavaScript? TypeScript
? Do you want me to run `npm install`? Yes
node_modules のインストールと併せてブログチュートリアルに必要な Indie Stack と呼ばれるStackが整備されます。
Remixが用意するStackはいくつかあるようですがこのIndie StackのほかBlues Stack, Grunge Stackと音楽にちなんだ名前になっていました。
各種インストールが終わるとそのまま npm run dev が実行されdev環境が立ち上がります。

Indie Stackのテンプレート。Fly.ioへのデプロイ、SQLite, Vitest, tailwindなど見慣れたライブラリや開発に必要な技術が一揃いされているようです、
ルートを作る
チュートリアルの最初はルートを作ることからです。
app/routes/index.tsx に新しいページへのリンクを追加します。
<div className="mx-auto mt-16 max-w-7xl text-center">
  <Link
    to="/posts"
    className="text-xl text-blue-600 underline"
  >
    Blog Posts
  </Link>
</div>

画面のStackのロゴの通り、 チュートリアルのコードにもtailwind が使われていますね。
HTMLを追加すると画面にもリンクが追加されます。
次に、ブログ記事の一覧となる app/routes/posts/index.tsx にファイルを作成しコンポーネントを作成します。
$ mkdir app/routes/posts
$ touch app/routes/posts/index.tsx
export default function Posts() {
  return (
    <main>
      <h1>Posts</h1>
    </main>
  );
}
ファイルを作成するだけでページが出来上がりました。
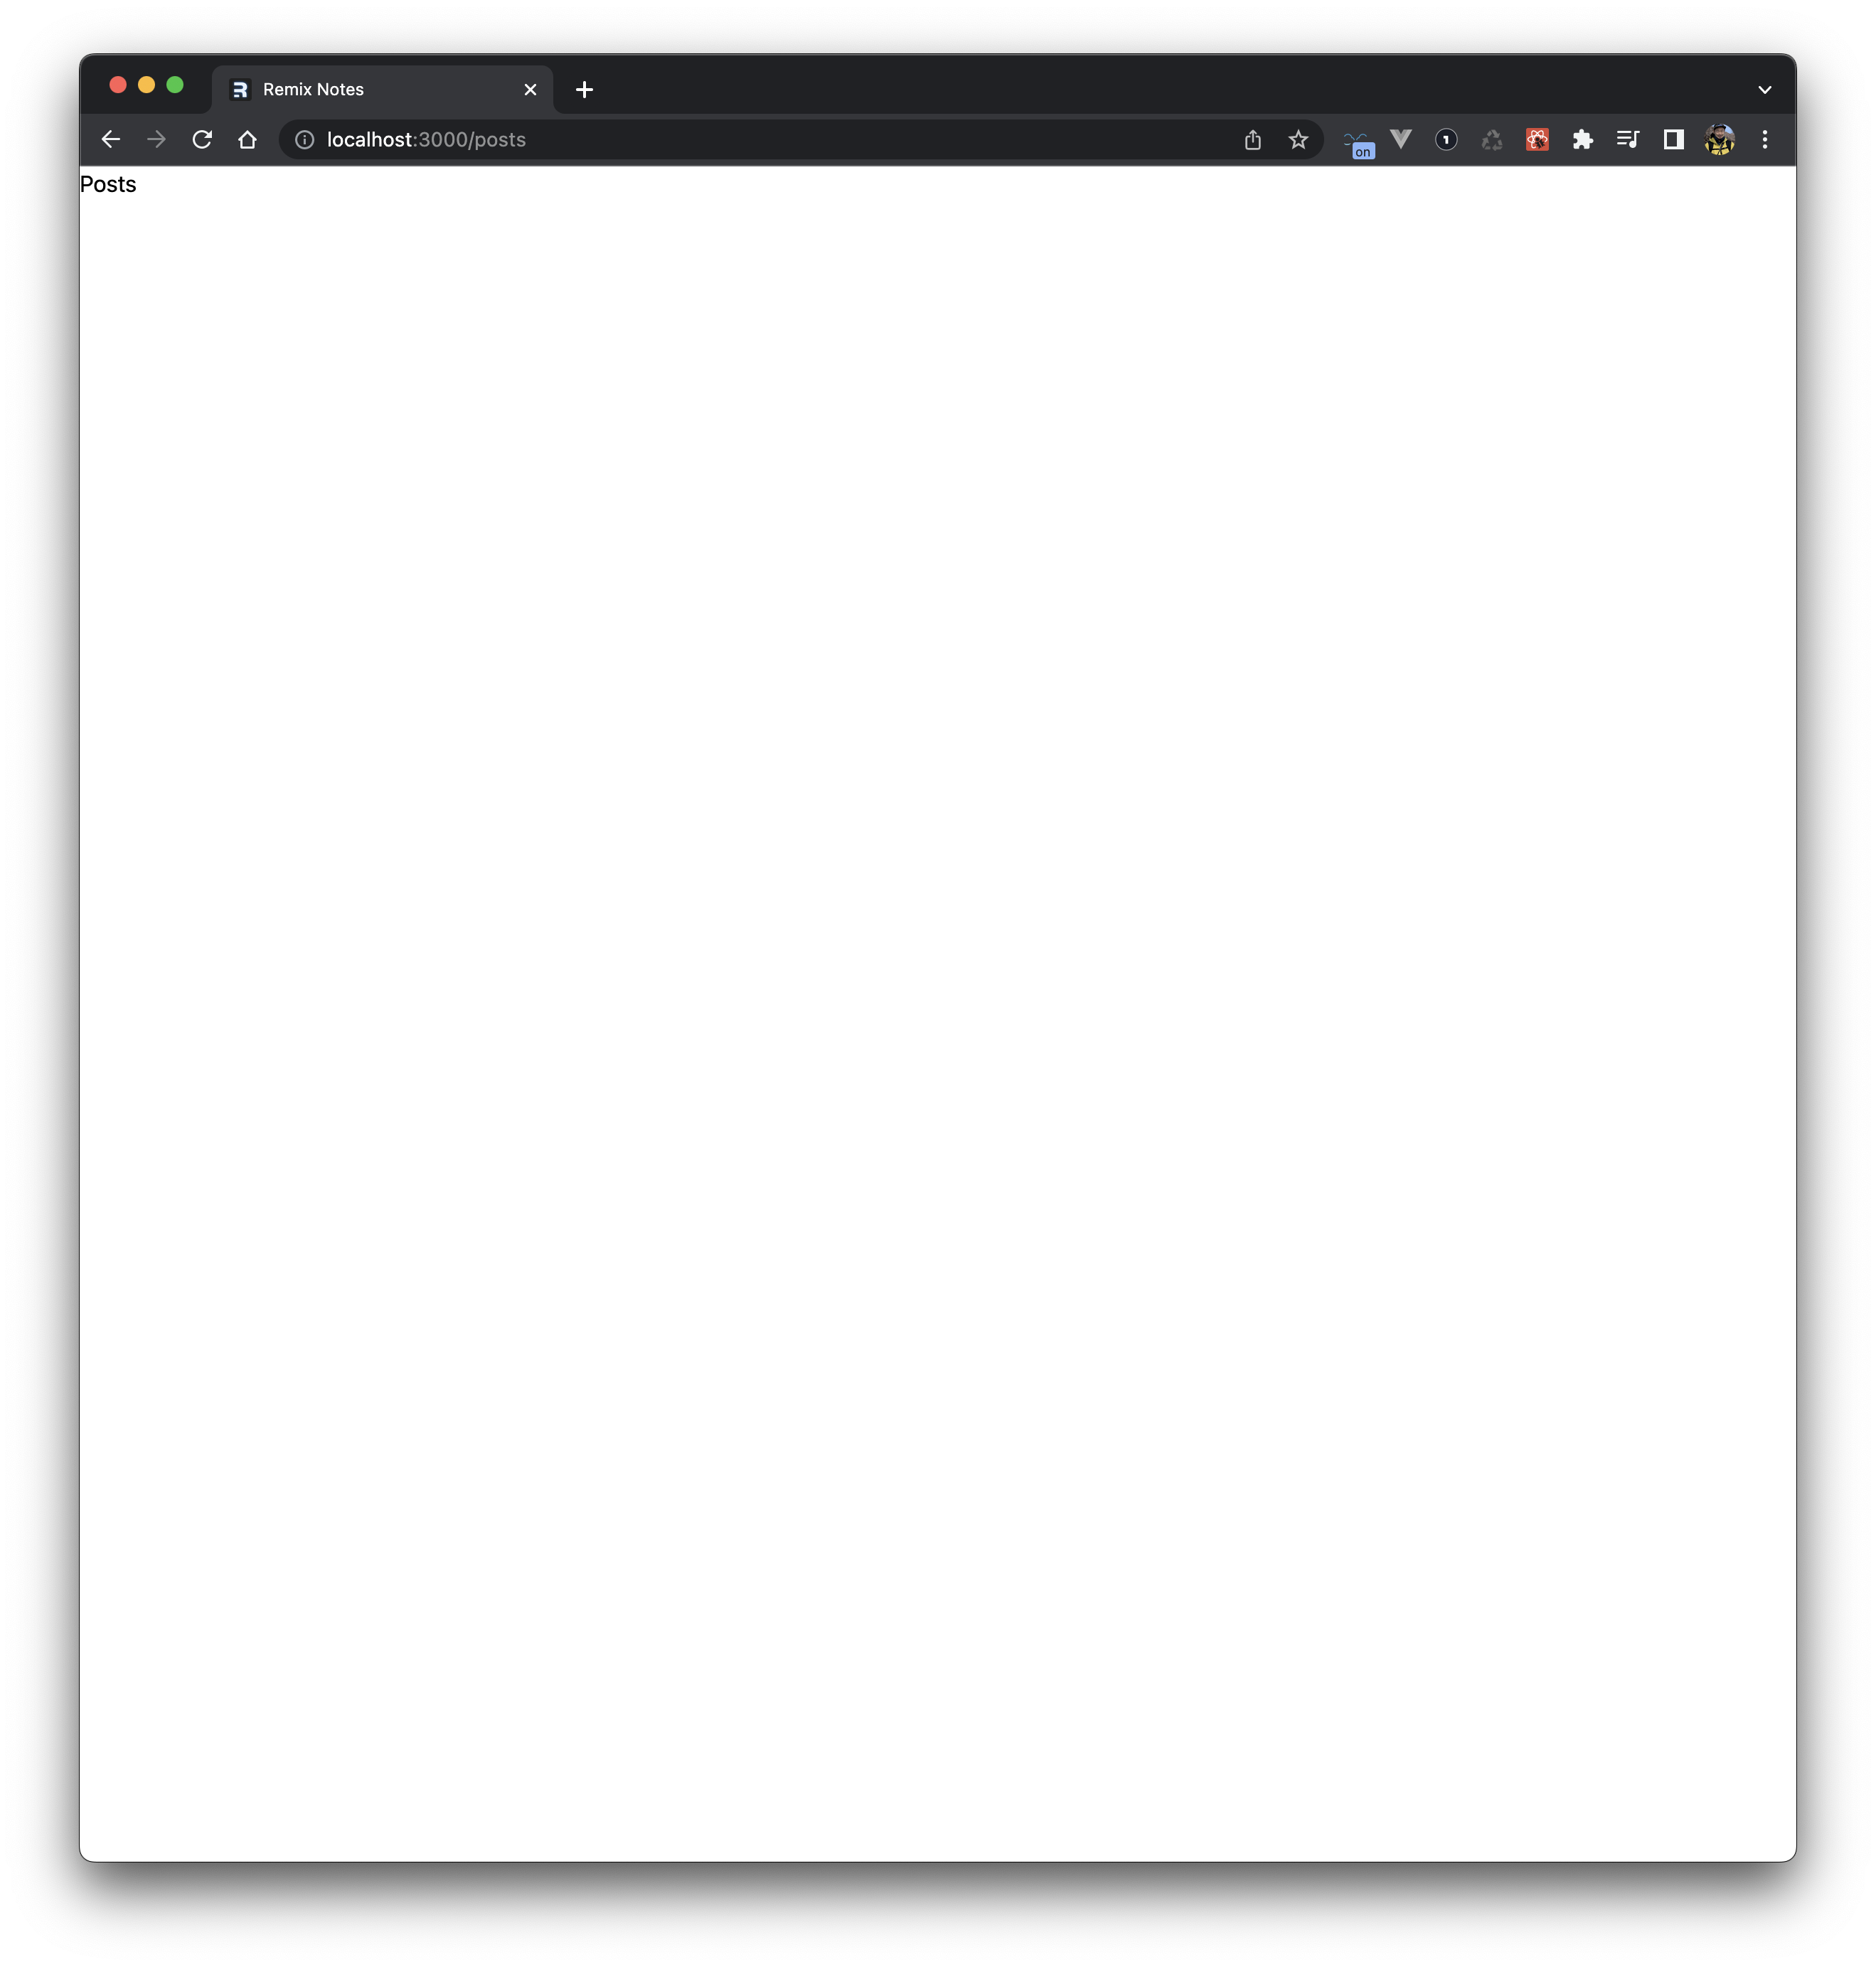
(左上に小さくPostsと表示されています)
データの読み込み
さきほどのposts/index.tsx に loader を追加、リンクを挿入します。
import { json } from "@remix-run/node";
import { Link, useLoaderData } from "@remix-run/react";
export const loader = async () => {
return json({
posts: [
{
slug: "my-first-post",
title: "My First Post",
},
{
slug: "90s-mixtape",
title: "A Mixtape I Made Just For You",
},
],
});
};
export default function Posts() {
const { posts } = useLoaderData();
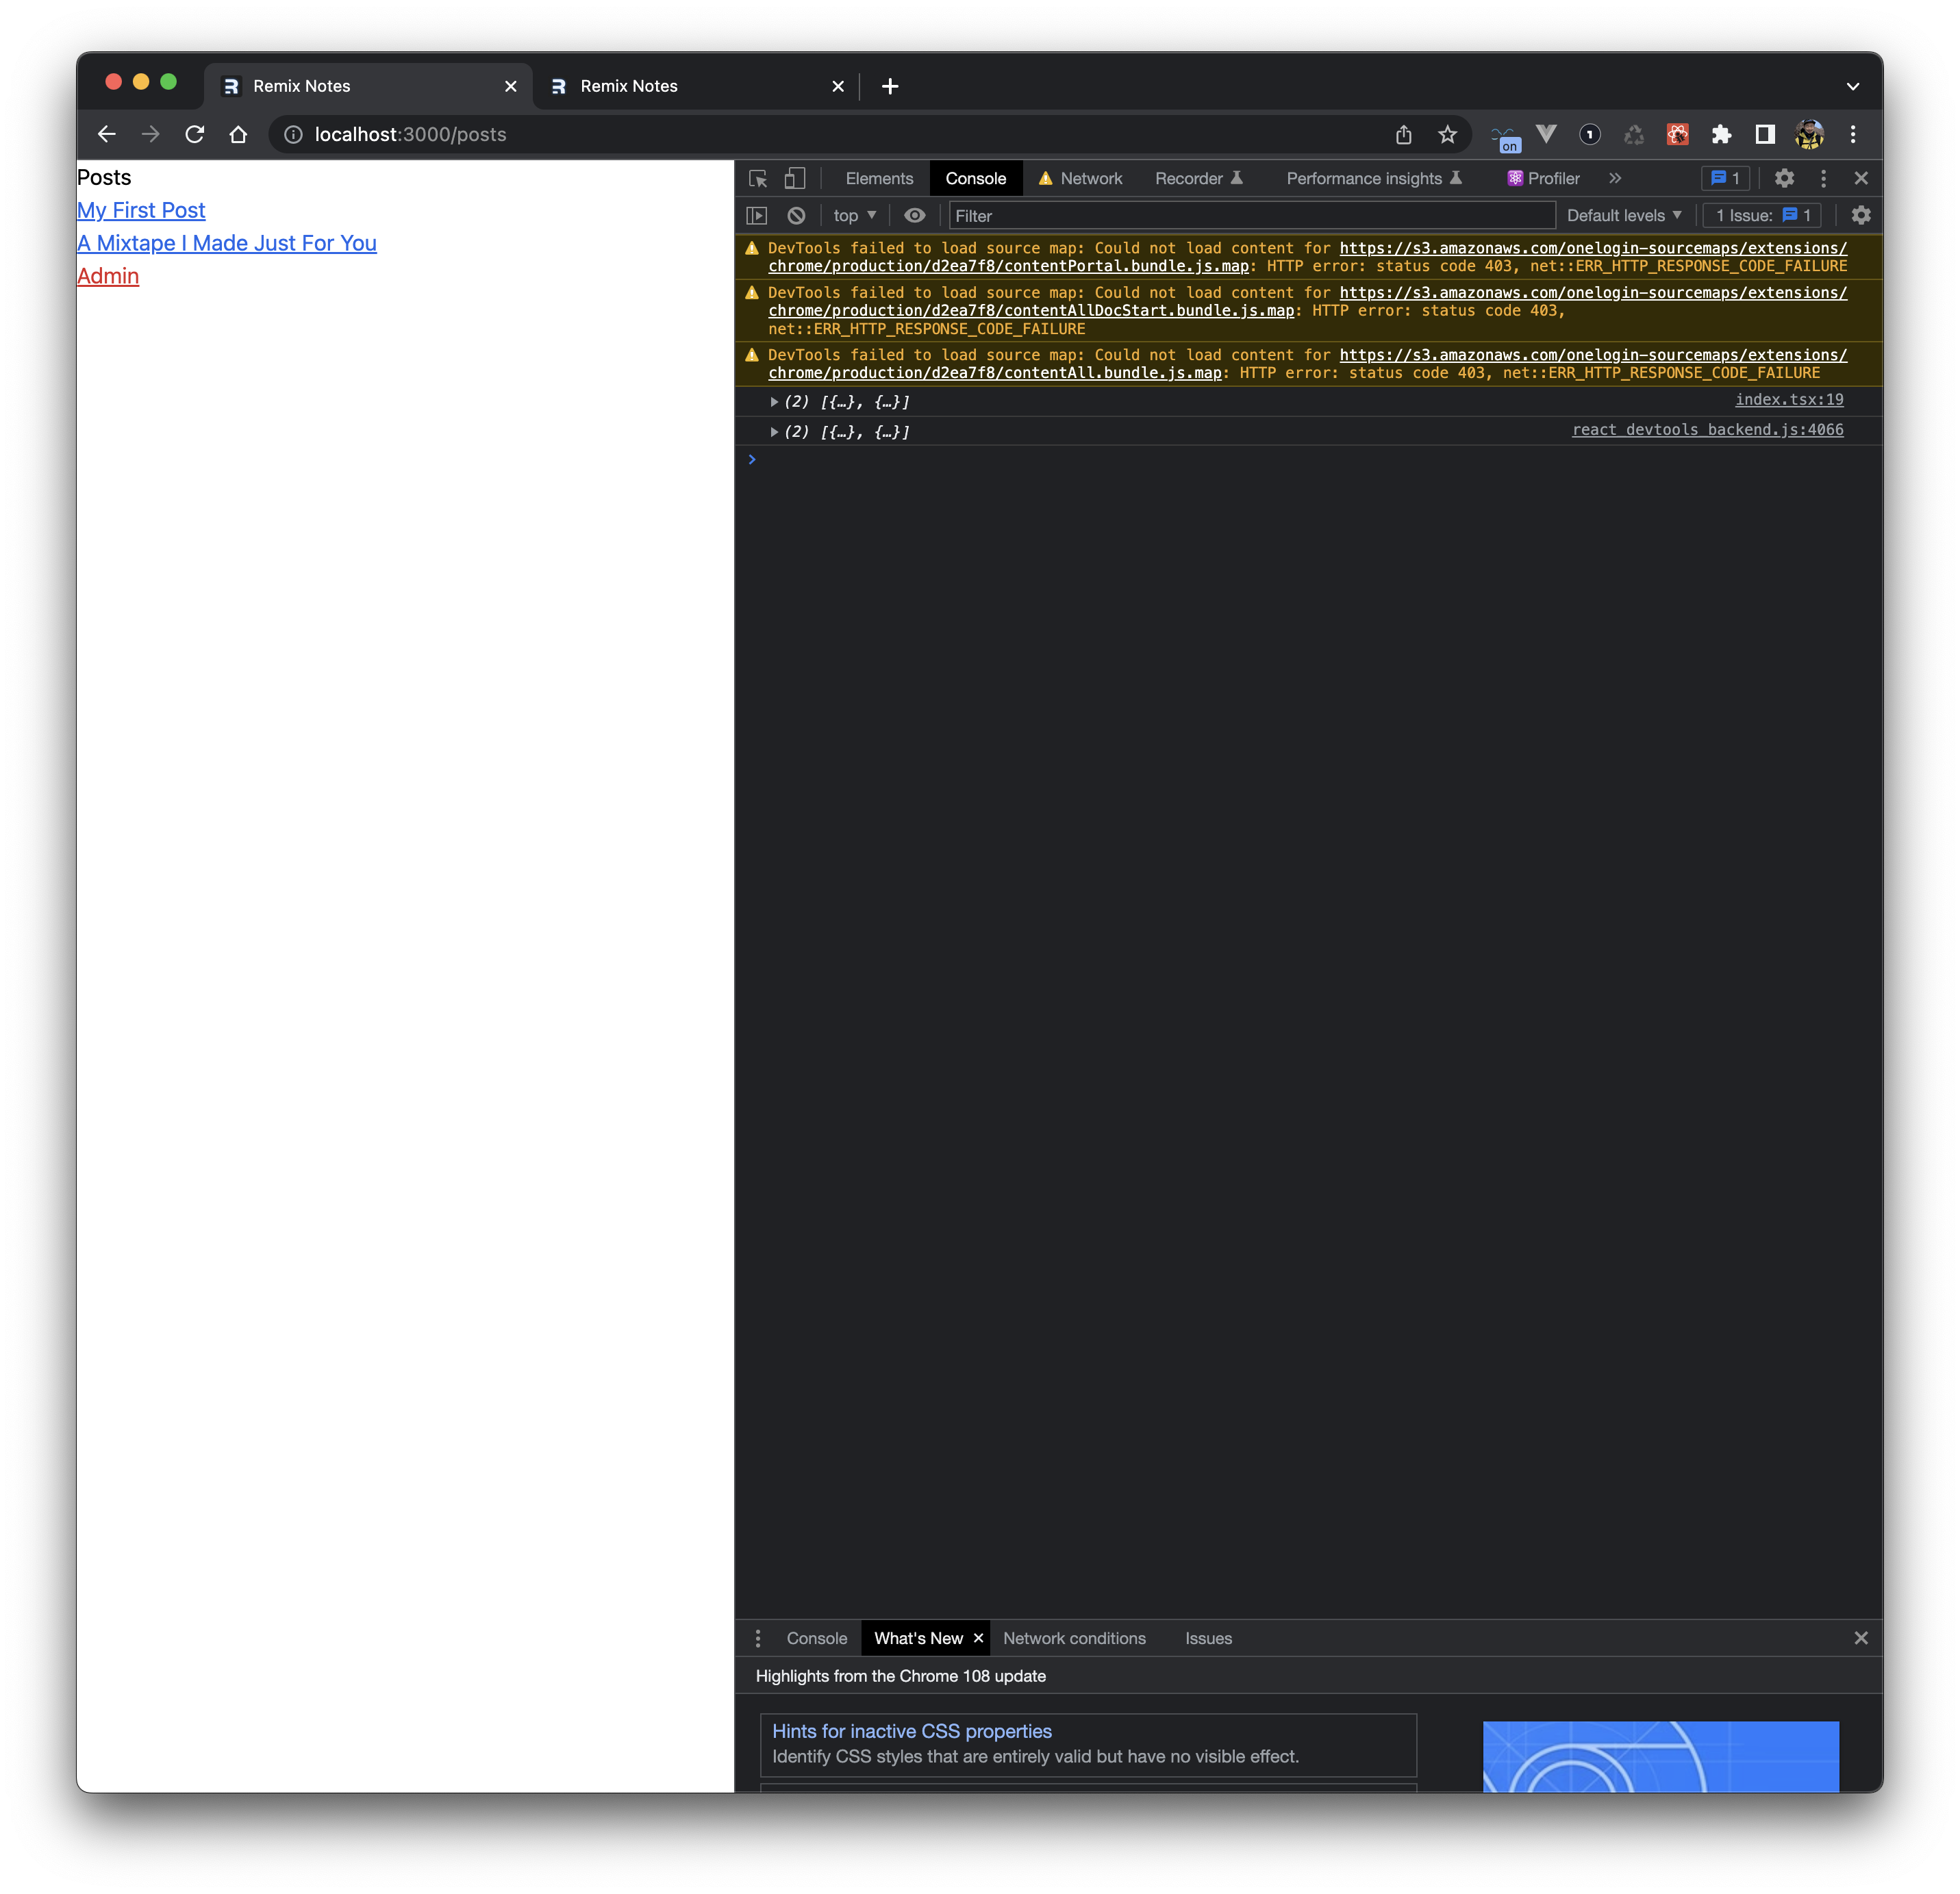
console.log(posts);
return (
<main>
<h1>Posts</h1>
<ul>
{posts.map((post) => (
<li key={post.slug}>
<Link
to={post.slug}
className="text-blue-600 underline"
>
{post.title}
</Link>
</li>
))}
</ul>
</main>
);
}
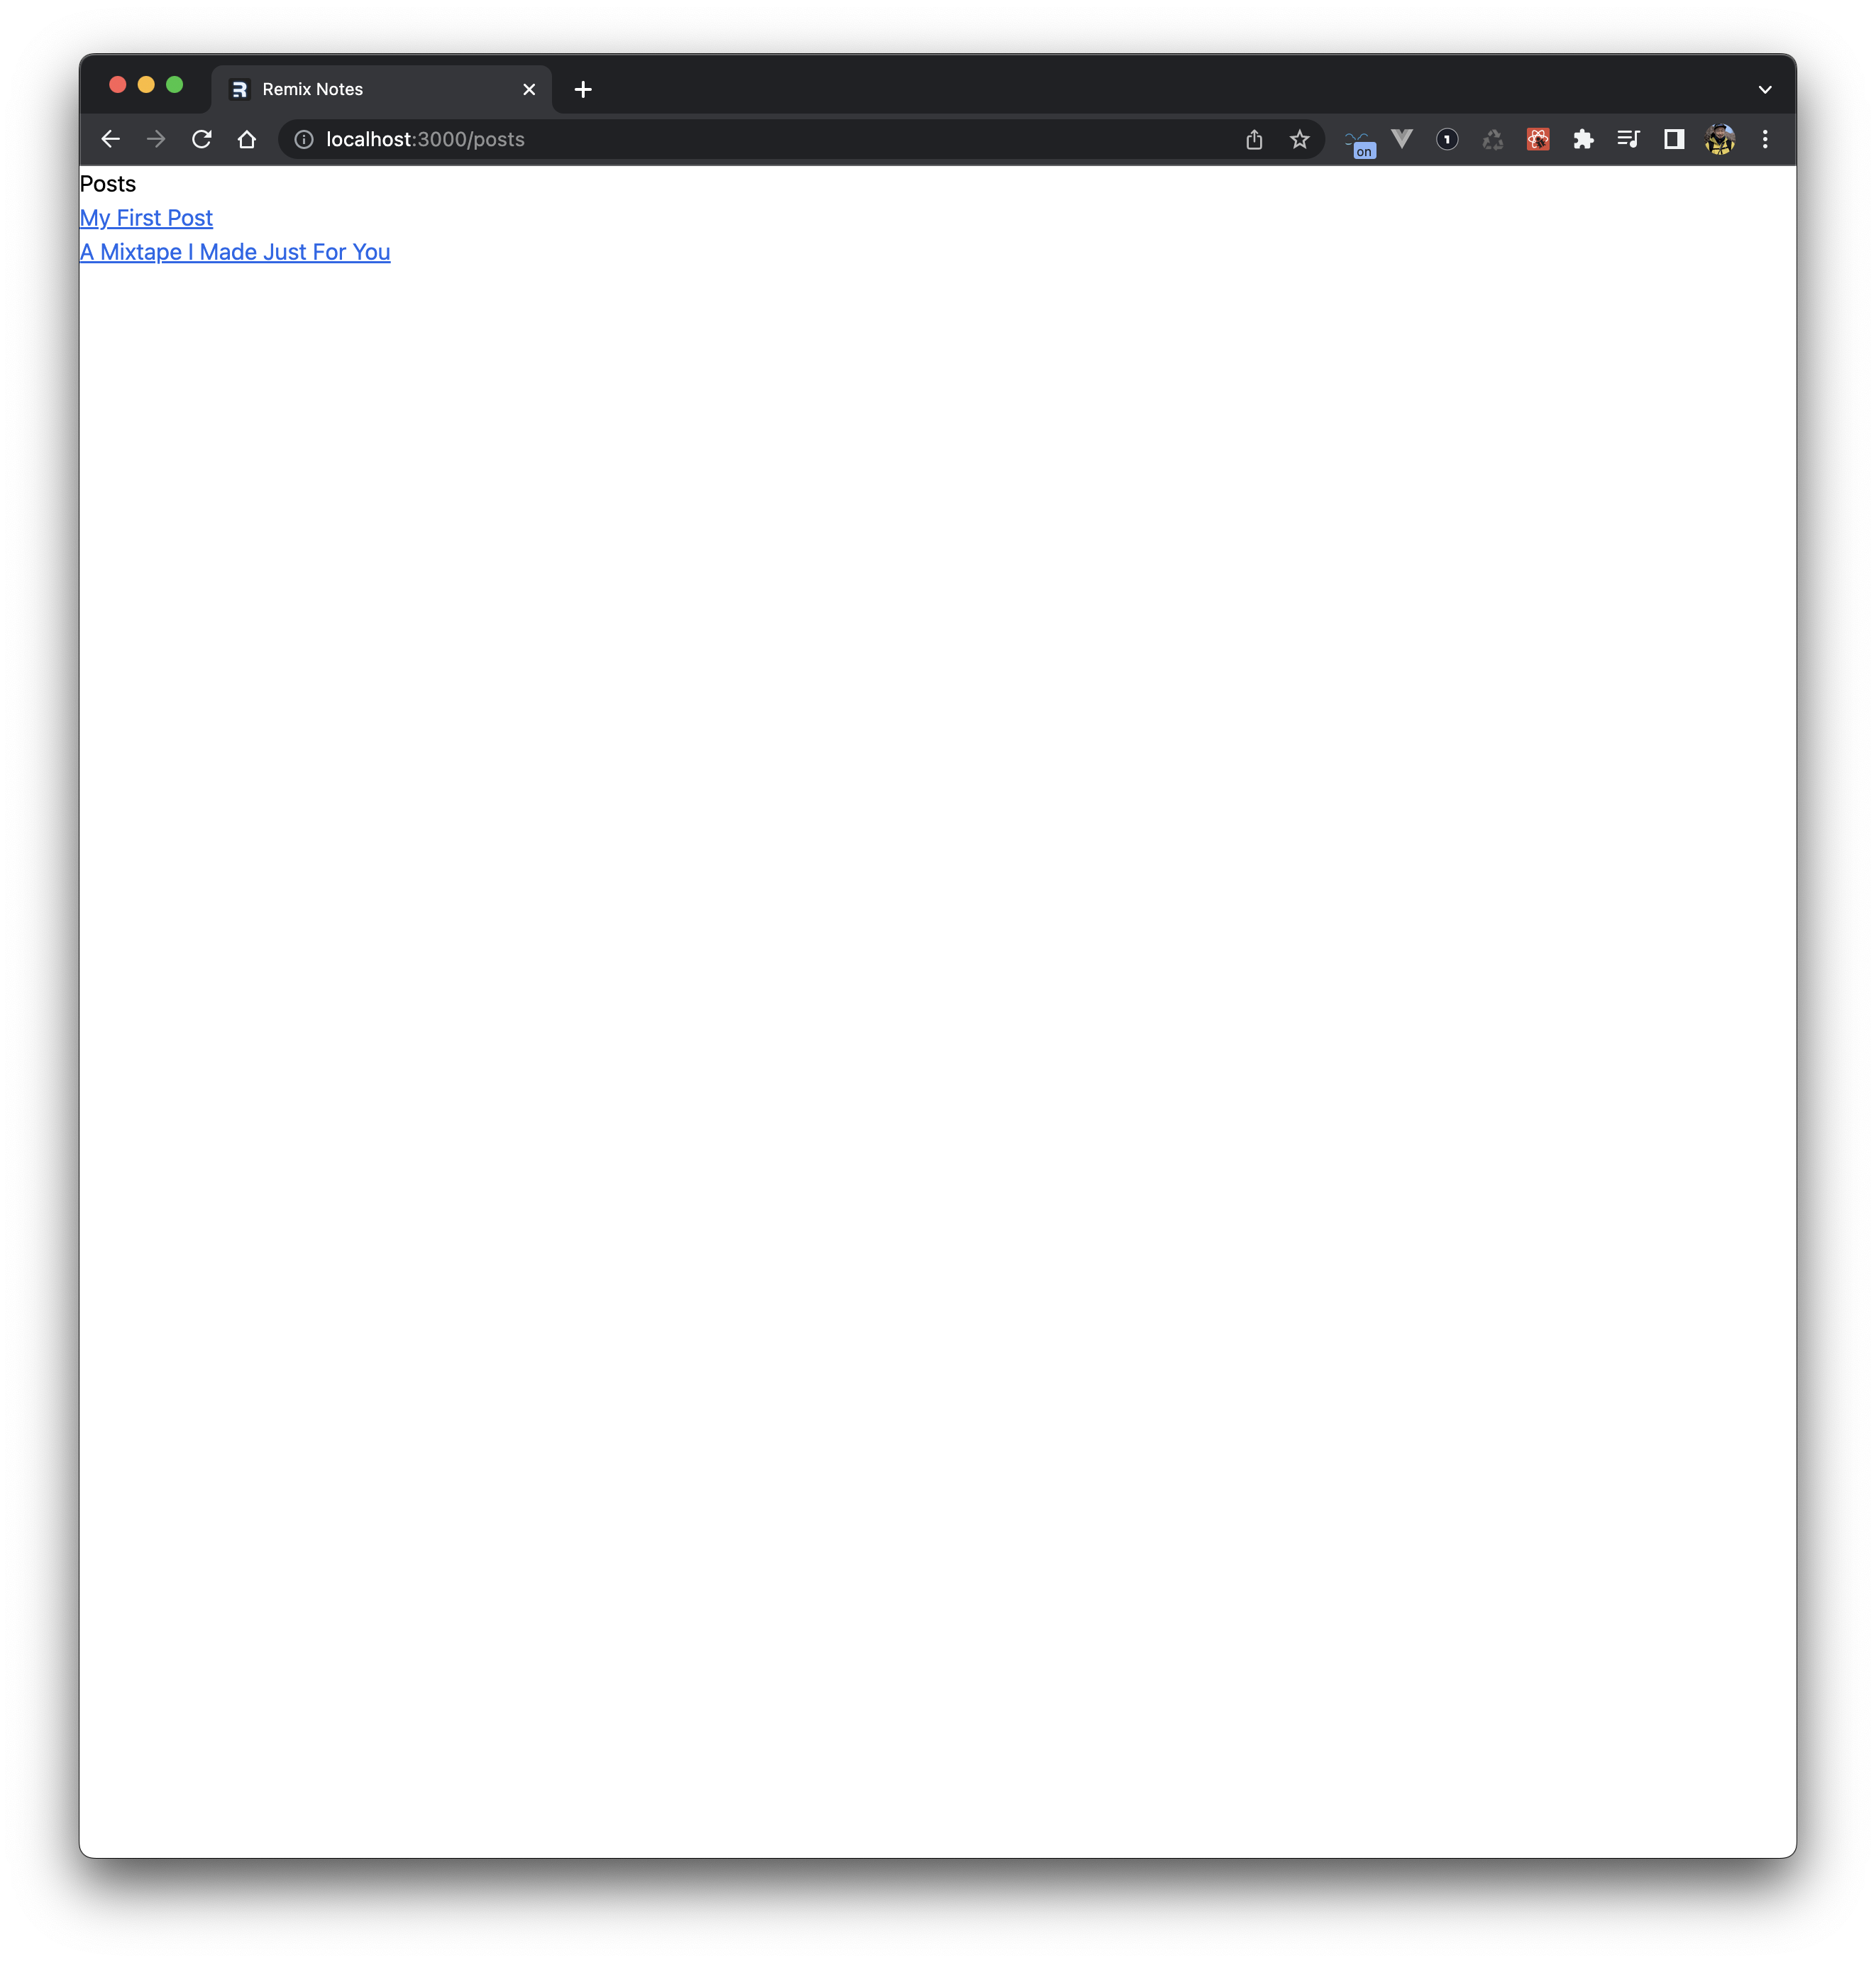
記事のタイトルとリンクが表示されました。
ちょっとしたリファクタリング
データを返すモジュール app/models/post.server.ts を作成します。
touch app/models/post.server.ts
type Post = {
  slug: string;
  title: string;
};

export async function getPosts(): Promise<Array<Post>> {
  return [
    {
      slug: "my-first-post",
      title: "My First Post",
    },
    {
      slug: "90s-mixtape",
      title: "A Mixtape I Made Just For You",
    },
  ];
}
先ほど作成した post/index.tsx で getPosts からデータを呼ぶようにします。
import { json } from "@remix-run/node";
import { Link, useLoaderData } from "@remix-run/react";

import { getPosts } from "~/models/post.server";

export const loader = async () => {
  return json({ posts: await getPosts() });
};

// ...
DBからデータを読む
Indie Stack には SQLite と ORMである Prisma が用意されているのでそれを使ってpostをDBから呼ぶようにしていきます。
// Stick this at the bottom of the file:

model Post {
  slug     String @id
  title    String
  markdown String

  createdAt DateTime @default(now())
  updatedAt DateTime @updatedAt
}
npx コマンドを叩きます。
$ npx prisma db push
いくつか投稿をprisma/seed.ts に追加します。
Prismaは初めてでしたがこちらはtsでかけるので違和感がないですね。
const posts = [
  {
    slug: "my-first-post",
    title: "My First Post",
    markdown: `
# This is my first post

Isn't it great?
    `.trim(),
  },
  {
    slug: "90s-mixtape",
    title: "A Mixtape I Made Just For You",
    markdown: `
# 90s Mixtape

- I wish (Skee-Lo)
- This Is How We Do It (Montell Jordan)
- Everlong (Foo Fighters)
- Ms. Jackson (Outkast)
- Interstate Love Song (Stone Temple Pilots)
- Killing Me Softly With His Song (Fugees, Ms. Lauryn Hill)
- Just a Friend (Biz Markie)
- The Man Who Sold The World (Nirvana)
- Semi-Charmed Life (Third Eye Blind)
- ...Baby One More Time (Britney Spears)
- Better Man (Pearl Jam)
- It's All Coming Back to Me Now (Céline Dion)
- This Kiss (Faith Hill)
- Fly Away (Lenny Kravits)
- Scar Tissue (Red Hot Chili Peppers)
- Santa Monica (Everclear)
- C'mon N' Ride it (Quad City DJ's)
    `.trim(),
  },
];

for (const post of posts) {
  await prisma.post.upsert({
    where: { slug: post.slug },
    update: post,
    create: post,
  });
}
DBに投稿を取り込みます。
$ npx prisma db seed
さらにマイグレーションファイルを生成します。
$ npx prisma migrate dev
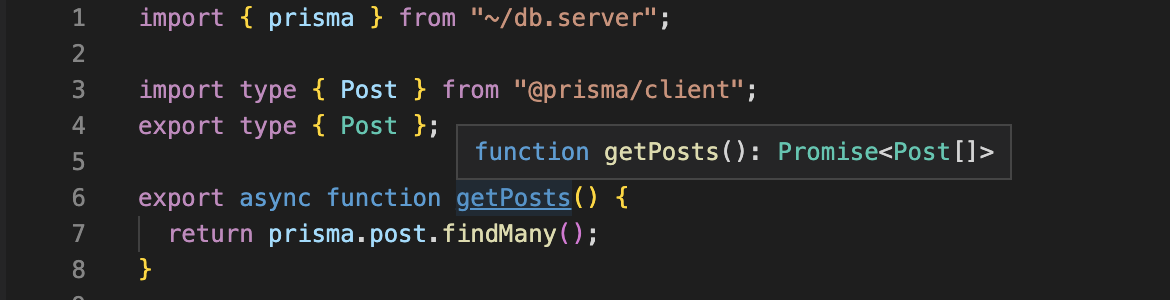
app/models/post.server.ts を更新し、DBから投稿を読むようにします。
import { prisma } from "~/db.server";

export async function getPosts() {
  return prisma.post.findMany();
}
Prismaを使用することによって手動で型付けしなくても post の型定義が活きていますね。
動的なルート
ブログの投稿単体ページによくある /posts/my-first-post や /posts/90s-mixtape のように動的なルートを作成します。
ファイルを作成、パラメータにアクセスするためのloaderを追加します。
touch app/routes/posts/$slug.tsx
import type { LoaderArgs } from "@remix-run/node";
import { json } from "@remix-run/node";
import { useLoaderData } from "@remix-run/react";

export const loader = async ({ params }: LoaderArgs) => {
  return json({ slug: params.slug });
};

export default function PostSlug() {
  const { slug } = useLoaderData<typeof loader>();
  return (
    <main className="mx-auto max-w-4xl">
      <h1 className="my-6 border-b-2 text-center text-3xl">
        Some Post: {slug}
      </h1>
    </main>
  );
}
投稿内容を表示するため、 getPostをmoduleに追加します。
import { prisma } from "~/db.server";

export type { Post } from "@prisma/client";

export async function getPosts() {
  return prisma.post.findMany();
}

export async function getPost(slug: string) {
  return prisma.post.findUnique({ where: { slug } });
}
$slug.tsx で getPostを使うようにします。
import type { LoaderArgs } from "@remix-run/node";
import { json } from "@remix-run/node";
import { useLoaderData } from "@remix-run/react";

import { getPost } from "~/models/post.server";

export const loader = async ({ params }: LoaderArgs) => {
  const post = await getPost(params.slug);
  return json({ post });
};

export default function PostSlug() {
  const { post } = useLoaderData<typeof loader>();
  return (
    <main className="mx-auto max-w-4xl">
      <h1 className="my-6 border-b-2 text-center text-3xl">
        {post.title}
      </h1>
    </main>
  );
}
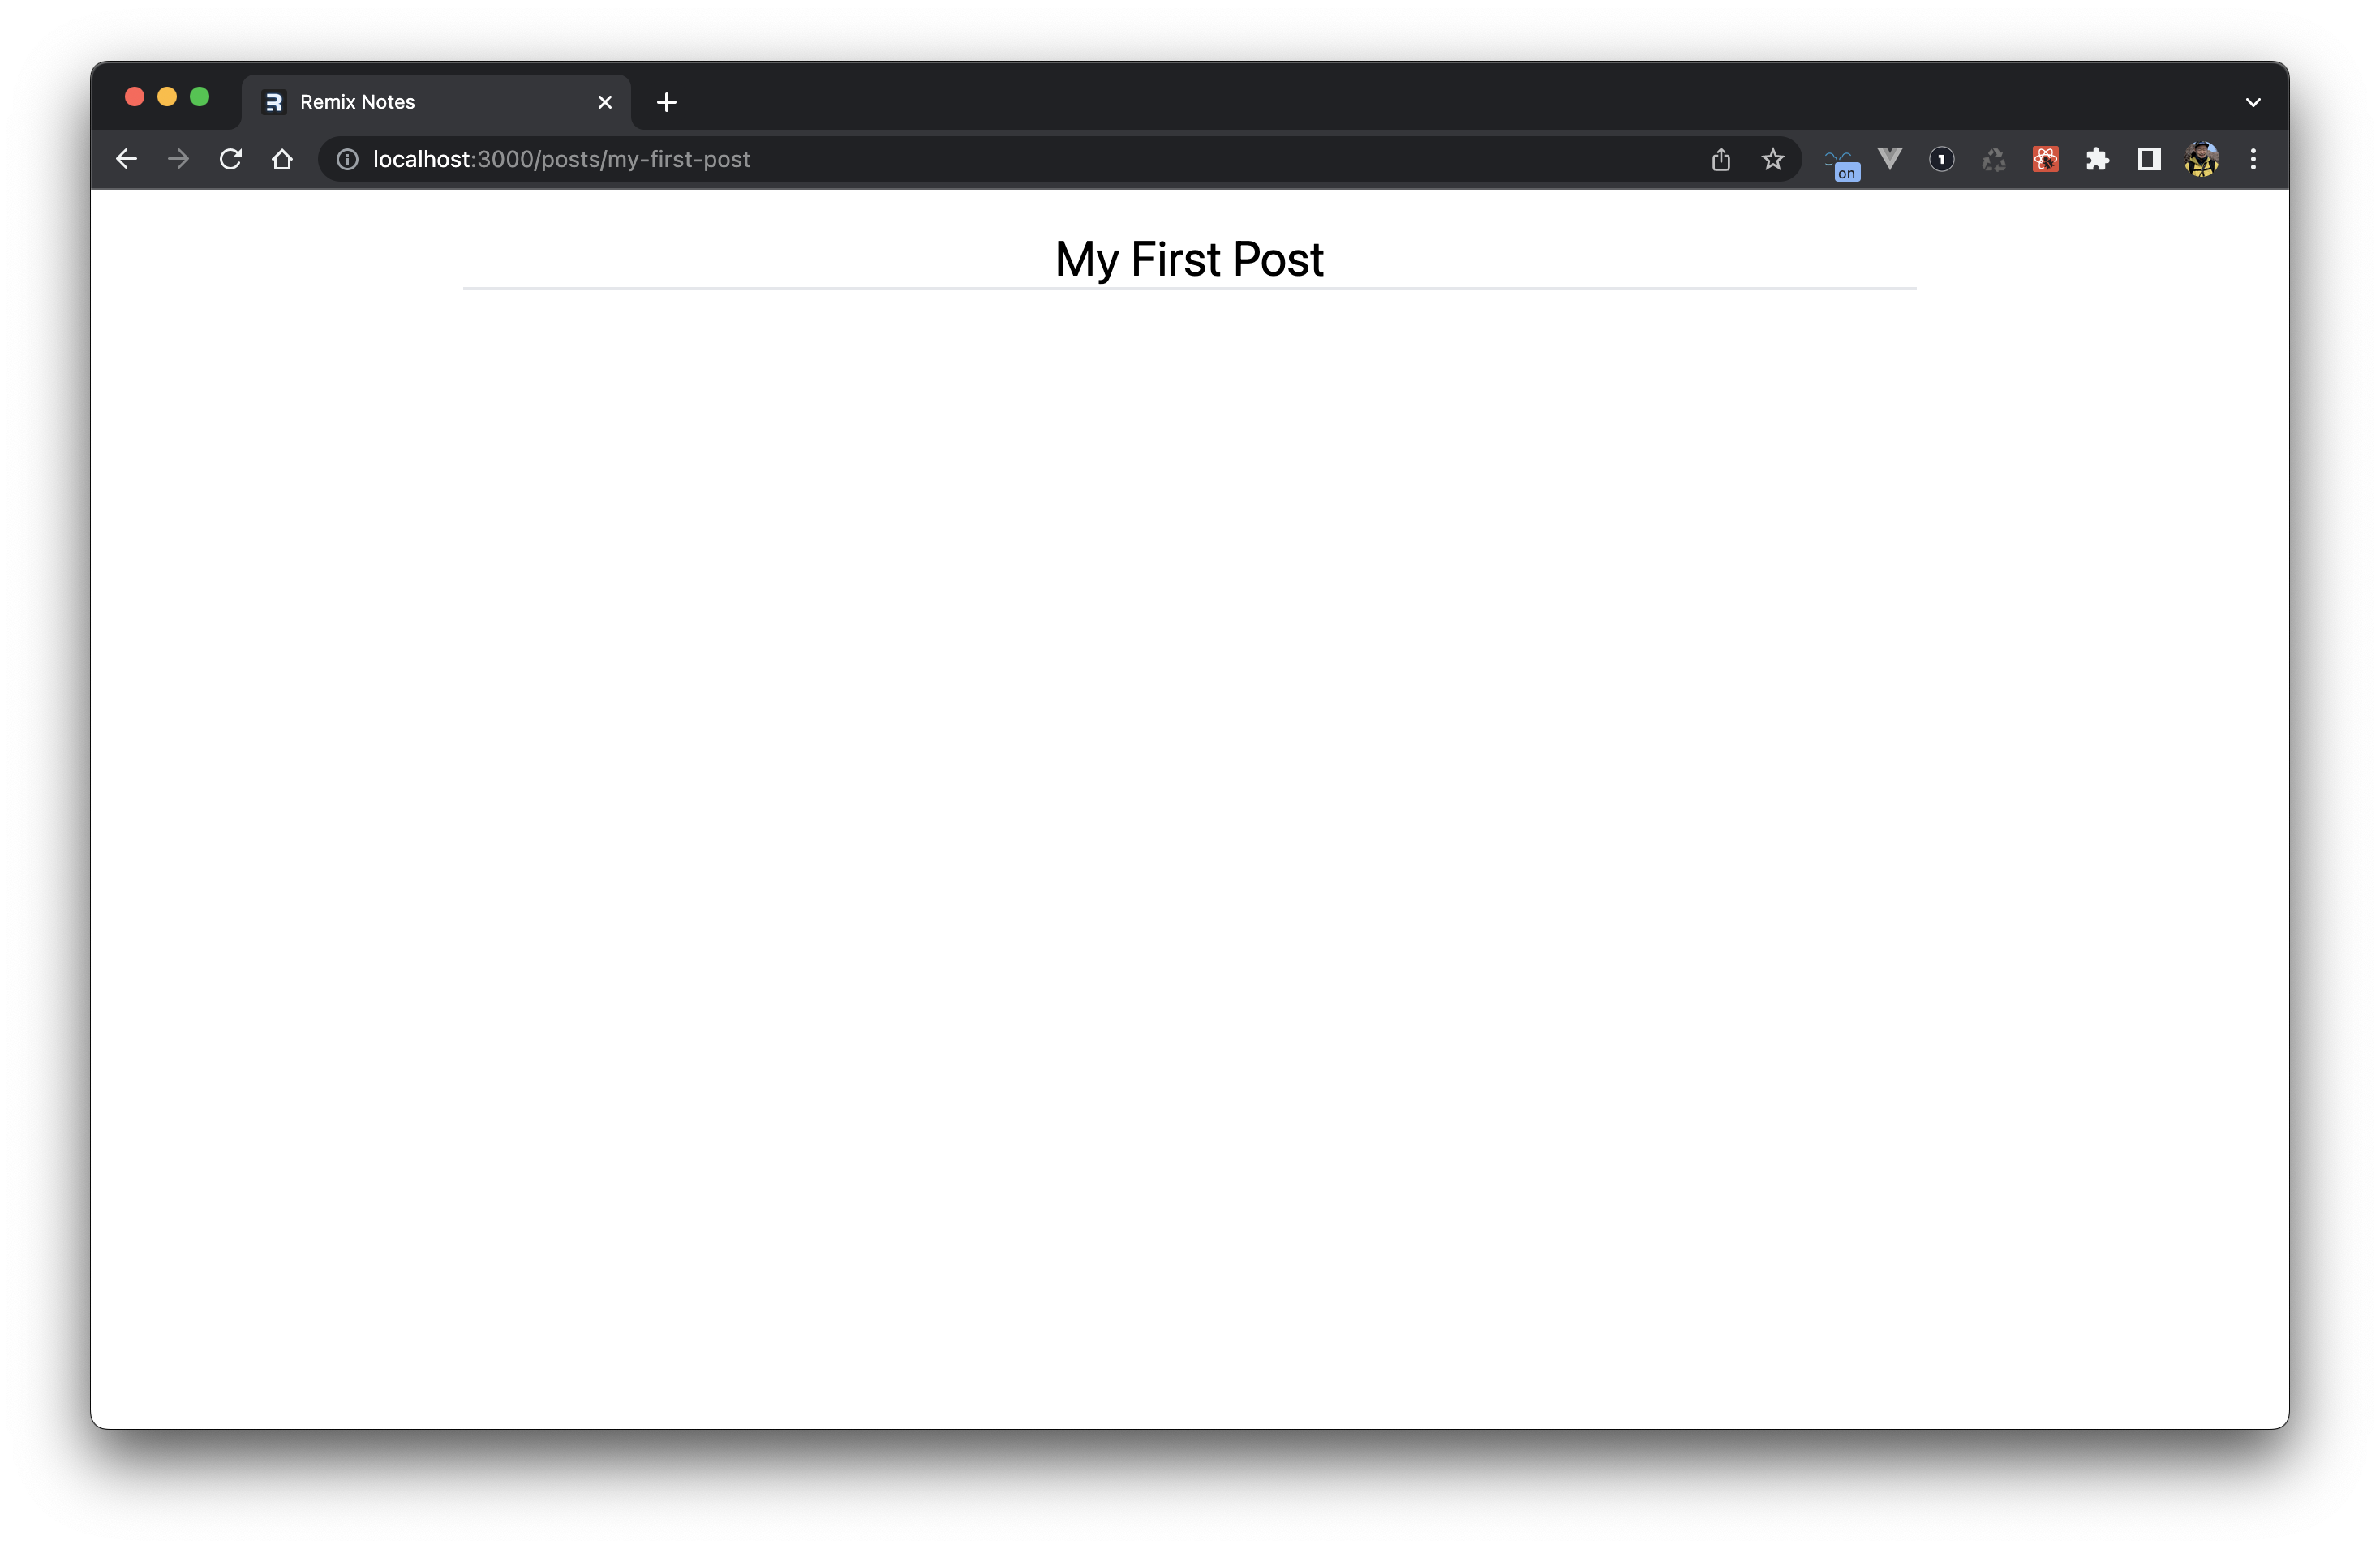
urlのmy-first-postというslugからその投稿のタイトルが動的に表示されるようになりました。
チュートリアルではさらにTypeScriptを使ってより安全なページにしていきます。
先ほどの状態ではいくつかTSによる指摘がありました。
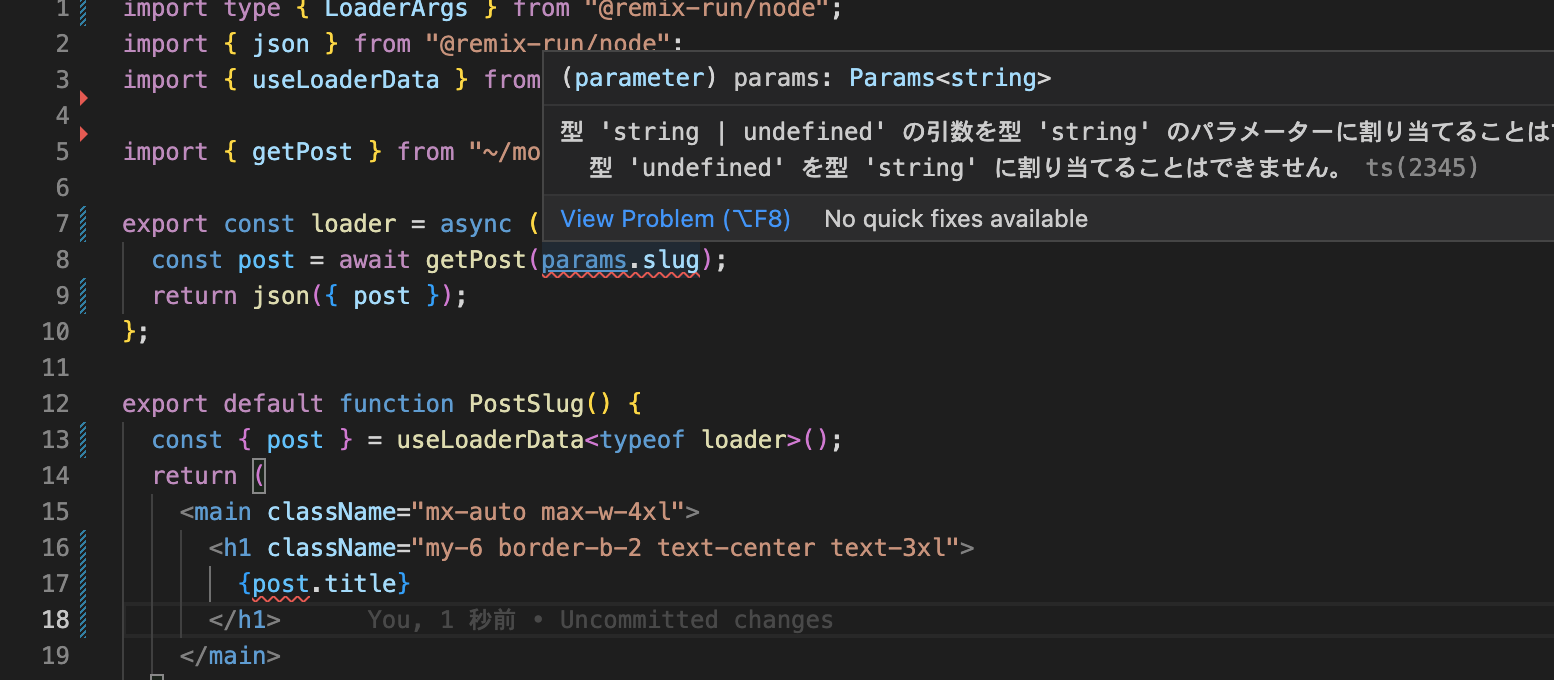
それをinvariant() を使用し params.slug や post の検証を追加しました。
import type { LoaderArgs } from "@remix-run/node";
import { json } from "@remix-run/node";
import { useLoaderData } from "@remix-run/react";
import invariant from "tiny-invariant";

import { getPost } from "~/models/post.server";

export const loader = async ({ params }: LoaderArgs) => {
  invariant(params.slug, `params.slug is required`);

  const post = await getPost(params.slug);
  invariant(post, `Post not found: ${params.slug}`);

  return json({ post });
};

export default function PostSlug() {
  const { post } = useLoaderData<typeof loader>();
  return (
    <main className="mx-auto max-w-4xl">
      <h1 className="my-6 border-b-2 text-center text-3xl">
        {post.title}
      </h1>
    </main>
  );
}
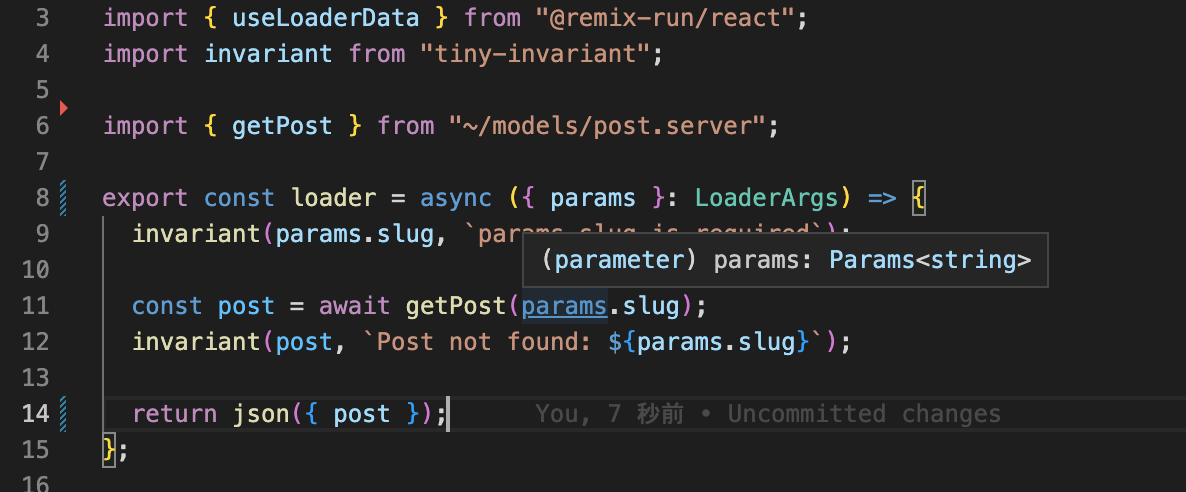
TSの指摘も消えました。
続いて投稿内容である markdown を HTMLにパースします。
moduleを追加します。
npm add marked
# if using typescript
npm add @types/marked -D
marked がインストールされ、再度 npm run dev を実行します。
markedを使い post.markdown をHTMLとして出力させます。
import type { LoaderArgs } from "@remix-run/node";
import { json } from "@remix-run/node";
import { useLoaderData } from "@remix-run/react";
import { marked } from "marked";
import invariant from "tiny-invariant";

import { getPost } from "~/models/post.server";

export const loader = async ({ params }: LoaderArgs) => {
  invariant(params.slug, `params.slug is required`);

  const post = await getPost(params.slug);
  invariant(post, `Post not found: ${params.slug}`);

  const html = marked(post.markdown);
  return json({ post, html });
};

export default function PostSlug() {
  const { post, html } = useLoaderData<typeof loader>();
  return (
    <main className="mx-auto max-w-4xl">
      <h1 className="my-6 border-b-2 text-center text-3xl">
        {post.title}
      </h1>
      <div dangerouslySetInnerHTML={{ __html: html }} />
    </main>
  );
}
const html = marked(post.markdown); でmarkdownがhtmlに解析され、テンプレート側では dangerouslySetInnerHTML() で出力されます。
普段 Vue.jsを使っているので dangerouslySetInnerHTML というメソッドには驚きましたがXSSが心配ないところで使うのがよさそうですね。
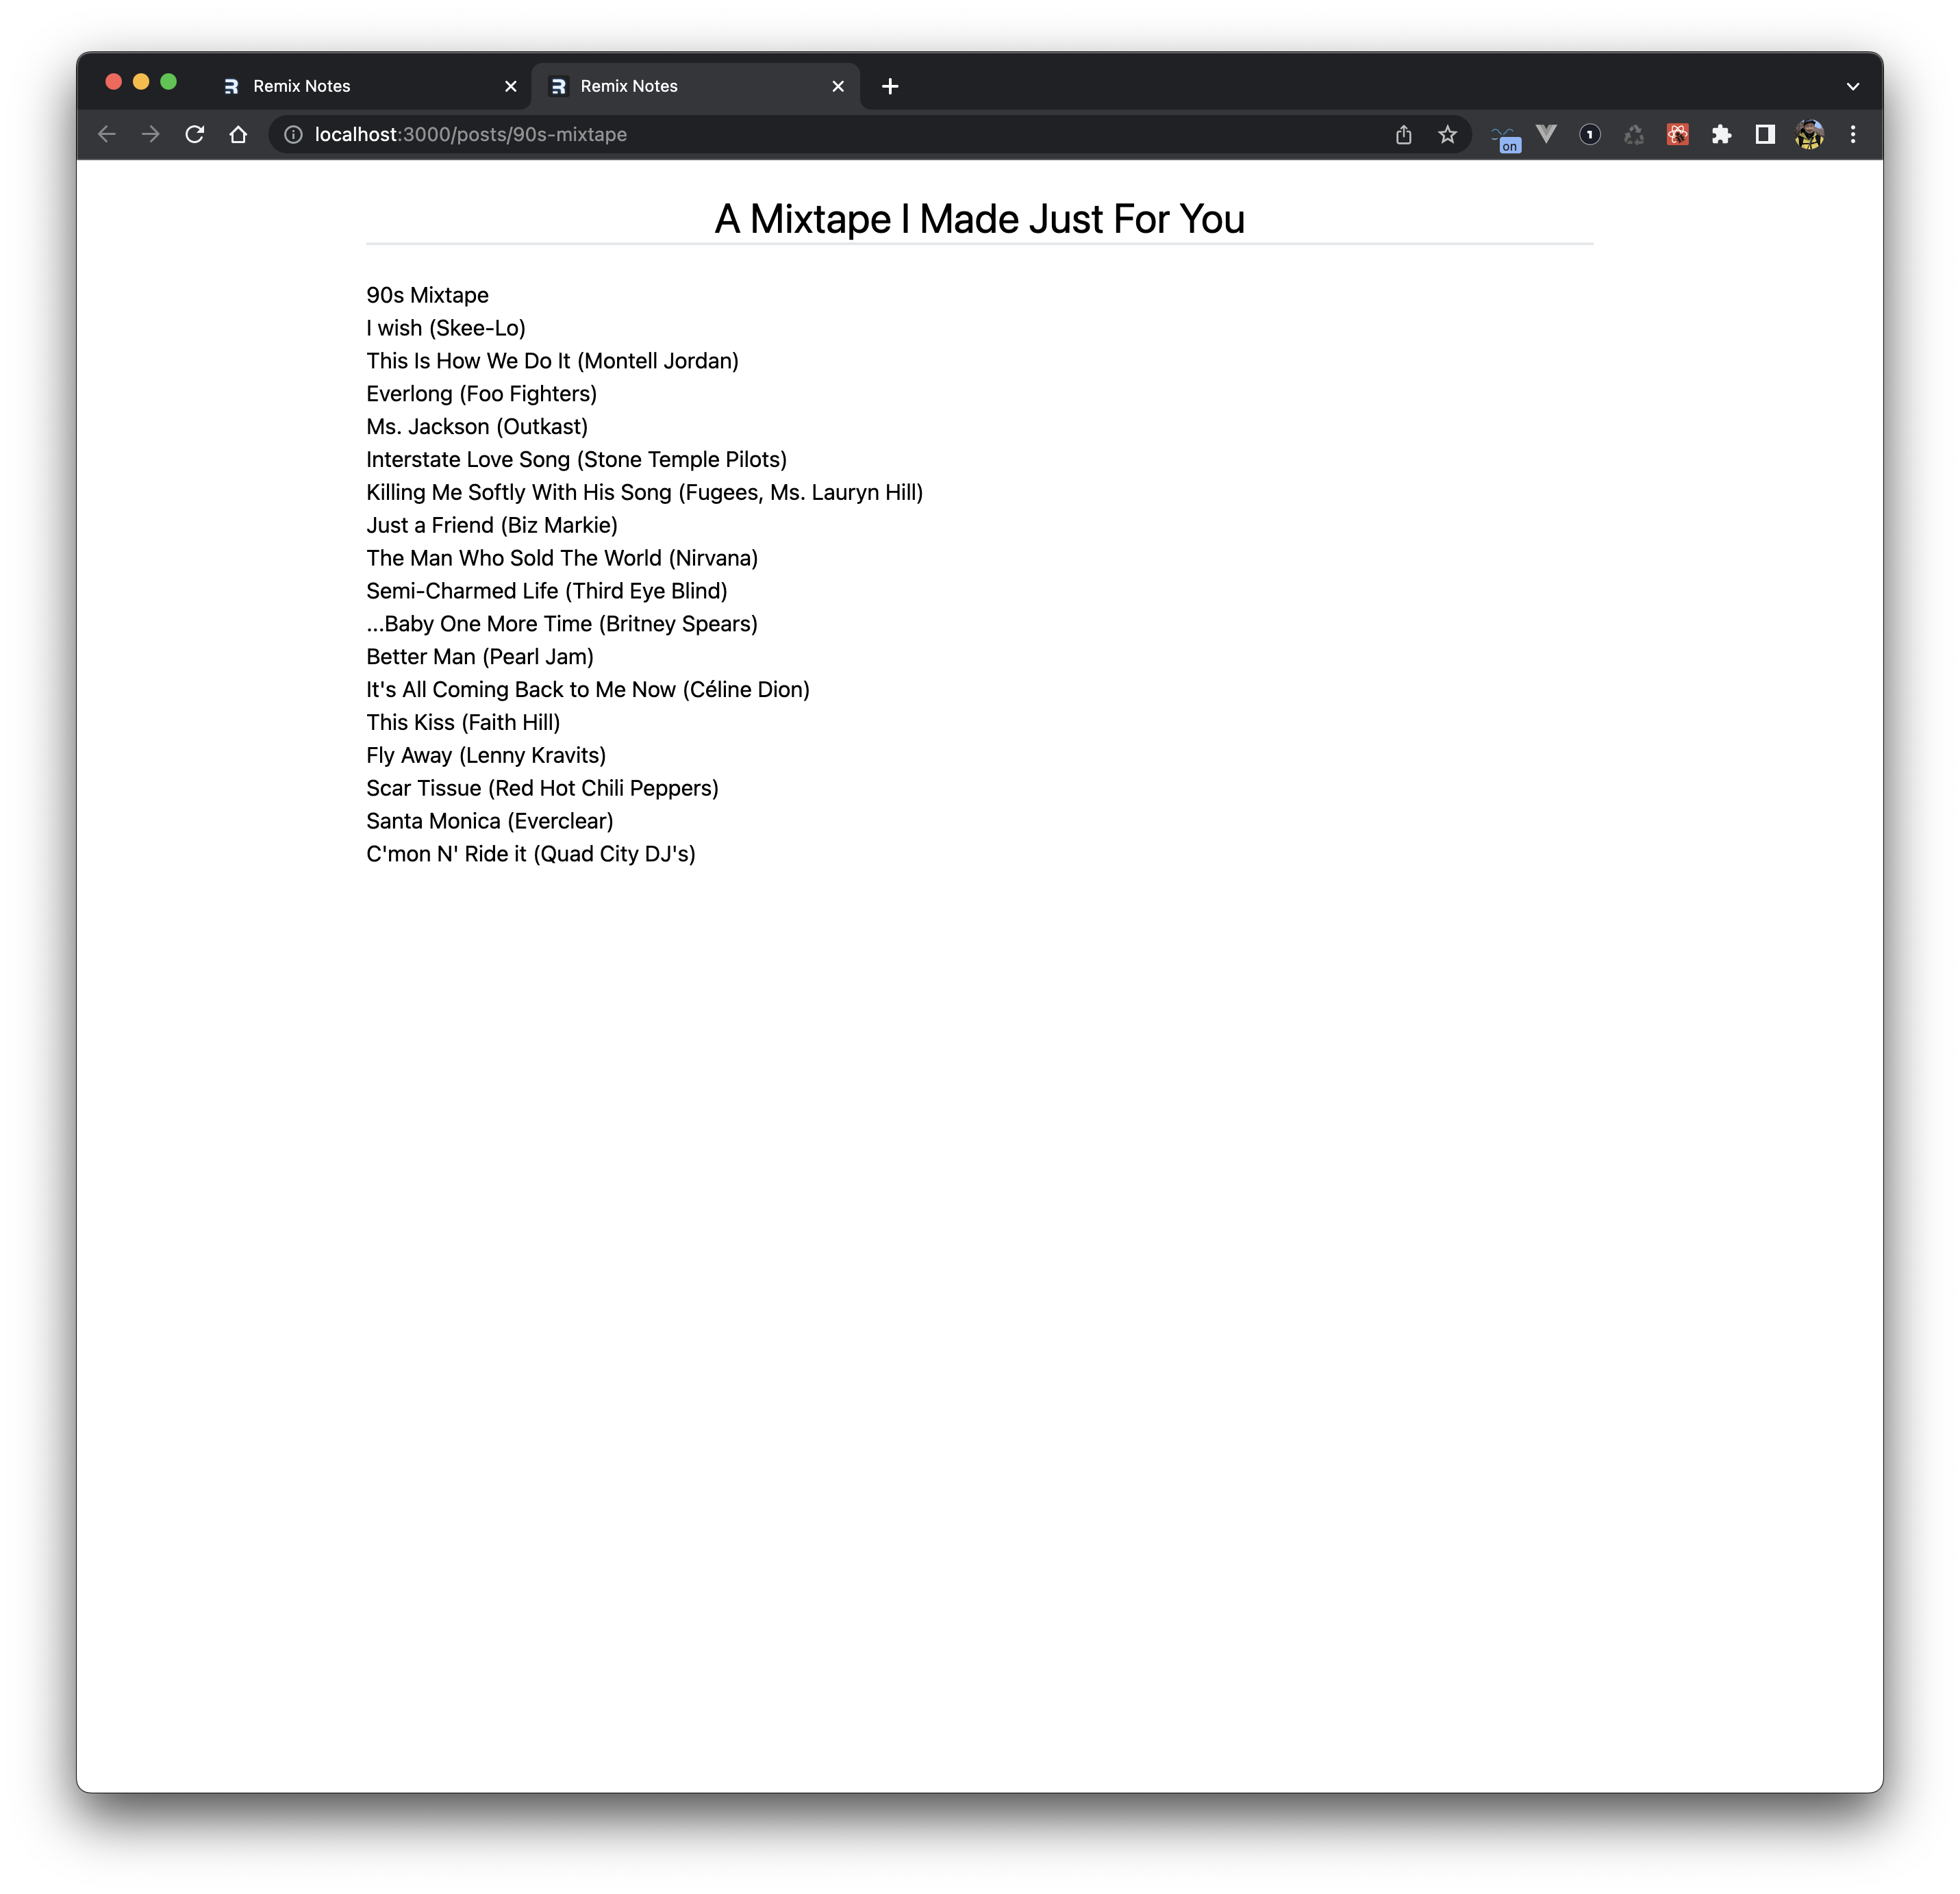
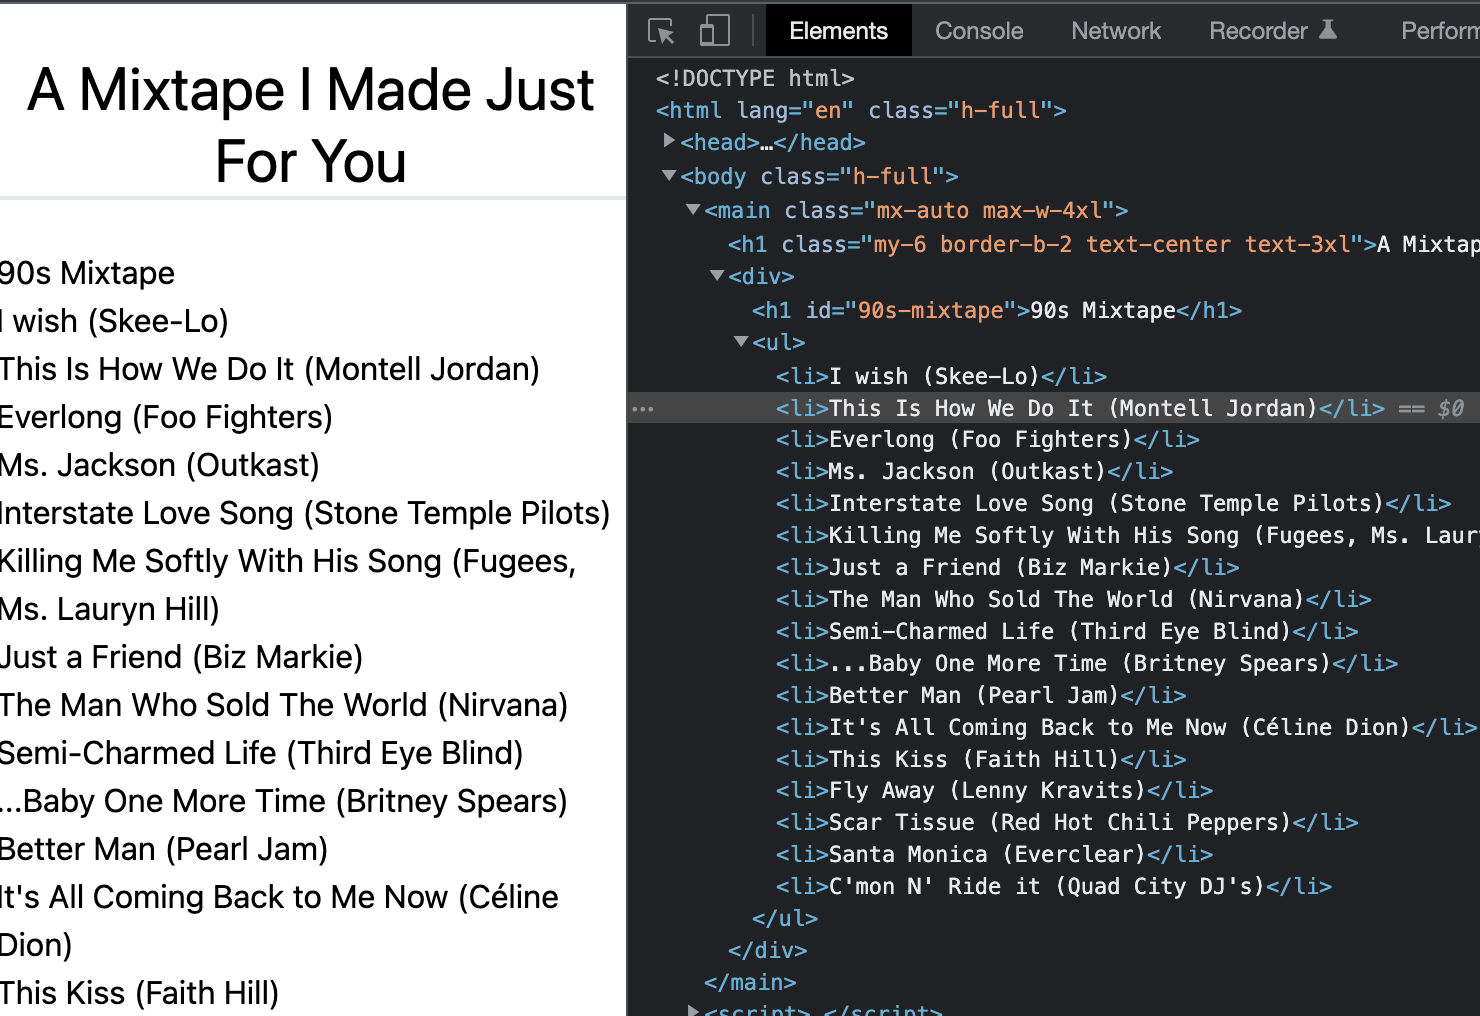
投稿の内容がHTMLとして出力・表示されました。
ネストされたルート
/posts 配下にネストされたルートを作成します。
まずは /posts/admin へのリンクを追加します。
// ...
<Link to="admin" className="text-red-600 underline">
  Admin
</Link>
// ...
続いて実際に /posts/admin ルートを作成していきます。
touch app/routes/posts/admin.tsx
import { json } from "@remix-run/node";
import { Link, useLoaderData } from "@remix-run/react";

import { getPosts } from "~/models/post.server";

export const loader = async () => {
  return json({ posts: await getPosts() });
};

export default function PostAdmin() {
  const { posts } = useLoaderData<typeof loader>();
  return (
    <div className="mx-auto max-w-4xl">
      <h1 className="my-6 mb-2 border-b-2 text-center text-3xl">
        Blog Admin
      </h1>
      <div className="grid grid-cols-4 gap-6">
        <nav className="col-span-4 md:col-span-1">
          <ul>
            {posts.map((post) => (
              <li key={post.slug}>
                <Link
                  to={post.slug}
                  className="text-blue-600 underline"
                >
                  {post.title}
                </Link>
              </li>
            ))}
          </ul>
        </nav>
        <main className="col-span-4 md:col-span-3">
          ...
        </main>
      </div>
    </div>
  );
}
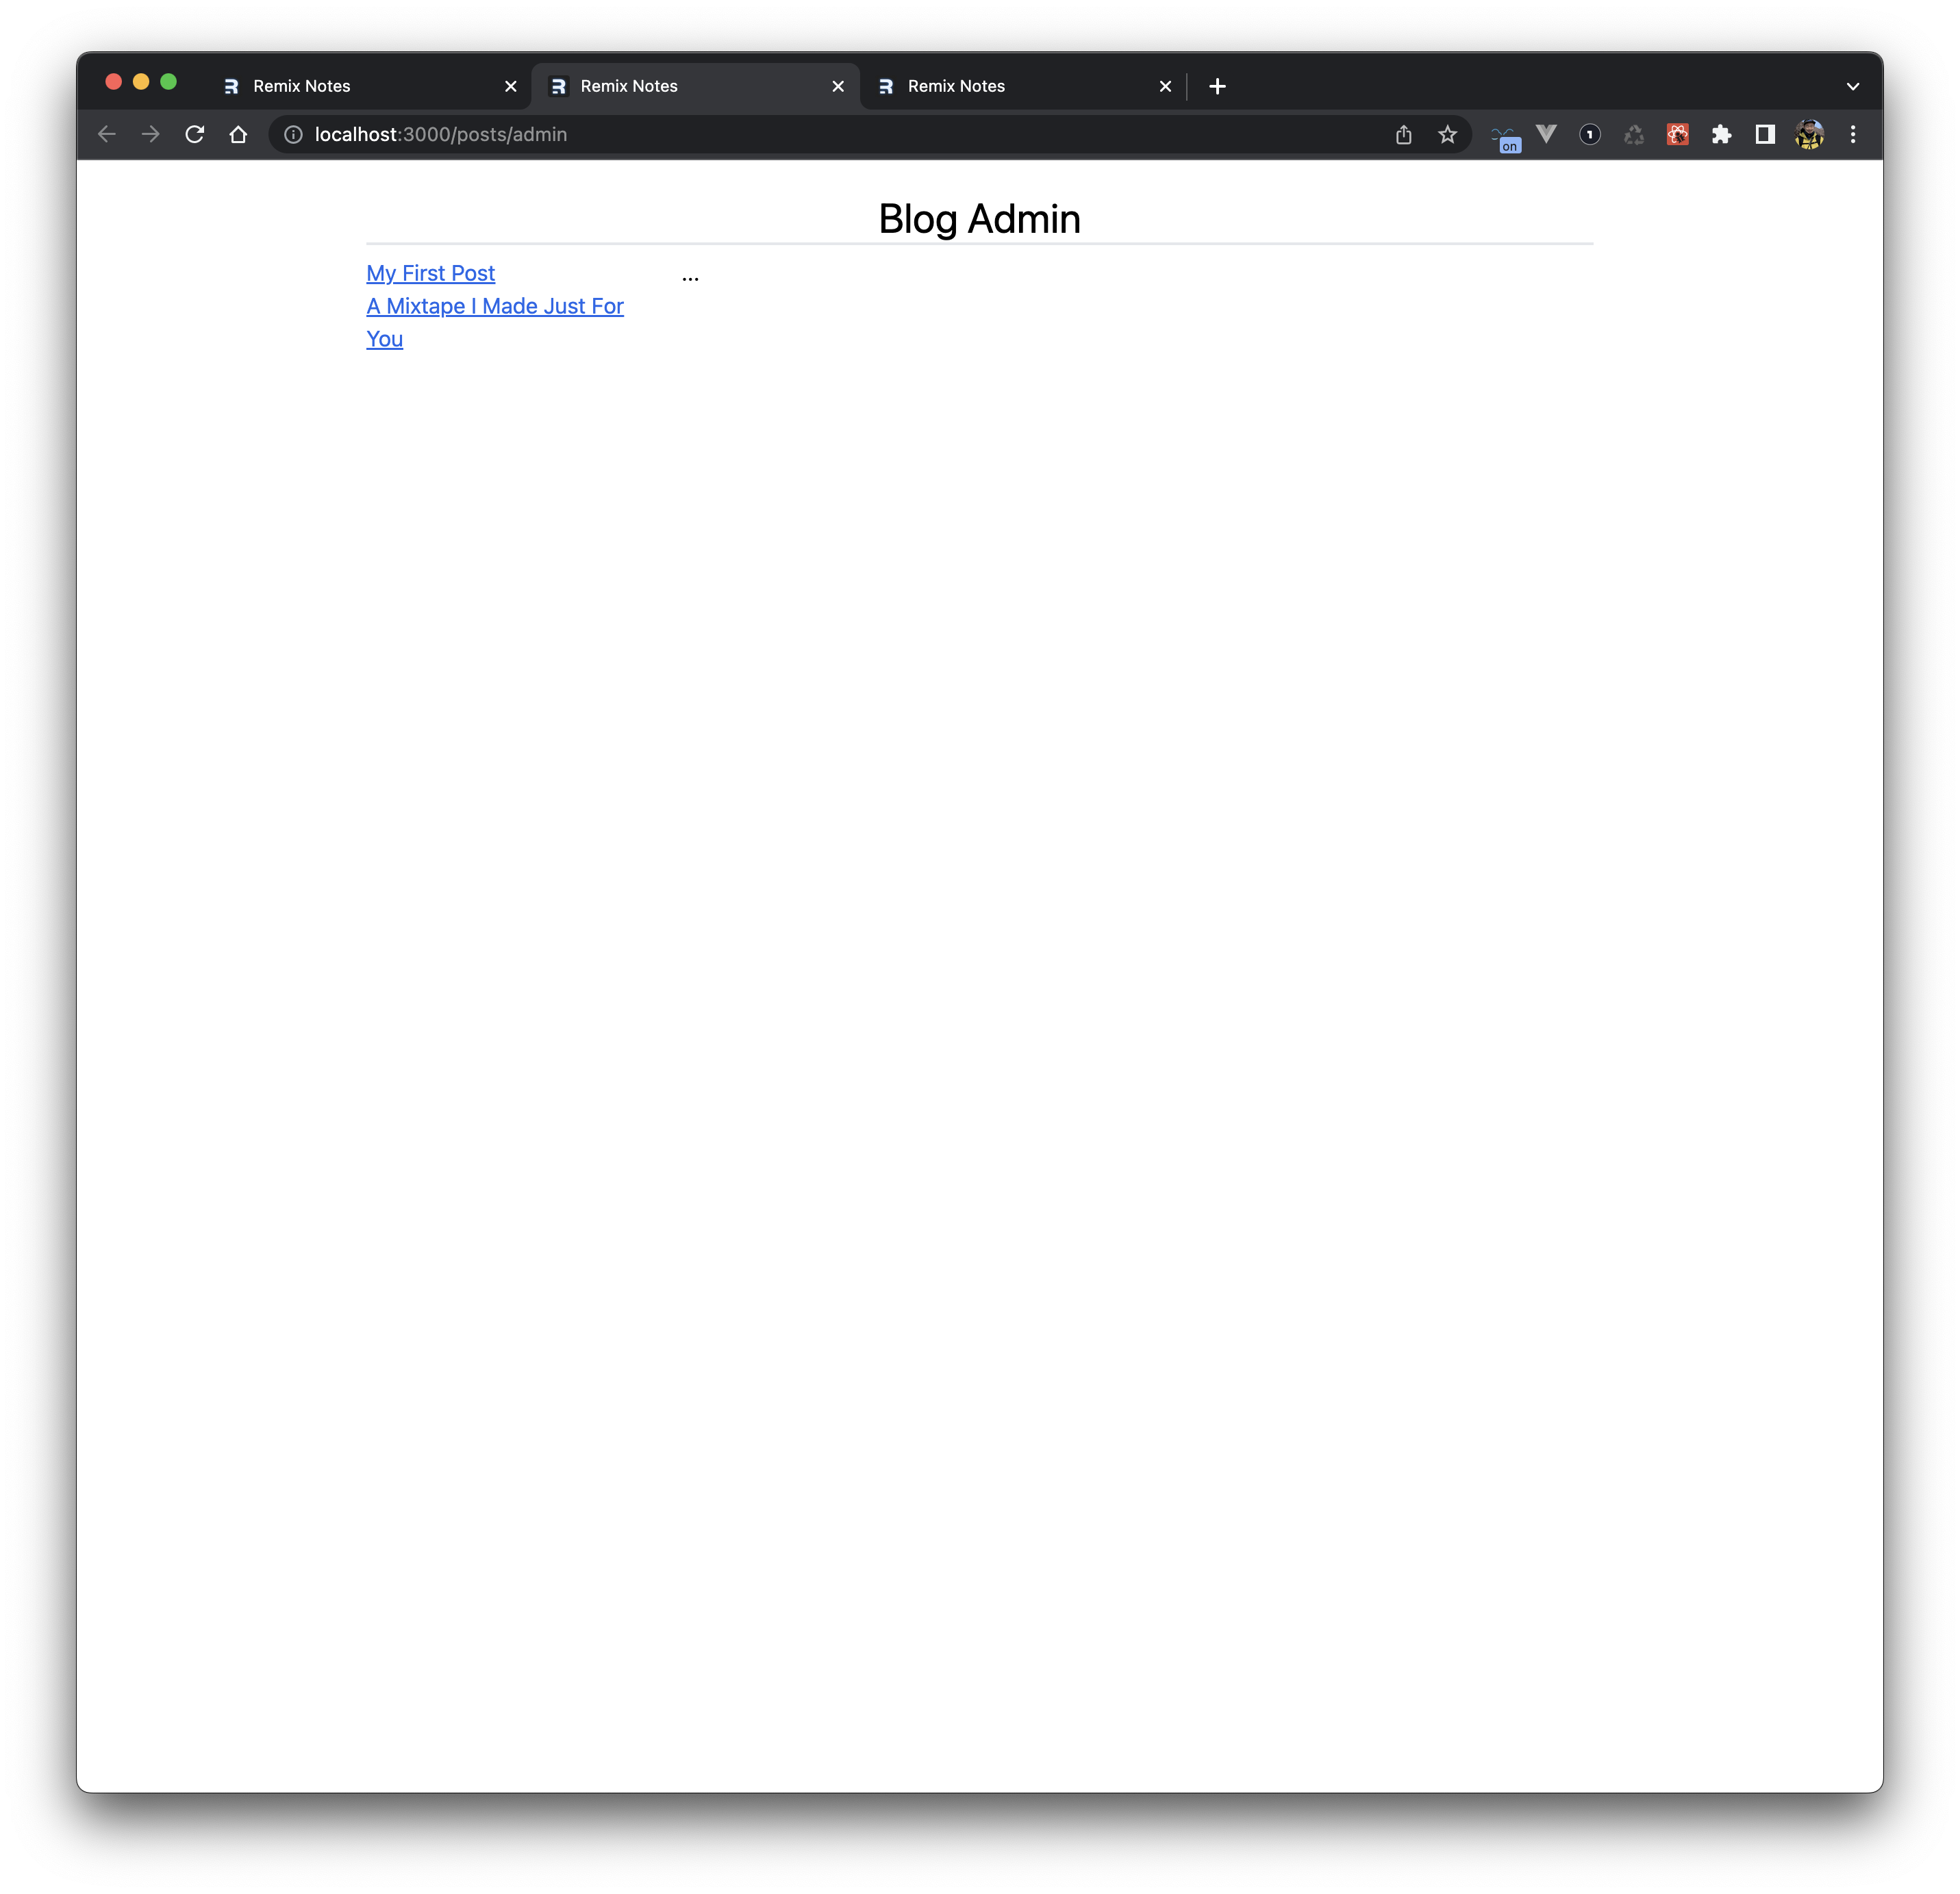
左カラムに記事リスト、タイトルとその記事へのリンクになっています。
メインのカラムは空にしています。
adminディレクトリを作成し、その中にindexルートを作成します。
$ mkdir app/routes/posts/admin
$ touch app/routes/posts/admin/index.tsx
import { Link } from "@remix-run/react";

export default function AdminIndex() {
  return (
    <p>
      <Link to="new" className="text-blue-600 underline">
        Create a New Post
      </Link>
    </p>
  );
}
admin.tsx の <main></main> 要素内に React Router v.6 の機能の Outlet を追加します。
import {
  Link,
  Outlet,
  useLoaderData,
} from "@remix-run/react";

// ....

<main className="col-span-4 md:col-span-3">
  <Outlet />
</main>
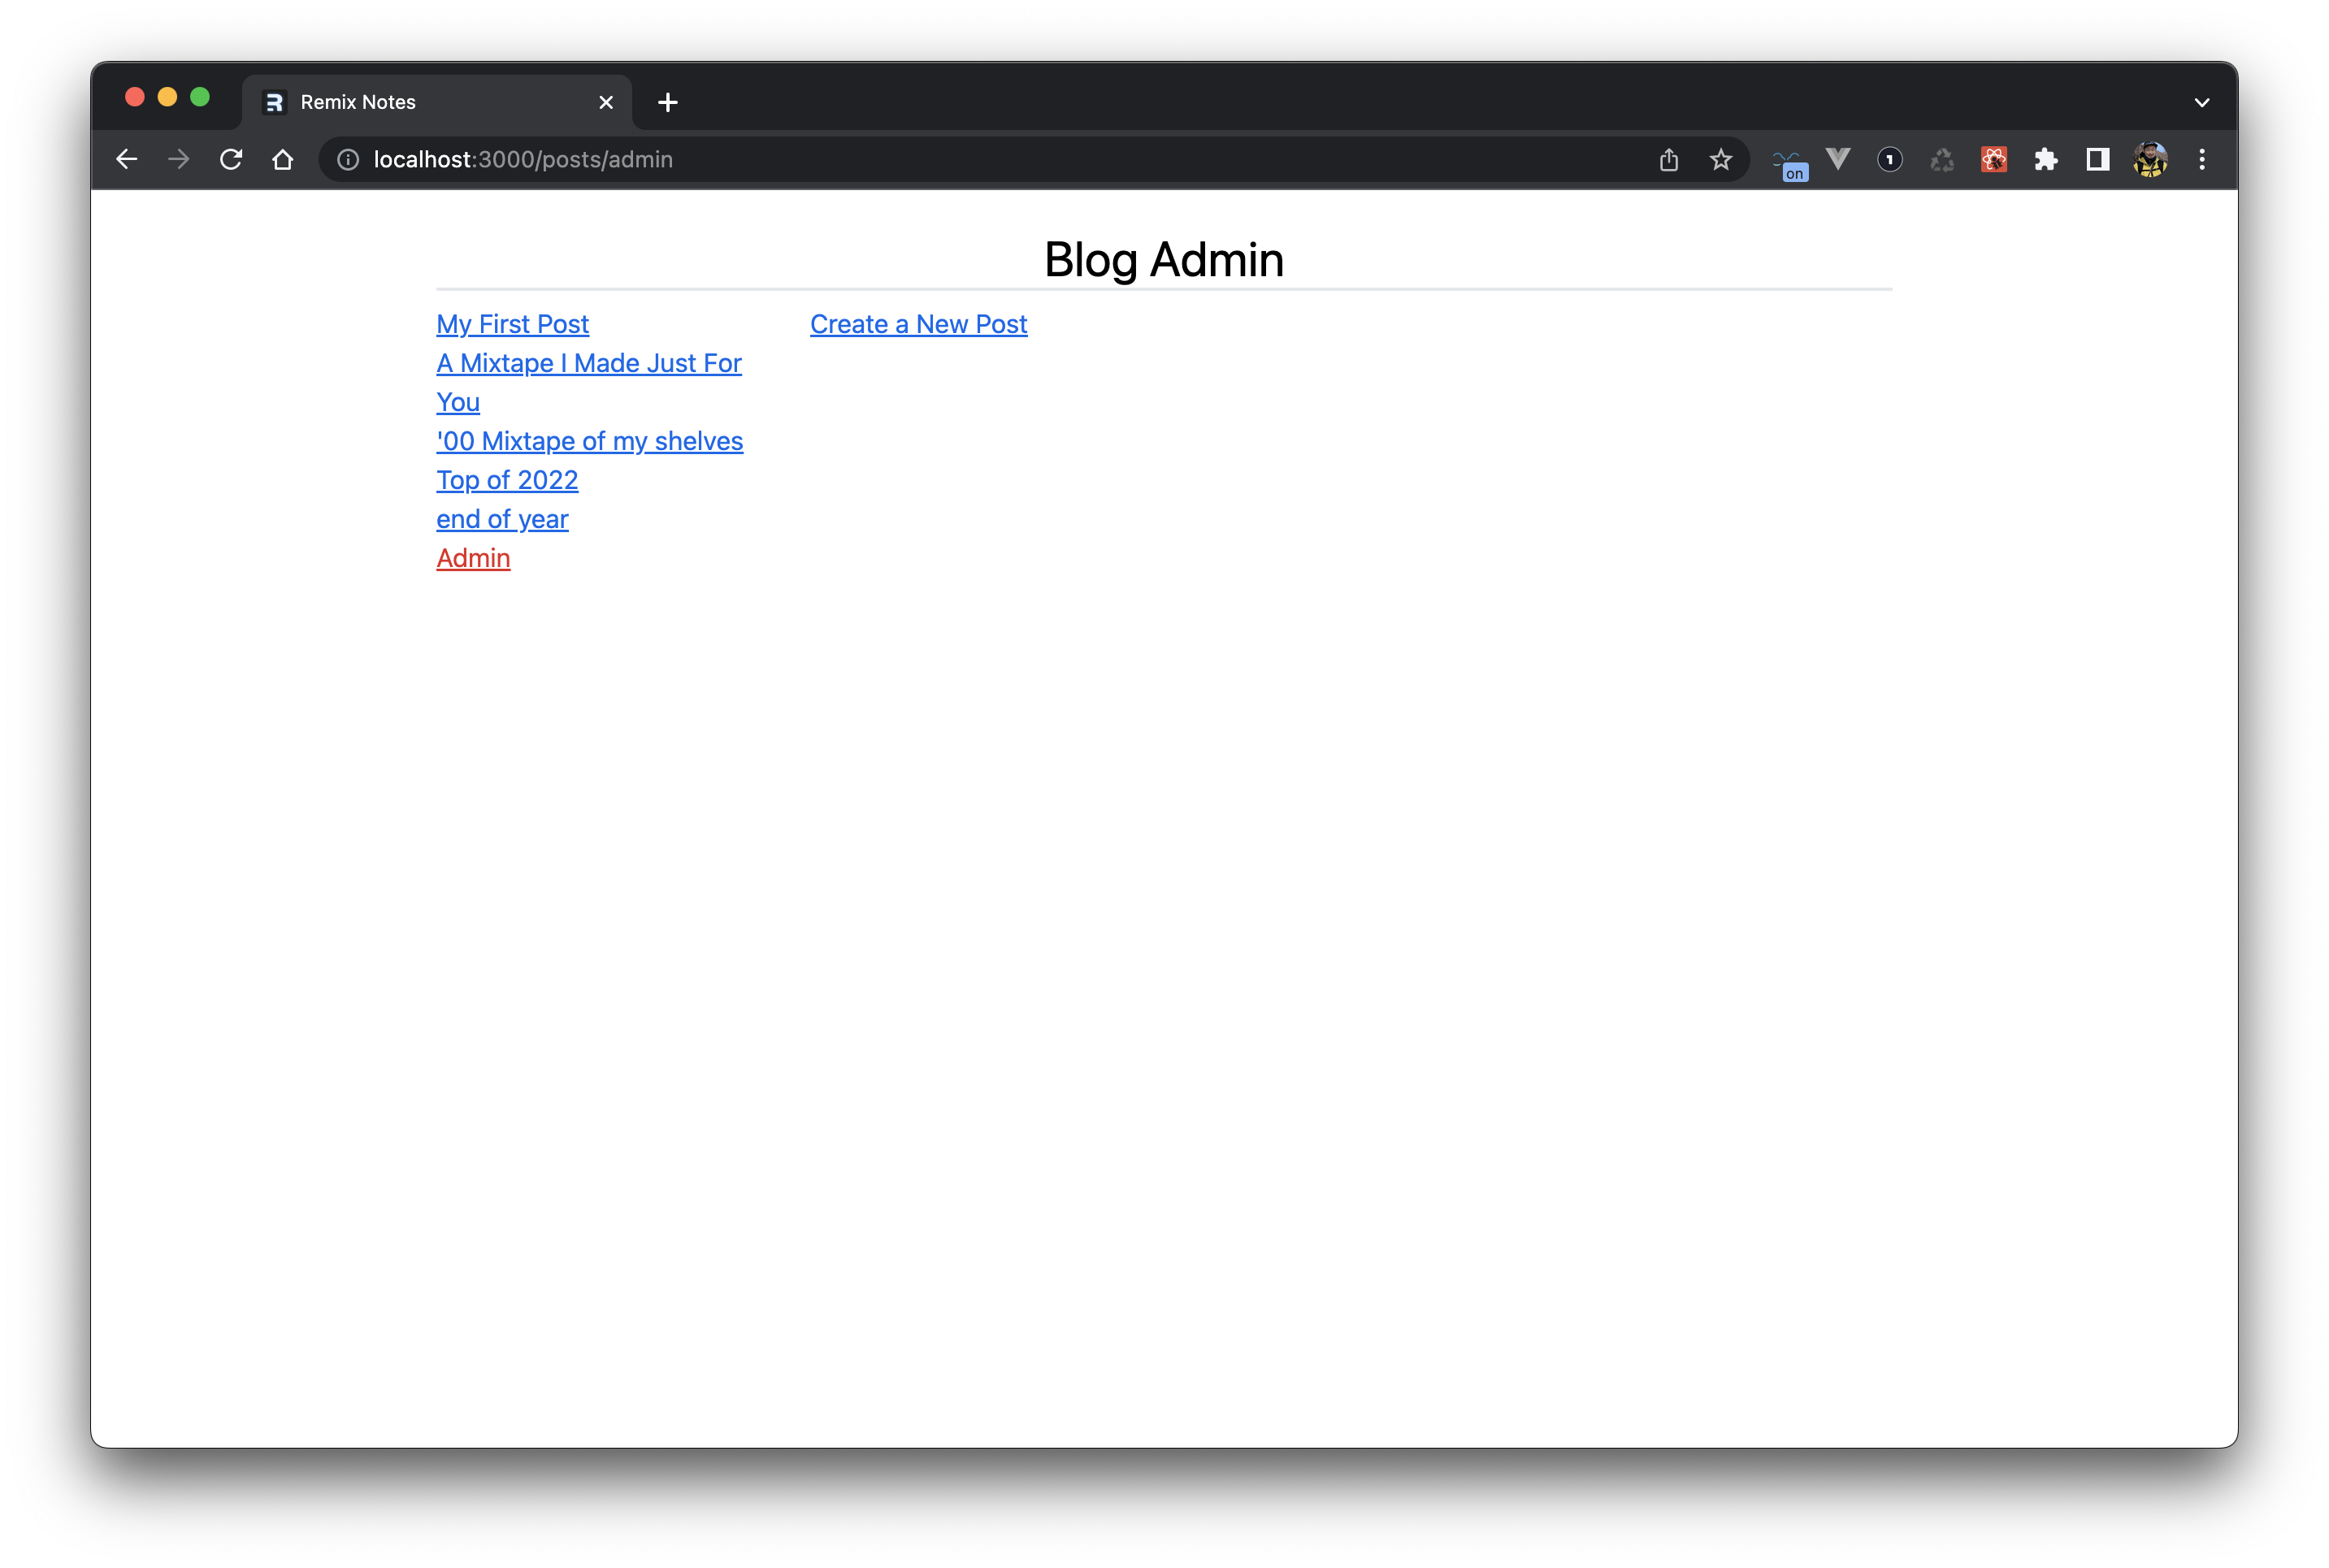
/posts/admin にアクセスすると main要素に posts/admin/index.tsx コンポーネントの内容 Create a New Post のリンクが表示されました。
今度は 新規作成画面用のルートを作成します。
touch app/routes/posts/admin/new.tsx
export default function NewPost() {
  return <h2>New Post</h2>;
}
/posts/admin 周りのファイルは以下のようになっています。
/posts/admin/index.tsx
/posts/admin/new.tsx
/posts/admin.tsx
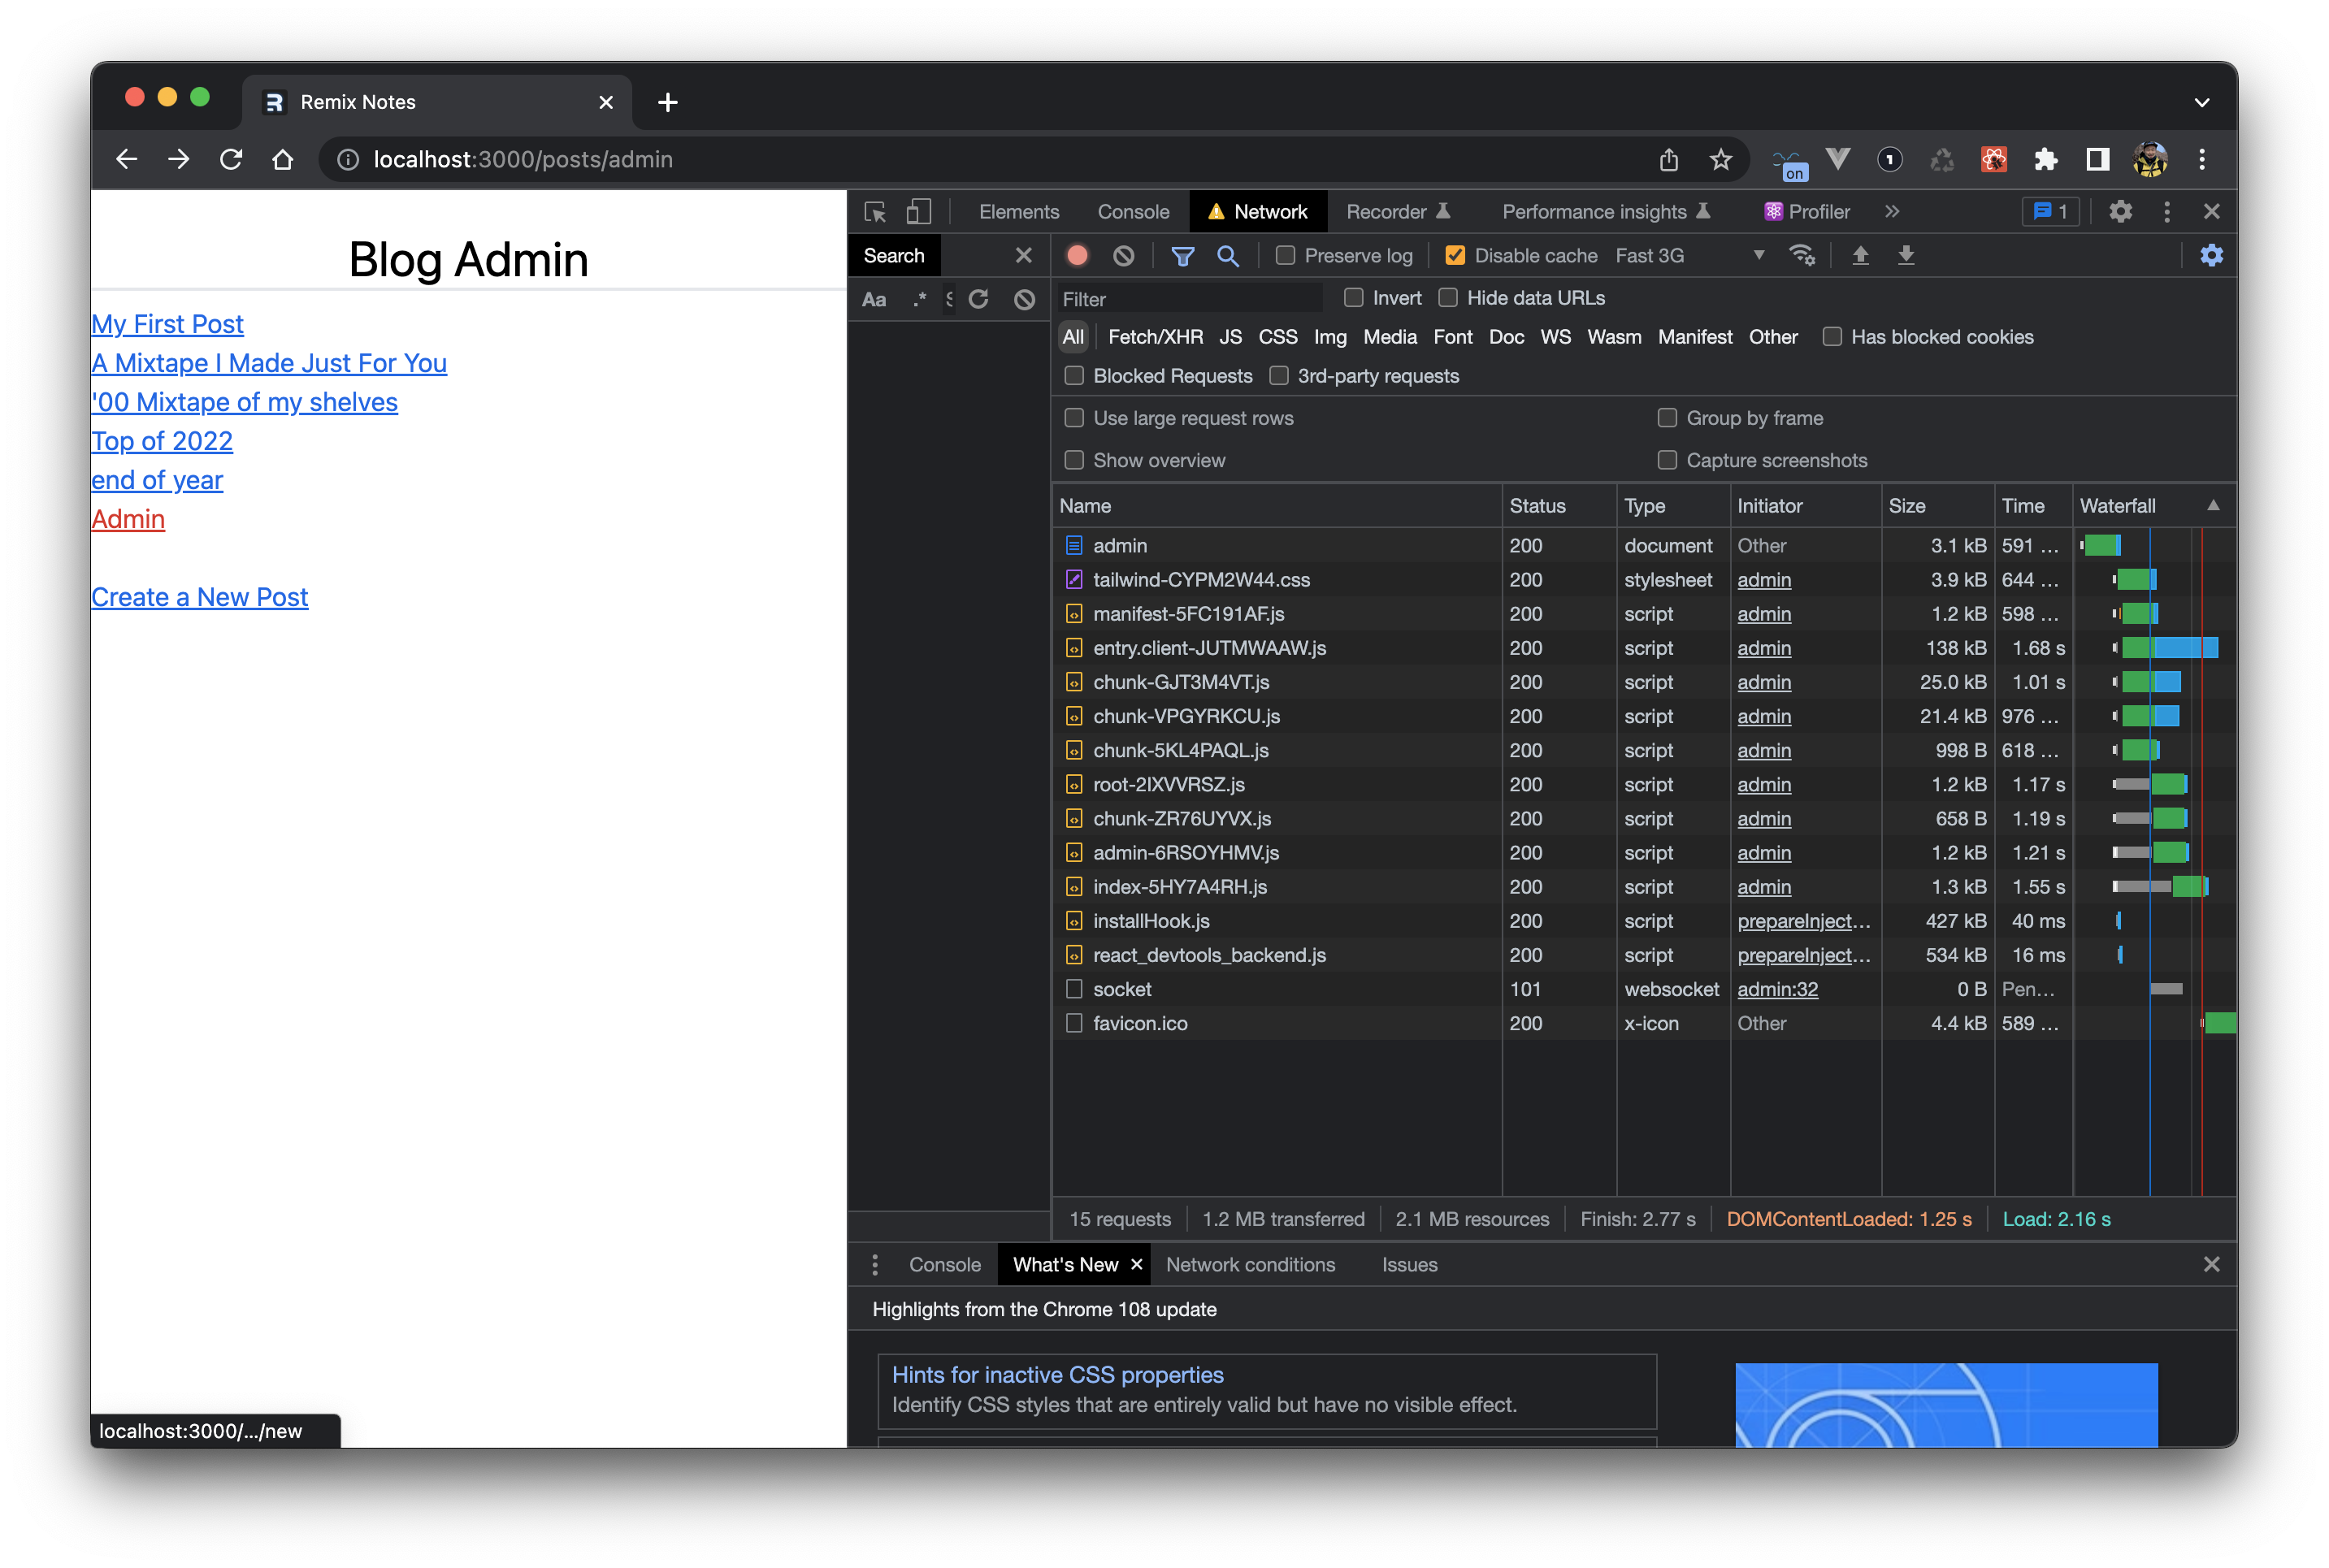
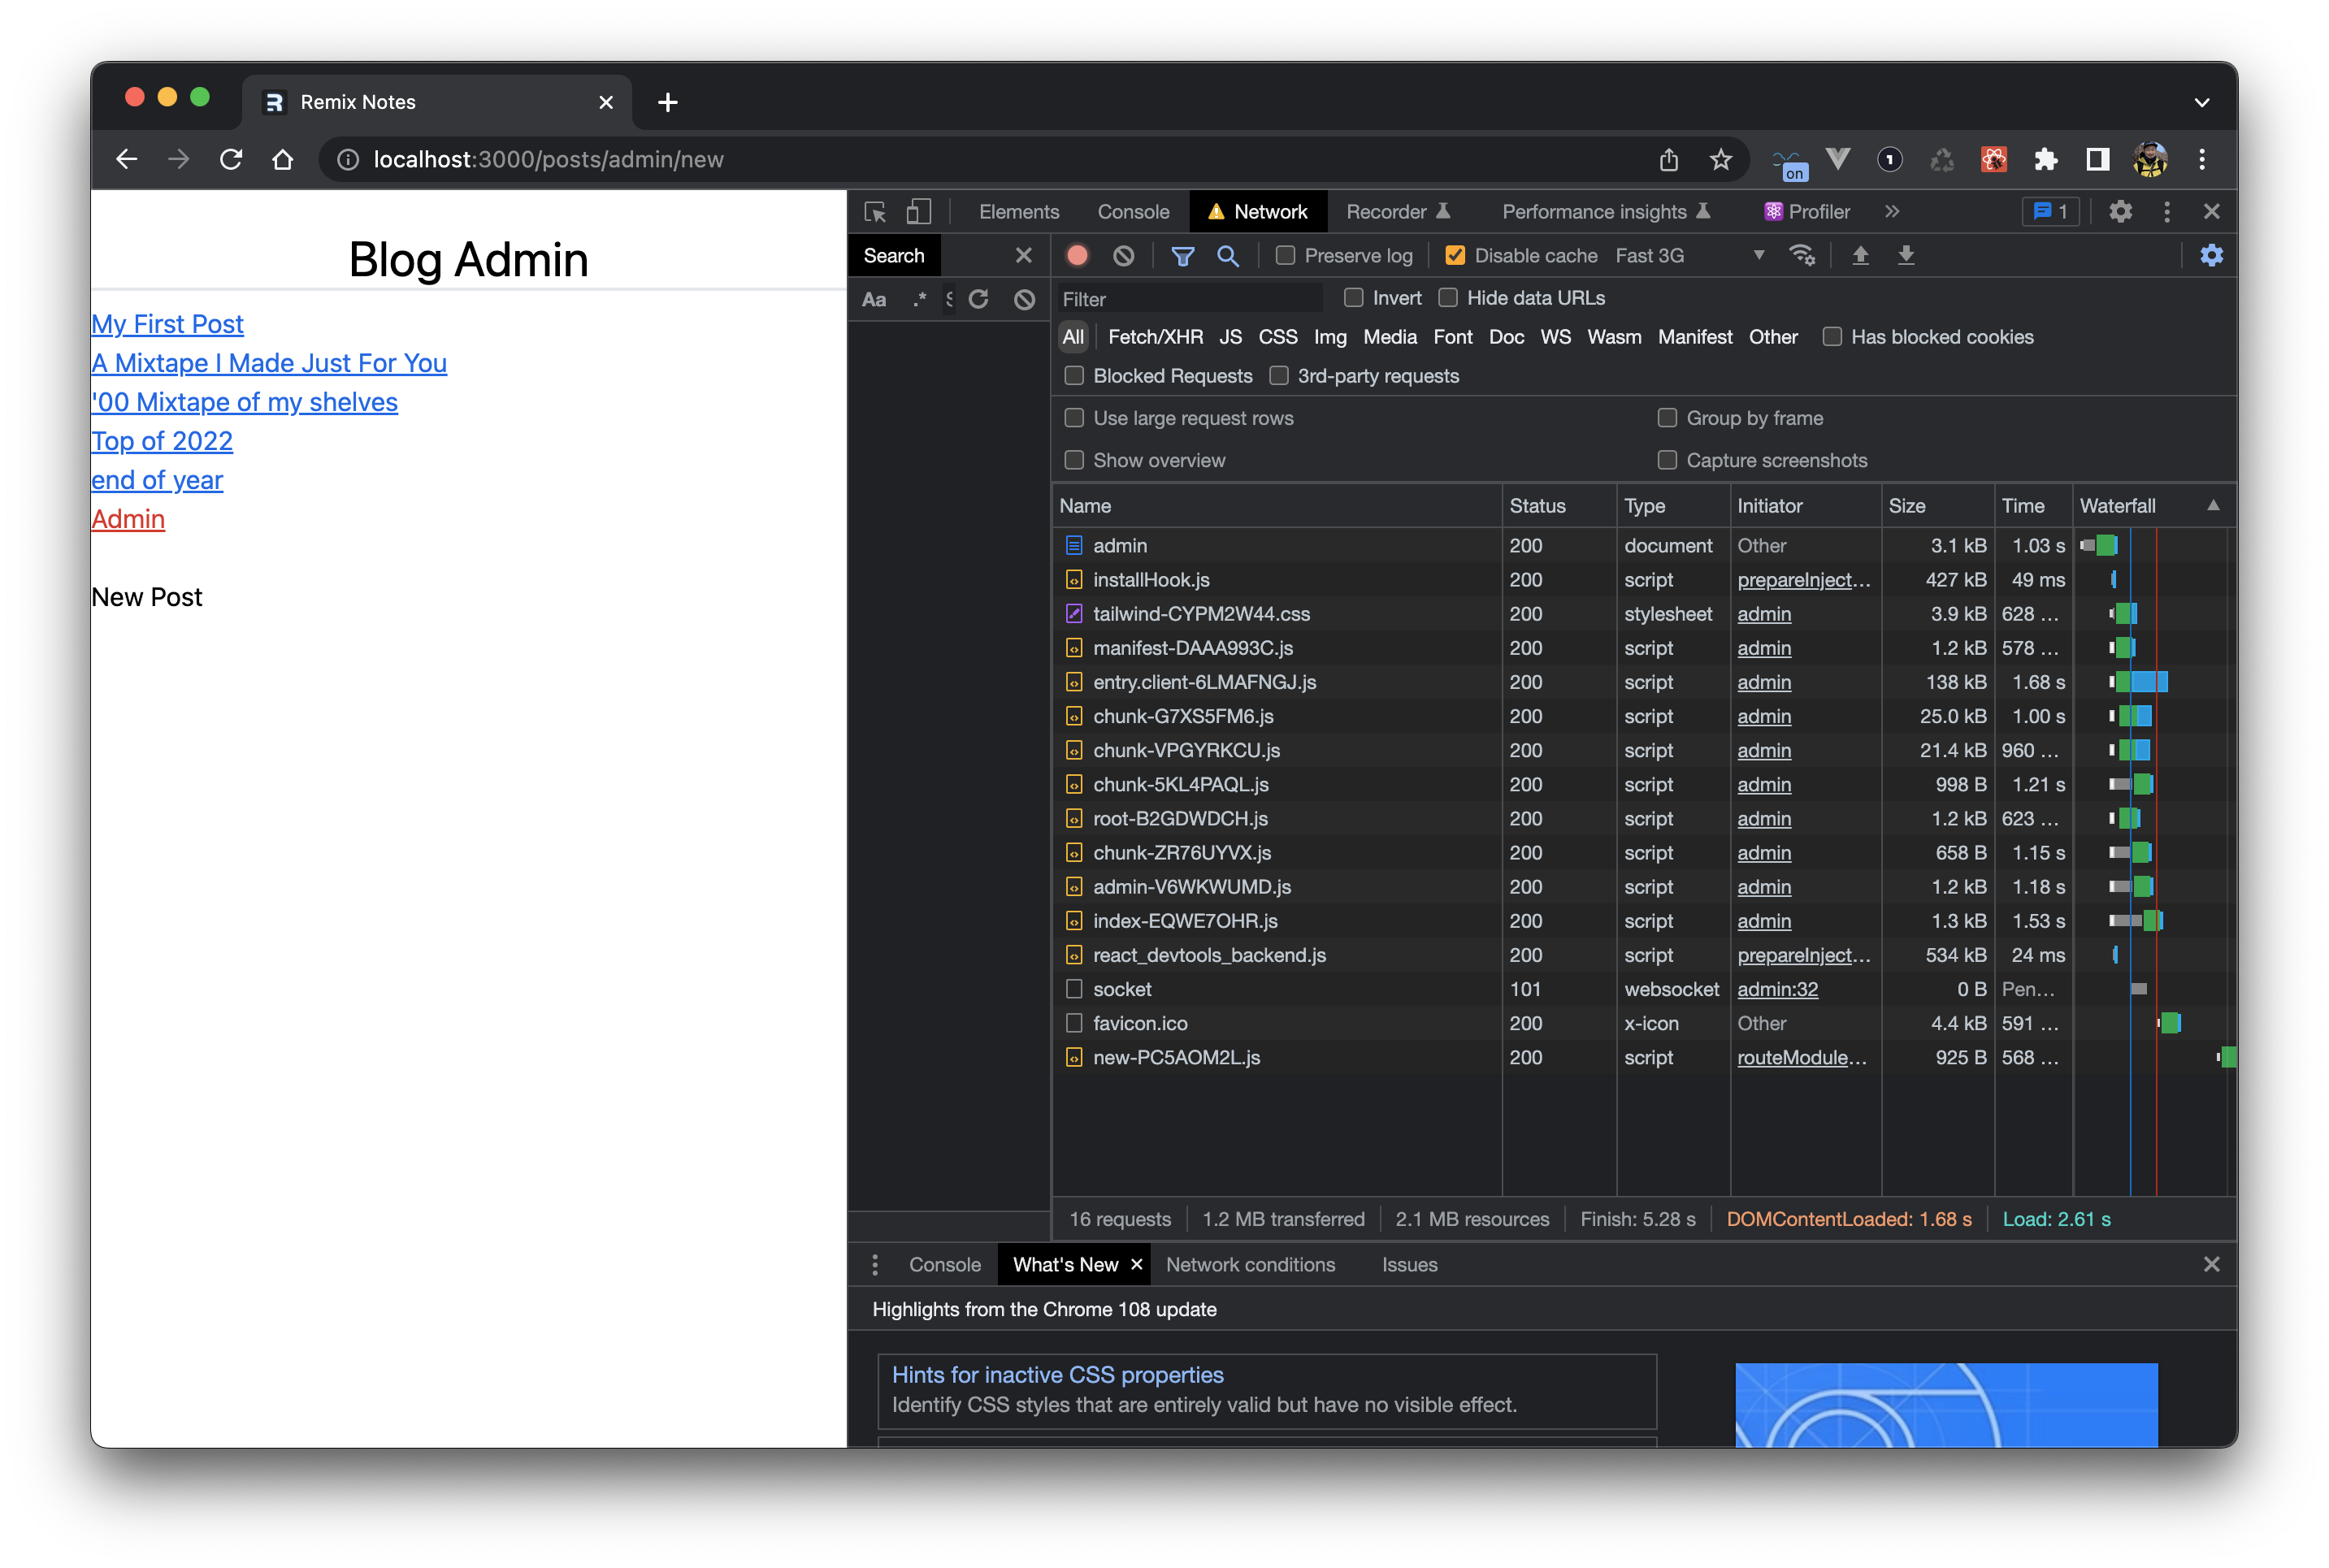
ここで /posts/admin のリンクから /posts/admin/new へアクセスすると new-PC5AOM2L.js が呼ばれ new.tsx で作成したコンポーネントの内容が Outlet の部分だけに更新されました。headerやnavigation部分に変化はなく、main部分だけレンダリングされ変化があるので目視でも分かります。
冒頭の Philosophy にあるように、画面更新に必要なデータだけをユーザーへ送信し、「ネットワークに送信するデータ自体を減らす」という戦略に沿っているのを感じました。
アクション
先ほどの新規作成画面にフォームを追加していきます。
import { Form } from "@remix-run/react";

const inputClassName = `w-full rounded border border-gray-500 px-2 py-1 text-lg`;

export default function NewPost() {
  return (
    <Form method="post">
      <p>
        <label>
          Post Title:{" "}
          <input
            type="text"
            name="title"
            className={inputClassName}
          />
        </label>
      </p>
      <p>
        <label>
          Post Slug:{" "}
          <input
            type="text"
            name="slug"
            className={inputClassName}
          />
        </label>
      </p>
      <p>
        <label htmlFor="markdown">Markdown:</label>
        <br />
        <textarea
          id="markdown"
          rows={20}
          name="markdown"
          className={`${inputClassName} font-mono`}
        />
      </p>
      <p className="text-right">
        <button
          type="submit"
          className="rounded bg-blue-500 py-2 px-4 text-white hover:bg-blue-600 focus:bg-blue-400 disabled:bg-blue-300"
        >
          Create Post
        </button>
      </p>
    </Form>
  );
}
<form onSubmit> や <button onClick> のないシンプルなform HTMLです。

app/models/post.server.ts に投稿を作成するための createPost メソッドを追加します。
// ...
export async function createPost(post) {
  return prisma.post.create({ data: post });
}
new.tsx に post.server.ts の createPost を呼ぶように action を追加します。
import type { ActionArgs } from "@remix-run/node";
import { redirect } from "@remix-run/node";
import { Form } from "@remix-run/react";

import { createPost } from "~/models/post.server";

export const action = async ({ request }: ActionArgs) => {
  const formData = await request.formData();

  const title = formData.get("title");
  const slug = formData.get("slug");
  const markdown = formData.get("markdown");

  await createPost({ title, slug, markdown });

  return redirect("/posts/admin");
};

// ...
たったこれだけで新規投稿ができるようになりました。すごく簡単です。
ただしTypeScript の指摘があるのでそちらも修正します。
// ...
import type { Post } from "@prisma/client";

// ...

export async function createPost(
  post: Pick<Post, "slug" | "title" | "markdown">
) {
  return prisma.post.create({ data: post });
}
...
import { json, redirect } from "@remix-run/node";
...


export const action = async ({ request }: ActionArgs) => {

  ...

  const errors = {
    title: title ? null : "Title is required",
    slug: slug ? null : "Slug is required",
    markdown: markdown ? null : "Markdown is required",
  };
  const hasErrors = Object.values(errors).some(
    (errorMessage) => errorMessage
  );
  if (hasErrors) {
    return json(errors);
  }

  await createPost({ title, slug, markdown });

  return redirect("/posts/admin");
};
// ...
htmlにも追加します。
import type { ActionArgs } from "@remix-run/node";
import { redirect, json } from "@remix-run/node";
import { Form, useActionData } from "@remix-run/react";

// ...

const inputClassName = `w-full rounded border border-gray-500 px-2 py-1 text-lg`;

export default function NewPost() {
  const errors = useActionData<typeof action>();

  return (
    <Form method="post">
      <p>
        <label>
          Post Title:{" "}
          {errors?.title ? (
            <em className="text-red-600">{errors.title}</em>
          ) : null}
          <input type="text" name="title" className={inputClassName} />
        </label>
      </p>
      ...
}
上記の title 同様 slug, markdown のエラーメッセージも追加します。
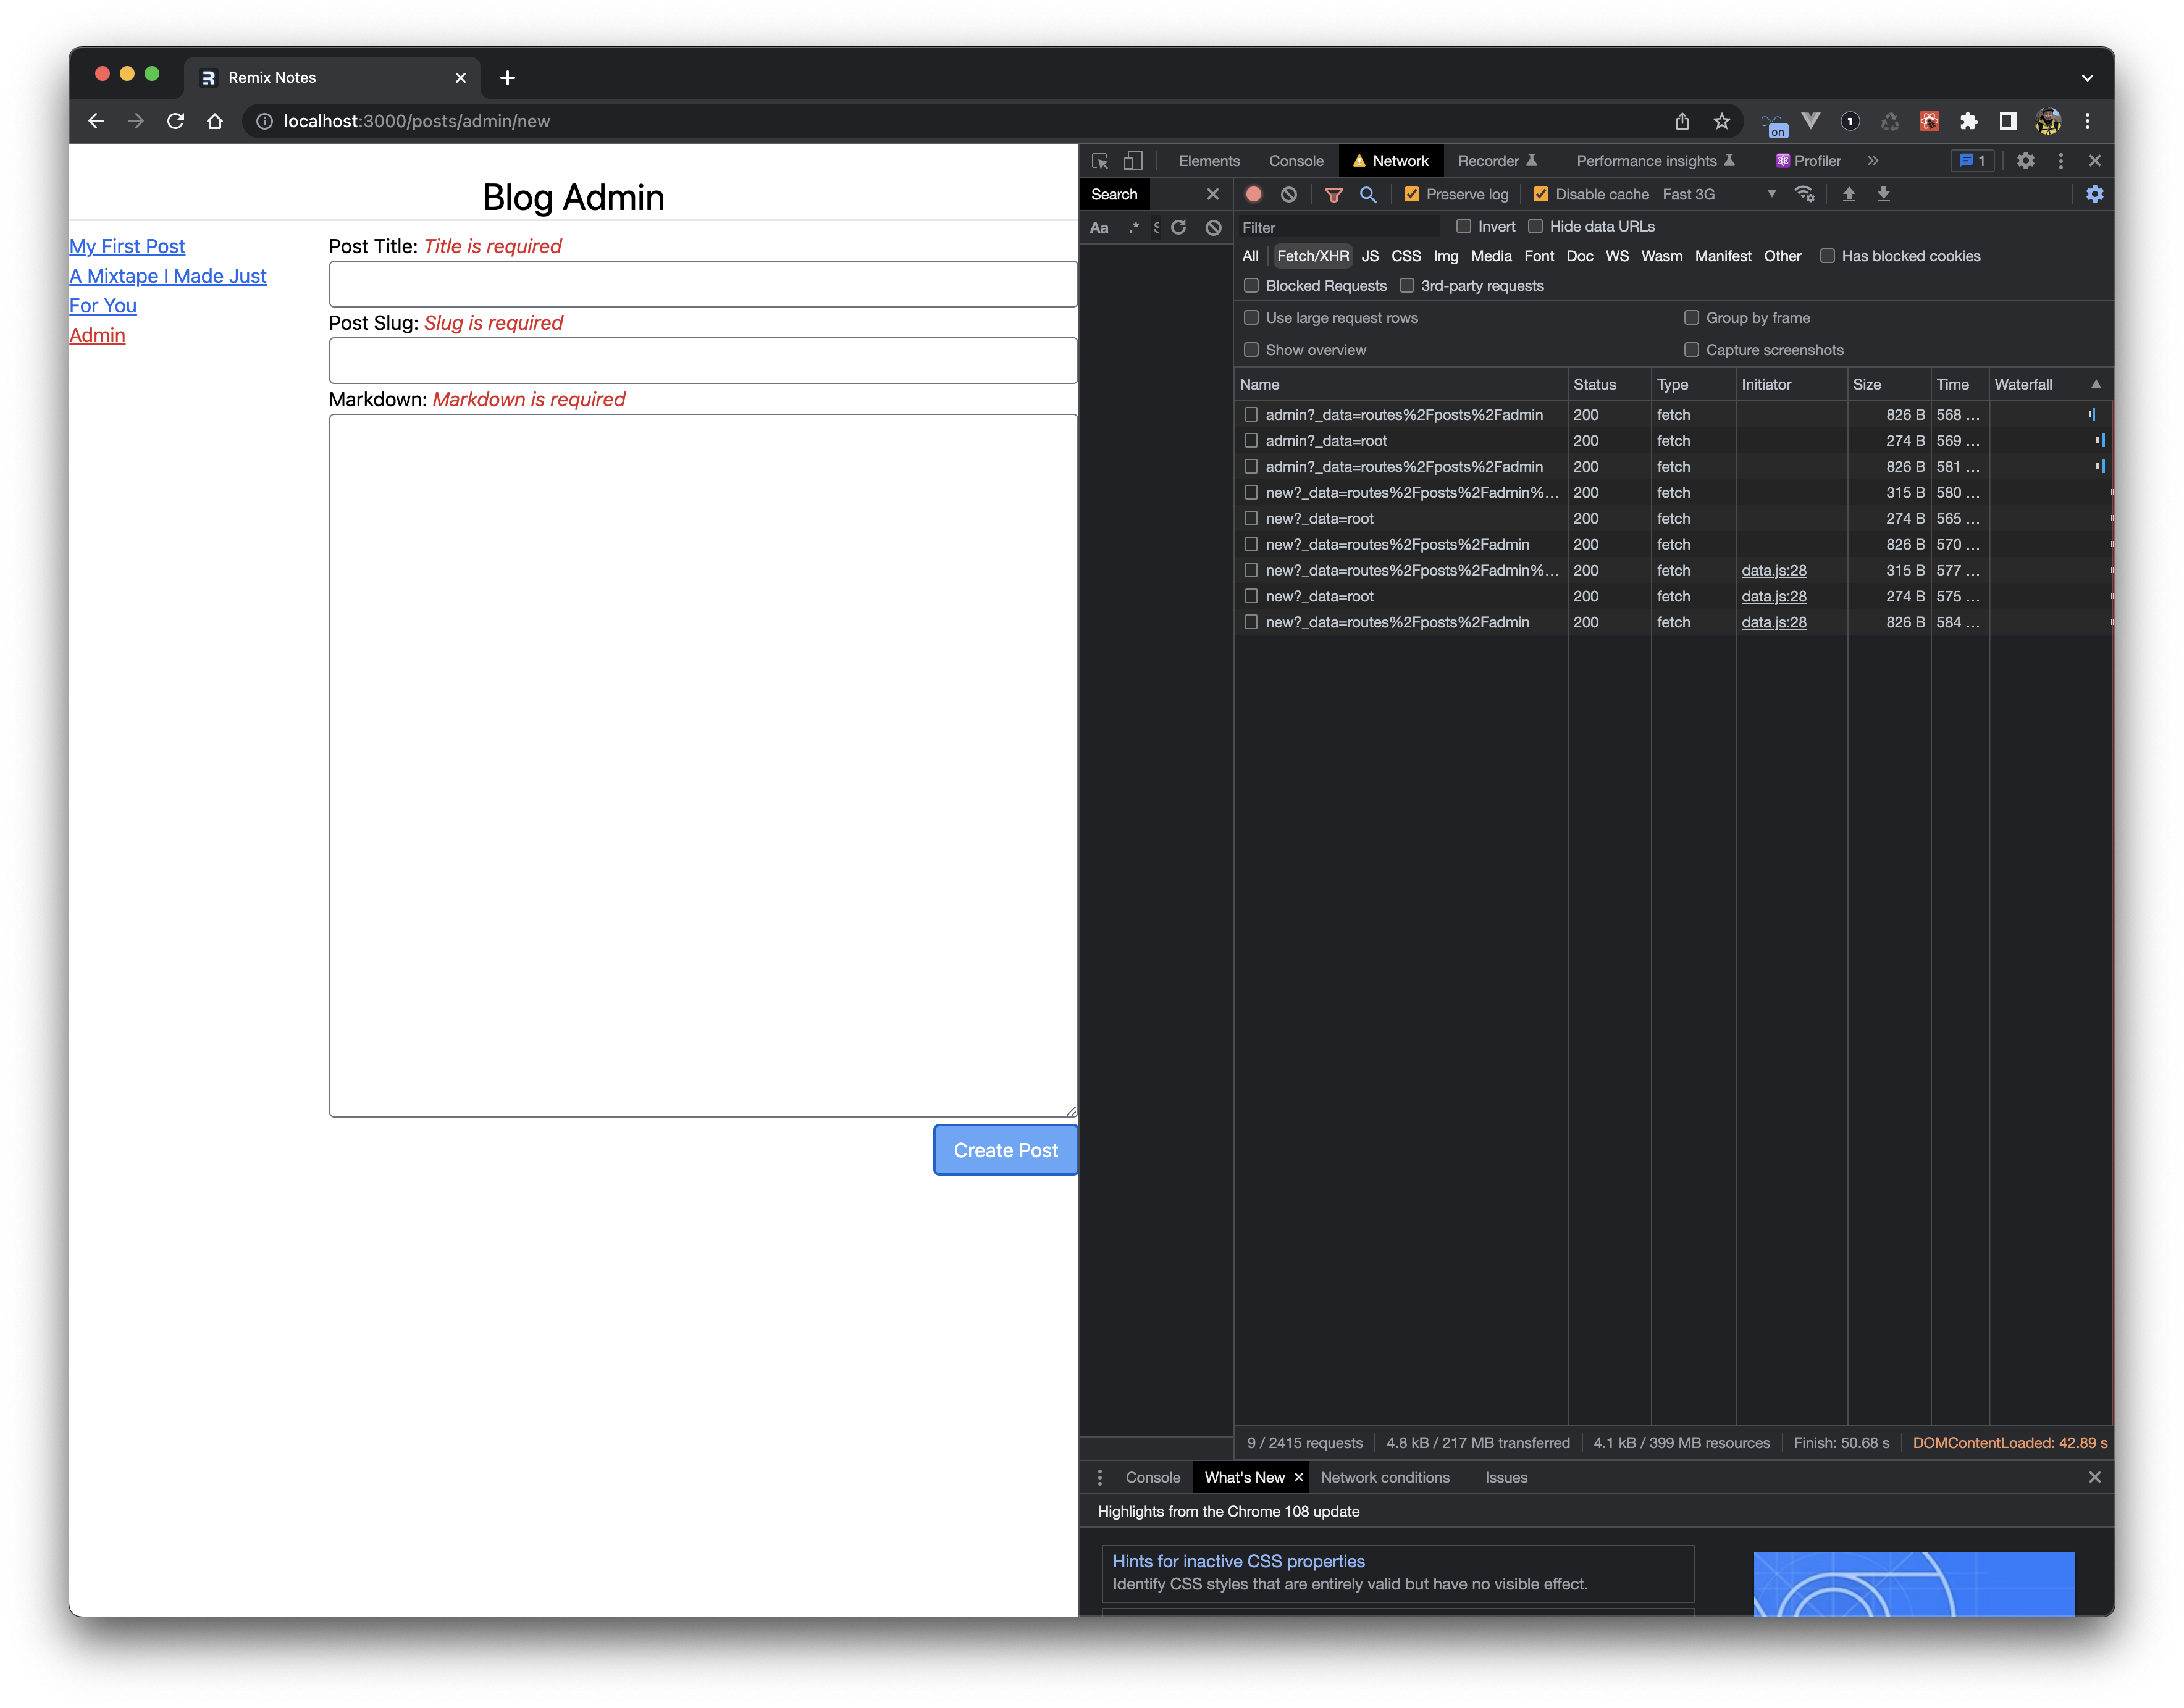
入力項目を空にしてpostしようとするとエラーを表示することができました。
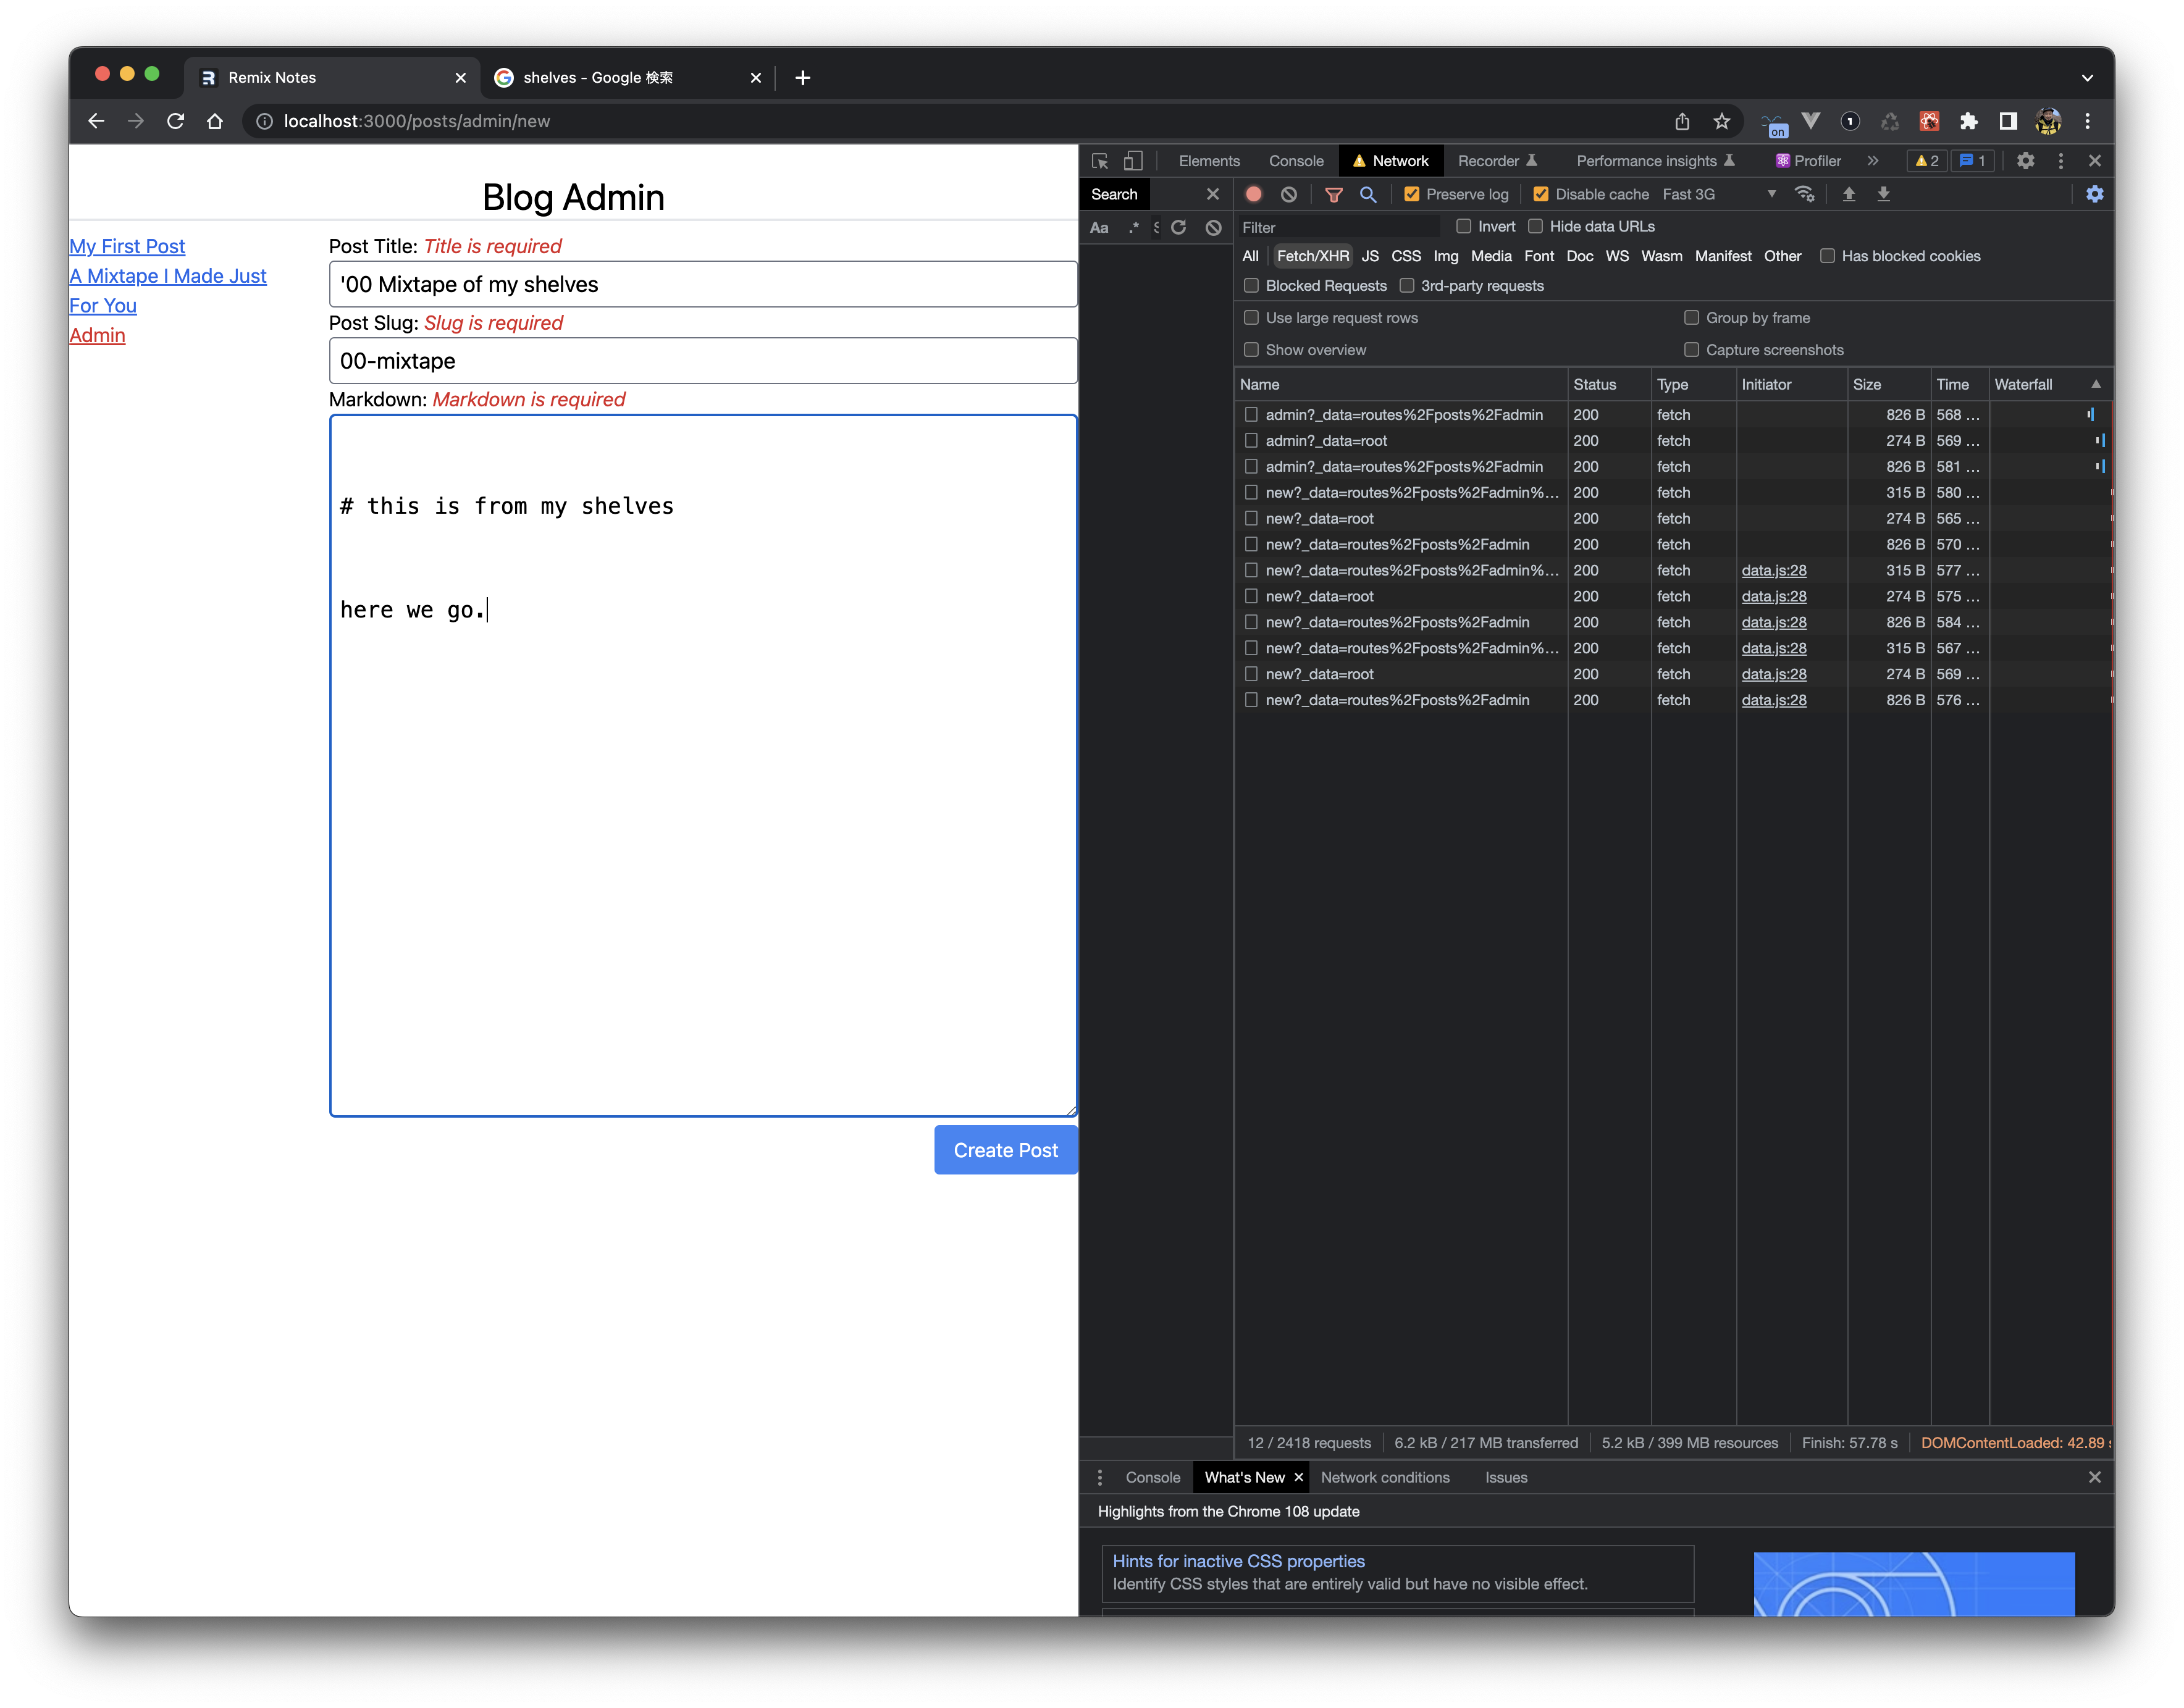
すべての項目を入力しpostすると、
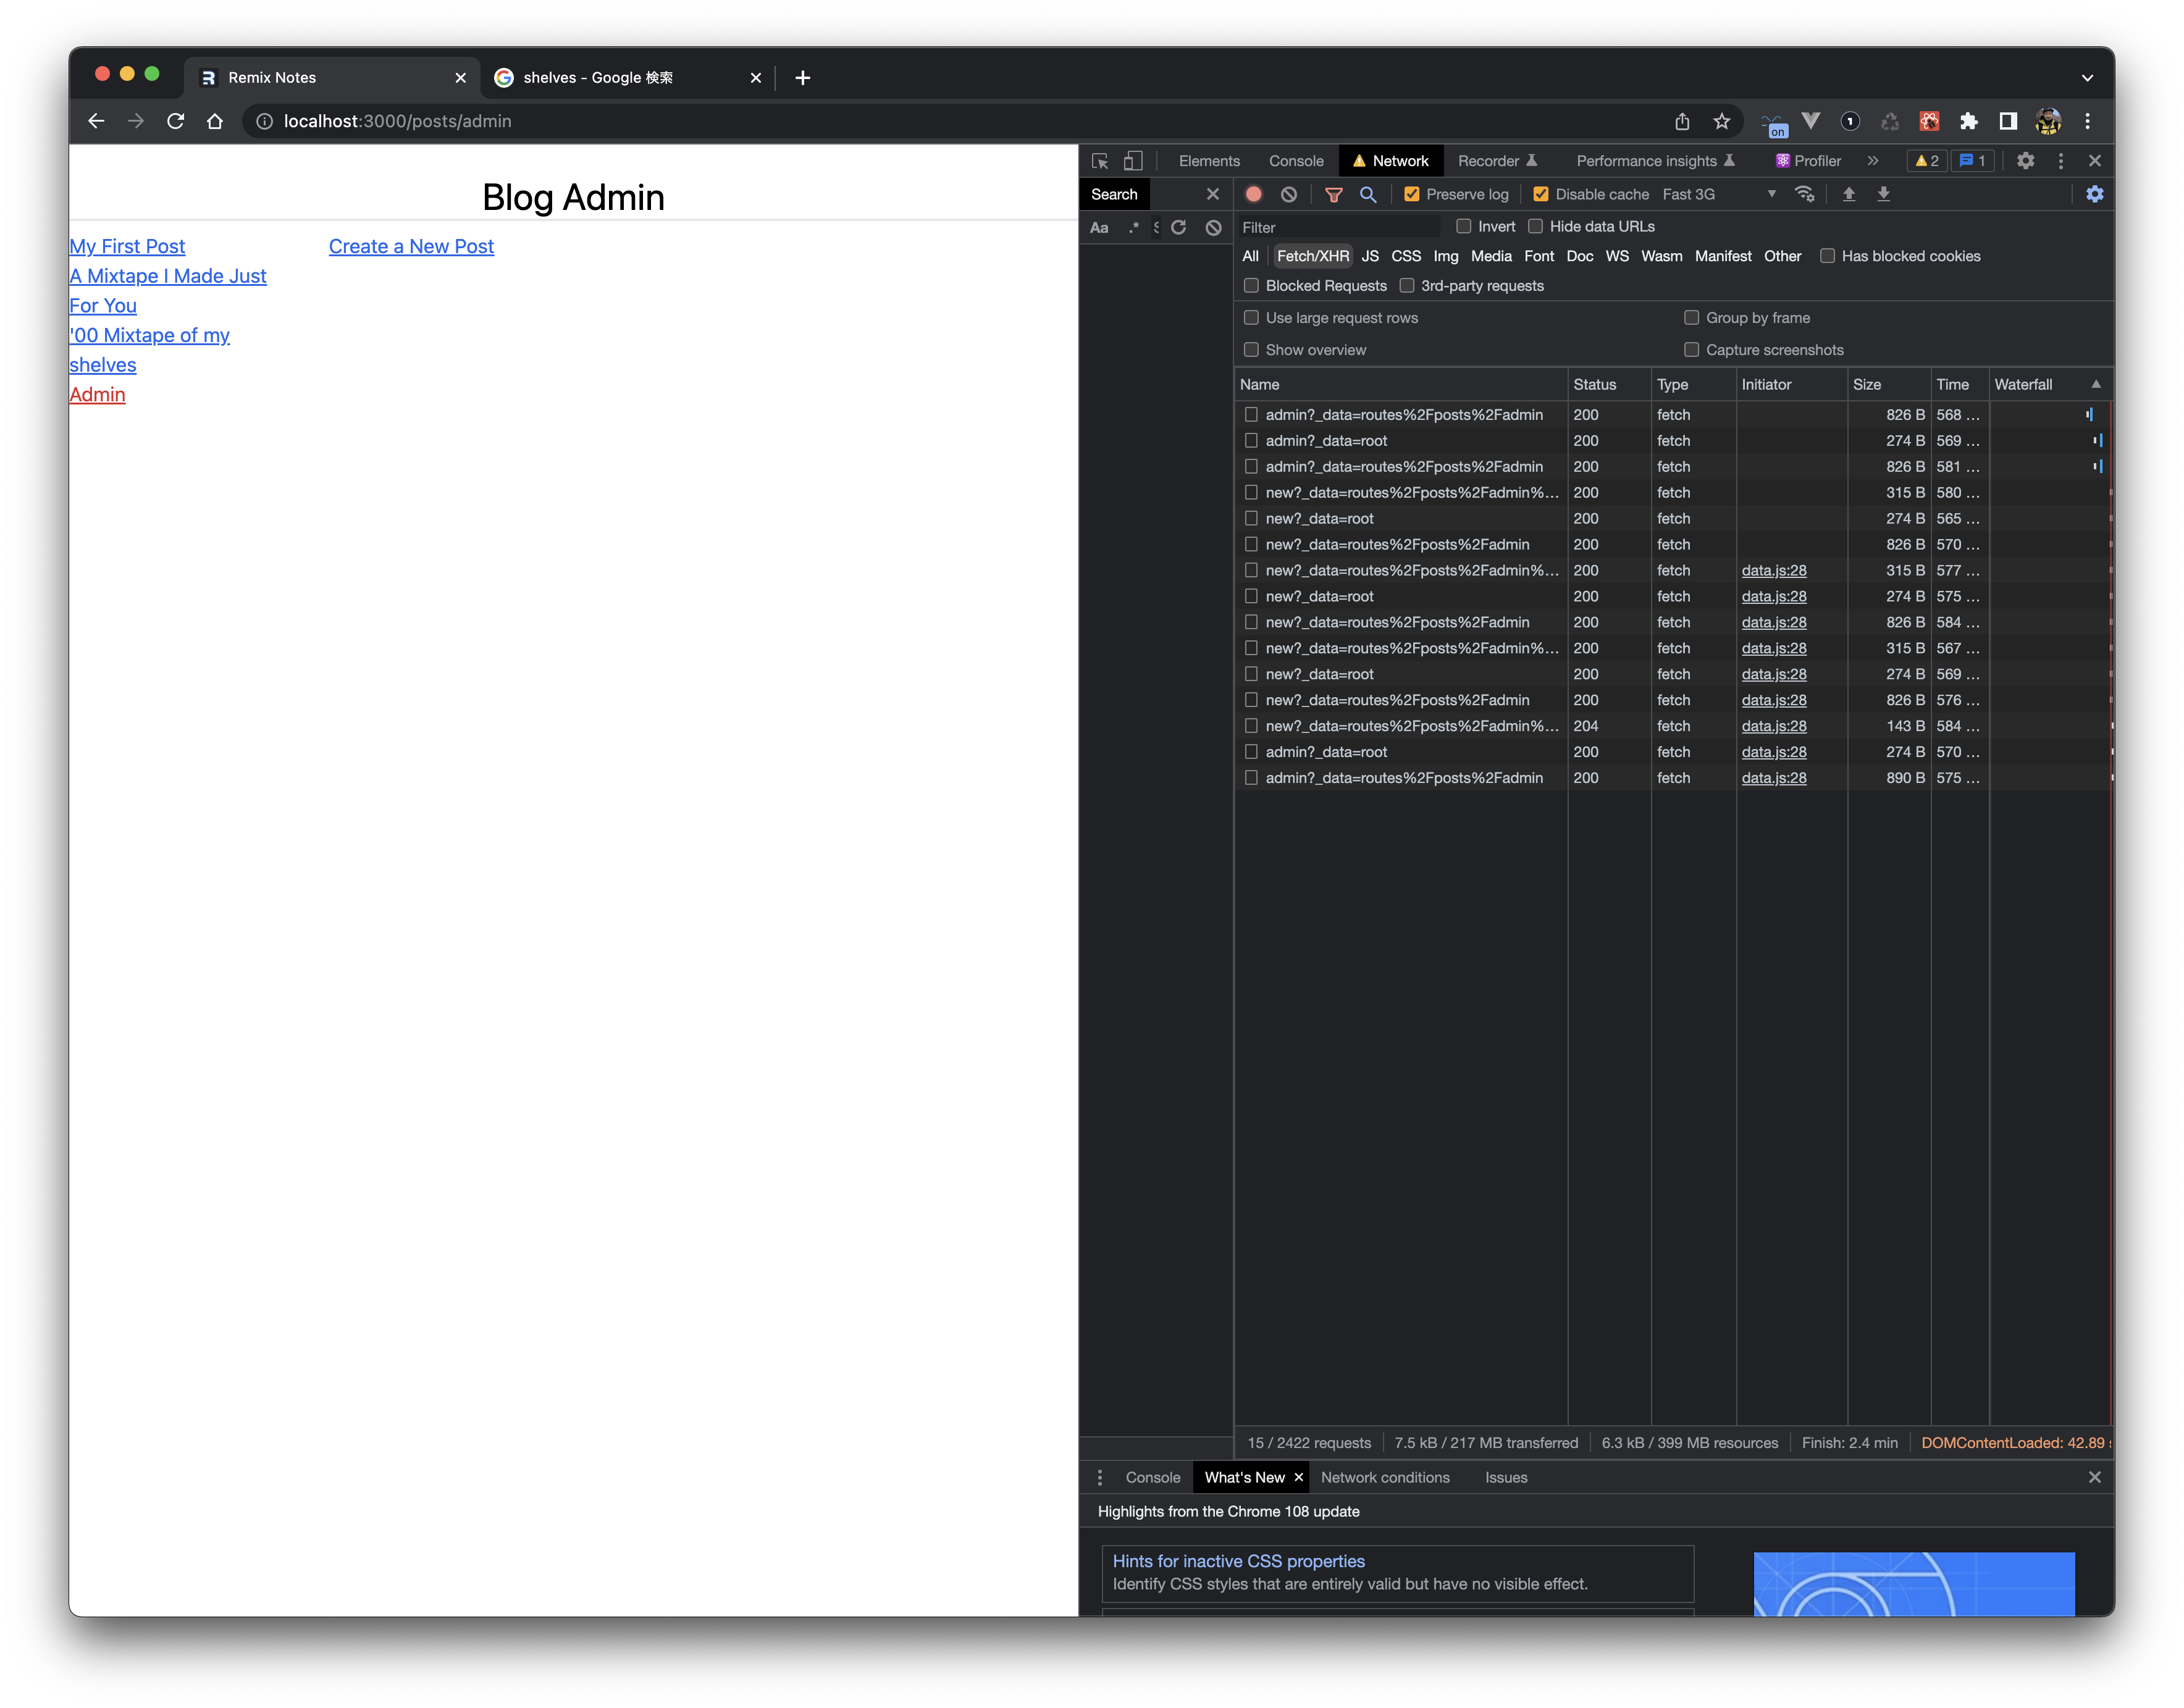
postが成功し、左のナビゲーションに今回作成した投稿がリストされました。
APIリスクエストの検証のため、 action にも invariant を追加します。
// ..
import invariant from "tiny-invariant";
// ..

export const action = async ({ request }: ActionArgs) => {
  // ...
  invariant(
    typeof title === "string",
    "title must be a string"
  );
  invariant(
    typeof slug === "string",
    "slug must be a string"
  );
  invariant(
    typeof markdown === "string",
    "markdown must be a string"
  );

  await createPost({ title, slug, markdown });

  return redirect("/posts/admin");
};
なお、チュートリアルでは この状態でブラウザのJavaScriptを無効にしても投稿はできるよ と記載しています。「HTTPとHTMLの基礎の上に構築されているから」と説明しています。
このことはPhilosophyにあった 「Webの基礎となるものに対抗するのではなく、一緒に仕事をする。ブラウザ、HTTP、HTMLというウェブの基礎に逆らわず、一緒に取り組むこと。」「JavaScriptは、ブラウザの動作をエミュレートすることで、ユーザーエクスペリエンスを向上させるために使用します。」 というのを表しているように思えます。
Progressive Enhancement
UXを向上させるための施策をしていきます。
action に1000msの遅延を追加します。
// ...
export const action = async ({ request }: ActionArgs) => {
  // TODO: remove me
  await new Promise((res) => setTimeout(res, 1000));

  // ...
};
//...
templateには useTransition を追加、 isCreating の状態によりボタンのラベルや disabled 属性を切り替えます。
import type { ActionArgs } from "@remix-run/node";
import { json, redirect } from "@remix-run/node";
import {
  Form,
  useActionData,
  useTransition,
} from "@remix-run/react";

// ..

export default function NewPost() {
  const errors = useActionData<typeof action>();

  const transition = useTransition();
  const isCreating = Boolean(transition.submission);

  return (
    <Form method="post">
      {/* ... */}
      <p className="text-right">
        <button
          type="submit"
          className="rounded bg-blue-500 py-2 px-4 text-white hover:bg-blue-600 focus:bg-blue-400 disabled:bg-blue-300"
          disabled={isCreating}
        >
          {isCreating ? "Creating..." : "Create Post"}
        </button>
      </p>
    </Form>
  );
}
実際に試してみると、

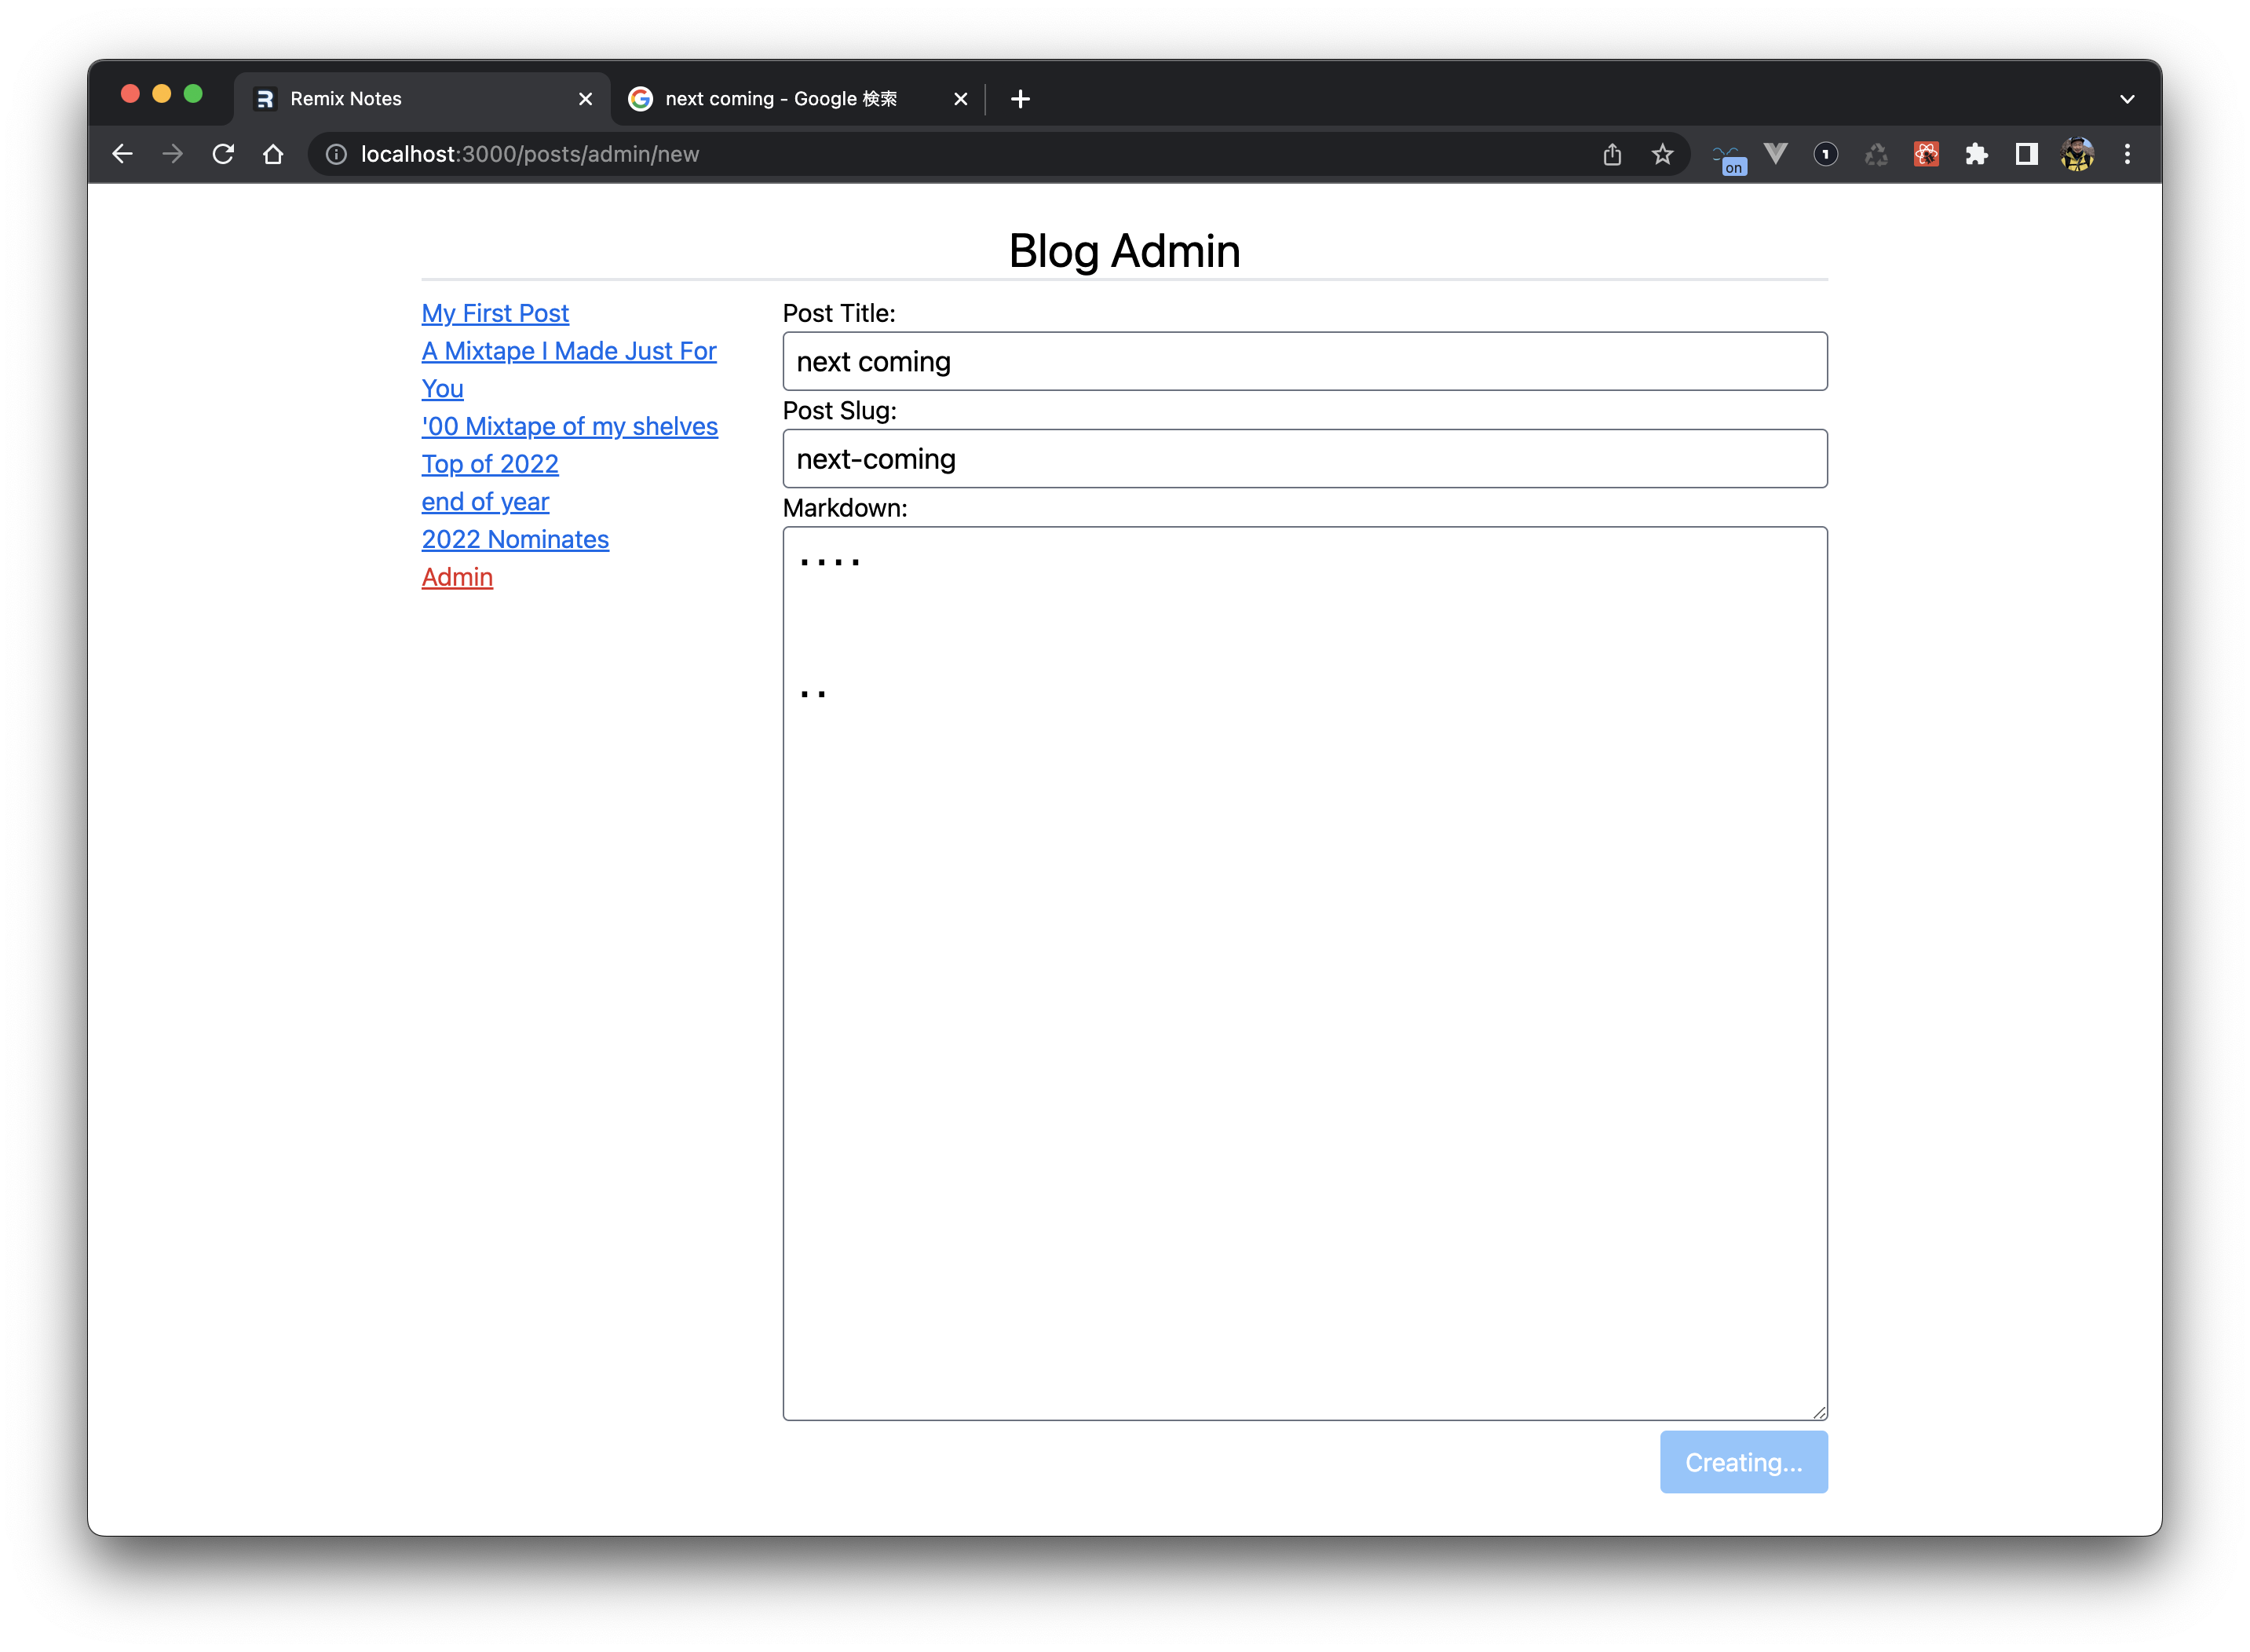
ボタンが非活性になりラベルも変更されることを確認できました。
宿題
ブログチュートリアルとしては以上の内容で終了です。
最後に「宿題」としていくつかの追加タスクを提案されています。
- admin に投稿の更新/削除機能を実装。
- Optimistic UI の実装。Twitter のいいねボタンのようにリクエストが成功する前提でUIを変更していくUI、その導入ガイドもRemixのドキュメントに掲載されていました。
- 認可されたユーザーのみの投稿。認証の仕組みはすでに Indie Stack によってあるので admin に導入すること。
- アプリのデプロイ。こちらもすでに Fly.ioへのデプロイの準備が用意されているので
READMEを見ながらやってみてとのこと。
まとめ
今回のブログチュートリアルではRemixでのアプリ構築のごく基本的な流れを体験でき、冒頭に記載した Philosophyの一端を感じることができました。
普段 Vue.js を書くことが多いですがReactをベースとした実装もチュートリアルが親切な作りになっているので違和感なく進めることができました。
チュートリアルで使ったIndie Stack、とくに Prisma との相性がよい印象で、バックエンドが苦手な自分としても挫折することなくフロントエンド開発に注力できそうな印象でした。
ドキュメントを見るとチュートリアルに上がっていない様々な機能があるので見ていけたらと思いました。
さらに理解を深めるには実際なにか個人開発で利用できればよいなと思いました。
明日の担当は @fkchaaang です!