これやりたい
この動画のエフェクトすごく綺麗だな。UNITYでも出来ないかなと思いました。
特に動画の11分あたりの光に芯を入れるという部分がやってみたい!と思う部分でした。
ということで、まずはParticle Systemを作ってから
まず、Start Colorにグラデーション入れたり、パラメータ調整します。
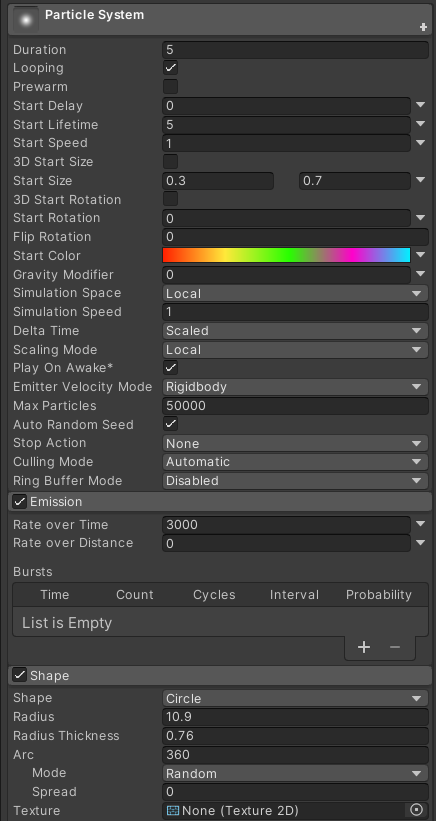
Max Particlesを50000。
EmissionのRate over Timeを3000にしています。
ある程度、数を出したいので。
また、形状は、動画を参考にしてCircleです。
サイズなども調整します。
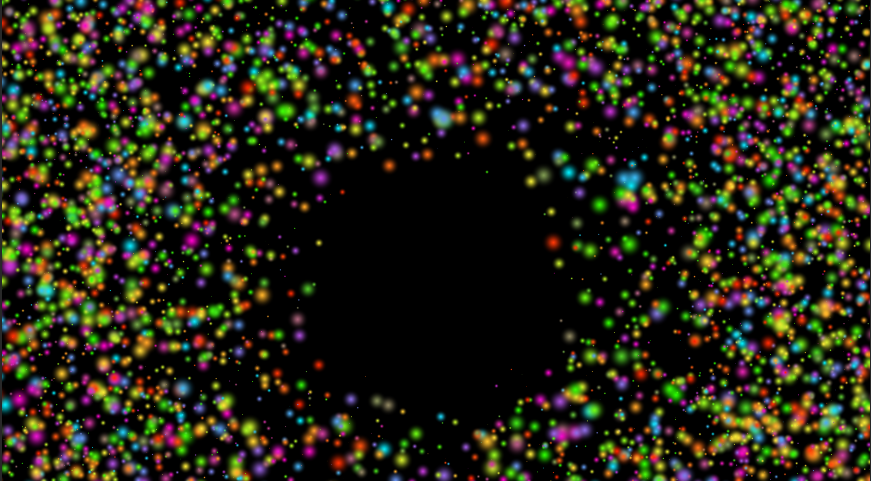
そうすると、こうなります。
次にシェーダーを作ります
光の芯を入れる部分は、適当にシェーダーを書いて、それっぽくしようというのが今回のやり方になります。
LightParticle.shader
Shader "Unlit/LightParticle"
{
    Properties
    {
        _MainTex ("Texture", 2D) = "white" {}
        _ColorRatio("ColorRatio", Range(0,10)) = 1
        _Brightness("Brightness", Range(0,2)) = 1
    }
    SubShader
    {
        Tags { "RenderType"="Transparent" }
        Blend SrcAlpha One
        ZWrite Off
        LOD 100

        Pass
        {
            CGPROGRAM
            #pragma vertex vert
            #pragma fragment frag

            #include "UnityCG.cginc"

            struct appdata
            {
                float4 vertex : POSITION;
                float3 normal : NORMAL;
                fixed4 color : COLOR;
                float4 texcoords : TEXCOORD0;
                float texcoordBlend : TEXCOORD1;
            };

            struct v2f
            {
                float2 uv : TEXCOORD0;
                float4 vertex : SV_POSITION;
                fixed4 color : COLOR;
            };

            sampler2D _MainTex;
            float4 _MainTex_ST;
            float _ColorRatio;
            float _Brightness;

            v2f vert (appdata v)
            {
                v2f o;
                o.vertex = UnityObjectToClipPos(v.vertex);
                o.uv = TRANSFORM_TEX(v.texcoords.xy, _MainTex);
                o.color = v.color;
                return o;
            }

            fixed4 frag(v2f i) : SV_Target
            {
                fixed4 col = tex2D(_MainTex, i.uv);

                float bright = col.x * 0.3 + col.y * 0.58 + col.z * 0.12;   // 適当に輝度を求める
                bright = bright * _Brightness;

                col *= saturate(i.color * _ColorRatio);
                col.xyz += bright;
                return col;
            }
            ENDCG
        }
    }
}
輝度を求めて、後で足すというところが主な部分です。
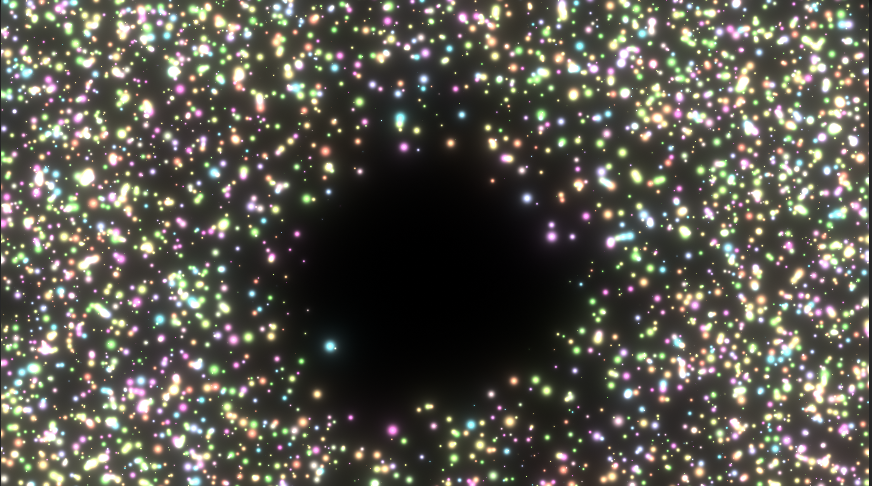
_ColorRatioに1、_Brightnessに0.7ぐらいをいれると、こういう感じになります。

良いですね!
光の芯を入れることで、本当に光っている感じがでています。
適当にポストエフェクト入れよう
あとは、適当にブルームなどをかけると、こういう感じです。
すごくいい感じ。
(でも改めて見返してみると、元の動画と全然同じ感じにはなってない)