この記事について
GCPの無料枠でできることを数回に分けて紹介します。無料枠の内容は変更になる可能性があるのと、従量課金のものは制限を超えると課金されたりもするので、公式の情報を確認しつつ自己責任でご利用ください。
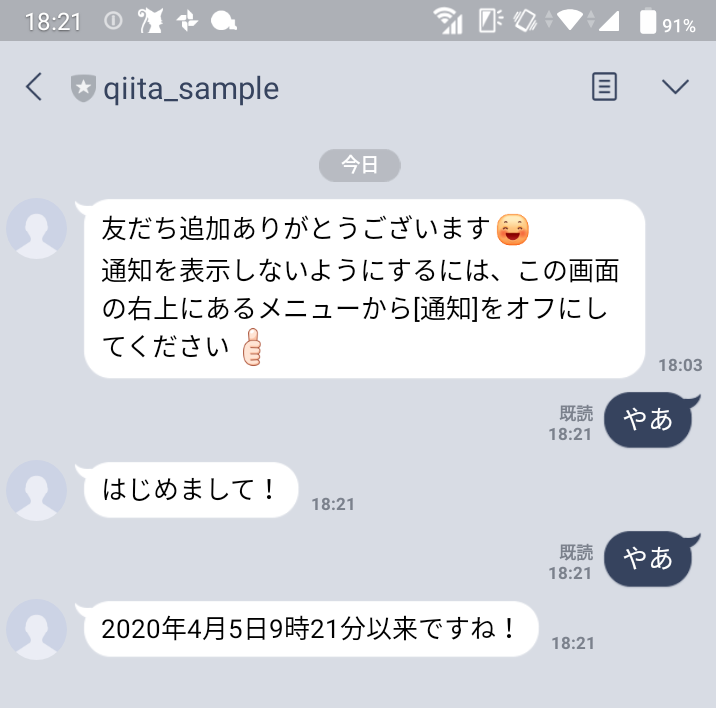
今回はCloud RunとDatastoreをLINEのMessaging APIと連携させて、以下の簡単なボットを作成します。記事の最後で、同じ要領で作成したもう少し実用的なボットも紹介するので、よければそちらもご覧ください(App Engineで実装したものですが、共通点も多いので)(2020/10/24追記:このbotは停止しました)。

- メッセージを受け取ったら、その時刻を記録する
- 1回目は「はじめまして!」と返す
- 2回目以降は直近のメッセージの時刻を返す(上の画像は日本の時差のせいで9時間ずれている)
各サービスの簡単な紹介
Cloud Run
ステートレスなコンテナをサーバーレスな環境で実行できるGCPのサービス。今回はFlaskのWebサーバーを実行するだけなので、App Engineを使うのが王道かもしれませんが、Cloud Runの方が記事が少なそうだったのであえて紹介してみます。
Datastore
GCPのスケーラブルなNoSQLデータベース。現在はFirestoreに組み込まれているので、正確にはDatastoreモードのFirestoreを利用します。ちなみにDatastoreモードとネイティブモードの使い分けについて、公式では以下のように説明があります。
新しいサーバー プロジェクトの場合は、Datastore モードで Cloud Firestore を使用する。
Messaging API
LINE上で動作するボットを作成できます。作成したボットはLINE公式アカウントと紐づくので、友達登録した人に使ってもらえます。
Cloud Runの設定
今回準備するのは以下の3ファイルです。全て同じディレクトリに配置します。
- app.py
- config.py
- Dockerfile
app.py
まずはメインの処理内容が記載されているapp.pyです。大枠はこちらを参考にしています。
from flask import Flask, request, abort
from linebot import LineBotApi, WebhookHandler
from linebot.exceptions import InvalidSignatureError
from linebot.models import MessageEvent, TextMessage, TextSendMessage
import config # MessagingAPIのアクセストークンなど
from google.cloud import datastore
import datetime
import os

app = Flask(__name__)
client = datastore.Client()
line_bot_api = LineBotApi(config.token)
handler = WebhookHandler(config.secret)

@app.route("/callback", methods=['POST'])
def callback():
    # get X-Line-Signature header value
    signature = request.headers['X-Line-Signature']
    # get request body as text
    body = request.get_data(as_text=True)
    app.logger.info("Request body: " + body)
    # handle webhook body
    try:
        handler.handle(body, signature)
    except InvalidSignatureError:
        print("Invalid signature. Please check your channel access token/channel secret.")
        abort(400)
    return 'OK'

@handler.add(MessageEvent, message=TextMessage)
def handle_message(event):
    user_id = event.source.user_id
    user_key = client.key("TestTable", user_id) # kindとidを引数にKeyを取得
    user_entity = client.get(user_key) # Keyを引数にEntityを取得
    if user_entity is None:
        user_entity = datastore.Entity(key=user_key, exclude_from_indexes=("timestamp",))
        msg = "はじめまして!"
    else:
        timestamp = user_entity["timestamp"]
        ts = datetime.datetime.fromtimestamp(timestamp/1000)
        msg = "{}年{}月{}日{}時{}分以来ですね!".format(ts.year, ts.month, ts.day, ts.hour, ts.minute)
    user_entity.update({ # Entityの更新
        "timestamp": event.timestamp
    })
    client.put(user_entity) # 引数のEntityをDatastoreに保存
    line_bot_api.reply_message(
        event.reply_token,
        TextSendMessage(text=msg))

if __name__ == "__main__":
    app.run(debug=True, host="0.0.0.0", port=int(os.environ.get("PORT", 8080)))
@handler.addデコレータ直後のhandle_messageが、Messaging APIからのメッセージに対応する関数です。引数のeventには送信もとのuser_idなど様々な情報が含まれます(ここで一覧が見られます)。Datastore関連の関数は見慣れないと思うので、簡単にコメントを入れていますが、詳細はドキュメントをご確認ください。
config.py
app.pyの中でimport configで読み込みまれているファイルです。Messaging APIと連携するためにアクセストークンなどを設定しています(確認方法は後述します)。app.pyに直接書き込んでもいいのですが、.gitignoreとかで管理しやすいよう別ファイルにするのがおすすめです。
token = "xxxxx"
secret = "xxxxx"
Dockerfile
最後にDockerfileです。必要なPythonパッケージはRUN pip install ...でインストールしています。
# Use the official Python image.
# https://hub.docker.com/_/python
FROM python:3.7

# Copy local code to the container image.
ENV APP_HOME /app
WORKDIR $APP_HOME
COPY . .

# Install production dependencies.
RUN pip install Flask gunicorn line-bot-sdk google-cloud-datastore

# Run the web service on container startup. Here we use the gunicorn
# webserver, with one worker process and 8 threads.
# For environments with multiple CPU cores, increase the number of workers
# to be equal to the cores available.
CMD exec gunicorn --bind :$PORT --workers 1 --threads 8 app:app
デプロイ
ここまできたら以下のコマンドでデプロイします。プロジェクト名やリージョンは適宜読み替えてください。途中でAllow unauthenticated invocations to [qiita-sample] (y/N)?と聞かれますが、今回はテストなのでyにします。完了したらGCPのコンソールから、URLを確認しておきます。
gcloud builds submit --tag gcr.io/$gcp_project/qiita-sample
gcloud beta run deploy qiita-sample --image gcr.io/$gcp_project/qiita-sample --platform managed --region us-west1
MessagingAPIの設定
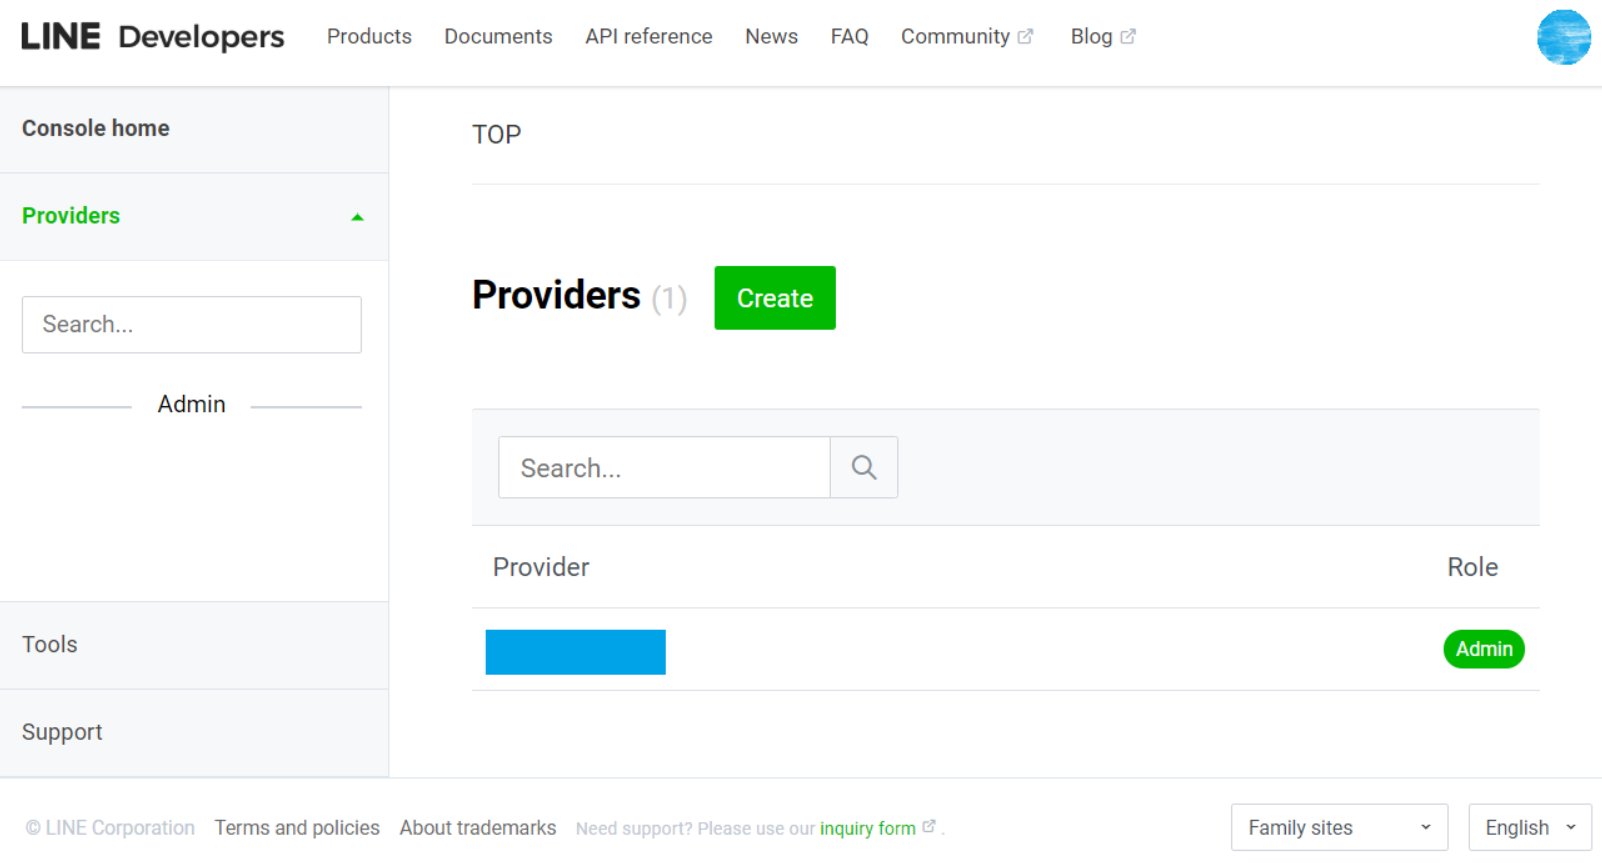
まずはLINE Developersにログインし、コンソールに移動、そしてProviderを選択(なければ作成)します。
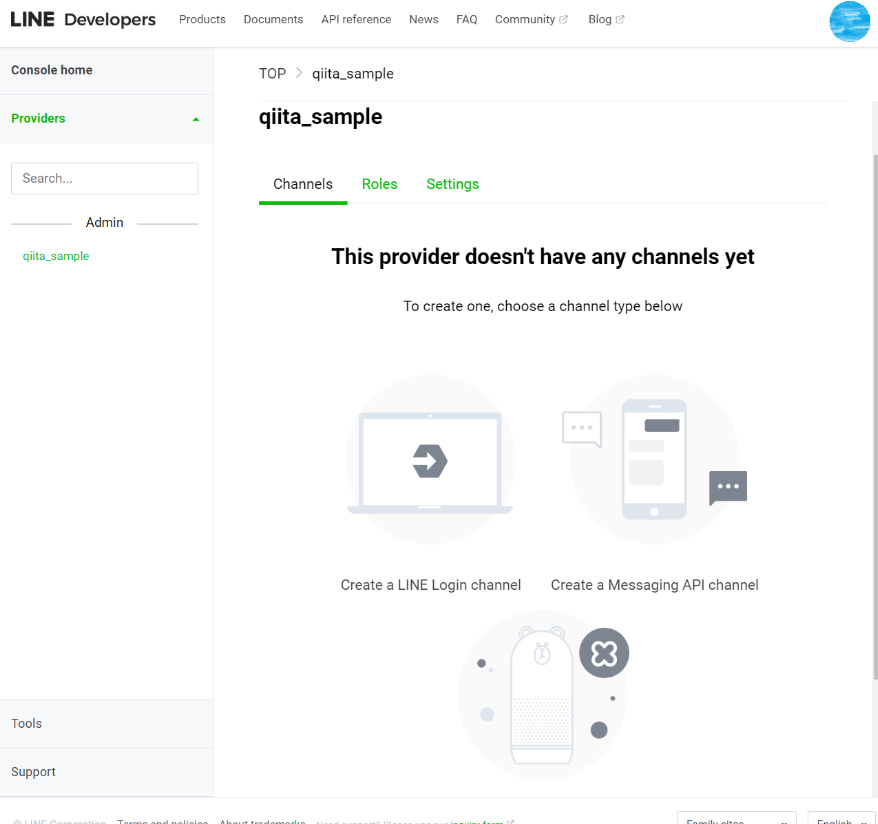
まだチャンネルがないと以下のような画面になります。Create a Messaging API channelへと進み、必要事項を入力しましょう。
次に設定の変更と確認です。
- Basic Settingsから
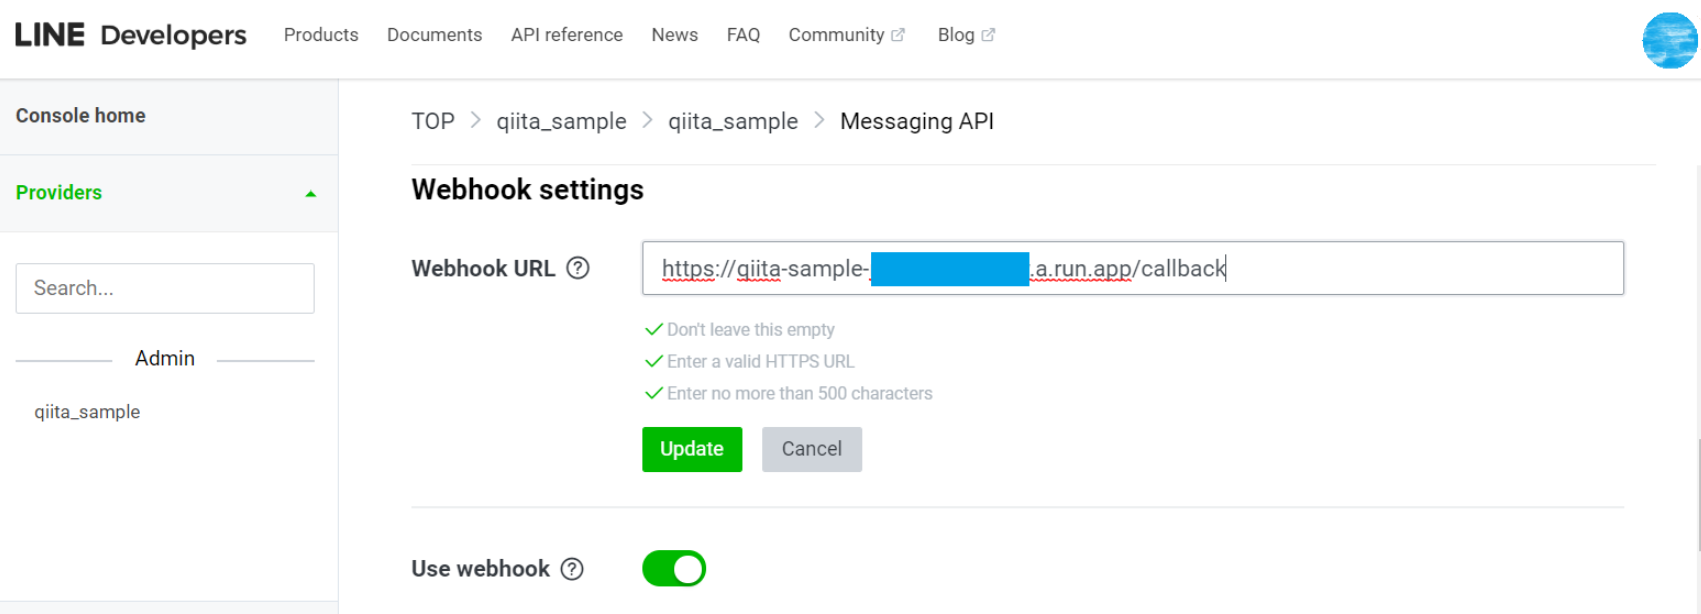
Channel secretを、Messaging API settingsから、Channel access tokenを確認(未発行ならIssueで発行)し、config.pyに記載する。 - Messaging API settingsでWebhookの設定をする。今回はCloud Runのコンソールで確認したURLの末尾に
/callbackを付けて、以下の画像のようなURL。入力したらUse webhookをONにする。 - 同じくMessaging API settingsで
Auto-reply MessagesをDisabledにする。
ここまででいったん設定完了です。
動作確認
設定画面のQRコードかIDでLINEの友達に追加したら、話しかけてみましょう。Cloud Runのデプロイも済んでいれば、冒頭の画像ように返事が返ってきます。Datastoreのコンソールからも、直近の応答時刻が正常に記録されていることが確認できると思います。
最後に
実は初投稿なので読みにくい部分も多々あったと思いますが、少しでも参考になれば幸いです。最後に、この記事の要領で自分が作成したボットを紹介します。
コロナのせいで休園中ですが、またディズニーに行く日を夢見て作った、テーマパークで便利なボットです。QRコードかID(@541rhynx)で招待すると、LINEのトーク内で割り勘や、乗り物のペア分けができます。こちらの実装はApp Engineですが、今回作ったボットのapp.pyを書き換えるだけで同じことができるはずです。コードや説明書はgithubで公開しています(2020/10/24追記:このbotは停止しました)。


