はじめに
今回はLinearLayoutについて解説していきたいと思います。
前回まではTextViewやButton、EditTextなどパーツについての説明をしてきましたが、今回のLinearLayoutはその複数パーツを表示するためのものになります。
前回まではTextViewなどのコードをコピペして貼り付けるだけで表示できましたが、今回のLinearLayoutを学ぶと思うままにパーツを設定できて自分好みのUIが出来るようになるでしょう!
記事の対象
- Androidアプリ開発初心者
- 前回の記事を読んだ方
- Androidをこよなく愛する方
LinearLayoutとは
はじめに書きましたが前回までのパーツとは違い、今回のLinearLayoutとはパーツを並べていくためのViewになります。
パーツを並べるためのViewはいくつかあります。
- LinearLayout
- RelativeLayout
- FrameLayout
- ConstraintLayout
- etc...
今回はその中でも最も多く使うLinearLayoutについての解説です。
LinearLayoutとはパーツを横一列、または縦一列に並べるためのViewです。
早速使っていきましょう。
1. activity_main.xmlを書き換える。
現在activity_main.xmlはこのようになっています。
<?xml version="1.0" encoding="utf-8"?>
<androidx.constraintlayout.widget.ConstraintLayout xmlns:android="http://schemas.android.com/apk/res/android"
    xmlns:app="http://schemas.android.com/apk/res-auto"
    xmlns:tools="http://schemas.android.com/tools"
    android:layout_width="match_parent"
    android:layout_height="match_parent"
    tools:context=".MainActivity">

    <TextView
        android:id="@+id/textView"
        android:layout_width="wrap_content"
        android:layout_height="wrap_content"
        android:text="Hello World!"
        app:layout_constraintBottom_toBottomOf="parent"
        app:layout_constraintLeft_toLeftOf="parent"
        app:layout_constraintRight_toRightOf="parent"
        app:layout_constraintTop_toTopOf="parent" />

    <EditText
        android:id="@+id/editText"
        android:layout_width="match_parent"
        android:layout_height="wrap_content"
        android:layout_marginStart="30dp"
        android:layout_marginTop="30dp"
        android:layout_marginEnd="30dp"
        app:layout_constraintTop_toBottomOf="@id/textView" />

    <Button
        android:id="@+id/button"
        android:layout_width="wrap_content"
        android:layout_height="wrap_content"
        android:layout_marginTop="30dp"
        android:text="Click!"
        app:layout_constraintEnd_toEndOf="parent"
        app:layout_constraintStart_toStartOf="parent"
        app:layout_constraintTop_toBottomOf="@id/editText" />

</androidx.constraintlayout.widget.ConstraintLayout>
これを以下のように書き換えます。
<?xml version="1.0" encoding="utf-8"?>
<LinearLayout xmlns:android="http://schemas.android.com/apk/res/android"
    android:layout_width="match_parent"
    android:layout_height="match_parent"
    android:orientation="vertical">
</LinearLayout>
以前まではandroid:layout_widthなどの解説はしてこなかったんですが、今回はちょっと細かく解説していきます。
2. プロパティをちょっと解説
さて、前回までは一切触れてこなかったViewのプロパティ
今回は少し深堀りしていきましょう
プロパティとは
ITの分野では、ソフトウェアが取り扱う対象(オブジェクト)の持つ設定や状態、属性などの情報をプロパティということが多い。
うーん、よくわからんとなる人が多いと思います。
なので今回はViewの状態だと思ってください。高さや幅、並べる順やどんなテキストを表示するかなどのことです。
android:layout_width
これは幅を指定します。
画面いっぱいに広げたい場合は、
android:width="match_parent"
適度なサイズで表示したい場合は
android:width="wrap_content"
という感じですね。
これは数字で指定もできます。
100dpの幅で表示したい場合は、
android:width="100dp"
こんな感じです。
高さに関しても同じように指定できます。
LinearLayoutのプロパティ
LinearLayoutは横一列、あるいは縦一列にViewを表示するものです。
それをどのように指定するかというと
android:orientation
このプロパティを追加すればいいです。
縦に並べたいときは
android:orientation="vertical"
横一列に並べたいときは
android:orientation="horizontal"
です。
3.Viewを表示してみる
ではこのLinearLayoutを使って、3つのTextViewと、1つのButtonを縦1列に並べてみましょう
<?xml version="1.0" encoding="utf-8"?>
<LinearLayout xmlns:android="http://schemas.android.com/apk/res/android"
    android:layout_width="match_parent"
    android:layout_height="match_parent"
    android:orientation="vertical">

    <TextView
        android:layout_width="wrap_content"
        android:layout_height="wrap_content"
        android:text="1"
        android:textSize="22sp"/>

    <TextView
        android:layout_width="wrap_content"
        android:layout_height="wrap_content"
        android:text="2"
        android:textSize="22sp"/>

    <TextView
        android:layout_width="wrap_content"
        android:layout_height="wrap_content"
        android:text="3"
        android:textSize="22sp"/>

    <Button
        android:layout_width="wrap_content"
        android:layout_height="wrap_content"
        android:text="Click!"/>
</LinearLayout>
これで3つのTextViewと1つのButtonが縦一列に表示されます。
さて実行してみましょう。
と思いましたが、MainActivityの中でエラーが起きてしまうので、一旦MainActivityはこうしましょう
package com.example.helloworld

import androidx.appcompat.app.AppCompatActivity
import android.os.Bundle
import android.widget.Button
import android.widget.EditText
import android.widget.TextView

class MainActivity : AppCompatActivity() {
    override fun onCreate(savedInstanceState: Bundle?) {
        super.onCreate(savedInstanceState)
        setContentView(R.layout.activity_main)

    }
}
以前までMainActivityで認識させていたViewは消してしまったので、それも消しちゃいます。
4. 実行
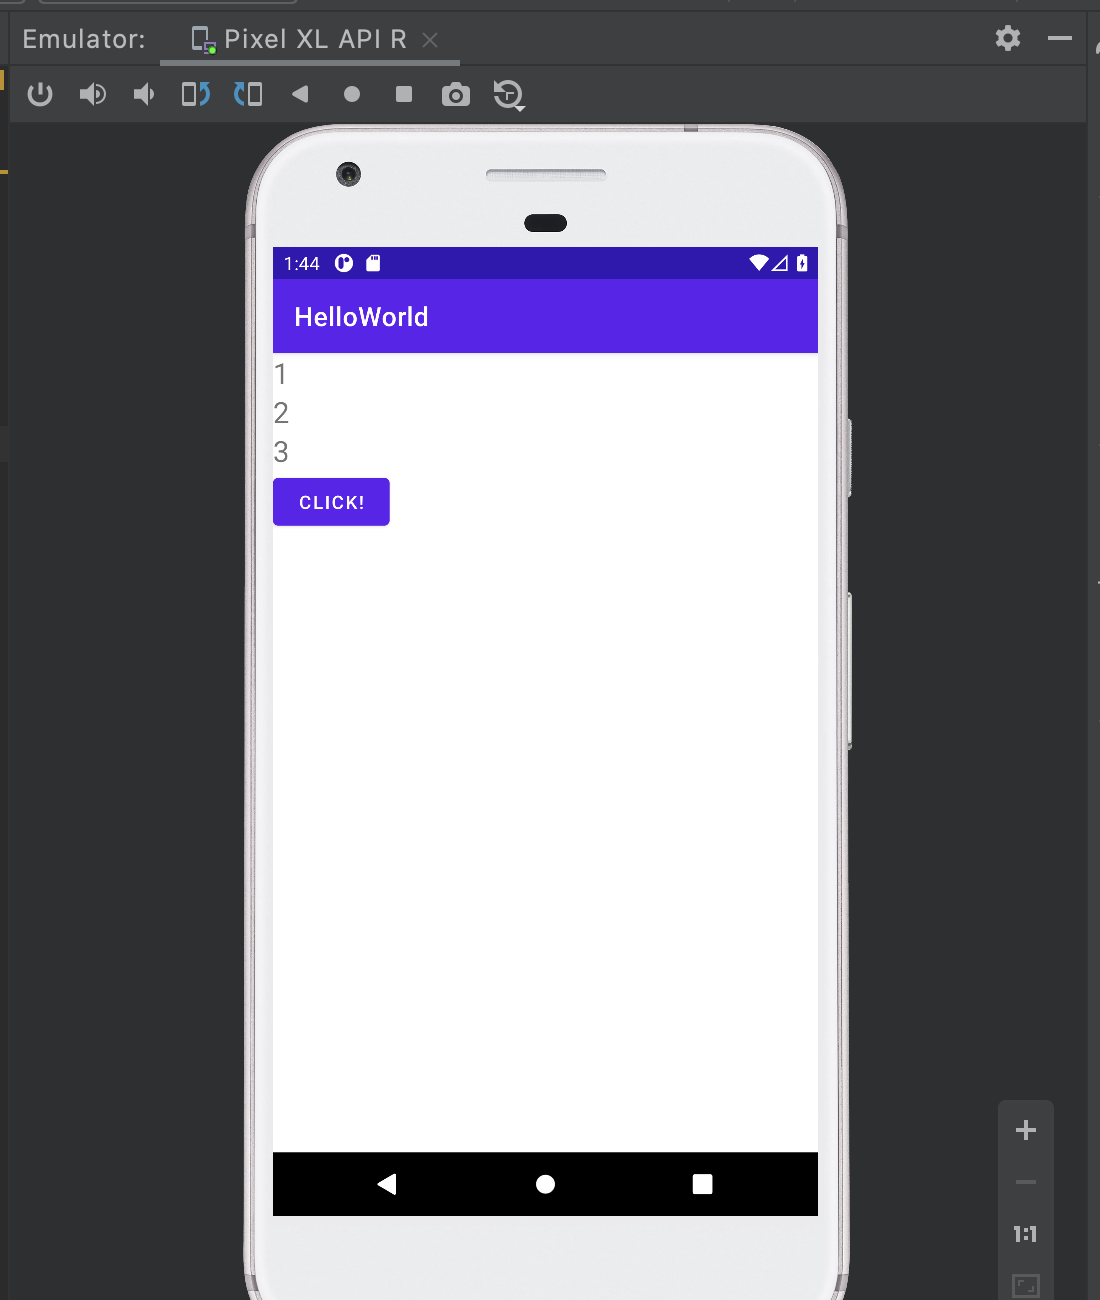
期待通りに表示してくれましたね!
ただこれだとちょっとダサいので全て中央よせにしてみましょう。
5.中央寄せにしてみる
全てのTextViewとButtonに
android:layout_gravity="center"
というプロパティを追加してみましょう。
さてこれで実行してみましょう!
6.再度実行
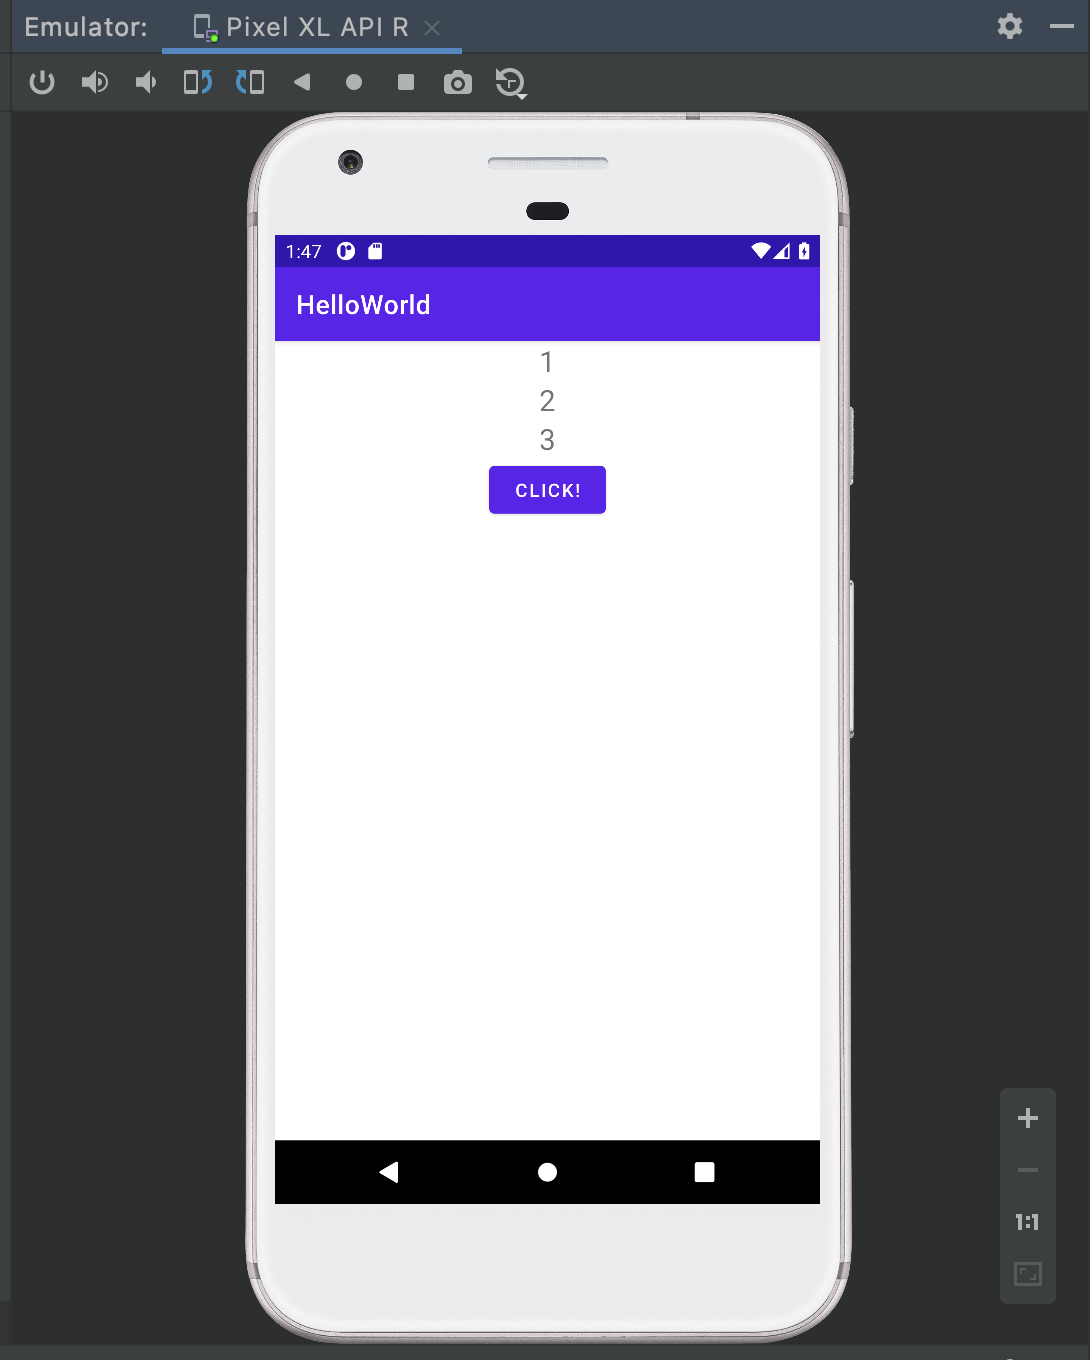
中央寄せになってくれましたね!
まとめ
今回はLinearLayoutの解説をしていきました。
だんだんとTodoアプリに近づいてきた気がしますね!
成長のコツとして、サンプル通りにやってみるだけでなく自分なりに色々いじってみることですね
このレイアウトだとちょっとダサいから自分好みのレイアウトに変えてみる、
そのためには色々なプロパティを設定してみたり、前回の応用でButtonを押したらTextViewの表示が変わる
みたいなこともやってみると面白いですね!