はじめに
こんにちは、どすこいです。
本記事はSwiftWednesday Advent Calendar 2023 13日目の記事です。
昨日はmatsueiさんの[Swift] aysncな関数内でThreadSafeでないインスタンスを扱う時は要注意でした。
概要
社内などのプライベートなスペースでライブラリを公開してみようという記事です。
ライブラリは使用者が不明なことが多いので、Swift Package, CocoaPodsでの公開としました。
環境
OS: macOS sonoma 14.1.1
Swift: 5.9
Swift Package
プロジェクトを作る
まずはSwift Packageに対応するプロジェクトを作りましょう。
今回のライブラリ名は PrivateLibraryとします。
ディレクトリとして private-ios-library の配下に作っていきます。
$ mkdir private-ios-library
$ cd private-ios-library
private-ios-libraryに移動したらSwift Packageの雛形を作ります。
$ swift package init --name PrivateLibrary --type library

Creating library package: PrivateLibrary
Creating Package.swift
Creating .gitignore
Creating Sources/
Creating Sources/PrivateLibrary/PrivateLibrary.swift
Creating Tests/
Creating Tests/PrivateLibraryTests/
Creating Tests/PrivateLibraryTests/PrivateLibraryTests.swift
雛形の作成が終わったらプロジェクトを開きます
$ open Package.swift
実装する
プロジェクトを開くとこんな感じ
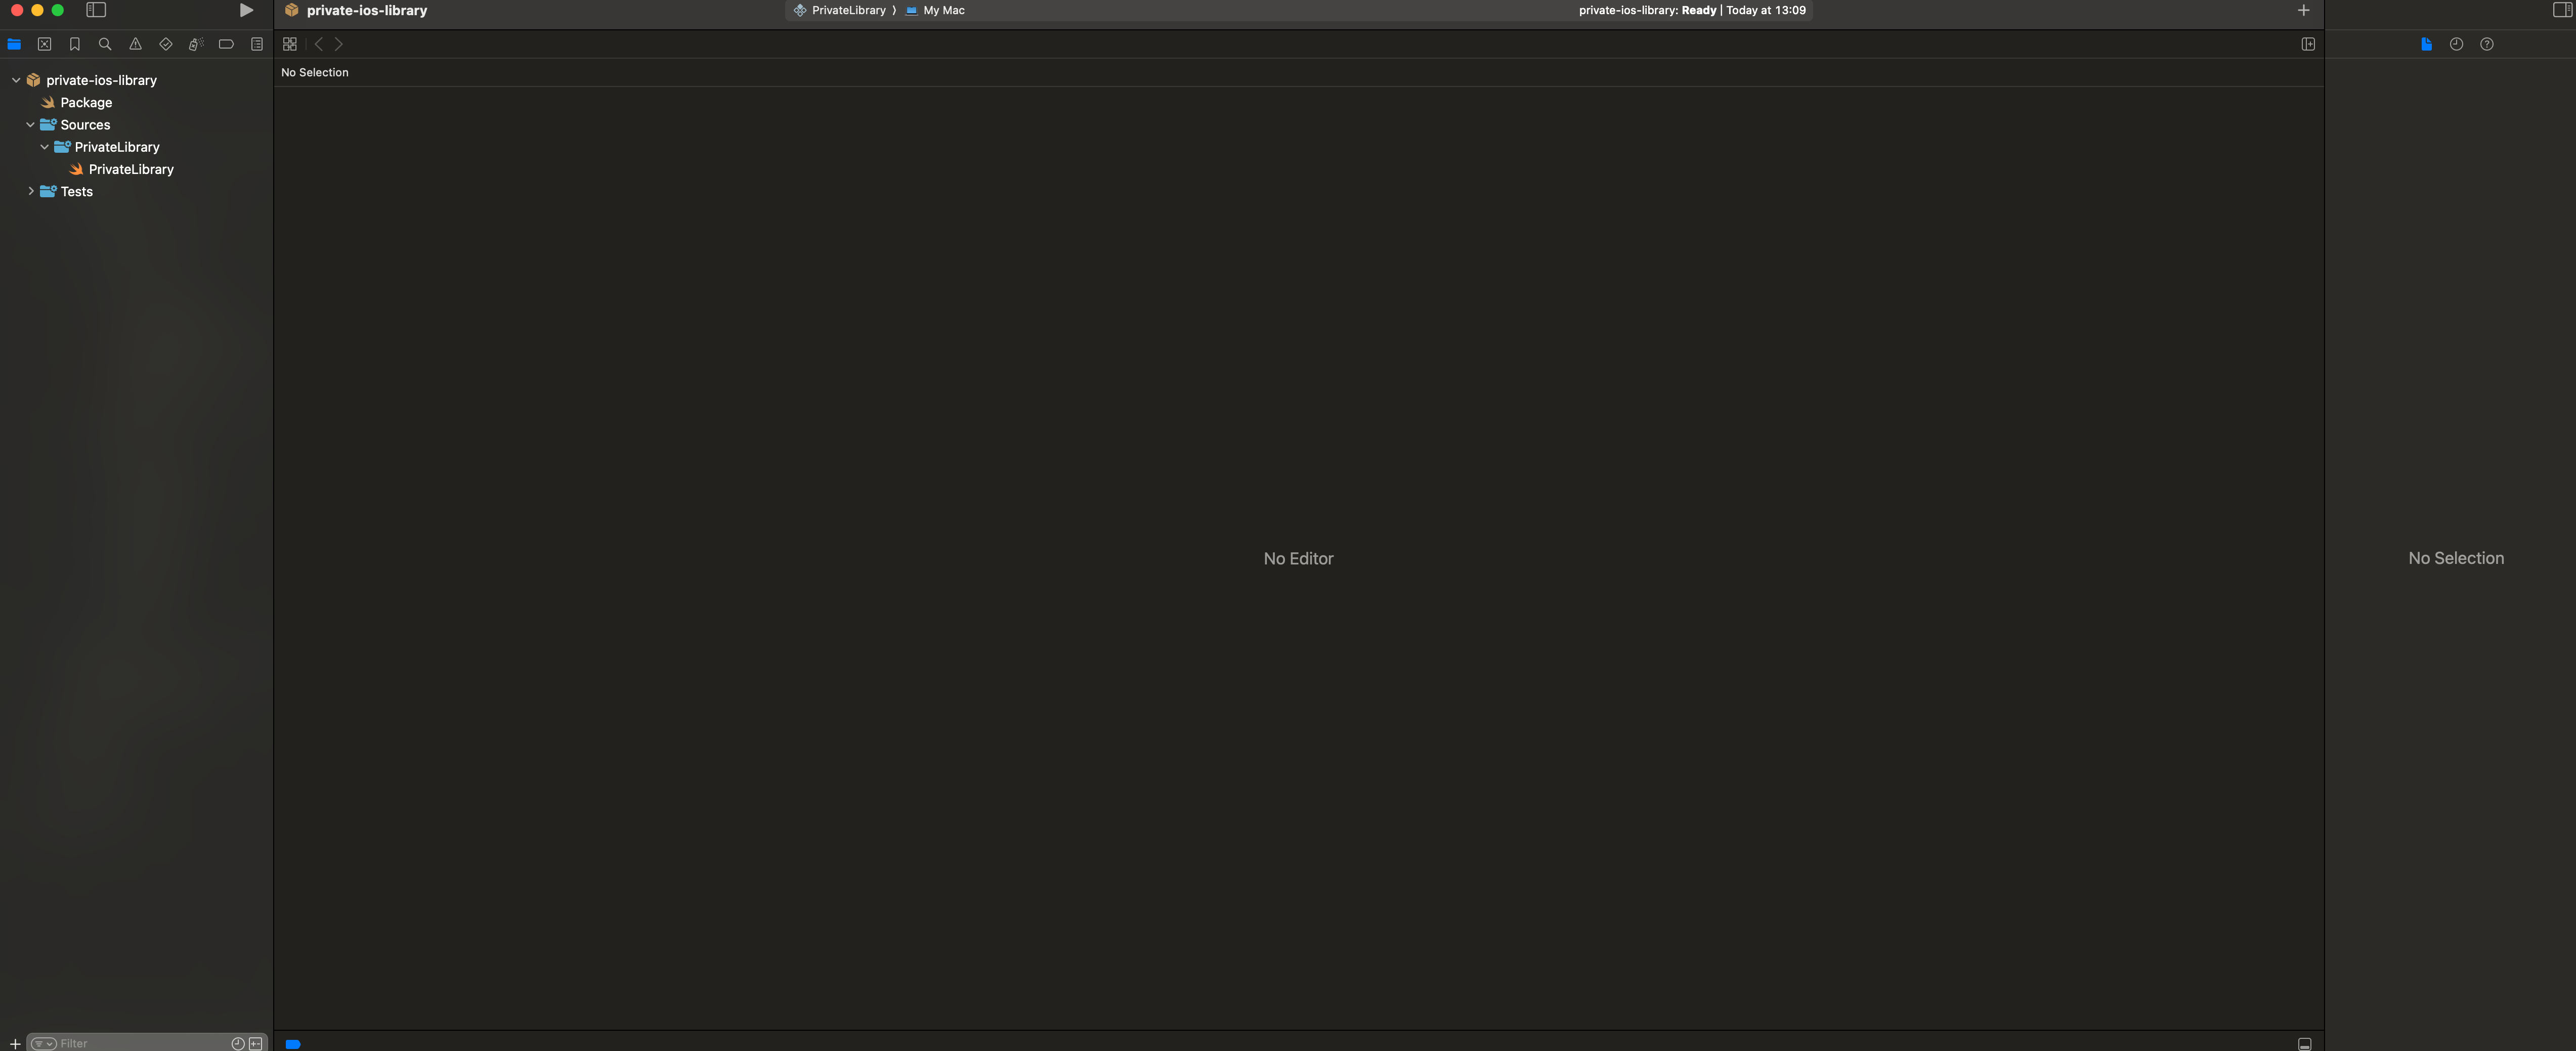
Sources/PrivateLibrary/PrivateLibrary.swiftがライブラリの本体です。
ここに任意のコードを書いていきます。
設定する
Package.swiftにライブラリ名や対応プラットフォームなどを記載していきます。
今回はiOS15以上に対応するライブラリとします。
platformsを追加します。
import PackageDescription

let package = Package(
    name: "PrivateLibrary",
		platforms: [.iOS(.v15)],
    products: [
        // Products define the executables and libraries a package produces, making them visible to other packages.
        .library(
            name: "PrivateLibrary",
            targets: ["PrivateLibrary"]),
    ],
    targets: [
        // Targets are the basic building blocks of a package, defining a module or a test suite.
        // Targets can depend on other targets in this package and products from dependencies.
        .target(
            name: "PrivateLibrary"),
        .testTarget(
            name: "PrivateLibraryTests",
            dependencies: ["PrivateLibrary"]),
    ]
)
公開する
まずはGitHubにpushしましょう。
$ git init
$ git add .
$ git commit -m "Initial commit"
$ git remote add origin git@github.com:<username>/PrivateLibrary.git
$ git push origin main
今回はプライベートなライブラリなため、リポジトリはプライベートにしておきましょう
pushできたらGitHub上からタグを切ります。
今回は 0.0.1としましょう。
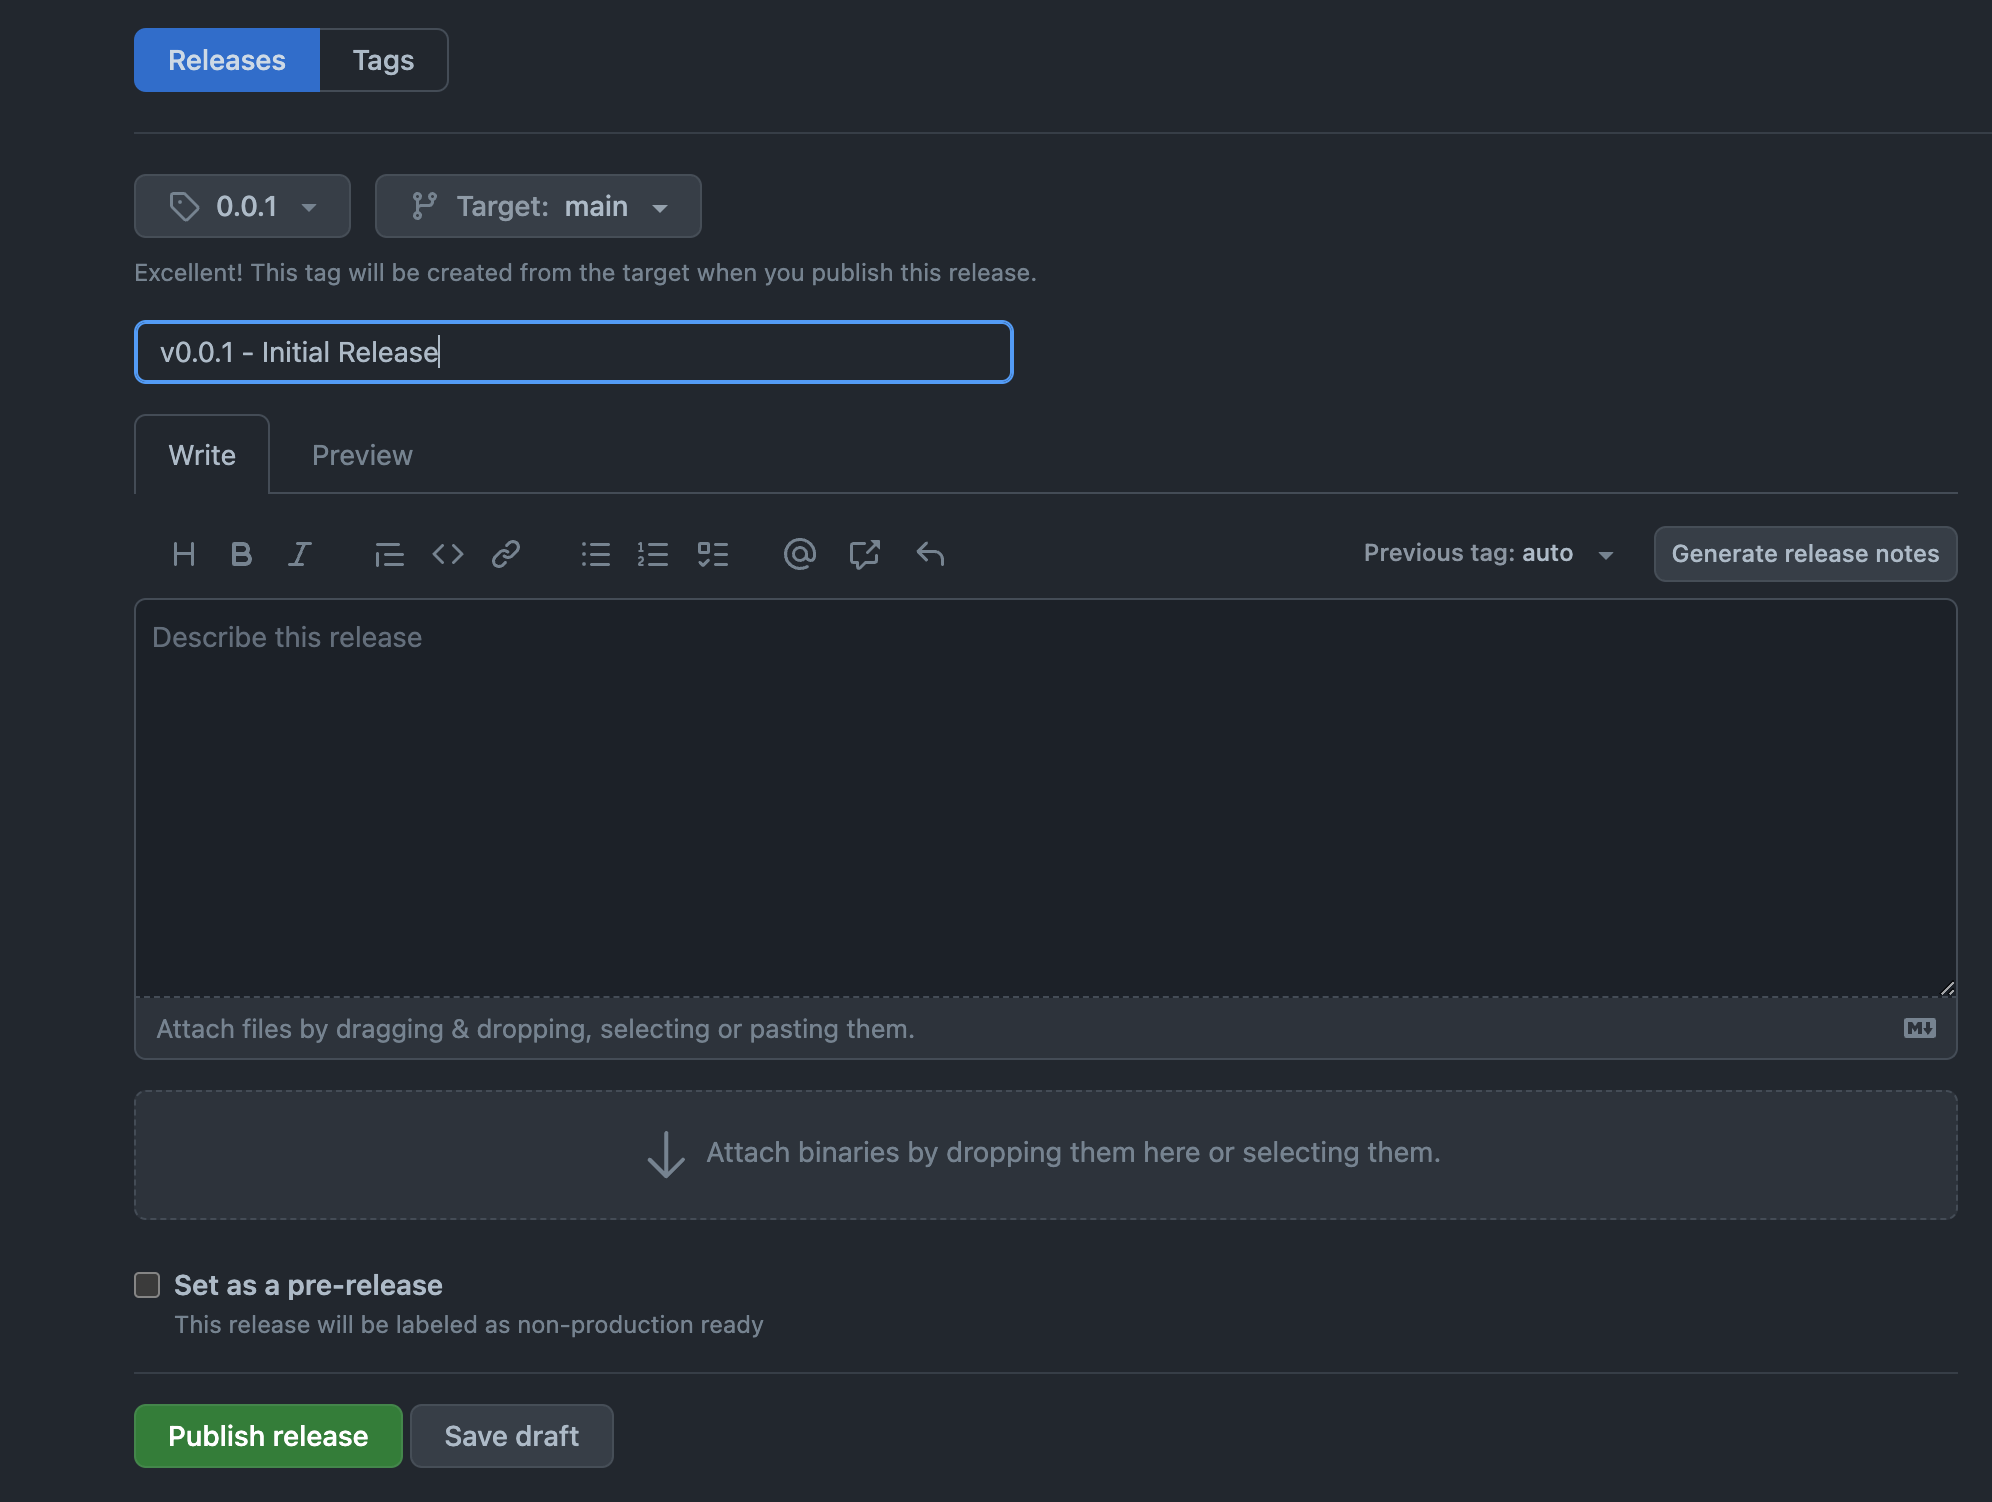
これで公開は完了です。
使ってみる
上で公開したプライベートライブラリを別のプロジェクトにて使ってみましょう。
準備
GitHubのPersonal Access Tokenを発行する必要があります。
Personal Access Tokenの発行方法は別記事を参照してください。
Personal Access TokenのscopeはrepoだけでOKです。
忘れないようにどこかにメモをしておきましょう。
準備できたら
Xcode上からプロジェクト設定を開きます。
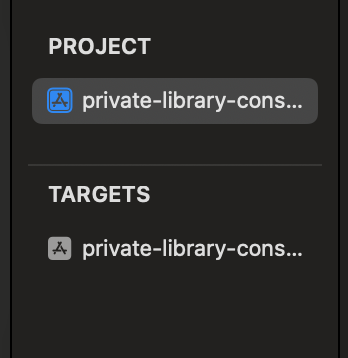
Project > Package Dependenciesから「+」を押すとウィンドウが表示されます。
まずはプライベートリポジトリから取得するために、XcodeとGitHubでアカウント連携します。
開かれたウィンドウの左下の「+」を押下し、「Add Source Controll Account」を選択します。
新たに表示されたウィンドウから「GitHub」を選択し、自身のアカウント名、準備で発行したPersonal Access Tokenを入力します。
入力を終えたら「Sign In」をクリックし完了。
そうすると以下の状態になります。
プライベートライブラリのhttpsのURLをコピーしてきます。(例: https://github.com/Naoki-Hidaka/private-ios-library.git)
コピーしたURLを「Search or Enter Package URL」にペーストします。
検索欄に「private-ios-library」が表示されるので、それを選択し「Add Package」ボタンを押下したら終了です。

これでプライベートで公開されるSwift Packageを使用できるようになりました。
CocoaPods
こっちはちょっと大変です。
まずパブリックなCocoaPodsライブラリはhttps://cocoapods.org/ によって管理されています。
ここにプライベートなライブラリを公開することはできません。
ではどうするのか
Private Pods の仕組みを使います。
プライベートなスペースでのSpecリポジトリを用意し、そこからライブラリを取得するという方法です。Mavenに似てますね。
ライブラリをCocoaPodsに対応させる
まずは上記のSwift Packagesで作ったライブラリをCocoaPodsに対応させます。
プロジェクトのルートに .podspecファイルを作成します。
今回は PrivateLibrary.podspecという名前でファイルを作りました。
ファイルの中身は以下です。自身のライブラリに合うように名前等を設定してください
Pod::Spec.new do |s|
  s.name             = 'PrivateLibrary'
  s.version          = '0.0.1'
  s.summary          = 'Private Library for CocoaPods'
  s.description      = 'write description'
  s.homepage         = 'ホームページのURL'
  s.author           = { 'Naoki Hidaka' => 'メールアドレス' }
  s.source           = { :git => 'git@github.com:Naoki-Hidaka/private-ios-library.git', :tag => s.version.to_s }

  s.ios.deployment_target = '15.0'

  s.source_files = 'Sources/**/*.swift'

  # s.public_header_files = 'Pod/Classes/**/*.h'
  # s.frameworks = 'UIKit', 'MapKit'
  # s.dependency 'AFNetworking', '~> 2.3'
end
CocoaPodsには設定が正しく行われているのかチェックできるlintが存在しています。
プロジェクトのルートでlintを実行します。
$ pod lib lint --allow-warnings

-> PrivateLibrary
-> PrivateLibrary (0.0.1)
    - WARN  | attributes: Missing required attribute `license`.
    - WARN  | license: Missing license type.
    - WARN  | source: Git SSH URLs will NOT work for people behind firewalls configured to only allow HTTP, therefore HTTPS is preferred.
    - WARN  | description: The description is shorter than the summary.
    - WARN  | url: There was a problem validating the URL ホームページのURL.
    - WARN  | [iOS] license: Unable to find a license file
    - WARN  | [iOS] swift: The validator used Swift `4.0` by default because no Swift version was specified. To specify a Swift version during validation, add the `swift_versions` attribute in your podspec. Note that usage of a `.swift-version` file is now deprecated.
    - NOTE  | xcodebuild:  note: Using codesigning identity override: -
    - NOTE  | [iOS] xcodebuild:  note: Building targets in dependency order
    - NOTE  | [iOS] xcodebuild:  note: Target dependency graph (3 targets)
    - NOTE  | [iOS] xcodebuild:  note: Metadata extraction skipped. No AppIntents.framework dependency found. (in target 'PrivateLibrary' from project 'Pods')
    - NOTE  | [iOS] xcodebuild:  note: Signing static framework with --generate-pre-encrypt-hashes (in target 'Pods-App' from project 'Pods')
    - NOTE  | [iOS] xcodebuild:  note: Metadata extraction skipped. No AppIntents.framework dependency found. (in target 'App' from project 'App')

PrivateLibrary passed validation.
Warnは最悪無視して大丈夫です。Errorがなければデプロイできる状態、ということです。
ライブラリ側の設定は以上で終わりです。ひと休みしましょう。
Specリポジトリを作成
プライベートなライブラリを公開するためのプライベートSpecリポジトリを作成しましょう。
ここで気をつけるべき点はCocoaPodsのデフォルトブランチは mainではなく masterであること
$ mkdir my-spec
$ cd my-spec
$ git init
$ git remote add origin git@github.com:<username>/my-spec.git
$ touch README.md <- 後で好きに編集してください
$ git add .
$ git commit -m "initial commit"
$ git push origin master
ローカルのCocoaPodsにプライベートSpecを追加する
$ pod repo add my-spec(任意の名前) git@github.com:<username>/my-spec.git
これで先ほど作ったプライベートなSpecリポジトリをローカルのCocoaPodsに追加することができます。
公開する
それではプライベートSpecリポジトリに上記で作ったライブラリを公開していきましょう。
まずはライブラリのプロジェクトルートに移動します。
$ cd private-ios-library
ここで以下を実行します。
my-specの部分は上記で(任意の名前)としたところです。Specリポジトリの名前です。
$ pod repo push my-spec PrivateLibrary.podspec --allow-warnings

Validating spec
 -> PrivateLibrary (0.0.1)
    - WARN  | attributes: Missing required attribute `license`.
    - WARN  | license: Missing license type.
    - WARN  | source: Git SSH URLs will NOT work for people behind firewalls configured to only allow HTTP, therefore HTTPS is preferred.
    - WARN  | description: The description is shorter than the summary.
    - WARN  | url: There was a problem validating the URL ホームページのURL.
    - WARN  | [iOS] license: Unable to find a license file
    - WARN  | [iOS] swift: The validator used Swift `4.0` by default because no Swift version was specified. To specify a Swift version during validation, add the `swift_versions` attribute in your podspec. Note that usage of a `.swift-version` file is now deprecated.
    - NOTE  | xcodebuild:  note: Using codesigning identity override: -
    - NOTE  | [iOS] xcodebuild:  note: Building targets in dependency order
    - NOTE  | [iOS] xcodebuild:  note: Target dependency graph (3 targets)
    - NOTE  | [iOS] xcodebuild:  note: Metadata extraction skipped. No AppIntents.framework dependency found. (in target 'PrivateLibrary' from project 'Pods')
    - NOTE  | [iOS] xcodebuild:  note: Signing static framework with --generate-pre-encrypt-hashes (in target 'Pods-App' from project 'Pods')
    - NOTE  | [iOS] xcodebuild:  note: Metadata extraction skipped. No AppIntents.framework dependency found. (in target 'App' from project 'App')

Updating the `my-spec' repo

Adding the spec to the `my-spec' repo

 - [Add] PrivateLibrary (0.0.1)

Pushing the `my-spec' repo
これでmy-specにPrivateLibraryという名のライブラリが公開されました。
使ってみる
実際にこれを別プロジェクトにて使ってみましょう。
CocoaPodsに対応していないプロジェクト
$ pod init
$ pod install
これでXcode上にPodディレクトリが表示され、Podfileを操作できるようになります。
CocoaPodsに対応しているプロジェクトもここから先は一緒です。
プライベートSpecリポジトリを使えるようにする
Podfileの先頭に以下を追加します。
source 'git@github.com:Naoki-Hidaka/my-spec.git'
ライブラリを導入する
先ほど作った PrivateLibraryを追加します。
target 'private-library-consumer-sample' do
  # Comment the next line if you don't want to use dynamic frameworks
  use_frameworks!

  pod 'PrivateLibrary' <- この部分

end
Podfileに追加したら以下を実行
$ pod install
これで無事に使えるようになりました。
最後に
Swift Packageに対応、CocoaPodsに対応のどちらかはインターネット上で見られますが、どちらにも対応しているという記事があまりなく困ったこともあったので書きました。
困ってる人の役に立てれば幸いです。