はじめに
久々にFletで何かを作ってみようということで、環境整備の手順をまとめておく。
2024/11時点での情報。
https://flet.dev/docs/getting-started/
↑に書いてある内容をまとめただけなので、不明点などあったら本家を参照ください。
前提事項
- OS: Windows11
- Python 3.13 インストール済み
- git インストール済み
- Flet のバージョン: 0.24.1
手順
1)プロジェクトフォルダの作成と Python 仮想環境の準備
コマンドプロンプトにて、以下のコマンドを実行する。
プロジェクト名は「first-flet-app」としておくが、なんでもOK。
パッケージのバージョン衝突等を避けるため、仮想環境にしておく方が良い。
rem フォルダ作成&移動
md first-flet-app
cd first-flet-app

rem 仮想環境作成
python -m venv .venv

rem 仮想環境を有効化
.venv\Scripts\activate

rem ※メモ:戻すときはこちら
.venv\Scripts\deactivate
2)最新バージョンの Flet をインストール
仮想環境を有効化した状態で、Flet をインストールする。
現時点での最新 0.24.1 が入った。
rem Fletインストール
pip install flet

rem バージョン確認
flet --version
↓出力
0.24.1
3)新しい Flet アプリを作成
テンプレート「counter」を指定してアプリを作成する。
多少コードが書いてあるので参考になるため。
特に要らないなら flet create . でOK。
rem テンプレを指定してアプリを作成 ※git が使えないとエラーになるので注意
> flet create --template counter .
↓出力
Done!

Run the app:

flet run

rem 作成されたファイルを確認 ※いろいろと自動作成される
dir /w
↓出力
[.]                [..]               .gitattributes     .gitignore         [.venv]            [assets]
main.py            README.md          requirements.txt
4)作成したアプリを実行
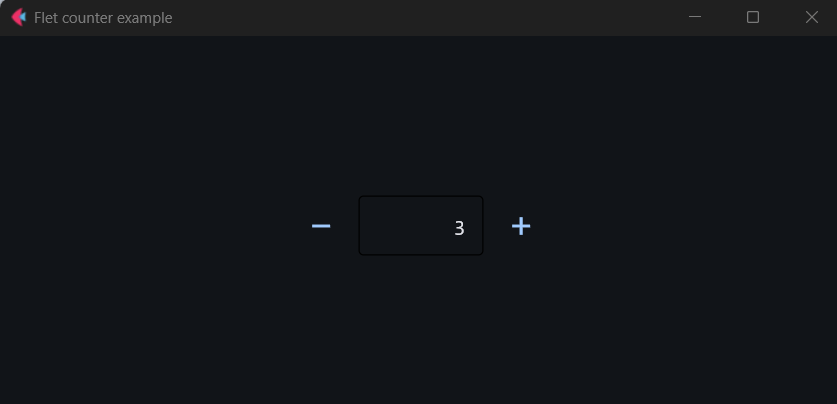
flet run で実行する。デフォルトで main.py が実行される。
ソースを指定する場合は、flet run hoge.py で指定可能。
rem 実行
flet run

rem webアプリとして実行
flet run --web
