はじめに
PythonでFlutterアプリが作れるフレームワーク「Flet」の検証です。
2023/2/6あたりに、Fletがv0.4.0になりました。
その後、公式のドキュメントに「Deploy a static website to any free hosting such as GitHub Pages, Cloudflare Pages or Vercel!」というとで、静的WebサイトとしてFletアプリをデプロイできるという記載が追加されましたので、試してみました。
今回は、使ったことがある Cloudflare を試してその結果をまとました。
実際にデプロイしたものが↓。
https://flet-report01.pages.dev/
制限はありますが、Fletアプリを無料で公開できます。
前提事項
- 試した環境
- Windows10
- Python 3.11.1
- Flet 0.4.0
- Cloudflare 2023/2時点
詳細
以下にCloudflareへのデプロイ手順を記載します。
公式ドキュメントにはもっと詳しく書いてあるので、不明点などはそちらを見てください。
アプリのpublish
アプリを静的Webサイトにするためにpublishというコマンドを実行します。
実行前の準備
実行するためにはソースの*.pyとrequirements.txtが必要。
requirements.txtには、Fletとその他にimportで使っているモジュールの記載が必要。
↓が実行前の状態です。
ソースは以前の記事で作ったもの。
以前の記事:https://qiita.com/donraq/items/5182e3f01bd177bb6ff0
Dockerfile fly.tomlは今回の作業には不要なファイルです。
追加で使っているものはないのでrequirements.txtにはFletだけ記載。
/c/donraku/flet.dev/first-app/report01
$ ls
Dockerfile  fly.toml  main.py  requirements.txt

/c/donraku/flet.dev/first-app/report01$ cat requirements.txt
flet==0.4.0
publishを実行
実行コマンドと結果は以下のような感じ。
基本はflet publish main.pyで良いのですが、--app-titleを付けてみました。
結果としてdistのディレクトリができて、中にいろいろファイルが作られます。
/c/donraku/flet.dev/first-app/report01
$ flet publish main.py --app-title 'report01'
Cleaning up C:\donraku\flet.dev\first-app\report01\dist...
Packaging application to app.tar.gz
    Adding Dockerfile
    Adding fly.toml
    Adding main.py
    Adding requirements.txt
Patching index.html

/c/donraku/flet.dev/first-app/report01
$ ls
dist/  Dockerfile  fly.toml  main.py  requirements.txt

/c/donraku/flet.dev/first-app/report01
$ ls dist
app.tar.gz  favicon.png  flutter_service_worker.js  index.html    manifest.json  python-worker.js
assets/     flutter.js   icons/                     main.dart.js  python.js      version.json
Memo
- 右記のサイトに
runtime.txtというファイルにPythonのバージョン指定で「3.7」と書いておくという記載があったが、なくても動くみたい(https://ndonkohenri.medium.com/deploying-a-flet-app-for-free-on-cloudflare-pages-e56ecc6ce450) -
--web-renderer htmlはPCで見た感じでは動きに違いはなかった(web-rendererの説明:https://docs.flutter.dev/development/platform-integration/web/renderers)
Cloudflare Pages の設定とデプロイ
アカウントがある前提で進めます。
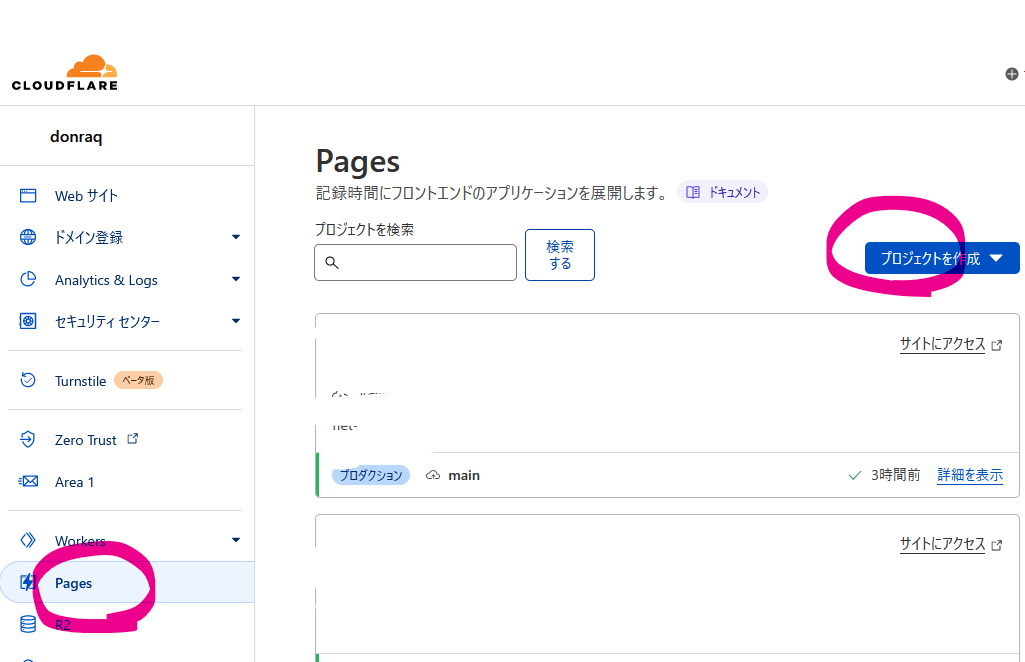
メニュー「Pages」→「プロジェクトを作成」→「ダイレクトアップロード」を選択。
今回はシンプルに直接アップします。
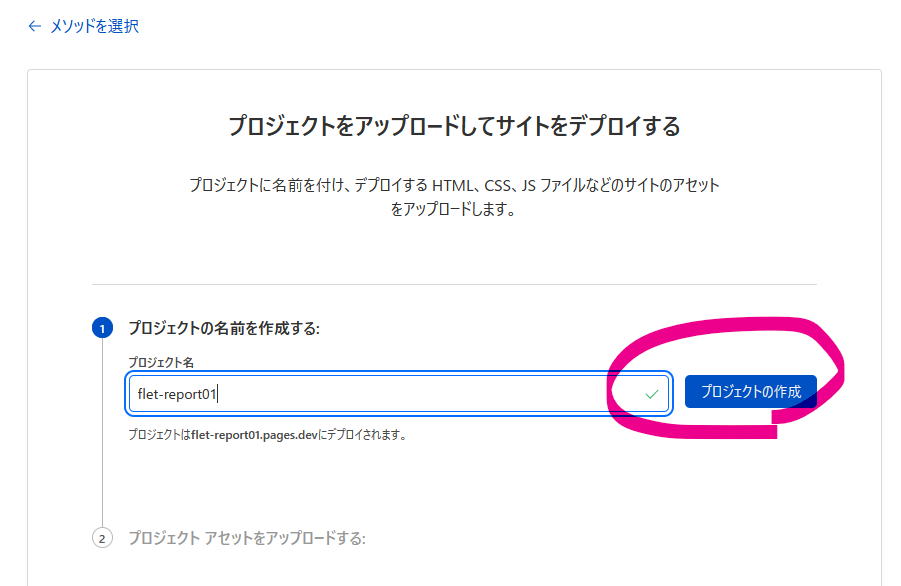
名称を入れて「プロジェクトの作成」をクリック。
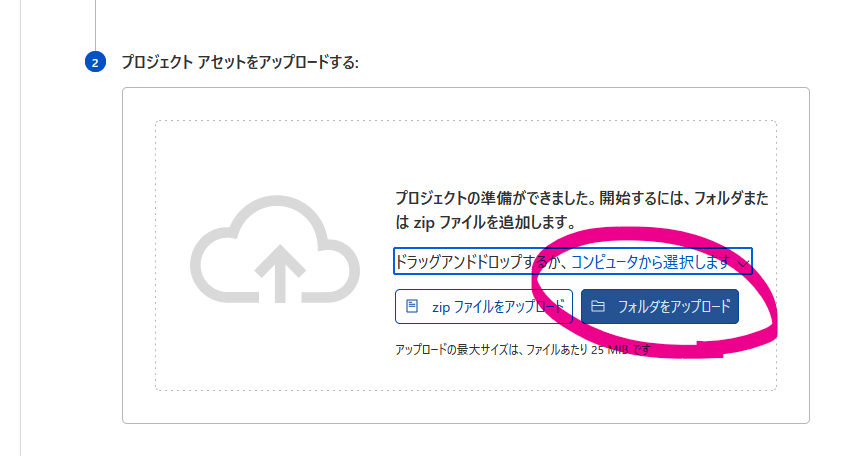
「フォルダをアップロード」をクリック。
ここで↑で用意した「dist」のフォルダを選択する。
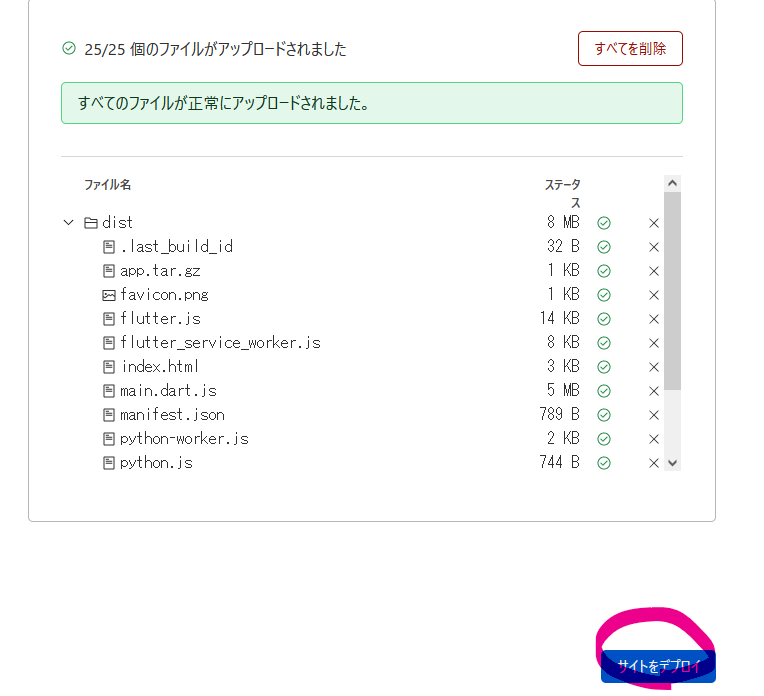
少し待つと↓の表示になるので「サイトをデプロイ」をクリック。
↓のようになれば成功。
リンク先にアクセスできるまで、時間がかかることがあるようです。(多分、設定が済むまで時間がかかる)
実際にデプロイしたものが↓。
https://flet-report01.pages.dev/
以上です。
