メモ書き
AuthKeyを利用して簡単にPushテストできるのが分かったのでメモしておきます。
事前作業
- deviceTokenはこんな感じで事前に取っておく。
AppDelegate.swift
func application(_ application: UIApplication, didRegisterForRemoteNotificationsWithDeviceToken deviceToken: Data) {
        var token: String = ""
        for i in 0..<deviceToken.count {
            token += String(format: "%02.2hhx", deviceToken[i] as CVarArg)
        }
        print("push token :\(token)")
    }
}
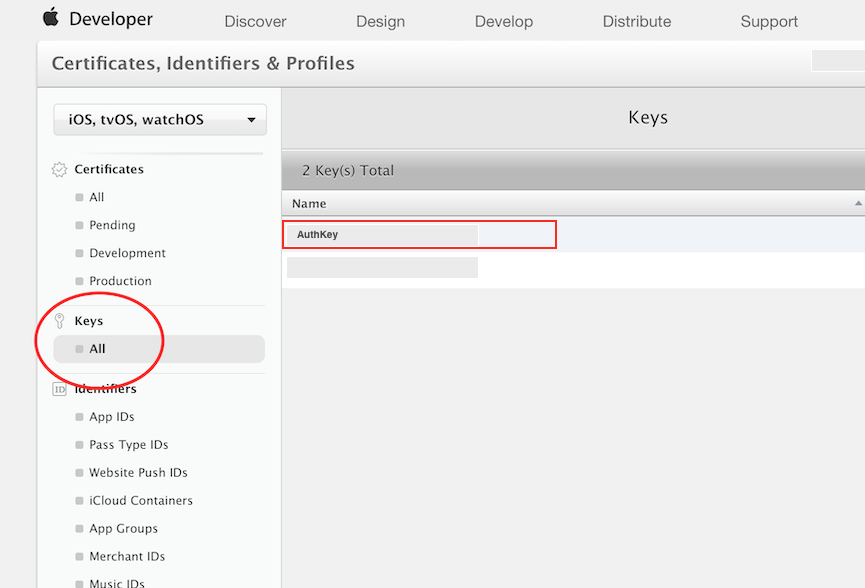
- AuthKey(デベロッパーページで作成)を取得
スクリプト
push_test.sh
# !/bin/bash
deviceToken=dbfacf621430827771306fadb878304e9fd956f509527fc55bfd216915dxxx
authKey="./AuthKey_XXXX43J85J.p8"
authKeyId=XXXX43J85J
teamId=XXXX798F94

# distribution
# bundleId=jp.co.archive-asia.demo
# endpoint=https://api.push.apple.com

# development
bundleId=jp.co.archive-asia.demo
endpoint=https://api.development.push.apple.com

# テスト
 read -r -d '' payload <<-'EOF'
 {
    "aps": {
       "badge": 2,
       "category": "あああ",
       "alert": {
          "title": "タイトル",
          "subtitle": "サブタイトル",
          "body": "ホゲホゲ"
       }
    },
    "custom": {
       "mykey": "カスタムデータ"
    }
 }
 EOF

base64() {
   openssl base64 -e -A | tr -- '+/' '-_' | tr -d =
}
sign() {
   printf "$1"| openssl dgst -binary -sha256 -sign "$authKey" | base64
}
time=$(date +%s)
header=$(printf '{ "alg": "ES256", "kid": "%s" }' "$authKeyId" | base64)
claims=$(printf '{ "iss": "%s", "iat": %d }' "$teamId" "$time" | base64)
jwt="$header.$claims.$(sign $header.$claims)"
curl --verbose \
   --header "content-type: application/json" \
   --header "authorization: bearer $jwt" \
   --header "apns-topic: $bundleId" \
   --data "$payload" \
   $endpoint/3/device/$deviceToken
実行
スクリプト叩くだけ
/bin/bash push_test.sh
