実践 Vagrantを読みつつ、忘れないようにメモ。
本ではバージョンが1.0系だが、2.0系に読み替えて進めている。
環境
macOS Mojave 10.14.3
Vagrant 2.2.3
VirtualBox 6.0.4
VirtualBoxのダウンロードとインストール
Download VirtualBoxからダウンロードしてインストールするか、Homebrewでダウンロード・インストールするかです。
brew cask install virtualbox
Vagrantのダウンロードとインストール
Download Vagrantからダウンロード。
ダウンロードしたdmgファイルをクリックしてインストール。
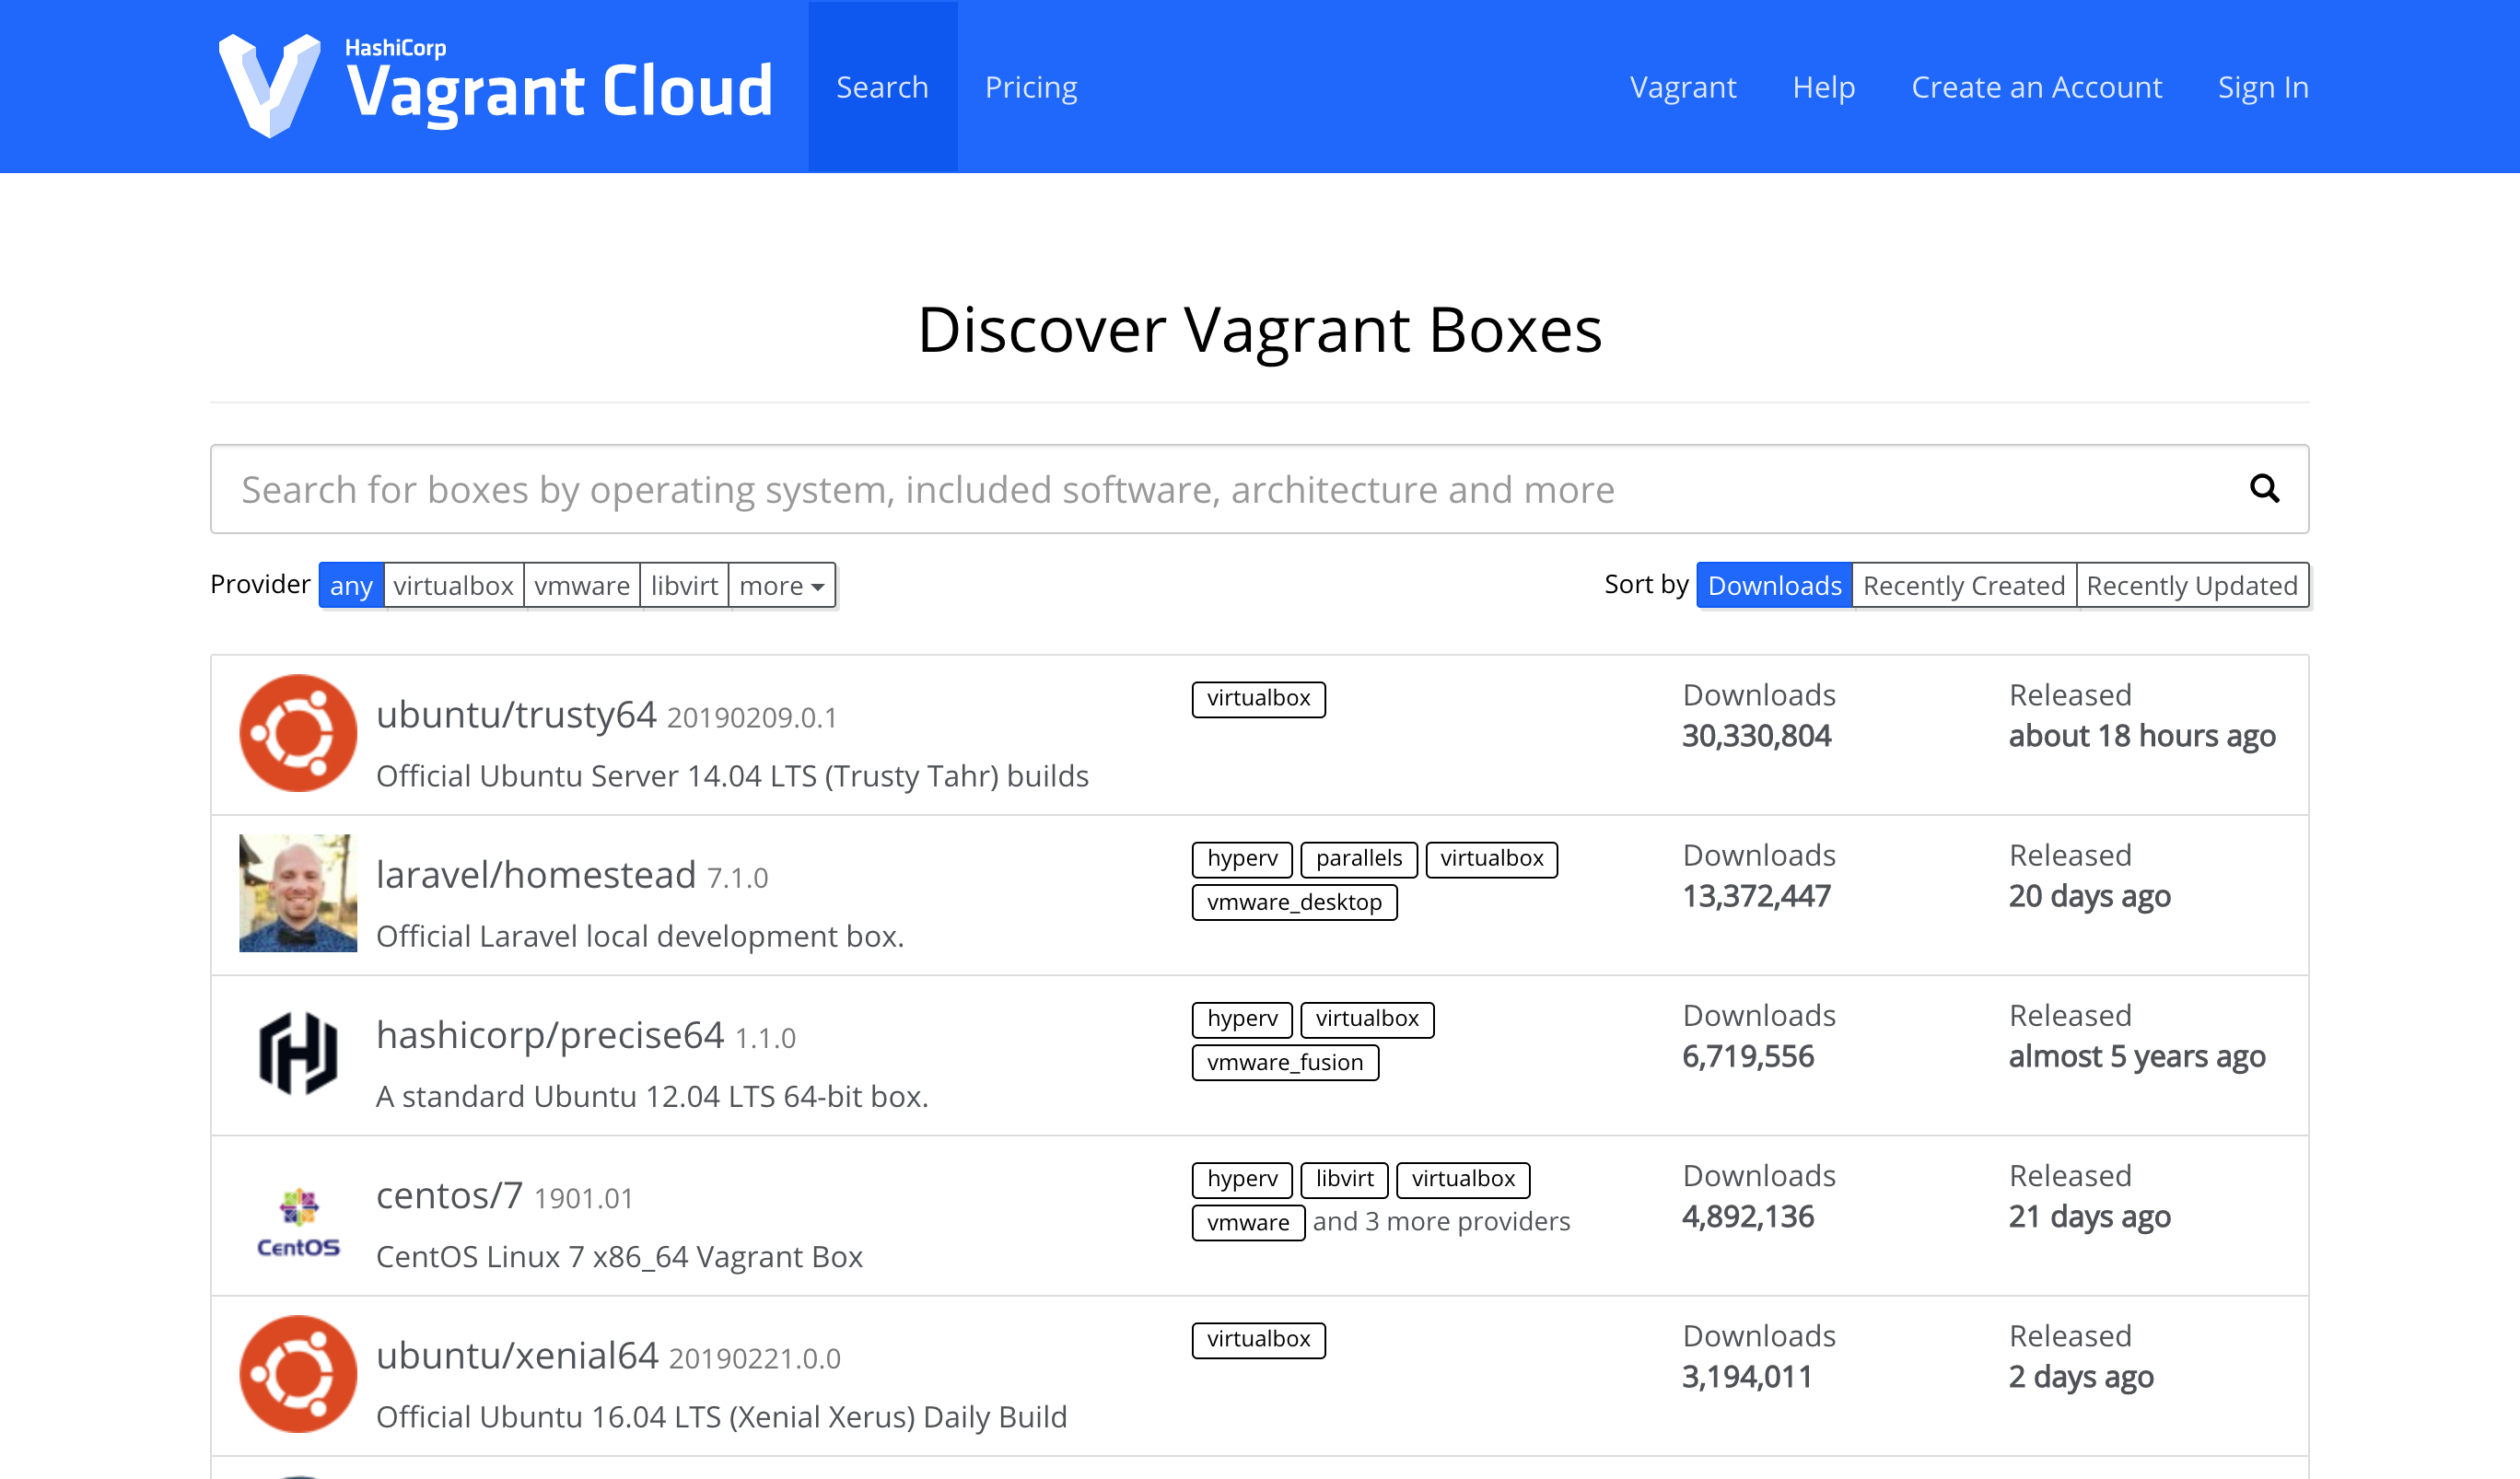
Vagrantで使うベースイメージを検索
Discover Vagrant Boxesで使いたいBoxを検索。
vagrant initのコマンドが記載してあるので、その内容をホストで実行。

host $ vagrant init centos/7
A `Vagrantfile` has been placed in this directory. You are now
ready to `vagrant up` your first virtual environment! Please read
the comments in the Vagrantfile as well as documentation on
`vagrantup.com` for more information on using Vagrant.
host $ ls -l
total 8
drwxr-xr-x  3 hoge  staff    96  2 25 00:49 .
drwxr-xr-x  3 hoge  staff    96  2 25 00:48 ..
-rw-r--r--  1 hoge  staff  3015  2 25 00:49 Vagrantfile
よく使うVagrantコマンド
| コマンド | 内容 |
|---|---|
| vagrant init [box name] | [box name]で指定したイメージで初期のVagrantfileを生成する。 |
| vagrant up | 仮想マシンの起動。 |
| vagrant halt | 仮想マシンの停止。 |
| vagrant ssh | 仮想マシンへのssh接続。 |
| vagrant reload | 仮想マシンの再起動。Vagrantfileの変更反映によく使う。 |
| vagrant destory | 仮想マシンの破棄。 |
| vagrant status | 仮想マシンの状態を確認する。 |
Vagrantfile
vagrant initで作成されるVagrantfileの中身は以下のようになっている。
※コメントは割愛
VagrantfileはRubyで書かれている。
Vagrant.configure("2") do |config|
  config.vm.box = "centos/7"
end
このファイルに仮想マシンに対する設定を書き込むことでカスタマイズができる。
ネットワーク設定(簡単)
プライベートアドレスを設定する
Vagrantfileを編集する。
 # Create a private network, which allows host-only access to the machine
 # using a specific IP.
 config.vm.network "private_network", ip: "192.168.33.10"
Vagrantfileを編集したら、vagrant reloadする。
ホストから仮想マシンへアクセスできるようになる。
host $ ping 192.168.33.10
PING 192.168.33.10 (192.168.33.10): 56 data bytes
64 bytes from 192.168.33.10: icmp_seq=0 ttl=64 time=0.529 ms
64 bytes from 192.168.33.10: icmp_seq=1 ttl=64 time=0.393 ms
64 bytes from 192.168.33.10: icmp_seq=2 ttl=64 time=0.478 ms
64 bytes from 192.168.33.10: icmp_seq=3 ttl=64 time=0.503 ms
64 bytes from 192.168.33.10: icmp_seq=4 ttl=64 time=0.408 ms
64 bytes from 192.168.33.10: icmp_seq=5 ttl=64 time=0.421 ms
--- 192.168.33.10 ping statistics ---
仮想マシンのポートをホストにフォワード
Vagrantfileを編集する。
 # accessing "localhost:8080" will access port 80 on the guest machine.
 # NOTE: This will enable public access to the opened port
 config.vm.network "forwarded_port", guest: 80, host: 9090
vagrant reload して仮想マシンでWebサーバを立ち上げてアクセスする。
host $ vagrant ssh
[vagrant@localhost ~]$ sudo python -m SimpleHTTPServer 80
Serving HTTP on 0.0.0.0 port 80 ...
ホストからアクセスして表示されれば成功。
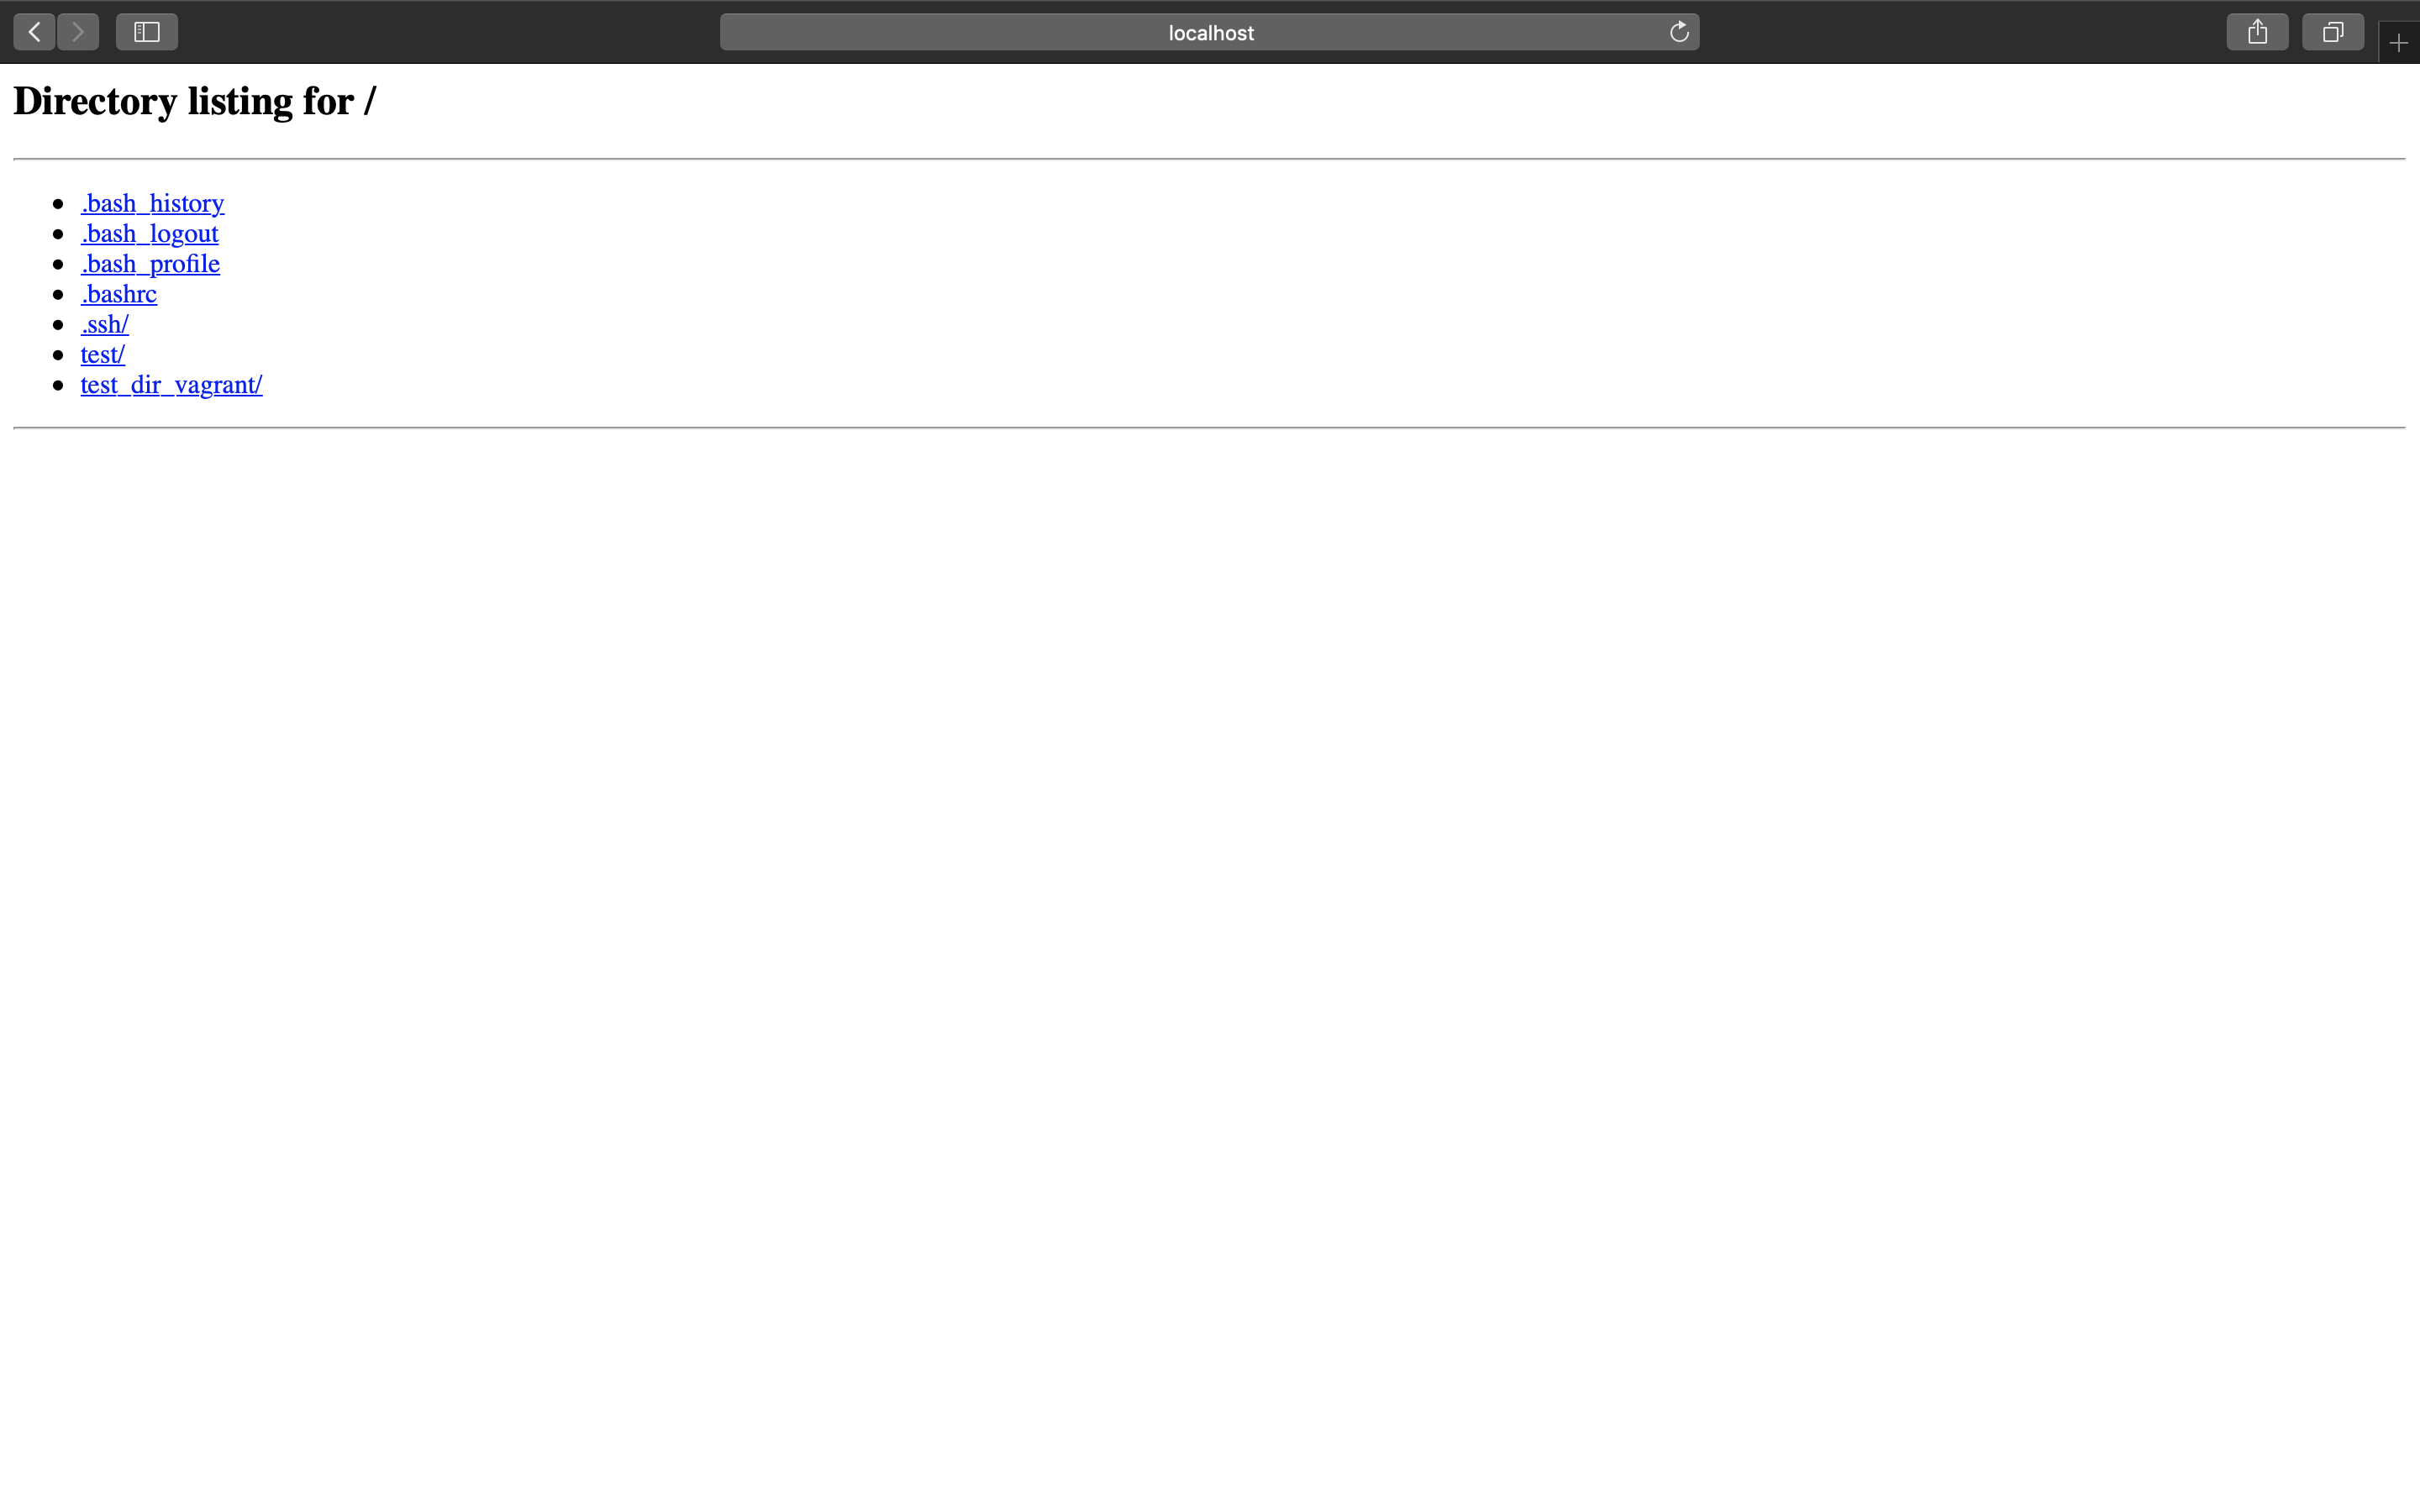
共有ファイルシステム
設定
Vagrantfileでローカルと仮想マシンに共有ディレクトリのセットアップをすることができる。
以下の内容だと、ローカルディレクトリ"./test_dir"と仮想マシン"/home/vagrant/test_dir_vagrant"を共有し、仮想マシン側に指定したディレクトリがなければ作成し、所有者、グループを"vagrant"に設定する。
  # Share an additional folder to the guest VM. The first argument is
  # the path on the host to the actual folder. The second argument is
  # the path on the guest to mount the folder. And the optional third
  # argument is a set of non-required options.
  config.vm.synced_folder "./test_dir", "/home/vagrant/test_dir_vagrant",
        create: true, owner: "vagrant", group: "vagrant"
詳細は公式ドキュメントを読んでいただきたく。
https://www.vagrantup.com/docs/synced-folders/basic_usage.html
config.vm.synced_folder "host_path", "guest_path", option ...
共有ディレクトリの設定をした際に発生した問題
Vagrant was unable to mount VirtualBox shared folders. This is usually
because the filesystem "vboxsf" is not available. This filesystem is
made available via the VirtualBox Guest Additions and kernel module.
Please verify that these guest additions are properly installed in the
guest. This is not a bug in Vagrant and is usually caused by a faulty
Vagrant box. For context, the command attempted was:

mount -t vboxsf -o uid=1000,gid=1000 home_vagrant_test_dir_vagrant /home/vagrant/test_dir_vagrant

The error output from the command was:

mount: unknown filesystem type 'vboxsf'
Vagrantのpluginをインストールすることで解決できる。
VirtualBox Guest Additionsを仮想マシンに自動的にインストールするVagrant plugin。
host $ vagrant plugin install vagrant-vbguest
Installing the 'vagrant-vbguest' plugin. This can take a few minutes...
Fetching: micromachine-2.0.0.gem (100%)
Fetching: vagrant-vbguest-0.17.2.gem (100%)
Installed the plugin 'vagrant-vbguest (0.17.2)'!

host $ vagrant vbguest
(色々動きます)
irtualBox Guest Additions: Starting.
Redirecting to /bin/systemctl start vboxadd.service
Redirecting to /bin/systemctl start vboxadd-service.service
Unmounting Virtualbox Guest Additions ISO from: /mnt

host $ vagrant vbguest --status
[default] GuestAdditions 6.0.4 running --- OK.
上記を実行したあと、vagrant reload すると解決した。
vagrant plugin update
(2020/9/8記)
久しぶりにVagrantを起動する前最新版をインストールした。
インストール後、vagrant initを実行してもエラーになる。理由はvagrant-vbguestもアップデートが必要だったため。以下のコマンドを実行することで解決した。
host $ vagrant plugin update vagrant-vbguest
Updating plugins: vagrant-vbguest. This may take a few minutes...
Fetching micromachine-3.0.0.gem
Fetching vagrant-vbguest-0.24.0.gem
Updated 'vagrant-vbguest' to version '0.24.0'!
参考
Vagrant + VirtualBoxでWindows上に開発環境をサクッと構築する
Vagrant | synced_folder でホストOSとゲストOSの任意のフォルダを同期する