はじめに
連休を機に考える、怠惰な私の自習戦略にて立てた計画に沿った自習の記録です。
前回:年末年始Webアプリ開発自習の記録6: Node.js+Electron+Vue.js開発環境準備
やり直し宣言
前回、Node.js+Electron+Vue.jsの開発環境構築のためにelectron-vueを使ってセットアップしましたが、色んなものが大量に入ってきたことで自身の理解が追いつかなくなりました。**「あれはElectronもVueも使える人のためのツールだった」**と酸っぱいブドウよろしく防衛機制を働かせ、まずはElectron+Node.jsだけでやっていくことにしました。
準備開始
**Electron Documentation - Guide**を参考にしました。
「あれ?このドキュメントあったらこの記事いらなくね?」ってくらいしっかり書いてあります
QuickStartのファイルを落としておく
動かすために**こちらのサンプルをどこかに落としておきます。
> git clone https://github.com/electron/electron-quick-start
プロジェクトの作成
この辺りはいい加減慣れてきました。
> mkdir simple-downloader2
> cd .\simple-dwonloader2\
> npm init -y
Wrote to C:\Users\dmorita\source\repos\Study-Node\simple-dwonloader2\package.json:

{
  "name": "simple-dwonloader2",
  "version": "1.0.0",
  "description": "",
  "main": "index.js",
  "scripts": {
    "test": "echo \"Error: no test specified\" && exit 1"
  },
  "keywords": [],
  "author": "",
  "license": "ISC"
}
生成されたpackage.jsonは少し変更しておきます。
{
  "name": "simple-downloader2",
  "version": "0.1.0",
  "description": "",
  "main": "main.js",
  "scripts": {
    "test": "echo \"Error: no test specified\" && exit 1"
  },
  "keywords": [],
  "author": "",
  "license": "ISC"
}
Electonインストール
> npm i --save-dev electron
テスト用コード配置
先ほどCloneしてきたelectron-quick-startからmain.js、render.js、index.htmlをsimple-downloader2ディレクトリ直下にコピーします。
VSCode設定
Debugペインから構成の追加でNode.jsを選択し、launch.jsonのひな形を作ります。
**Debugging the Main Process in VSCode**を参考にしました。
{
  "version": "0.2.0",
  "configurations": [
    {
      "name": "Debug Main Process",
      "type": "node",
      "request": "launch",
      "cwd": "${workspaceRoot}",
      "runtimeExecutable": "${workspaceRoot}/node_modules/.bin/electron",
      "windows": {
        "runtimeExecutable": "${workspaceRoot}/node_modules/.bin/electron.cmd"
      },
      "args" : ["."],
      "sourceMaps": true
    }
  ]
}
他の手段もないか探したところ、**Debugger for Electron**という拡張機能がありました。
インストールしてみると、構成の追加でElectronというものが増えていますね。

下記のようなlaunch.jsonが生成できるようになりました。
{
  "version": "0.2.0",
  "configurations": [
    {
      "type": "node",
      "request": "launch",
      "name": "Electron Main",
      "runtimeExecutable": "${workspaceFolder}/node_modules/.bin/electron",
      "program": "${workspaceFolder}/main.js",
      "sourceMaps": true
    },
    {
    "type": "electron",
    "request": "launch",
    "name": "Launch Electron here",
    "sourceMaps": true
  }]
}
マーケットプレイスのページには下記のようにありました。前回レンダープロセスのDebug設定に使ったvscode-chrome-debugから派生したもののようです。
A VS Code extension to debug your JavaScript code in Electron. This is a fork of vscode-chrome-debug which automatically downloads and runs Electron. This extension does nothing which fundamentally can not be done via vscode-chrome-debug and a proper launch configuration and exists purely for convenience.
今回はチュートリアル+"sourceMaps": trueの設定でいきますが、いつかこれが便利だと思える日が来るでしょう。多分。
Electronコマンドの謎
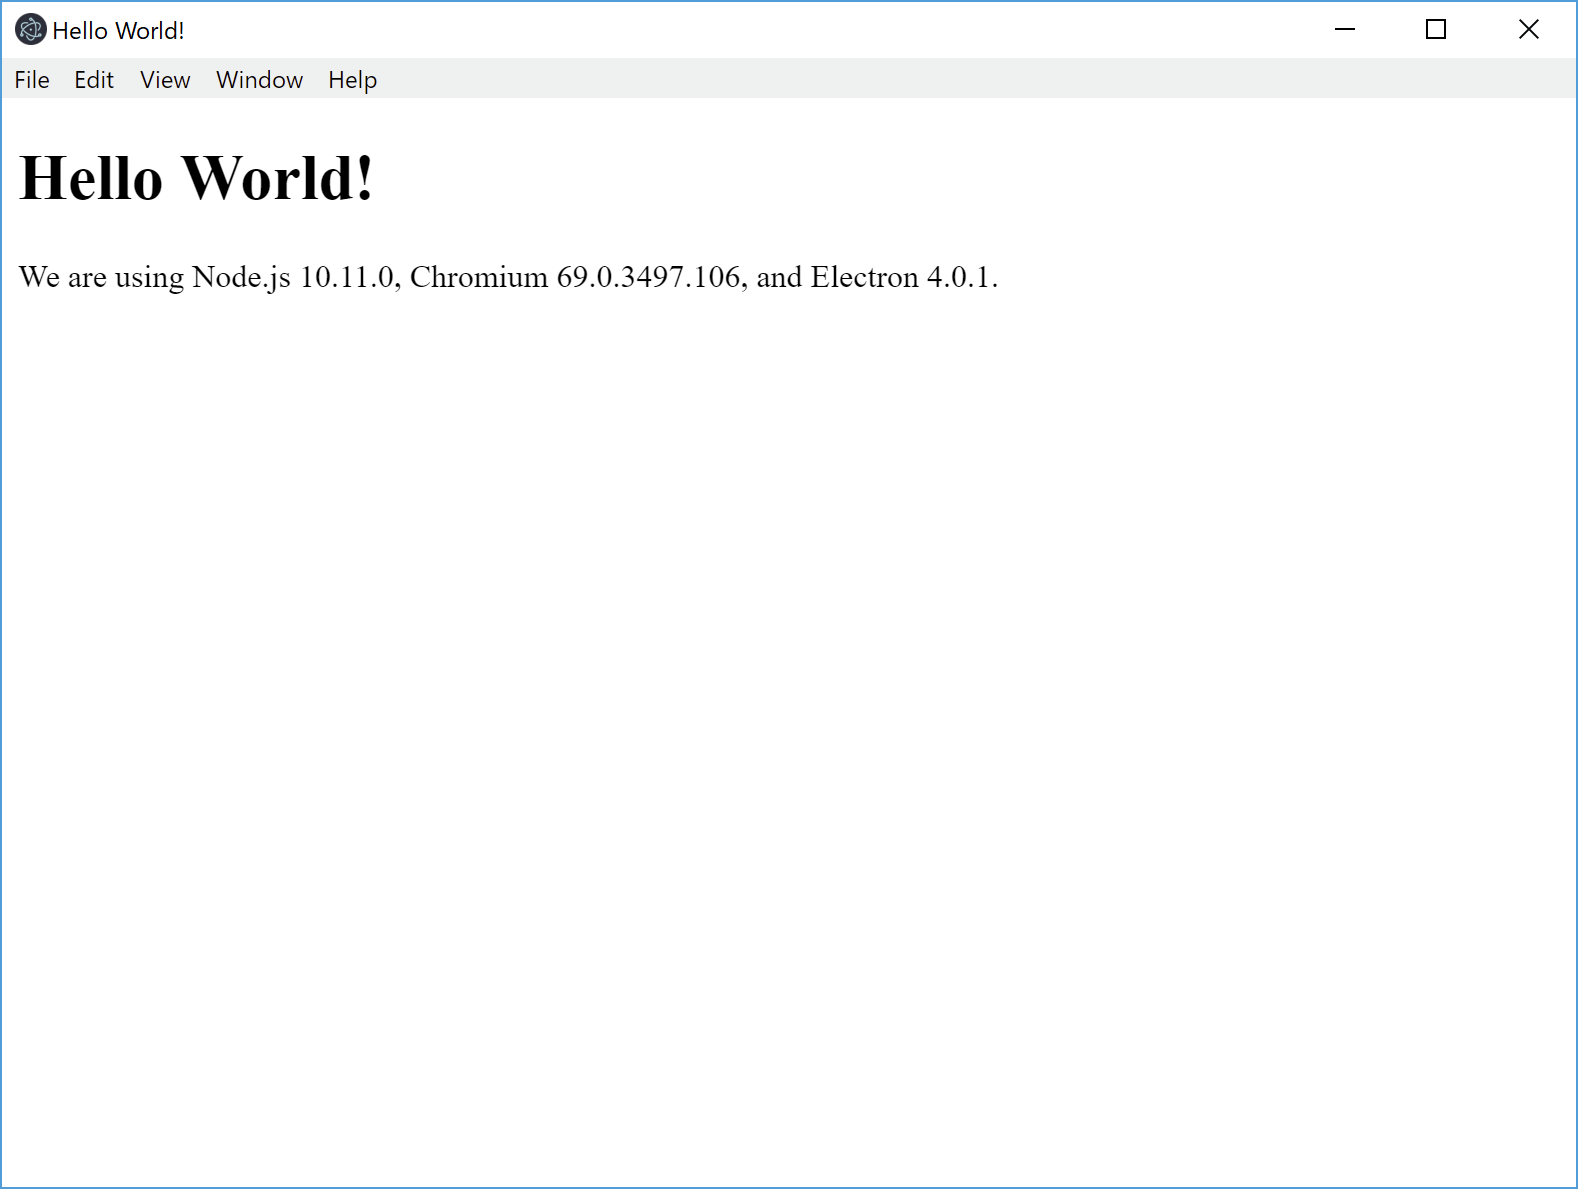
ちょっとでも楽をしようと上記の部分をごちゃごちゃやってて思ったのですが、simple-downloader2直下でnode_modules/.bin/electron .を実行するとHello worldが表示されます。
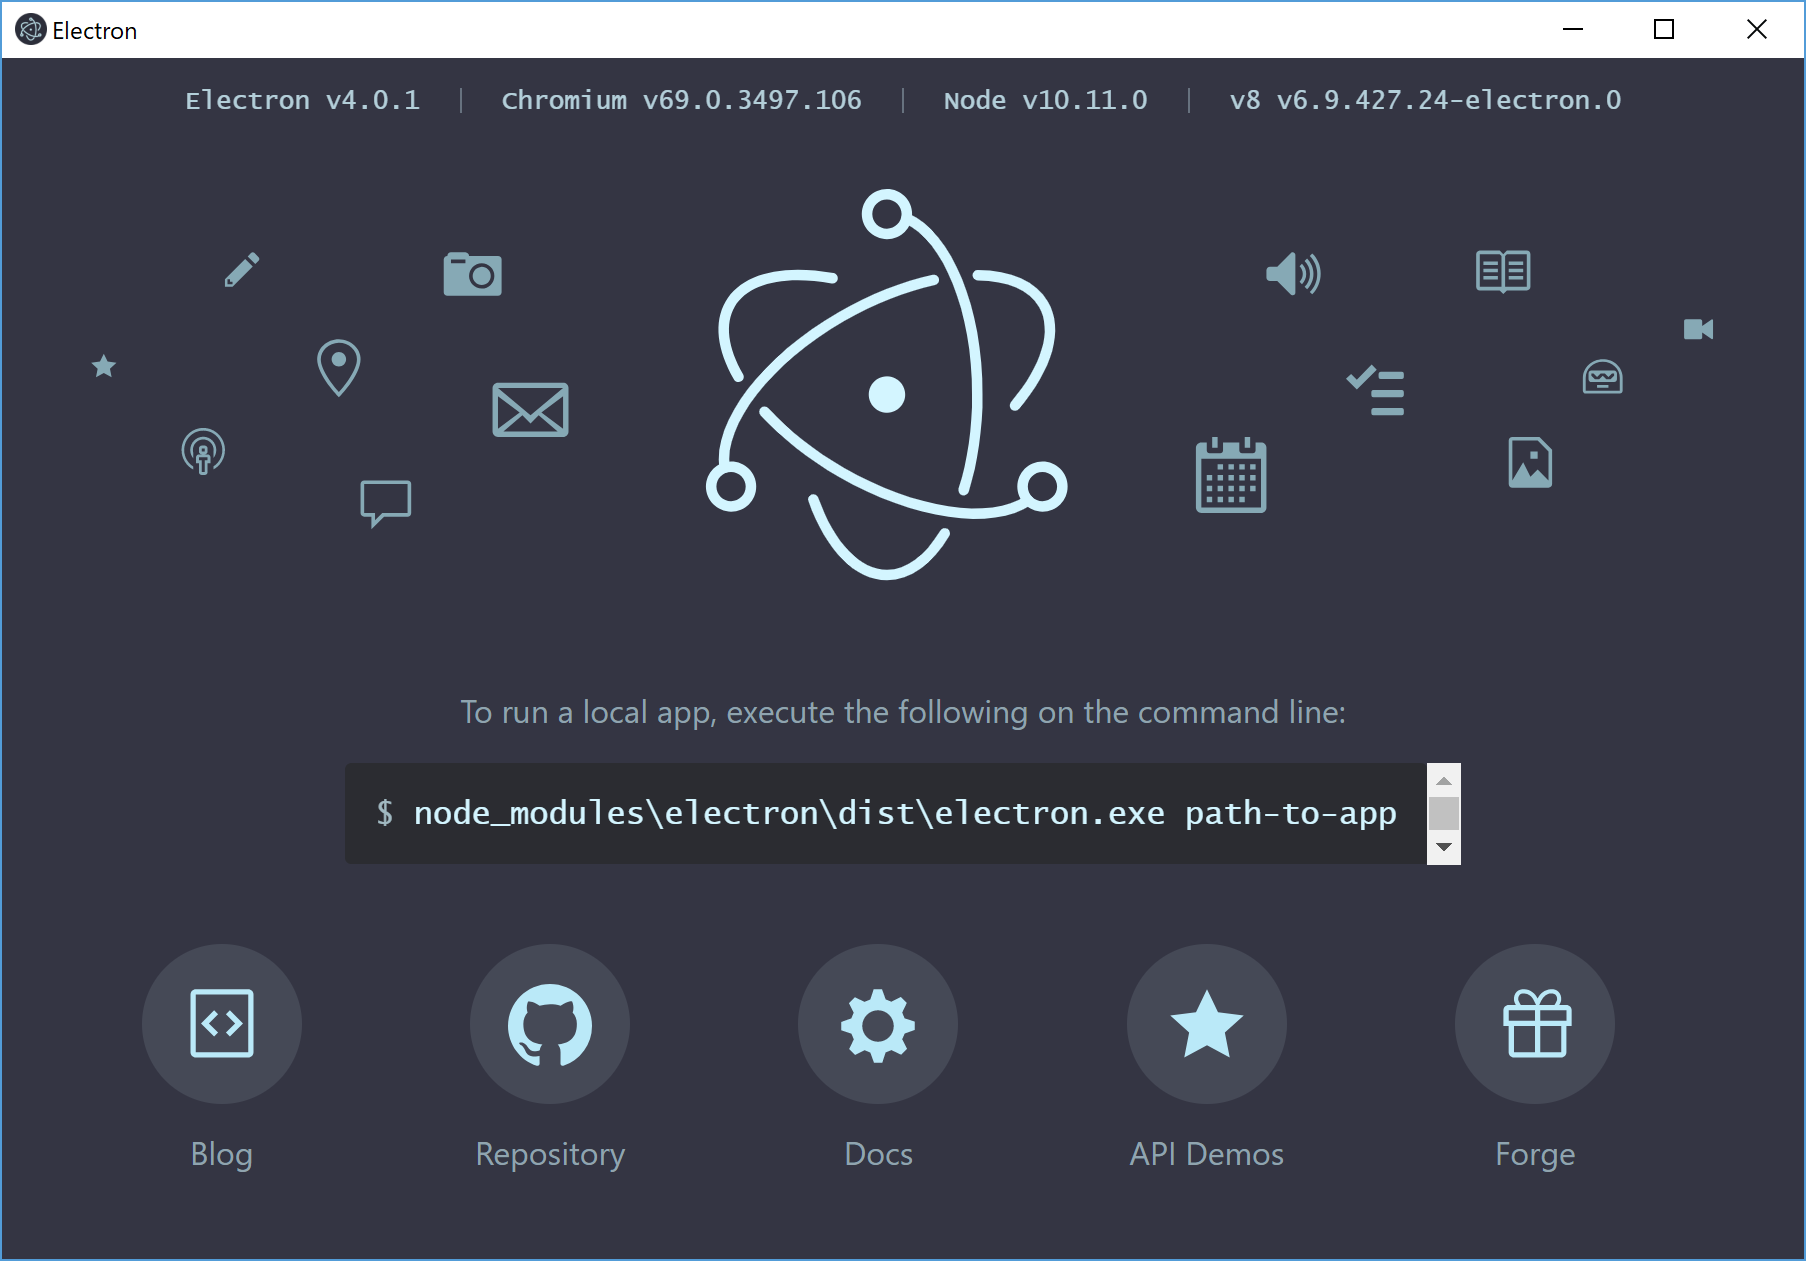
そして引数なしのnode_modules/.bin/electronを実行すると、なんかイカしたランディングページみたいなやつが出ます。
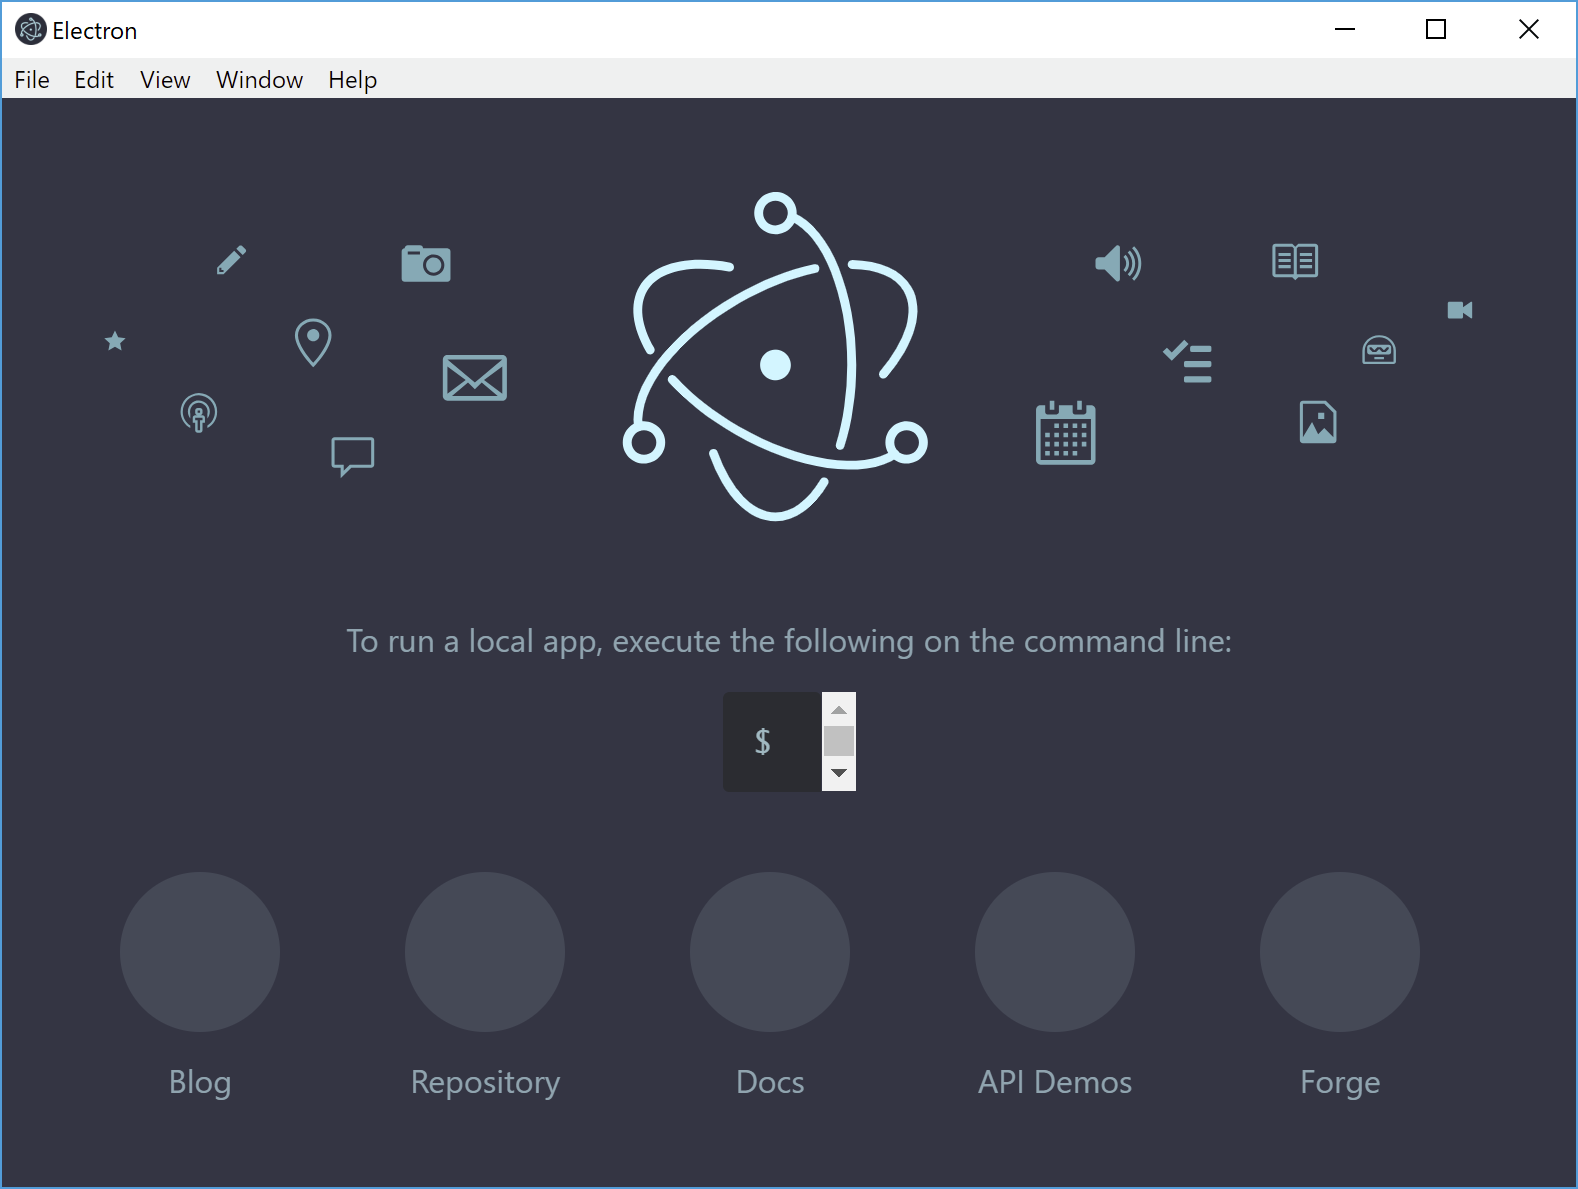
ここまではわかるのですが、試しにmain.jsを引数にしてnode_modules/.bin/electron main.jsを実行すると、崩れたランディングページみたいなやつが出ます。
どうもelectron.cmdを見ると、node %~dp0..\electron\cli.jsを実行しています。これが何を意味しているのか深く追求しませんが、package.jsonのmainに依存し、エントリポイントとすることは間違いないでしょう。
Debugしてみる
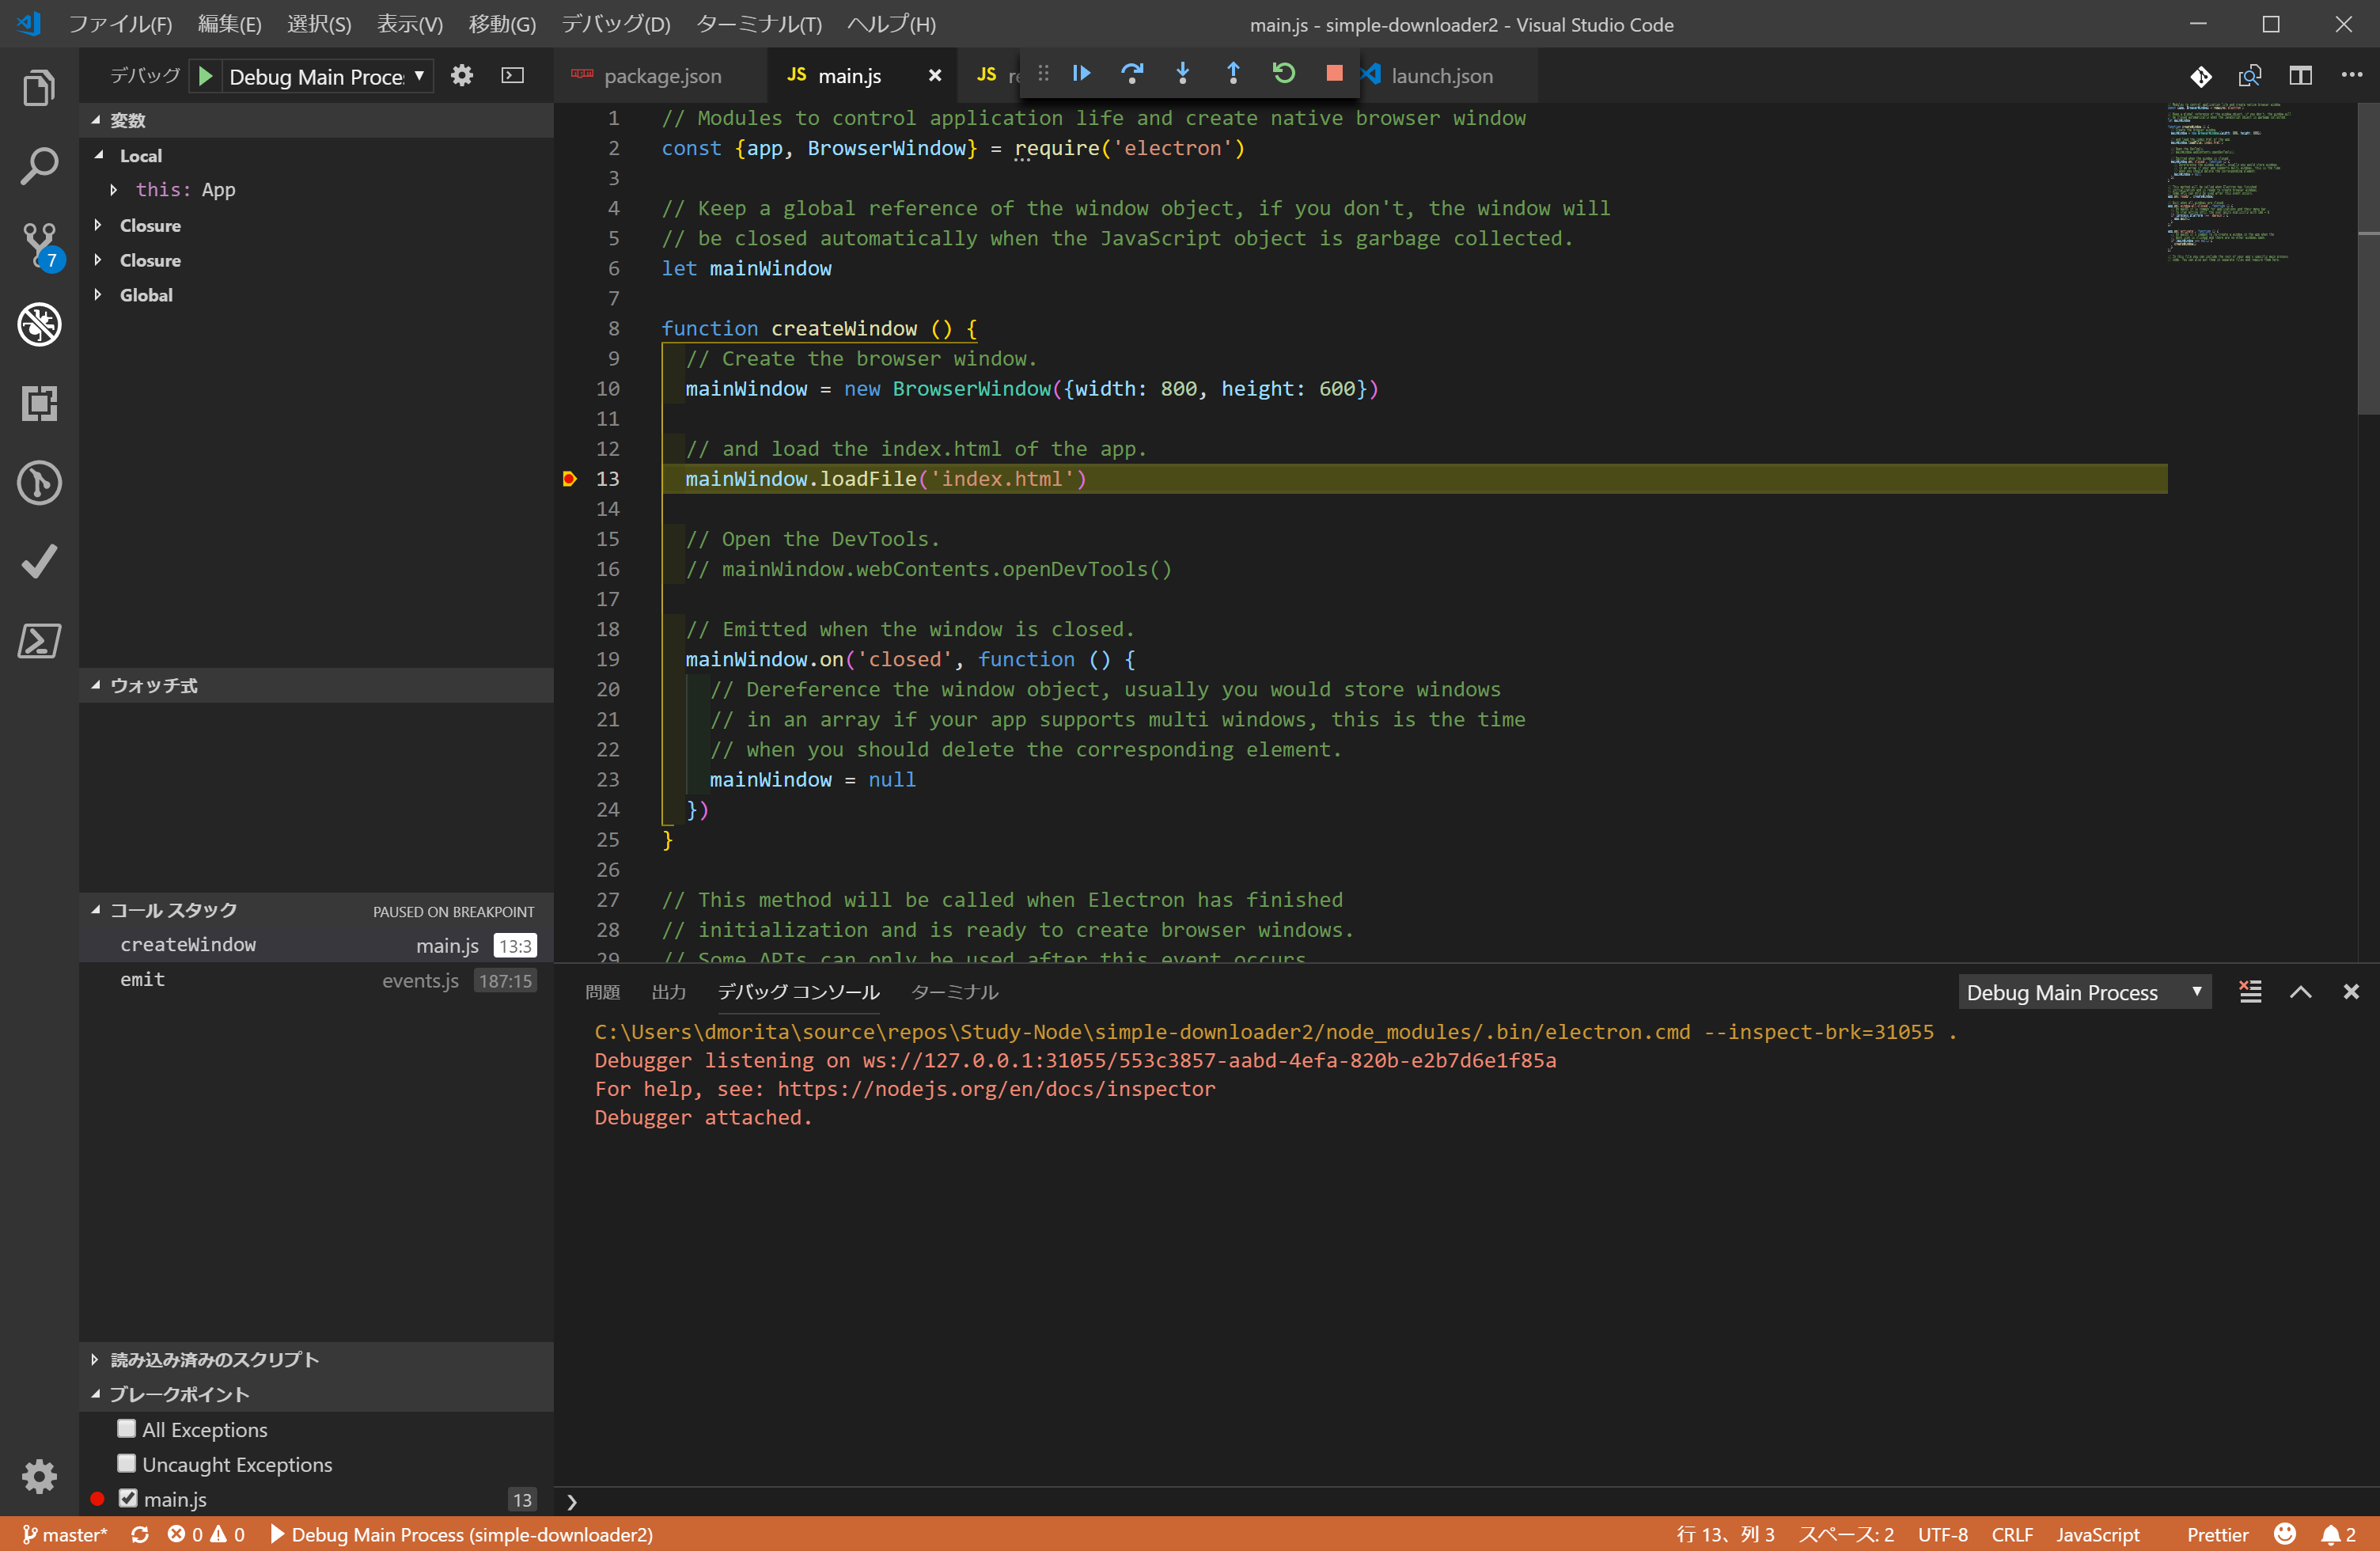
適当にブレイクポイントを張ってF5。ちゃんと止まっているので良しとします。
Render ProcessのDebug
ここまでやったことで、前回分かれていたRender ProcessのDebugという意味がわかってきました。
参考: Debug Electron App with VS Code
このプロジェクトに存在するrenderer.jsはindex.htmlから呼ばれているため、下記のようなコードをrenderer.jsに追加してブレイクポイントを張っても止めることができません。
console.log('hello world!')

document.body.addEventListener('click', () => {
  console.log('hello vscode!')
})
そこで、参考ページをみながらRender用の設定をlaunch.jsonに追加しました。
{
  "version": "0.2.0",
  "configurations": [
    {
      "name": "Debug Main Process",
      "type": "node",
      "request": "launch",
      "cwd": "${workspaceFolder}",
      "runtimeExecutable": "${workspaceFolder}/node_modules/.bin/electron",
      "windows": {
        "runtimeExecutable": "${workspaceFolder}/node_modules/.bin/electron.cmd"
      },
      "args": ["."],
      "sourceMaps": true
    },
    {
      "name": "Debug Renderer Process",
      "type": "chrome",
      "request": "launch",
      "runtimeExecutable": "${workspaceFolder}/node_modules/.bin/electron",
      "windows": {
        "runtimeExecutable": "${workspaceFolder}/node_modules/.bin/electron.cmd"
      },
      "runtimeArgs": [
        "${workspaceFolder}/.",
        "--remote-debugging-port=9222"
      ],
      "sourceMaps": true,
      "webRoot": "${workspaceFolder}"
    }
  ]
}
Debugしてみる
同様にrenderer.jsにブレイクポイントを張って追加したRender Process用のデバッガを実行します。
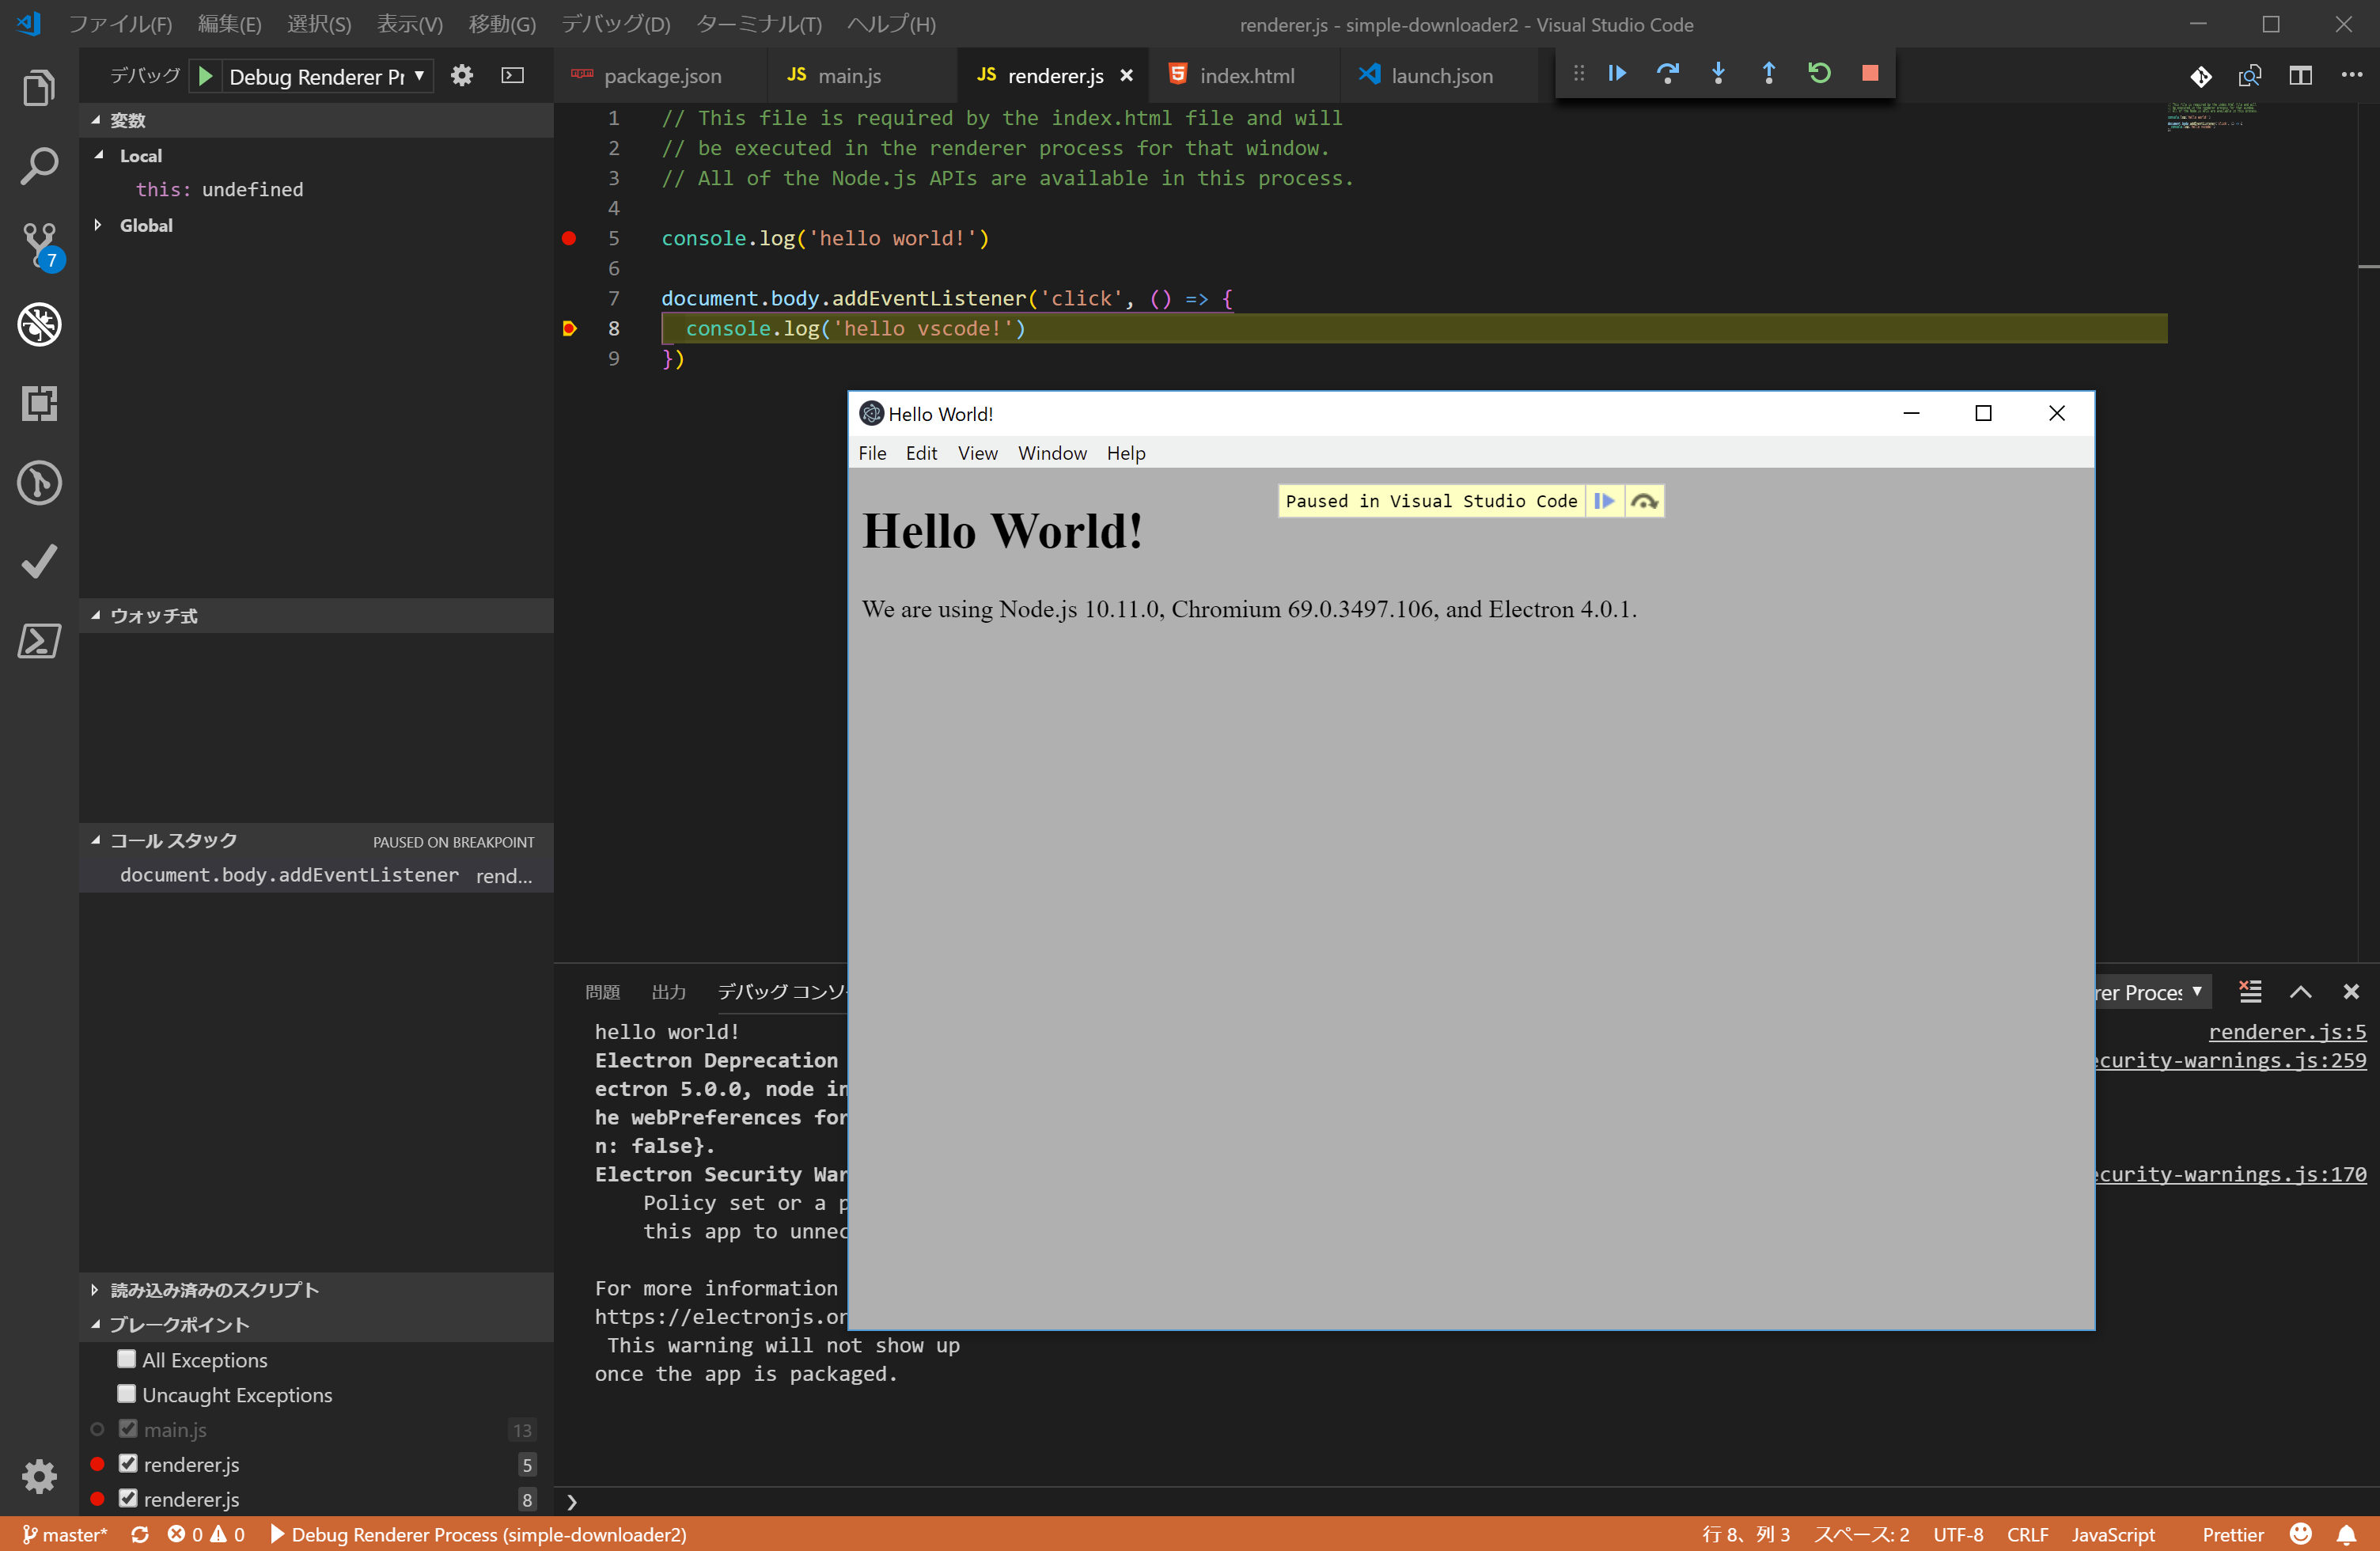
止まった!
おわりに
これで心置きなく基本的なelectron開発を始められそうです。
まずは Electron Development in a Nutshell から読み始めようと思います。