はじめに
フロントエンドエンジニアとして初のプロダクトでリッチなテキストエディタ開発をすることになり、Slate.js というライブラリに出会いました。
開発でキャッチアップしたことや、Slate.js に触れたみた感触などをお話しします。
Slate.js とは
公式 GitHub https://github.com/ianstormtaylor/slate
公式ドキュメント https://docs.slatejs.org
Slate は React と Immutable の上に構築されたフレームワークであり、React を用いて WYSIWYG エディタや Markdown エディタなど、リッチテキストエディタを開発できます。
※Slate.js は現在ベータ版なので破壊的変更が行われる可能性があるとのことです。
Slateのいいところ
- 公式のexamplesが豊富
- history 管理がラク
- Markdown エディタも作れる
- 型を定義して開発するから安全に作れる(TypeScript の場合)
WYSIWYG(ウィジウィグ)とは
コンピュータのユーザインタフェースに関する用語で、ディスプレイに現れるものと処理内容(特に印刷結果)が一致するように表現する技術。What You See Is What You Get(見たままが得られる)の頭文字をとったものであり、「is」を外したWYSWYG(ウィズウィグ)と呼ばれることもある。
参照 https://ja.wikipedia.org/wiki/WYSIWYG
Markdownエディタとの比較
Qiita のエディタや README.md などで使われるマークダウン形式とは異なり、入力した値がそのまま画面に表示されるエディタを WYSIWYG エディタなどと呼ばれています。
Markdown 記法を用いて文書に装飾を施すには、ある程度の学習が必要ですが、慣れれば使いやすいですし、好んで使うエンジニアの方も多いと思います。
それに対し WYSIWYG は、入力したものがそのままプレビューとして表示され、ツールバーやショートカットを用いて装飾できるものもあります。Microsoft Word や Mac のメモアプリなどでも使われており、非エンジニアでも直感的に使用できます。
わざわざ比較してしまいましたが、多くの WYSYIWYG エディタで一部マークダウン的な記法を用いているものも見られます。
なにができるか
HTML の textarea タグでもキーボードでの入力を画面に表示できます。しかし、基本的に文字列として扱う為、部分的な装飾を施すのは難しいと言えるでしょう。
WYSIWYG エディタであれば部分的に文字を太くしたり 、イタリック体にする、コードブロック で囲う、ハイパーリンクにするなどの装飾を施す等をツールバーやショートカットキーを用いて実現できます。
また、#ハッシュタグ や @メンション など、特定の文字の入力に応じた機能を付け加えることも可能です。
この記事内の装飾はQiitaのマークダウン記法に則り記載しております。
contenteditable
HTML の属性に contenteditable="true" を付け加えれば、div タグでも p タグでも編集可能になります。Slate.js では contenteditable を基に WYSIWYG エディタを開発できます。
https://developer.mozilla.org/ja/docs/Web/HTML/Global_attributes/contenteditable
実践編
公式のチュートリアルを基に Slate.js でエディタを開発してみます。
完成形
以下の機能を持ちます。
-
Ctrl + bのショートカットキーで文字を太くする - ツールバーの
b(太字)をクリックすると文字を太くする -
Ctrl + バッククウォートのショートカットキーでコードブロックを作成する - ツールバーの
<>(コードブロック)をクリックするとコードブロックを作成する
Slateのバージョン
slate: 0.65.x
slate-react: 0.65.x
Step.1 hello world
パッケージのインストール
 yarn add slate slate-react
 yarn add -D @types/slate @types/slate-react
型定義ファイルを作成
TypeScript で書く場合には型定義ファイルの作成が必須となります。
touch src/custom-types.d.ts
import { BaseEditor } from "slate";
import { ReactEditor } from "slate-react";

type CustomElement = { type: "paragraph"; children: CustomText[] };
type CustomText = { text: string };

declare module "slate" {
  interface CustomTypes {
    Editor: BaseEditor & ReactEditor;
    Element: CustomElement;
    Text: CustomText;
  }
}
Editorコンポーネントの作成
エディタの UI になるコンポーネントを作成します。
import React, { useMemo, useState } from "react";
import { createEditor, Descendant } from "slate";
import { Slate, Editable, withReact } from "slate-react";

export const Editor: React.FC = () => {
  const editor = useMemo(() => withReact(createEditor()), []);
  const [value, setValue] = useState<Descendant[]>(initialValue);

  const handleChange = (value: Descendant[]) => {
    setValue(value);
  };

  return (
    <div>
      <Slate value={value} editor={editor} onChange={handleChange}>
        <Editable />
      </Slate>
    </div>
  );
};

const initialValue: Descendant[] = [
  {
    type: "paragraph",
    children: [{ text: "Hello World!" }],
  },
];
Slate コンポーネントには、value, editor, onChange の 3 つの props が必要となります。
value に格納されている値が画面上に表示され、onChange で書き換えます。
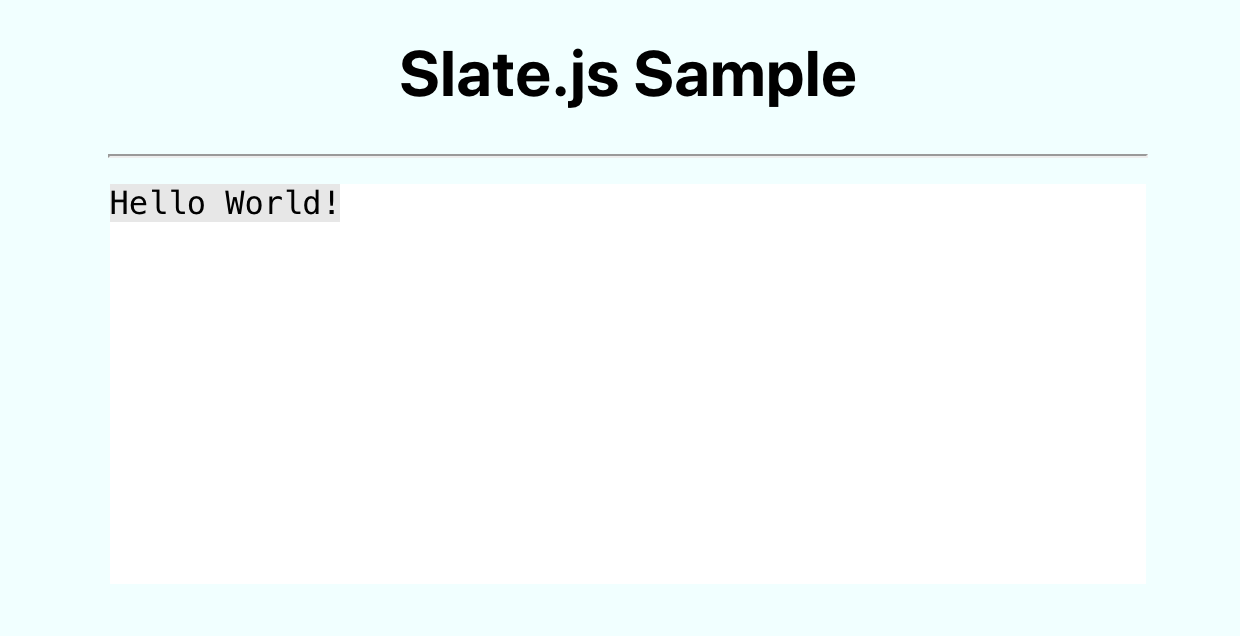
開発サーバーを立てて確認してみます。

(スタイリングは適当です)
'Hello World!' の文字を編集できます。
Step.2 「コードブロック」 を作成
型定義ファイルに「コードブロック」を追加
平文のエレメントとコードブロックのエレメントの型を追記します。
export type ParagraphElement = { type: "paragraph"; children: CustomText[] };
export type CodeElement = { type: "code"; children: CustomText[] };

type CustomElement = ParagraphElement | CodeElement;
type CustomText = { text: string };

declare module "slate" {
  interface CustomTypes {
    Editor: BaseEditor & ReactEditor;
    Element: CustomElement;
    Text: CustomText;
  }
}
平文と「コードブロック」のエレメントを作成する
平文かコードブロックかを判別して返すコンポーネントを作成します。
import { RenderElementProps } from "slate-react";

const ParagraphElement: React.FC<RenderElementProps> = (props) => {
  return <p {...props.attributes}>{props.children}</p>;
};

const CodeElement: React.FC<RenderElementProps> = (props) => {
  return (
    <pre {...props.attributes}>
      <code>{props.children}</code>
    </pre>
  );
};

export const Element: React.FC<RenderElementProps> = (props) => {
  switch (props.element.type) {
    case "code": {
      return <CodeElement {...props} />;
    }
    default: {
      return <ParagraphElement {...props} />;
    }
  }
};
EditorコンポーネントからElementを呼びだす
Editable の renderElement に useCallback で memo 化した Element を渡します。
export const Editor: React.FC = () => {
  const editor = useMemo(() => withReact(createEditor()), []);
  const renderElement = useCallback(
    (props: RenderElementProps) => <Element {...props} />,
    []
  );
  const [value, setValue] = useState<Descendant[]>(initialValue);

  const handleChange = (value: Descendant[]) => {
    setValue(value);
  };

  return (
    <div>
      <Slate value={value} editor={editor} onChange={handleChange}>
        <Editable renderElement={renderElement} />
      </Slate>
    </div>
  );
};
// 省略
コードブロックかできているか確認してみます。
Editor.tsx の initialState の'paragraph'を'code'に書き換えてみます。
無事コードブロッック化されていますね。
Step.3 ショートカットキーを設定
ctrl + バッククォートキー でコードブロック化します。
コードブロック化する関数を作成します。
import { Editor, Transforms, Element } from "slate";

export function toggleCodeElement(editor: Editor): void {
  const [match] = Editor.nodes(editor, {
    match: (n) =>
      !Editor.isEditor(n) && Element.isElement(n) && n.type === "code",
  });
  Transforms.setNodes(
    editor,
    { type: match ? "paragraph" : "code" },
    { match: (n) => Editor.isBlock(editor, n) }
  );
}
Editable の onKeyDown 要素にキーボードからの入力に応じた処理を記載していきます。
export const Editor: React.FC = () => {
  // 省略

  const handleKeyDown = (event: React.KeyboardEvent<HTMLDivElement>) => {
    if (event.ctrlKey) {
      switch (event.key) {
        // コードブロック
        case "`": {
          event.preventDefault();
          toggleCodeElement(editor);
          return;
        }
      }
    }
  };

  return (
    <div>
      <Slate value={value} editor={editor} onChange={handleChange}>
        <Editable renderElement={renderElement} onKeyDown={handleKeyDown} />
      </Slate>
    </div>
  );
};
これで ctrl + バッククォート でコードブロックかができるようになりました。
Step.4 ツールバーを作成
ツールバーを作成し、コードブロック化のボタンを作成します。
コードブロック化の処理は ctrl + バッククォート をキー入力した時と同じなので props として editor を渡します。
export const Toolbar: React.FC<Props> = ({ editor }) => {
  const handleClickCodeButton = () => {
    toggleCodeElement(editor);
  };

  return (
    <div>
      <button onClick={handleClickCodeButton}>{"<>"}</button>
    </div>
  );
};
Step.5 「太字」 を追加する
次は文字を太字に変える機能を作ります。基本的には Step.3, 4 と同様にコードを書いていけばいいです。Step3 ではブロック要素となる code タグを Element というコンポーネントに記載しましたが、太字にする storong タグはインライン要素なので Leaf というコンポーネントに追加していきます。
Leaf コンポーネントを作成して呼び出します。
import { RenderLeafProps } from "slate-react";

export const Leaf: React.FC<RenderLeafProps> = ({
  attributes,
  children,
  leaf,
}) => {
  return <span {...attributes}>{children}</span>;
};
export const Editor: React.FC = () => {
 // 省略
  const renderLeaf = useCallback(
    (props: RenderLeafProps) => <Leaf {...props} />,
    []
  );
// 省略

  return (
    <div>
      <Slate value={value} editor={editor} onChange={handleChange}>
        <Toolbar editor={editor} />
        <Editable
          renderElement={renderElement}
          renderLeaf={renderLeaf}
          onKeyDown={handleKeyDown}
        />
      </Slate>
    </div>
  );
};
次に、custom-types.d.ts の CustomText の型に太字かどうかのプロパティを追加します。
type CustomText = { text: string; bold?: boolean };
Leaf コンポーネントへ太字になる際のコードを書いていきます。
何らかの処理でテキストの真偽値を変え、true だったらテキストに strong 要素を追加するイメージです。
import { RenderLeafProps } from "slate-react";

export const Leaf: React.FC<RenderLeafProps> = ({
  attributes,
  children,
  leaf,
}) => {
  if (leaf.bold) {
    children = <strong>{children}</strong>;
  }
  return <span {...attributes}>{children}</span>;
};
文字を太字に変える処理を作成します。
import { Editor } from "slate";

export function toggleMark(editor: Editor): void {
  const marks = Editor.marks(editor);
  const isActive = marks ? marks["bold"] === true : false;

  if (isActive) {
    Editor.removeMark(editor, "bold");
  } else {
    Editor.addMark(editor, "bold", true);
  }
}
上で作成した処理をにショートカットキーとツールバーで呼び出します。
  const handleKeyDown = (event: React.KeyboardEvent<HTMLDivElement>) => {
    if (event.ctrlKey) {
      switch (event.key) {
        // コードブロック
        case "`": {
          event.preventDefault();
          toggleCodeElement(editor);
          return;
        }
        // 太字
        case "b": {
          event.preventDefault();
          toggleMark(editor);
          return;
        }
      }
    }
  };
import React from "react";
import { Editor } from "slate";
import { toggleCodeElement } from "./toggleCodeElement";
import { toggleMark } from "./toggleMark";

type Props = {
  editor: Editor;
};

export const Toolbar: React.FC<Props> = ({ editor }) => {
  const handleClickCodeButton = () => {
    toggleCodeElement(editor);
  };

  const handleClickBoldButton = () => {
    toggleMark(editor);
  };

  return (
    <div>
      <button onClick={handleClickCodeButton}>{"<>"}</button>
      <button onClick={handleClickBoldButton}>b</button>
    </div>
  );
};
以上でハンズオン形式での Slate.js の紹介および開発は終了です。
今回作成した demo アプリのリポジトリはこちら。
おわりに
Slate.js を通して、今日様々なアプリで見かける @メンション や #ハッシュタグ、URL を入力することで リンク化 機能を(Slate.js を使ってないにしろ)、こういう方法で実現できるという事を知ることができました。
今回記事の反省点としては、私自身の HTML の知識(DOM やら Node やら)が浅いばかりにうまく言語化して説明できない箇所が多々あり、記事を執筆しながら終始もどかしい気持ちでした。
私自身まだまだフロントエンド勉強中の身につき、誤った情報を載せてしまっている可能性がございます。もしお気づきになられた際にはご指摘・補足等いただけましたら大変ありがたく思います。

